
Required Setup
Before you can order an Uber ride from Google Maps, there are a few prerequisites you need to meet. Here’s what you’ll need to do:
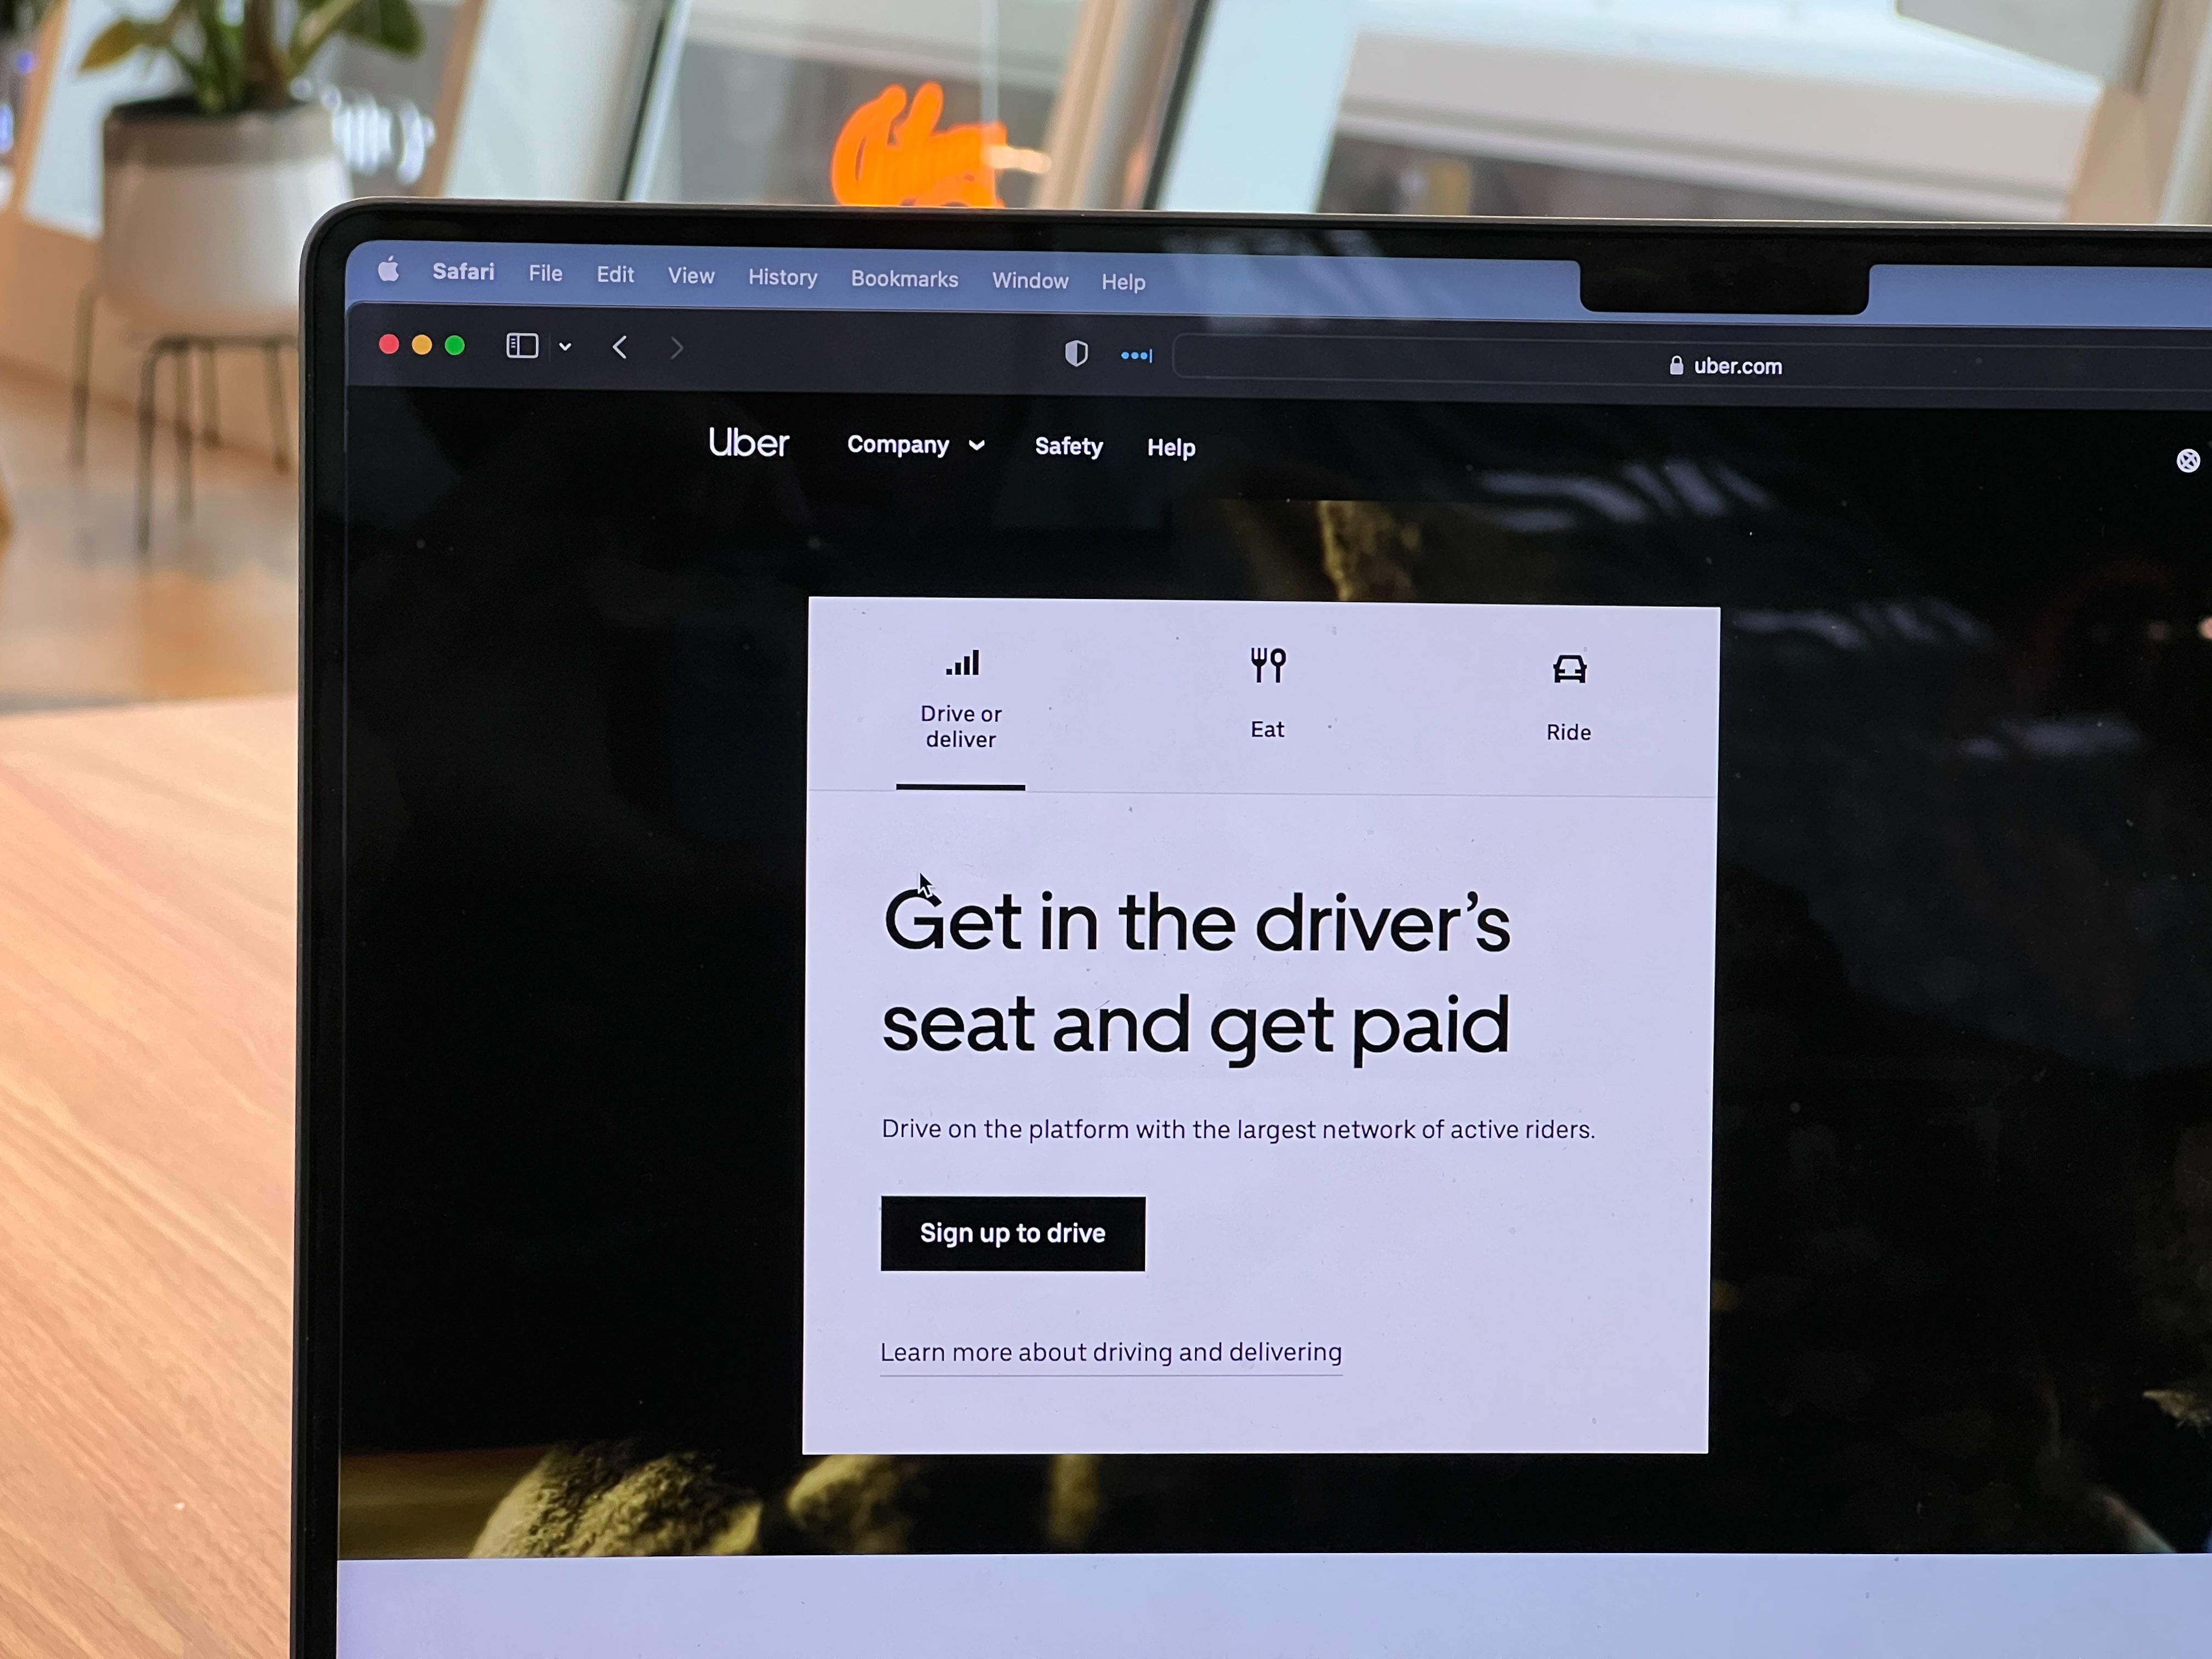
- Create an Uber account: If you haven’t already done so, you’ll need to sign up for an Uber account. This can easily be done through the Uber mobile app or the Uber website.
- Download the Google Maps app: Ensure that you have the Google Maps app installed on your mobile device. The app is available for both Android and iOS platforms and can be downloaded from the respective app stores.
- Grant location and device permissions: Make sure that you have granted the Google Maps app the necessary permissions to access your location and device settings. This will allow the app to accurately locate your current position and provide you with accurate Uber ride options.
Once you have completed these setup requirements, you’re ready to proceed with ordering an Uber ride from within the Google Maps app. It’s important to note that you will need an active internet connection to use this feature effectively.
Step 1: Open Google Maps
The first step in ordering an Uber ride from Google Maps is to open the Google Maps app on your mobile device. Locate the icon on your home screen or app drawer and tap on it to launch the application.
Google Maps is a widely-used navigation app that provides detailed maps, real-time traffic information, and various transportation options. It’s a convenient tool for planning routes and finding the best way to reach your destination.
Once you have the Google Maps app open, you’ll be greeted with a map interface that displays your current location, along with various navigation and search features. Take a moment to familiarize yourself with the interface and the different options available.
If you don’t have the app installed, you can download it from the Google Play Store for Android devices or the App Store for iOS devices. Simply search for “Google Maps” and follow the installation instructions.
Open up Google Maps and get ready to embark on your journey to order an Uber ride with ease.
Step 2: Enter Your Destination
Once you have opened the Google Maps app, the next step is to enter your destination. Tap on the search bar at the top of the screen, where it says “Where to?”
You can enter your destination in several ways:
- Type in the address: If you know the specific address of your destination, simply type it into the search bar. Google Maps will provide suggestions and auto-complete options as you type.
- Search for a landmark or business: If you’re not sure of the exact address, you can search for a landmark, business, or point of interest near your destination. For example, you can enter the name of a restaurant or a popular tourist attraction.
- Use your current location as the destination: If you want to see Uber ride options from your current location to a nearby destination, you can skip entering a specific address and rely on your GPS location to determine the starting point.
After entering your destination, Google Maps will display a pin on the map along with the address details. Take a moment to verify that the destination is correct before proceeding to the next step.
Entering your destination accurately is crucial for getting accurate ride options and estimating the fare for your Uber ride. So double-check the address and make any necessary adjustments before moving forward.
Step 3: Select the Ride-hailing Services Tab
After entering your destination in Google Maps, you need to select the ride-hailing services tab to view available Uber options. Look for the ride-hailing icon, which typically resembles a car or a taxi, and tap on it.
By selecting this tab, Google Maps will display a list of different ride-hailing services available in your area, including Uber. The availability of specific services may vary depending on your location.
Once you have tapped on the ride-hailing services tab, you may find additional filtering options to customize your search. These filters can include options such as different Uber ride types, estimated wait times, and estimated prices.
Take a moment to explore these filters and adjust them according to your preferences. For example, if you prefer a more economical option, you can select a shared ride or check for any available promotions or discounts.
Keep in mind that the ride-hailing services tab may also display other popular ride-hailing services apart from Uber, such as Lyft or local service providers. If you specifically prefer an Uber ride, ensure that you select the appropriate option.
By selecting the ride-hailing services tab, you’re one step closer to ordering your Uber ride conveniently through Google Maps. Let’s move on to the next step to complete the process.
Step 4: Sign in to Your Uber Account
Before you can order an Uber ride from Google Maps, you need to sign in to your Uber account. This step ensures that your ride is connected to your account, allowing you to access important features and payment options.
If you already have the Uber app installed on your device and are signed in, Google Maps will automatically use your existing Uber credentials. However, if you’re not signed in or don’t have the Uber app installed, you’ll need to sign in or create an account.
To sign in, simply tap on the “Sign In” button when prompted. Enter your Uber username and password, or use third-party login options like Facebook or Google to expedite the process.
If you don’t have an Uber account, you can create one by tapping on the “Create Account” button. Follow the on-screen instructions to provide the necessary details, such as your name, phone number, and payment information.
Signing in to your Uber account not only ensures a seamless booking process but also allows you to track your ride, manage your payment methods, and access other helpful features. It only takes a few moments to sign in or create an account, so take this step to proceed with ordering your Uber ride.
Step 5: View Available Uber Options
After signing in to your Uber account, Google Maps will show you the available Uber options for your selected destination. These options typically include different types of Uber rides, such as UberX, Uber Pool, Uber Black, and more.
Each Uber option has its own features, pricing, and vehicle type, so it’s important to carefully review the available choices. You can tap on each option to see more details, including estimated wait times, fare estimates, and driver ratings.
Consider factors such as your budget, the number of passengers, and the level of comfort you desire when selecting an Uber option. If you’re traveling alone or on a tight budget, a shared ride option like Uber Pool may be suitable. On the other hand, if you prefer a more luxurious or spacious experience, you can choose a higher-end option like Uber Black.
Additionally, Google Maps may display important information about surge pricing during peak hours or high-demand periods. Surge pricing means that fares are temporarily increased due to high demand. Take this into account when selecting your Uber option and consider potentially adjusting your travel plans if surge pricing is in effect.
Take your time to review and compare the available Uber options to find the one that best suits your needs. Once you have chosen the right option, you’re ready to move on to the next step and order your Uber ride.
Step 6: Choose the Appropriate Uber Ride
Once you have viewed the available Uber options in Google Maps, it’s time to choose the ride that best suits your needs. Consider factors such as price, vehicle type, and estimated wait times to make an informed decision.
Take into account the number of passengers, the amount of luggage you have, and any specific requirements you may have for your journey. For example, if you’re traveling with a group or have bulky items, you may opt for a larger Uber option like UberXL.
Review the details provided for each Uber ride option, including the fare estimate and the estimated arrival time of the Uber driver. This information can help you determine which ride is the most convenient and cost-effective for your trip.
Keep in mind that availability may vary depending on your location and the time of day. If there are no suitable options currently available, you may need to consider alternative transportation methods or adjust your travel plans accordingly.
Once you have chosen the appropriate Uber ride, tap on it to select it as your preferred option. This will lead you to the next step in the process, where you’ll confirm your pickup location.
Choosing the right Uber ride ensures that you have a comfortable and enjoyable experience while getting to your desired destination. Take your time and select the option that caters to your specific needs.
Step 7: Confirm Your Pickup Location
Once you have chosen your preferred Uber ride option, the next step is to confirm your pickup location. Google Maps will display a map with a pin indicating your current location as the pickup point.
Take a moment to ensure that the pin accurately represents your desired pickup location. You can move the pin on the map if needed by tapping and dragging it to the correct spot.
If you would like to set a different pickup location, you can do so by typing in the address or searching for a specific landmark or business near your desired pickup point. Google Maps will provide suggestions and auto-complete options to assist you in specifying the exact location.
Confirming your pickup location is crucial for providing the Uber driver with the correct information and ensuring a smooth pickup process. Make sure that you have selected the correct location before proceeding to the next step.
Double-checking the accuracy of your pickup location will help avoid any confusion or delays, making it easier for your Uber driver to find you and provide a timely and efficient ride experience.
Once you are satisfied with the confirmed pickup location, you’re ready to move on to the next step and review the fare estimate for your Uber ride.
Step 8: Review the Fare Estimate
After confirming your pickup location, Google Maps will provide you with an estimated fare for your Uber ride. Reviewing the fare estimate helps you get an idea of the cost of your trip and ensures there are no surprises when it comes to payment.
The fare estimate takes into account factors such as the distance to your destination, the chosen Uber ride option, and any surge pricing that may be in effect. It provides an approximate cost range for your ride.
Take a moment to review the fare estimate and consider whether it aligns with your budget. If the fare estimate exceeds your expectations, you may need to consider alternative transportation options or adjust your travel plans accordingly.
Keep in mind that the fare estimate provided by Google Maps is subject to change based on factors such as route modifications, traffic conditions, and any additional stops you may request during the ride.
If you’re comfortable with the fare estimate and it falls within your budget, you can proceed confidently to the next step and request your Uber ride.
Reviewing the fare estimate allows you to plan your expenses and ensures transparency in terms of pricing. It’s always a good idea to have an idea of the expected fare before confirming your ride.
Once you’re satisfied with the fare estimate, let’s move forward and request your Uber ride in the next step.
Step 9: Request Your Uber Ride
After reviewing the fare estimate and ensuring it aligns with your budget, it’s time to request your Uber ride. Tapping on the “Request” or “Confirm” button will initiate the process of matching you with a nearby Uber driver.
Once you have requested your ride, Google Maps will provide you with information such as the estimated time of arrival (ETA) for your Uber driver and their contact details.
Please note that the ETA provided is an estimate and may vary based on traffic conditions, road closures, or other unforeseen circumstances. It’s a good practice to be ready and waiting at your confirmed pickup location to minimize any potential delays.
Additionally, it’s important to maintain a clear line of communication with your Uber driver if any changes or updates to your pickup location need to be conveyed. Reach out to them via the contact details provided if necessary.
During the waiting period, you can track the location of your Uber driver in real-time using the live map feature in Google Maps. This allows you to have a better idea of when they will arrive.
Once your Uber driver arrives, they will notify you through the app, and you can identify their vehicle based on the identification details provided in the app, such as license plate number and vehicle model.
Ensure that you have your belongings ready, and then hop in and enjoy your Uber ride to your destination.
By requesting your Uber ride through Google Maps, you can take advantage of the seamless integration between the two platforms, making your travel experience more convenient and efficient.
Now that you’re all set to request your ride, let’s move on to the final step—tracking your Uber ride.
Step 10: Track Your Uber Ride
Once you’re on your Uber ride, you can use Google Maps to track your journey in real-time. Tracking your Uber ride ensures that you stay informed about your progress and have an estimate of when you’ll reach your destination.
To track your Uber ride, keep the Google Maps app open on your device. You’ll be able to see your current location, the route being taken, and any upcoming turns or landmarks along the way.
Tracking your ride can be especially helpful if you’re unfamiliar with the area or want to ensure that your driver is taking the optimal route to your destination.
In addition to tracking your ride, Google Maps provides useful features such as estimated time of arrival (ETA) updates, traffic conditions, and alternative routes if necessary.
If you need to make any changes to your destination or if you have any specific instructions for your driver, you can communicate with them through the messaging feature within the Uber app.
Make use of the tracking feature to stay informed and make the most of your Uber ride. It allows you to relax, enjoy the journey, and arrive at your destination in a timely and efficient manner.
Once you’ve reached your destination, you can end your ride through the Uber app and rate your experience with your driver. Providing feedback helps Uber maintain a high level of service and ensures a better experience for future riders.
With the ability to track your Uber ride using Google Maps, your journey becomes more transparent and convenient. So sit back, relax, and enjoy the ride!