
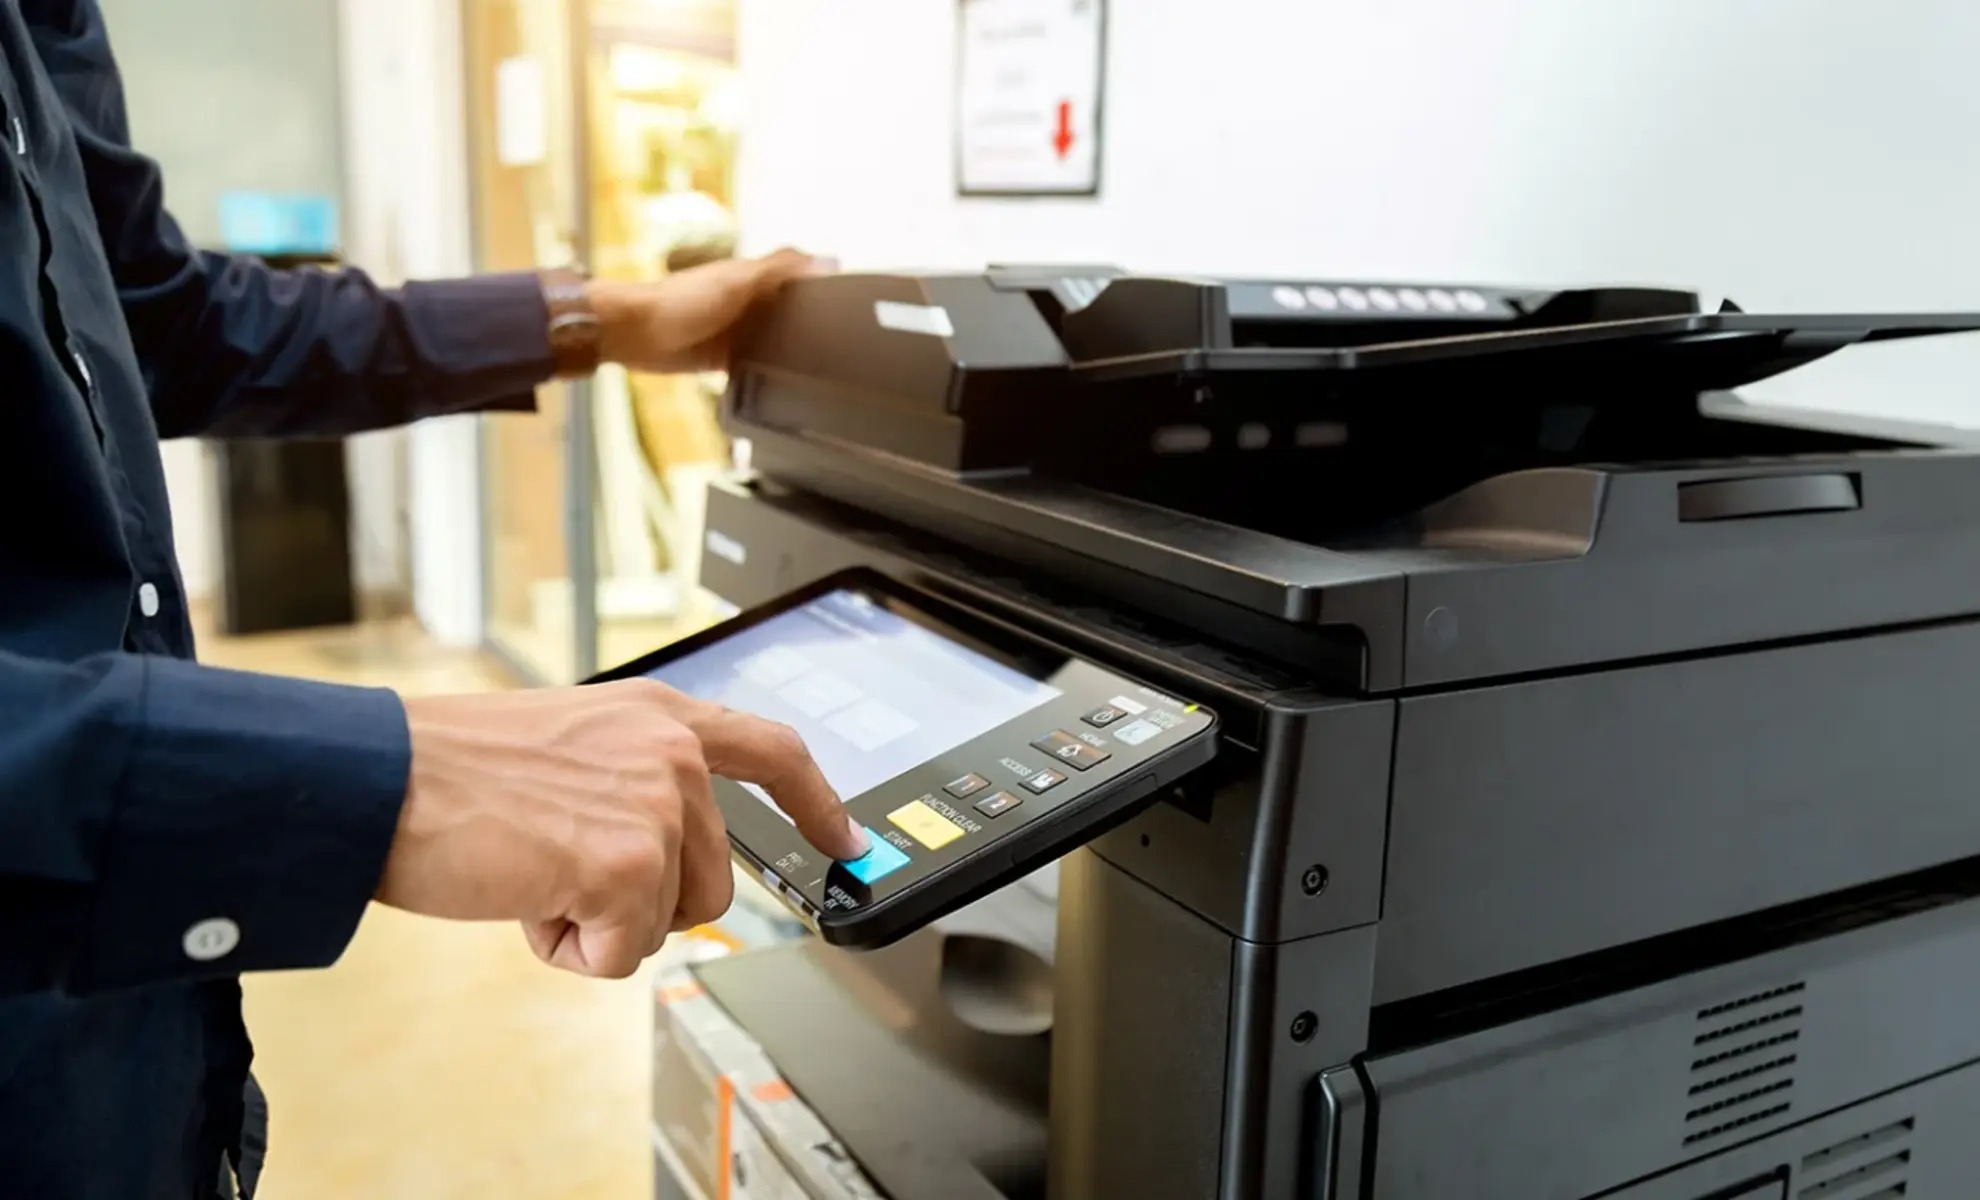
Benefits of Networking a Printer
Networking a printer offers numerous advantages for both individuals and businesses. By connecting a printer to a network, users can simplify printing tasks, enhance efficiency, and improve collaboration. Let’s explore some of the key benefits of networking a printer:
1. Increased Convenience: Networking a printer allows multiple users to access the printer from various devices, such as computers, laptops, tablets, and smartphones. This eliminates the need for each individual to have a dedicated printer or to transfer files to a single computer for printing. Printing becomes more convenient, allowing users to print directly from their own devices.
2. Cost Savings: Networking a printer can lead to significant cost savings. Instead of purchasing multiple printers for different users or departments, a single networked printer can serve the entire team. This reduces the initial investment in hardware and ongoing maintenance costs. Additionally, shared printers often have more advanced features and capabilities, which eliminates the need for individual printers with specialized functions.
3. Improved Efficiency: With a networked printer, users can easily send print jobs to the printer without the need for physical connection or file transfers. This streamlines the printing process and saves time. Users can also benefit from features like print queue management, which allows them to prioritize and schedule print jobs. This ensures efficient use of the printer’s resources and reduces downtime.
4. Enhanced Collaboration: Networking a printer enables seamless collaboration among team members. Users can easily share the printer and its resources, allowing for quick and efficient printing of shared documents, presentations, and reports. This facilitates teamwork and boosts productivity, especially in environments where frequent document sharing and collaboration are required.
5. Accessible Printing Options: Networked printers often provide additional printing options, such as wireless printing, cloud printing, and mobile printing. These features allow users to print from various devices and locations, making printing even more flexible and convenient. Whether working from home, on the go, or in the office, users can easily send print jobs to the networked printer.
Overall, networking a printer offers numerous benefits that enhance convenience, save costs, improve efficiency, foster collaboration, and provide flexible printing options. Whether for personal use or in a business setting, networking a printer is a smart choice that can greatly streamline printing tasks and enhance productivity.
Things to Consider Before Networking a Printer
Networking a printer can bring about numerous advantages, but it’s important to consider a few factors before diving in. By understanding these considerations, you can ensure a smooth and successful printer network setup. Here are some things to keep in mind:
1. Compatibility: Verify the compatibility of your printer with network connectivity options. Some printers come with built-in networking capabilities, while others may require additional hardware, such as a print server or a router with USB printer support. Ensure that your printer can be easily integrated into your existing network infrastructure.
2. Network Security: When networking a printer, it’s crucial to prioritize network security. Ensure that your network is protected with strong passwords and encryption protocols to prevent unauthorized access to sensitive documents. Additionally, consider implementing measures like user authentication, which restricts printer access to authorized personnel only.
3. Network Bandwidth: Assess the impact of adding a networked printer on the overall bandwidth of your network. Although modern printers are designed to be efficient, printing large files or high-resolution documents can potentially consume significant network resources. Ensure that your network has enough bandwidth to handle print jobs without causing slowdowns or disruptions to other network activities.
4. Printer Location and Accessibility: Determine the optimal physical location for your networked printer. Consider factors such as proximity to users, ease of maintenance, and availability of power and network connections. Additionally, ensure that the printer is easily accessible to all users, especially if you have a large office or multiple workstations spread across different areas.
5. Printer Maintenance and Support: Consider the ongoing maintenance and support requirements of your networked printer. Research the availability of printer drivers, firmware updates, and technical support from the manufacturer. Regularly check for updates and ensure that you can easily obtain troubleshooting assistance if any issues arise.
6. Print Management Software: Evaluate whether your organization would benefit from using print management software. This software can provide features such as print cost tracking, job monitoring, and print quota management. It can help you optimize printing resources, monitor printer usage, and implement print policies for improved efficiency and cost control.
By taking these considerations into account, you can effectively plan and prepare for networking a printer. This ensures a seamless integration into your existing network infrastructure, enhances security, maximizes efficiency, and provides a positive printing experience for all users.
Steps for Networking a Printer
Networking a printer may seem like a daunting task, but with the right steps, it can be straightforward and hassle-free. Follow these simple steps to successfully network your printer:
1. Determine Network Type: Identify the type of network you have, whether it’s a wired or wireless network. This will determine the method you’ll use to connect your printer to the network.
2. Connect Printer to the Network: For a wired connection, connect one end of an Ethernet cable to the printer and the other end to an available network port on your router or switch. For a wireless connection, follow the printer’s instructions to connect it to your Wi-Fi network using the printer’s built-in wireless features or a Wi-Fi setup wizard.
3. Access the Printer’s Network Settings: Once the printer is connected to the network, access its network settings. This can usually be done through the printer’s control panel or by accessing it through a web browser using the printer’s IP address. Consult the printer’s manual or manufacturer’s website for specific instructions on how to access the printer’s network settings.
4. Configure Network Settings: Within the printer’s network settings, configure the appropriate network settings for your network. This may include setting the IP address, subnet mask, gateway, and DNS server information. If you’re uncertain, consult your network administrator or refer to your router’s configuration settings for guidance.
5. Install Printer Drivers: Install the necessary printer drivers on the devices that need to print to the networked printer. These drivers are usually available on the manufacturer’s website. You can either download and run the driver installation package or use the provided installation CD that came with the printer.
6. Add Printer on Networked Devices: On each device that needs to print to the networked printer, add the printer through the operating system’s printer settings. This is typically done by navigating to “Devices” or “Printers & Scanners” in the device’s settings and selecting “Add Printer” or “Add a Printer or Scanner.” Follow the prompts to locate and connect to the networked printer.
7. Test Printing: Once the printer is added to the networked devices, perform a test print to ensure everything is functioning correctly. Send a print job from one of the devices, and verify that the printer successfully receives and prints the document.
8. Troubleshooting: If you encounter any issues during the networking process or while printing, refer to the printer’s manual or contact the manufacturer’s support for assistance. Common troubleshooting steps include checking network connectivity, restarting devices, or updating printer drivers.
By following these steps, you’ll be able to successfully network your printer, enabling seamless printing from multiple devices and improving productivity within your home or office environment.
Connecting the Printer to the Network
Connecting your printer to the network is the crucial first step in networking a printer. Whether you have a wired or wireless network, here are the steps to connect your printer:
Wired Connection:
- Locate an available network port on your router or switch.
- Take an Ethernet cable and connect one end to the printer’s Ethernet port.
- Connect the other end of the Ethernet cable to the network port on your router or switch.
- Ensure that both ends of the Ethernet cable are securely connected.
Wireless Connection:
- Access the printer’s control panel or LCD display.
- Navigate to the network or wireless settings menu.
- Select the option to connect to a wireless network.
- Choose your Wi-Fi network from the available list of networks.
- Enter the network password if prompted.
- Wait for the printer to establish a connection with the wireless network.
After connecting the printer to the network, it’s important to verify the successful connection. You can do this by checking the printer’s network status or by printing a network configuration page that displays the printer’s IP address and other relevant network information.
If you encounter any issues during the connection process, ensure that the Ethernet cable is not damaged and securely connected. For wireless connections, check that your Wi-Fi network is functioning properly and that you entered the correct network password.
It’s worth noting that some printers have a built-in wireless setup wizard or software that simplifies the connection process. Consult your printer’s manual or manufacturer’s website for detailed instructions specific to your printer model.
By following these steps, you’ll successfully connect your printer to the network, enabling seamless printing from multiple devices. Ensure that your printer is in close proximity to the network router or switch for optimal signal strength and connectivity.
Configuring the Printer’s Network Settings
Once you have connected your printer to the network, the next step is to configure its network settings. Configuring the printer’s network settings ensures that it can communicate properly with other devices on the network. Here are the steps to configure the printer’s network settings:
1. Access the Printer’s Network Settings:
Depending on your printer model, you can access the network settings through the printer’s control panel, LCD display, or by accessing the printer’s web-based configuration page using a web browser.
2. Set the IP Address:
You will need to assign a unique IP address to the printer. This can be done manually or automatically using DHCP (Dynamic Host Configuration Protocol). If you choose to manually set the IP address, make sure it falls within the range of your network’s IP addressing scheme.
3. Configure the Subnet Mask and Gateway:
The subnet mask determines the network portion of an IP address and the gateway is the IP address of the router that connects the local network to the internet. These settings need to match the settings used by other devices on the network.
4. Specify DNS Server Settings:
If your printer requires DNS (Domain Name System) server settings, enter the IP addresses of the DNS servers provided by your internet service provider or your network administrator. DNS server settings allow the printer to resolve domain names into IP addresses for successful internet connectivity, if needed.
5. Save and Apply Changes:
Once you have entered the necessary network settings, save and apply the changes. The printer will restart and apply the new settings.
It’s important to ensure that the printer’s network settings match the network configuration used by other devices on the network. This will enable proper communication and seamless printing between devices.
If you are unsure about the specific network settings to use, consult your network administrator or refer to your router’s configuration settings for guidance. They can provide the necessary details for correctly configuring the printer’s network settings.
By properly configuring the printer’s network settings, you’ll establish a solid connection to the network, allowing for smooth printing and communication between the printer and other networked devices.
Installing Printer Drivers on Networked Devices
After networking your printer, the next step is to install the necessary printer drivers on the devices that will be printing to the networked printer. Printer drivers are software components that allow devices to communicate with and control the printer. Here’s how to install printer drivers on networked devices:
1. Identify the Printer Model:
Know the exact make and model of your printer. This information is usually found on the printer itself or in the printer’s documentation.
2. Download the Printer Drivers:
Visit the manufacturer’s website and navigate to the support or drivers section. Look for the printer model that matches yours and download the appropriate printer drivers for the operating system of each device that will be connected to the printer.
3. Run the Installation Package:
Locate the downloaded printer driver file and double-click on it to initiate the installation process. Follow the on-screen prompts to install the printer drivers on each device.
4. Select the Networked Printer:
During the driver installation, you will be prompted to select the type of printer connection. Choose the network or shared printer option. The installer should then search for available network printers and present a list. Select the networked printer from the list.
5. Complete the Installation:
Follow the remaining instructions provided by the driver installation wizard to complete the installation process. This may include accepting license agreements, choosing additional printer features, or configuring print settings.
6. Test the Printer:
Print a test page from each device to ensure that the printer drivers have been successfully installed and that the devices are communicating with the networked printer. This will confirm that each device can now print to the networked printer.
If your networked printer supports advanced features, such as duplex printing or color management, you may need to install additional software or configure specific settings for optimal printing performance. Refer to the printer’s documentation for detailed instructions on utilizing these features.
By installing the printer drivers on each networked device, you enable direct communication between the devices and the printer, allowing for seamless printing and access to all printer functionalities.
Printing from Networked Devices
Once you have successfully installed the printer drivers on your networked devices, you can start printing to the networked printer. Printing from networked devices is a simple process that allows you to send print jobs from various devices to the shared printer. Here’s how you can print from networked devices:
1. Select File to Print:
Open the document, image, or file you want to print on the networked device. This could be a word processing document, spreadsheet, PDF, image, or any other printable file.
2. Access the Print Menu:
Click on the “Print” option within the application you are using to open the print menu. You can usually find this option in the File menu or by using the keyboard shortcut Ctrl+P (Command+P on Mac).
3. Choose the Networked Printer:
In the print menu, select the networked printer from the list of available printers. The printer should be recognized and listed by its name or IP address. Make sure that the printer you select matches the printer you want to use for printing.
4. Configure Printer Options:
Depending on the application and printer, you may have the option to adjust various printing settings, such as print quality, paper size, orientation, and number of copies. Customize these settings according to your preferences and printing requirements.
5. Start Printing:
Once you have selected the printer and configured the necessary options, click the “Print” or “OK” button to start the printing process. The print job will be sent to the networked printer for processing.
6. Monitor Print Queue:
You can monitor the print queue to check the status of your print jobs. Some operating systems provide a printer icon in the system tray or menu bar that displays a list of active print jobs. You can pause, resume, or cancel print jobs as needed.
Printing from networked devices allows you to print directly to the shared printer without the need for physical connection or file transfers. You can print from computers, laptops, tablets, smartphones, or any other device connected to the same network as the printer.
Remember to check the printer’s status and ensure it is properly connected to the network to avoid any printing issues. Additionally, periodically check for firmware updates for the printer to ensure you have the latest features and improvements available.
By following these steps, you can easily send print jobs from networked devices to the networked printer, making printing a seamless and convenient process for all users.
Troubleshooting Common Issues with Networked Printers
While networking a printer offers many benefits, it’s not uncommon to encounter some issues along the way. Fortunately, most problems with networked printers can be resolved with some troubleshooting steps. Here are some common issues you might encounter and how to troubleshoot them:
1. Printer Not Found on the Network:
If the networked printer is not being detected by your devices, ensure that the printer is powered on and properly connected to the network. Check the network cables or wireless connection to ensure they are securely connected. Restart the printer and the devices that need to connect to it to refresh the network connection.
2. Slow Printing or Print Queue Backlog:
If you’re experiencing slow printing or a backlog of print jobs in the queue, check the network bandwidth. Printing large files or high-resolution documents can consume significant network resources. Consider limiting the number of print jobs or setting up print job scheduling to alleviate network congestion.
3. Print Quality Issues:
If you’re encountering issues with print quality, such as blurry or faded prints, check the printer’s ink or toner levels. Replace any low or empty cartridges. Additionally, try cleaning the print heads or performing a printer calibration to improve print quality. Consult the printer’s manual for specific instructions.
4. Printer Offline or Not Responding:
If your networked printer is showing as offline or not responding, first ensure that the printer is powered on and connected to the network. Check the network connections and restart the printer. If the issue persists, remove the printer from the device’s printer list and add it back again. This can refresh the connection and resolve any communication issues.
5. Incorrect Printer Settings:
If print jobs are not coming out as expected, double-check the printer settings on the device you’re printing from. Ensure that the correct printer is selected, and review the print settings such as paper size, orientation, and print quality. Make any necessary adjustments to align the settings with your printing requirements.
6. Printer Driver Issues:
If you’re experiencing problems with printer functionality or compatibility, update the printer drivers on your devices. Visit the manufacturer’s website to download the latest drivers for your specific printer model and operating system. Uninstall any outdated or incompatible drivers and reinstall the updated ones to ensure proper communication with the printer.
If these troubleshooting steps do not resolve the issue, consult the printer’s manual or visit the manufacturer’s support website for further assistance. They may have additional troubleshooting guides or technical support available to address specific issues with your networked printer.
Remember to maintain regular printer maintenance, such as cleaning the printer periodically and performing firmware updates when available. This can help prevent potential issues and keep your networked printer running smoothly.
By following these troubleshooting steps, you can address common issues with networked printers and ensure optimal performance for all your printing needs.