
Logging in to Facebook
Before you can start making voice and video calls on Facebook, you need to log in to your Facebook account. Open your preferred web browser and visit the Facebook website at www.facebook.com. If you already have an account, enter your email address or phone number and password in the designated fields, then click on the “Log In” button. If you don’t have an account yet, you can easily create one by clicking on the “Create New Account” button and following the instructions provided.
Once you have successfully logged in to Facebook, you will be directed to your home page. Look for the chat box located at the bottom right corner of the screen. It should display a list of your online friends or contacts who are available for chat. If you do not see the chat box, click on the speech bubble icon at the top right corner of the screen to expand it.
Now that you have accessed the chat box, it’s time to verify if your microphone and camera are working properly. These are essential for voice and video calls on Facebook. You can do a quick check by going to your computer’s settings and selecting the audio and video devices you wish to use. Ensure that the correct inputs and outputs are enabled and that the volume levels are appropriate.
With your microphone and camera ready to go, you are now prepared to make voice and video calls on Facebook. In the next section, we will explore how to initiate a voice call and a video call, as well as how to adjust call settings for optimal performance.
Finding the Chat Box
Once you have logged in to your Facebook account, locating the chat box is essential to start making voice and video calls. The chat box is typically positioned at the bottom right corner of the screen, and it displays a list of your online friends or contacts who are available for chat.
If you do not see the chat box upon logging in, don’t worry. You can easily access it by clicking on the speech bubble icon at the top right corner of the screen. This will expand the chat box and reveal all your online friends or contacts.
Furthermore, you have the option to customize the display of the chat box. By clicking on the gear icon located at the bottom right corner of the chat box, you can choose to show or hide the sidebar, adjust the size of the chat window, and toggle between the default view and the compact view.
Moreover, the chat box allows you to search for specific friends or contacts by typing their names in the search bar. This can be convenient if you have a long list of friends or if you want to quickly find a particular person to chat with or make a voice/video call.
It’s worth noting that you can also access the chat box and initiate voice/video calls using the Facebook Messenger app. This app is available for both smartphones and desktop computers and provides a more streamlined experience for communicating with your friends.
Now that you have found the chat box, it’s time to verify your microphone and camera settings so that you can seamlessly make voice and video calls. In the next section, we will guide you through the process of ensuring that your audio and video devices are properly configured and ready to use on Facebook.
Verifying your Microphone and Camera
Before you can start making voice and video calls on Facebook, it is crucial to ensure that your microphone and camera are functioning correctly. These components are essential for clear audio and video communication during your calls.
To verify your microphone and camera settings, you can follow these steps:
- Open your computer’s settings or control panel that manages your audio and video devices. This can usually be found in the system tray or by searching for “settings” in the start menu.
- Look for the microphone and camera settings section. Make sure the correct devices are selected for both the microphone and camera inputs.
- Test your microphone by speaking into it and checking if the audio levels are moving on the settings panel. Adjust the volume levels if necessary.
- Test your camera by opening a camera app or using software that allows you to view yourself on the screen. Ensure that the camera feed is showing correctly and that the lighting conditions are adequate.
If you encounter any issues during the verification process, here are a few troubleshooting steps you can try:
- Ensure that your microphone and camera are properly connected to your computer and that they are not muted or disabled.
- Check if there are any software or driver updates available for your microphone and camera. Installing the latest updates can often resolve compatibility issues.
- Restart your computer and try the verification process again. Sometimes, a simple restart can fix temporary glitches.
- If you are using an external microphone or camera, try disconnecting and reconnecting them to your computer.
- If all else fails, consult the user manual or contact the manufacturer’s support for further assistance.
By ensuring that your microphone and camera are functioning properly, you can avoid any technical interruptions and have a seamless voice and video calling experience on Facebook. In the next section, we will guide you through the process of initiating voice calls and video calls with your friends and contacts.
Initiating a Voice Call
One of the great features of Facebook is the ability to make voice calls to your friends and contacts. To initiate a voice call, follow these simple steps:
- Locate the chat box on the Facebook website or Messenger app. It is typically found at the bottom right corner of the screen or in the chat section of the app.
- Scroll through the list of online friends or search for the specific person you want to call by typing their name in the search bar.
- Click on the friend’s name to open a chat window with them.
- In the chat window, you will see various icons and options. Look for the phone icon or the “Call” button. Click on it to start the voice call.
- Once the call is initiated, your friend will receive a notification and can choose to accept or decline the call. If they accept, you will be connected, and you can start conversing with each other.
During the voice call, you can use the speakerphone option for hands-free conversations. You can also mute your microphone if you need to momentarily block out any background noise. Additionally, you have the option to switch to a video call if desired.
If you have multiple friends or contacts you want to include in the voice call, you can try Facebook’s group call feature. To create a group call, simply follow the same steps as above, but instead of selecting a single friend, select multiple friends by clicking on their names while holding down the Ctrl key (Windows) or Command key (Mac).
It’s important to note that voice calls on Facebook are free as long as you have an internet connection. However, data charges may apply if you are using a mobile network instead of a Wi-Fi connection.
Now that you know how to initiate a voice call on Facebook, you can easily communicate with your friends and contacts using the power of your voice. In the next section, we will explore how to initiate video calls and make your conversations even more interactive.
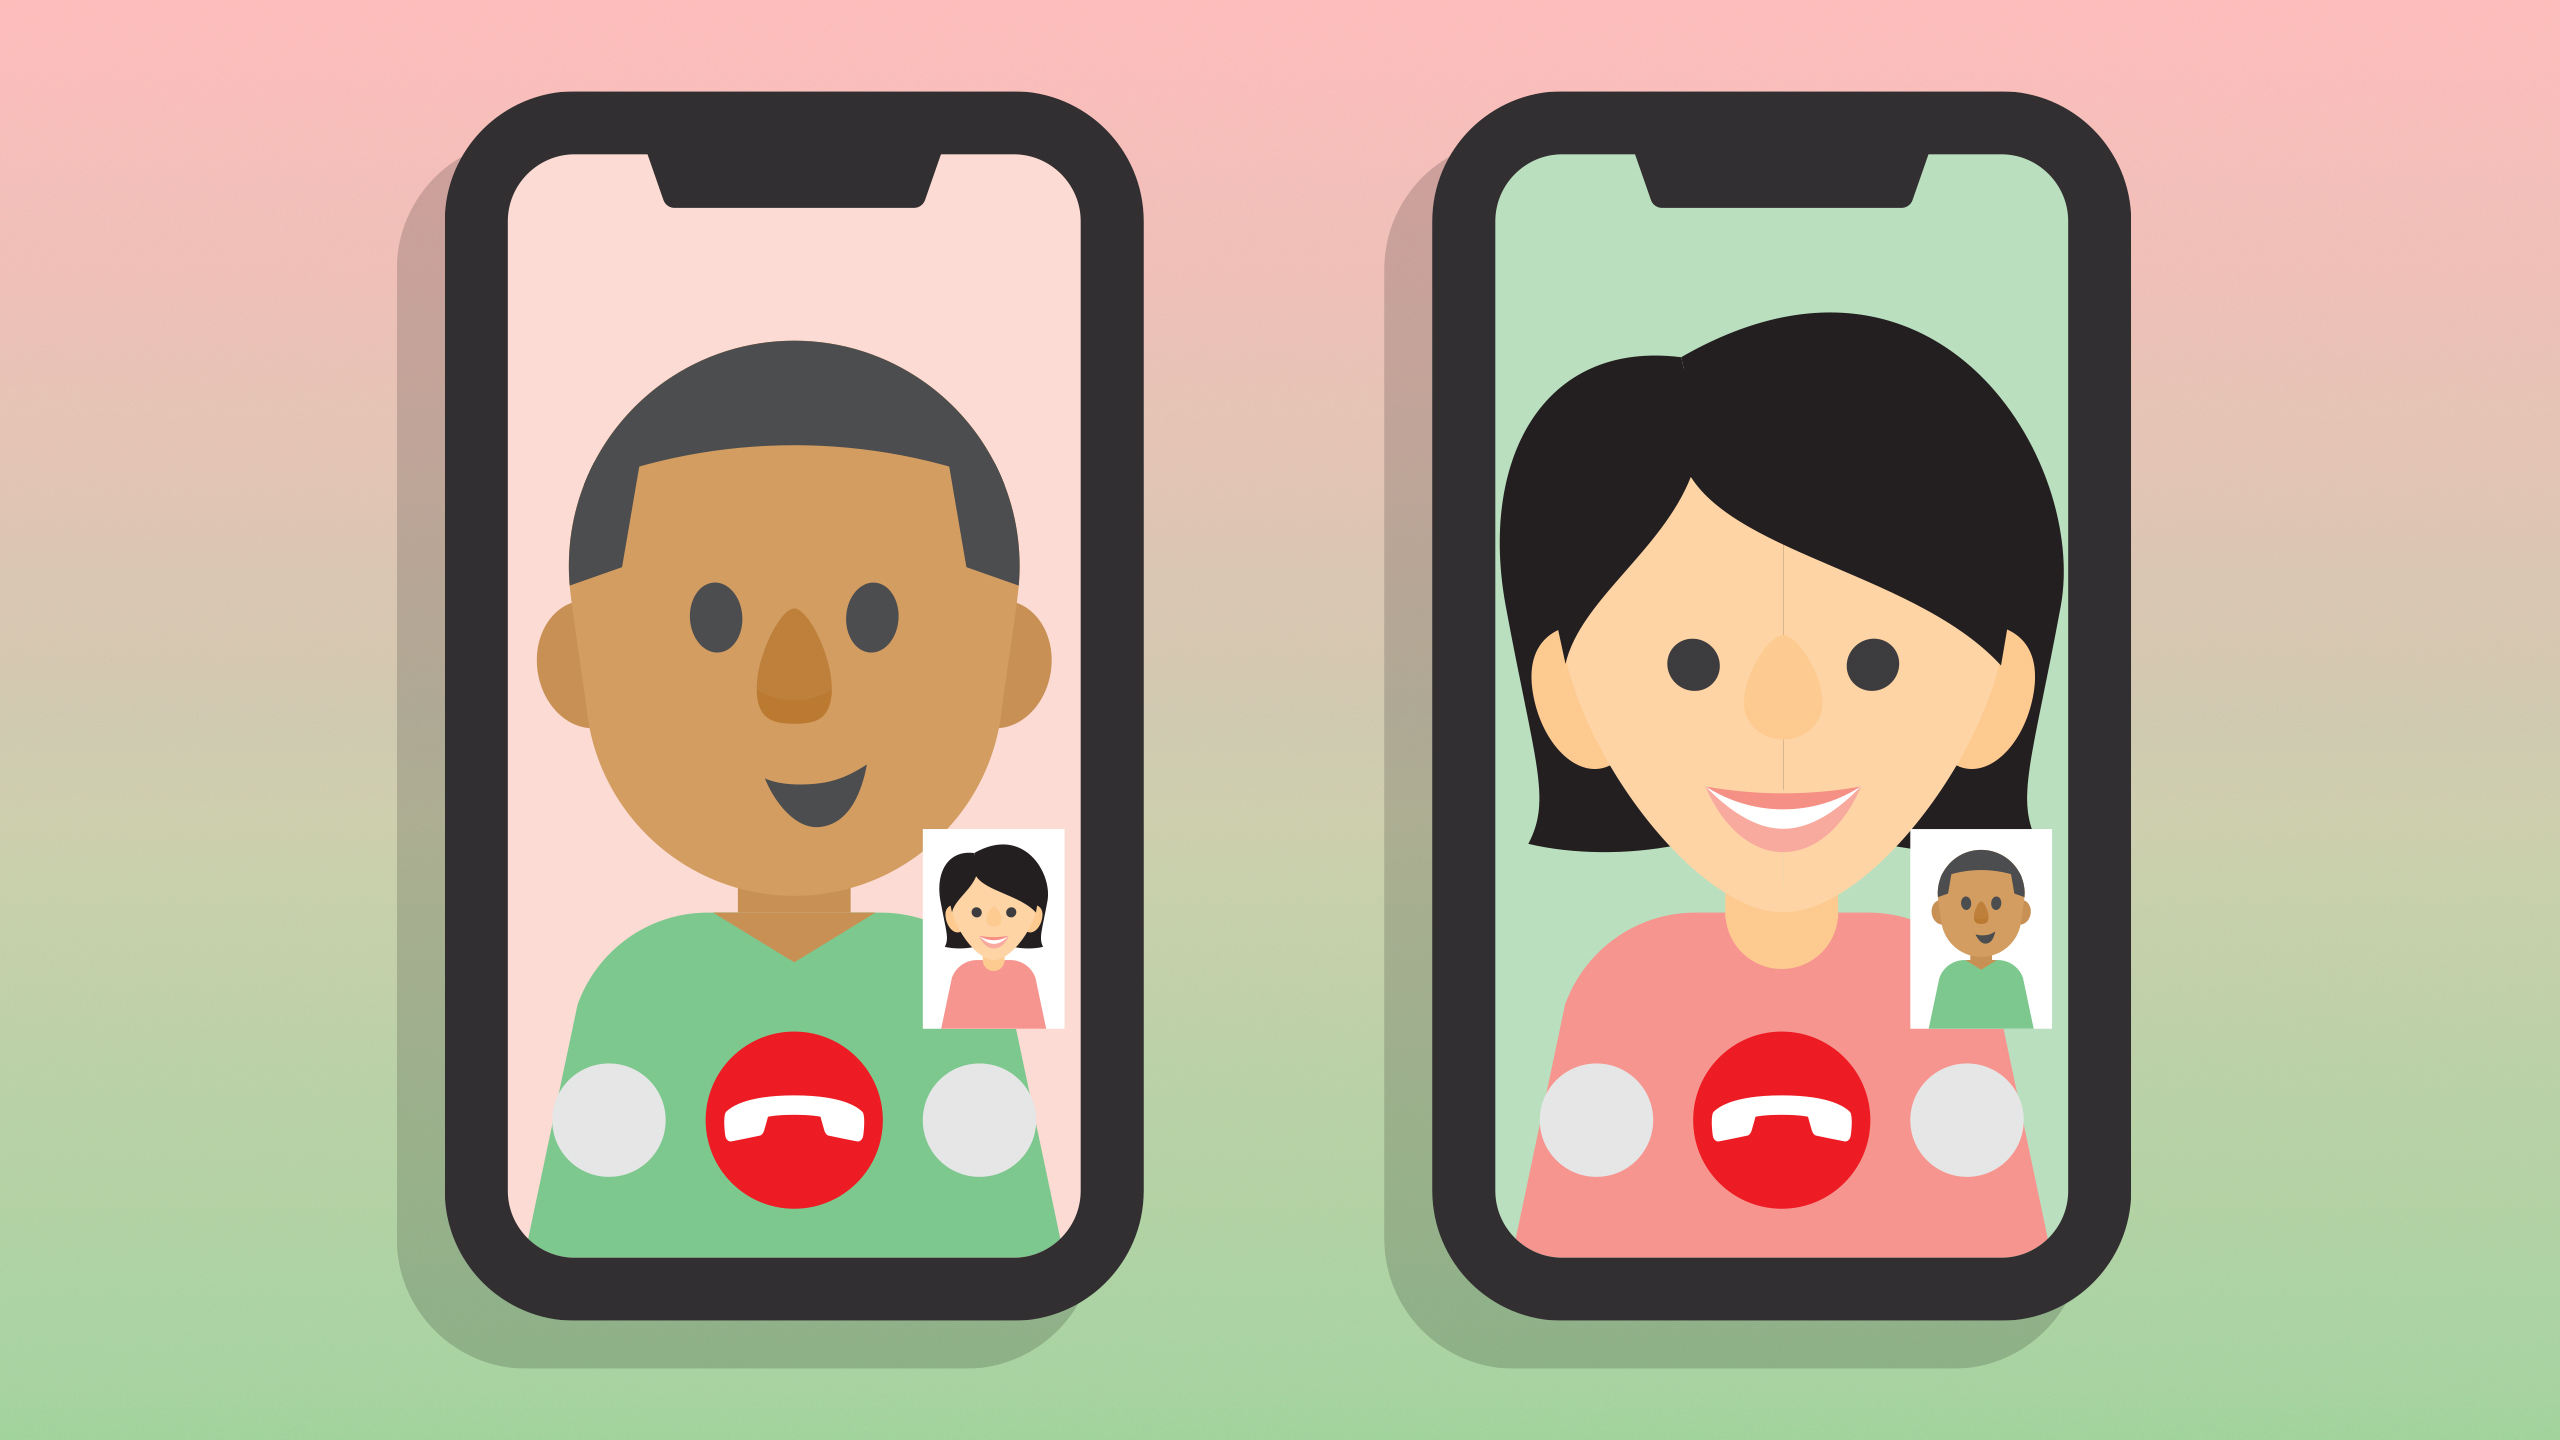
Initiating a Video Call
In addition to voice calls, Facebook also offers the option to initiate video calls, allowing you to have face-to-face conversations with your friends and contacts. To start a video call, follow these steps:
- Access the chat box on the Facebook website or Messenger app, located at the bottom right corner of the screen or in the chat section of the app.
- Find the friend you want to video call by scrolling through the list of online friends or using the search bar to search for their name.
- Click on your friend’s name to open a chat window with them.
- In the chat window, look for the video camera icon or the “Video Call” button. Click on it to initiate the video call.
- Once the video call is initiated, your friend will receive a notification and can choose to accept or decline the call. If they accept, you will establish a video connection, and you can start seeing and speaking to each other.
During the video call, you may find it useful to take advantage of various features that Facebook provides. Some of these features include:
- Switching between the front and rear camera on your device.
- Enabling or disabling the microphone if you need to mute or unmute your audio.
- Adjusting the video quality to optimize the connection based on your network speed.
- Using filters, effects, and other fun features to enhance your video call experience.
If you want to add more participants to your video call, you can use the group call feature. Follow the same steps as above but select multiple friends by clicking on their names while holding down the Ctrl key (Windows) or Command key (Mac).
It’s important to note that video calls on Facebook require a stable and reliable internet connection to ensure a smooth and clear communication experience. If you experience any issues during the video call, check your internet connection and try restarting the call if necessary.
Now that you know how to initiate a video call on Facebook, you can enjoy engaging face-to-face conversations with your friends and contacts, no matter where they are located. In the next section, we will explore how to adjust call settings for optimal performance.
Adjusting Call Settings
When making voice and video calls on Facebook, it’s essential to have the right call settings to ensure optimal performance. Here are some settings you can adjust to enhance your call experience:
1. Audio and Video Quality: Facebook allows you to adjust the audio and video quality of your calls based on your internet connection. If you have a slower internet connection, you may want to lower the quality for smoother streaming. Similarly, if you have a faster and more reliable connection, you can increase the quality for a clearer audio and video experience.
2. Noise Cancellation: Facebook offers noise cancellation features to minimize background noise during calls. You can enable this setting to improve the audio clarity by reducing unwanted sounds. Keep in mind that while noise cancellation can be beneficial, it may also filter out certain frequencies, so adjust it according to your specific needs.
3. Echo Cancellation: Echo cancellation is another setting that Facebook provides to eliminate echo or feedback loop during calls. It helps prevent the annoying echo that occurs when your microphone catches the sound from your speakers. Enabling echo cancellation can significantly improve the audio quality of your calls.
4. Full-Screen Mode: If you prefer a more immersive experience during your video calls, you can activate the full-screen mode. This setting expands the video call to fill your entire screen, allowing you to focus solely on the conversation without any distractions.
5. Camera Orientation: If you are using a mobile device with a front and rear camera, Facebook gives you the option to switch between them during a video call. This flexibility allows you to switch your camera perspective, giving your contacts different views or capturing the surrounding environment.
6. Call Accessibility: Facebook provides accessibility options for people with hearing or visual impairments. These options include closed captions and screen readers, making it easier for individuals with different abilities to participate in voice and video calls.
To adjust these settings, during a call, look for the settings icon or gear icon within the call window. Click on it to access the available options and make the necessary adjustments. Remember to experiment and find the settings that work best for you and your specific calling needs.
Now that you know how to adjust the call settings on Facebook, you can customize your voice and video call experience for optimal performance and enjoyment. In the next section, we will explore how to add more participants to your calls and create group conversations.
Adding More Participants to the Call
One of the great features of Facebook voice and video calls is the ability to add more participants to the conversation. This allows you to have group calls and create lively discussions with multiple people. Here’s how you can add more participants to your calls:
- Initiate a voice or video call with one of your contacts, following the steps mentioned earlier.
- Once the call has started, look for the options or icons that allow you to add participants to the call. This can typically be found in the call window, often represented by a button with the “+” or “Add Participant” label.
- Click on the button to open your friend list or contacts list. From there, you can select and add additional friends or contacts to the call.
- Each participant you add will receive a notification and can choose to accept or decline the invitation to join the call.
With the added participants on the call, you can now engage in a group conversation, share thoughts, and have a dynamic interaction. Be mindful that a larger number of participants may require a stronger and more stable internet connection to ensure smooth communication.
During the group call, you have several options available to manage the call effectively:
- Use the mute/unmute function to control your audio input and minimize background noise.
- Toggle the camera on/off for privacy or if you prefer not to show your video feed.
- Ensure everyone gets a chance to speak by letting participants take turns or establishing a system for raising hands.
- Utilize the chat function within the call window to communicate through text messages alongside the audio and video elements.
Adding more participants to your voice and video calls can be a fantastic way to connect with multiple friends, organize virtual meetings, or host group discussions. Just remember to be mindful of the call dynamics and ensure that everyone has the opportunity to participate.
Now that you know how to add more participants to your calls, you can create vibrant and engaging group conversations on Facebook. In the next section, we will explore how to end a call and wrap up your conversations.
Ending a Call
When you have finished your voice or video call on Facebook, it’s important to know how to properly end the call. Here are the steps to end a call:
- Locate the call window on the Facebook website or Messenger app.
- Look for the “End Call” button or the red phone icon within the call window. Click on it to end the call.
- Alternatively, you can also simply close the chat window or exit the call screen to end the call.
Once the call is ended, you and the participants will no longer be connected. It’s courteous to say a brief farewell or indicate that the call is concluding before ending it.
Ending the call will bring you back to the chat window or main screen, depending on the platform you are using. From there, you can continue your conversations through text, plan future calls, or engage in other activities on Facebook.
If you want to go a step further and remove the call history, you can clear your call log. To clear your call history, follow these steps:
- On the Facebook website, click on the chat bubble icon at the top right corner of the screen to open the chat sidebar.
- At the top of the chat sidebar, click on the “Settings” icon (cogwheel).
- In the settings menu, scroll down to find the “Call History” section.
- Click on the “Delete” button to clear your call history.
By deleting your call history, you can maintain your privacy and keep your conversations more organized.
Now that you know how to properly end a call on Facebook, you can wrap up your conversations smoothly and move on to other activities. In the next section, we will explore some common troubleshooting tips to help you resolve any issues you may encounter during voice and video calls.
Troubleshooting Common Issues
While making voice and video calls on Facebook is generally a smooth experience, you may encounter some common issues along the way. Here are a few troubleshooting tips to help you resolve these issues:
1. Poor Audio or Video Quality: If you experience issues with audio or video quality during a call, check your internet connection. A slow or unstable connection can cause disruptions. Try moving closer to your Wi-Fi router or consider switching to a different network for a stronger connection.
2. No Sound or Microphone Not Working: If you cannot hear any sound or your microphone is not working, check your device’s audio settings. Ensure that the correct audio input and output devices are selected. Also, make sure your microphone is not muted or blocked by any external applications.
3. Camera Not Working: If your camera is not functioning during a video call, make sure it is properly connected and not being used by any other application. Try restarting your device or the Facebook app to see if that resolves the issue.
4. Call Drops or Disconnections: If your calls are frequently dropping or you are experiencing disconnections, it may be due to a weak internet connection. Move closer to your router or switch to a more stable network. Consider closing any bandwidth-intensive applications running in the background that may be affecting your call quality.
5. Compatibility Issues: Ensure that you are using a compatible device and browser/app version for making calls on Facebook. Outdated software or incompatible devices can lead to unexpected issues. Check for updates and ensure your device meets the system requirements.
6. Accessibility Features: If you require accessibility features such as closed captioning or screen readers, ensure they are enabled in your account settings or within the call settings. Facebook provides various accessibility options to cater to different needs.
If you have tried these troubleshooting tips and still encounter issues, it’s recommended to visit the Facebook Help Center or contact their support team for further assistance. They can provide personalized guidance based on your specific situation.
Remember, technical issues can sometimes arise, but patience and persistence can help resolve them. With these troubleshooting tips in mind, you can continue to enjoy smooth and uninterrupted voice and video calls on Facebook.
In the next section, we will provide you with some useful tips to ensure a successful and enjoyable voice and video call experience.
Tips for a Successful Voice and Video Call Experience
To ensure a successful and enjoyable voice and video call experience on Facebook, consider implementing the following tips:
1. Stable Internet Connection: A stable internet connection is crucial for clear audio and video quality. Connect to a reliable Wi-Fi network or use a wired connection for the best results. Avoid making calls in areas with weak or fluctuating network signals.
2. Optimal Lighting: Position yourself in a well-lit area during video calls. Good lighting will help enhance your visibility and ensure that your face is clearly visible to other participants. Avoid sitting with a bright light source behind you, as it can make you appear dark or silhouetted.
3. Quiet Environment: Find a quiet and peaceful location to make your calls, especially when participating in important or professional conversations. Minimize background noise as much as possible to maintain clarity in your audio communication.
4. Proper Camera Alignment: Position your camera at eye level or slightly above to create a more natural and engaging conversation. Avoid angling the camera too low or too high, as it can distort your appearance or create an uncomfortable perspective.
5. Use Headphones: Wearing headphones can minimize audio feedback and echo, especially in group calls. They can also provide better audio clarity by reducing background noise. Consider using a headset with a built-in microphone for improved audio quality.
6. Maintain Eye Contact: During video calls, make an effort to look directly into the camera lens. This creates the illusion of eye contact and helps establish a more personal connection. Avoid constantly looking at your own video feed, as it can be distracting to others.
7. Engage Actively: Be an active participant in the conversation. Listen attentively, respond promptly, and ask questions or provide input when appropriate. Show genuine interest and maintain a friendly tone to foster positive and engaging communication.
8. Test Before Important Calls: Prior to important voice or video calls, conduct a test run to ensure that your audio, video, and internet connections are working properly. This allows you to address any potential issues beforehand and ensures a smooth experience during the actual call.
9. Be Prepared: If you have a specific topic or agenda for the call, prepare relevant notes or documents in advance. This helps you stay organized and ensures that the conversation flows smoothly. Share your screen when necessary to showcase presentations, files, or other visual aids.
10. Respect Call Etiquette: Adhere to proper call etiquette by taking turns to speak, actively listening to others, and allowing others to contribute. Minimize background distractions, refrain from multitasking, and be mindful of your tone and body language during the call.
By implementing these tips, you can enhance your voice and video call experience on Facebook, whether it’s for personal or professional purposes. They will help you navigate through the virtual conversations with ease, ensuring effective communication and meaningful connections.
Now that you have a set of useful tips, you are well-equipped to make the most out of your voice and video calls on Facebook. Remember to adjust the settings, troubleshoot any issues, and maintain good call etiquette for a seamless and enjoyable experience.