
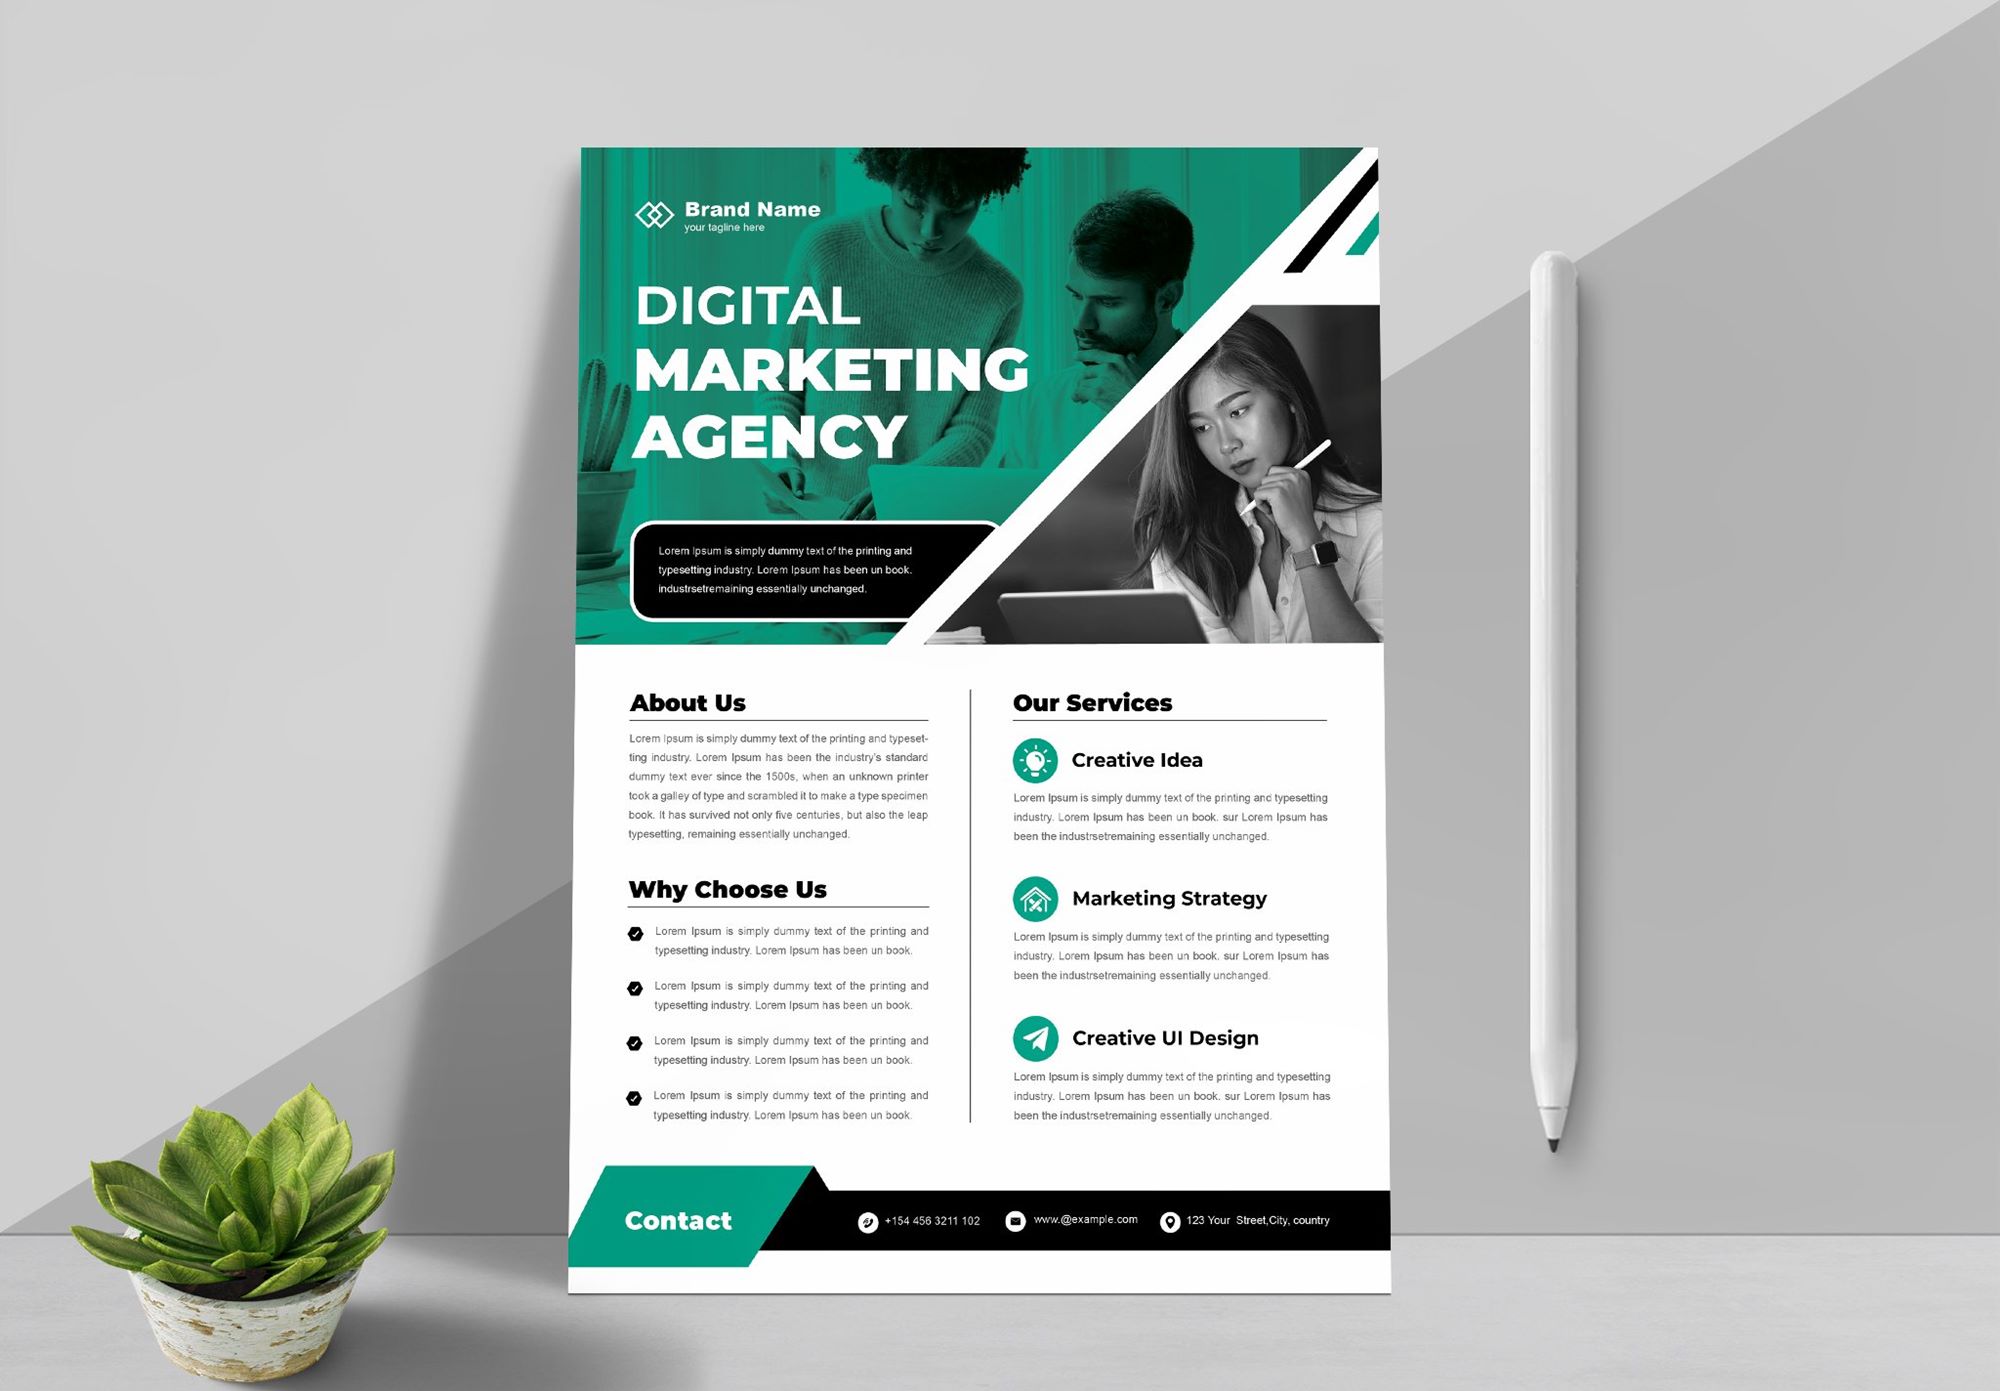
Choosing a Flyer Template
When creating a digital flyer, one of the first steps is choosing an appropriate template to serve as the foundation for your design. A template provides a pre-designed layout that can be customized to suit your needs and preferences. Here are some key points to consider when selecting a flyer template:
1. Purpose: Determine the purpose of your flyer. Are you advertising an event, promoting a product, or sharing information? This will help you choose a template that aligns with your goals.
2. Audience: Consider your target audience. Are you targeting a specific age group, industry, or demographic? Choosing a template that resonates with your audience will increase the effectiveness of your message.
3. Design Elements: Evaluate the design elements available in the template. Look for a layout that allows you to showcase your content effectively. Consider the placement of text boxes, image placeholders, and other graphic elements.
4. Customizability: Check the level of customization options the template offers. Ideally, you want a template that allows you to personalize the colors, fonts, and overall style to match your branding or event theme.
5. Responsiveness: Ensure that the template is responsive and can be easily viewed on different devices, such as smartphones and tablets. A responsive design will ensure that your message is accessible to a wider audience.
6. Downloads and Licensing: Review the terms of the template’s licensing agreement. Understand whether the template is available for free or if there are any restrictions on its usage, such as attribution requirements.
Once you have considered these factors, explore the various template options available through online platforms or design software. Take your time to browse through different categories and styles, and select a template that best suits your needs. Remember, the template is just the starting point, and you can always modify and customize it to create a unique and visually appealing digital flyer.
Customizing Text and Fonts
When it comes to designing a digital flyer, the way you present your text can greatly affect the overall impact and readability of the flyer. Customizing text and fonts allows you to add a personal touch and ensure that your message stands out. Here are some tips for effectively customizing text and fonts:
1. Font Selection: Choose fonts that align with the purpose and tone of your flyer. Consider the readability and legibility of the fonts, especially when it comes to smaller text sizes. Mixing complementary fonts can add visual interest and hierarchy to your design.
2. Font Size and Hierarchy: Use a variety of font sizes to create a visual hierarchy and guide the reader through the text. Larger font sizes can be used for headings and main points, while smaller sizes work well for body text. Ensure that the font sizes are appropriate for different viewing devices.
3. Text Alignment: Experiment with different text alignments, such as left, center, or right align, to create visual balance and enhance readability. Aligning text elements with other design elements in the flyer can create a harmonious composition.
4. Color and Contrast: Pay attention to the color of your text and its contrast with the background. Ensure that the text is easily readable and doesn’t blend in with the design elements. Use contrasting colors for headings and important information to make them stand out.
5. Formatting: Use formatting options like bold, italic, or underline to emphasize key points or draw attention to certain text elements. However, use these formatting styles sparingly to avoid overwhelming the reader.
6. Text Effects: Depending on the theme of your flyer, you may consider adding subtle text effects like shadows, gradients, or outlines for a more dynamic and eye-catching look. However, ensure that these effects do not undermine the readability of the text.
7. Consistency: Maintain consistency in font choices and text styles throughout the flyer to create a unified and professional look. Consistency will help reinforce your brand identity and make the flyer visually coherent.
Customizing the text and fonts in your digital flyer can greatly enhance its visual appeal and ensure that your message is effectively communicated. Experiment with different options and styles to find the perfect combination that aligns with your branding and captures the attention of your target audience.
Adding Images and Graphics
Images and graphics play a crucial role in catching the viewer’s attention and conveying information effectively in a digital flyer. Adding visually appealing and relevant images can make your flyer more engaging and memorable. Here are some key points to consider when adding images and graphics to your flyer:
1. Relevance: Choose images and graphics that are relevant to the content and purpose of your flyer. They should complement and enhance the message you want to convey. For instance, if you are promoting a concert, include images of the musicians or the venue.
2. High Quality: Ensure that the images you use are of high resolution and quality. Blurry or pixelated images will negatively impact the overall impression of your flyer. Choose images with crisp details and vibrant colors to make your design visually appealing.
3. Copyright Compliance: It is important to use images that are either created by yourself, purchased from stock image websites, or sourced from royalty-free image libraries. Respect copyright laws and avoid using images without proper permission or attribution.
4. Placement: Strategically place images in your flyer to draw attention to important areas. Consider using images as backgrounds, as part of a collage, or alongside text to create visual interest and balance. Experiment with different placements to find the most visually appealing arrangement.
5. Scaling and Cropping: Resize and crop images as necessary to fit your flyer layout. Ensure that the main subject of the image is clear and not distorted by excessive scaling or cropping. Maintain the aspect ratio to avoid stretching or skewing the images.
6. Overlays and Borders: Enhance the visual impact of your images by applying overlays or borders. This can create a cohesive and stylish look, making the images seamlessly blend with the rest of the design elements. However, ensure that these effects don’t overpower or distract from the main message.
7. Authenticity: Whenever possible, use original images that are unique to your brand or event. This can help create a more authentic and personalized feel to your flyer. If you don’t have access to original images, consider using filters or editing techniques to add a personal touch to stock images.
By carefully selecting and incorporating images and graphics into your digital flyer, you can significantly enhance its visual appeal and effectiveness in conveying your message. Remember to strike a balance between relevant visuals and a clean, uncluttered design to make the flyer visually captivating and easy to understand.
Incorporating Colors and Backgrounds
Colors and backgrounds have a significant impact on the overall visual appeal and mood of a digital flyer. By carefully selecting and incorporating colors, you can create a flyer that grabs attention and effectively communicates your message. Here are some considerations when incorporating colors and backgrounds into your design:
1. Branding Consistency: Use colors that align with your brand identity. Incorporating your brand’s primary and secondary colors can help create a cohesive and recognizable flyer. Consistency in color choices reinforces brand recognition and helps establish a professional image.
2. Color Psychology: Consider the psychological associations of different colors. Each color evokes certain emotions and can convey particular messages. For example, blue evokes calmness and trustworthiness, while red signifies energy and urgency. Choose colors that reflect the intended tone and message of your flyer.
3. Color Contrast: Ensure sufficient contrast between text and background colors to maintain readability. Use lighter text on darker backgrounds, or vice versa, to create a visually appealing contrast. High contrast can help important elements stand out and enhance the overall visual hierarchy.
4. Complementary Color Schemes: Select colors that complement each other to create an aesthetically pleasing design. Complementary colors are opposite each other on the color wheel, such as blue and orange or red and green. Experiment with different combinations to find the most harmonious colors for your flyer.
5. Background Selection: Choose a background that enhances the overall look of the flyer. Consider using solid colors, gradients, or even subtle textures as backgrounds. Backgrounds can help set the mood and provide a visually appealing canvas for other design elements.
6. Visual Hierarchy: Utilize contrasting colors to establish a visual hierarchy. Use bold or vibrant colors for important headings or key information, while using more subtle colors for supporting text. This will guide readers’ attention and make your flyer more visually engaging.
7. Color Accessibility: Ensure that the colors you choose meet accessibility standards. Consider individuals with color blindness or visual impairments. Use tools and resources to check the contrast ratio and ensure that your flyer is accessible to a diverse range of viewers.
By incorporating carefully chosen colors and backgrounds, you can create a visually captivating digital flyer that effectively captures attention and communicates your message. Experiment with different color combinations and backgrounds to find the perfect balance that aligns with your brand and resonates with your target audience.
Designing with Layouts and Grids
Designing a digital flyer requires careful consideration of layouts and grids. A well-structured layout can enhance visual appeal, organization, and readability. Utilizing grids can help maintain consistency and balance in your design. Here are some tips for designing with layouts and grids:
1. Define the Hierarchy: Determine the hierarchy of your content and information. Use larger and bolder elements for headings and important details, while keeping supporting text and secondary information smaller. This will guide the viewer’s attention and make the flyer more scannable.
2. Grid Systems: Utilize grid systems to establish a consistent and organized layout. Grids provide a framework for placing and aligning elements, ensuring a harmonious design. Consider using a 12-column grid or any other grid that suits your design needs.
3. Balance and Proximity: Achieve visual balance by distributing different elements evenly throughout the layout. Use the grid as your guide to align text boxes, images, and other design elements. Group related elements together to create proximity and improve the overall flow of information.
4. White Space: Utilize white space, also known as negative space, to provide breathing room between elements. White space helps create a sense of clarity and reduces visual clutter. Don’t be afraid to leave some areas empty to allow the content to shine.
5. Alignment: Maintain consistent alignment throughout your flyer design. Align text, images, and other elements either to the left, center, or right to create a clean and organized look. Consistent alignment contributes to the overall cohesiveness and professionalism of your flyer.
6. Responsive Design: Keep in mind that your digital flyer might be viewed on various devices with different screen sizes. Design using a responsive layout that adjusts to different screen sizes, ensuring that your flyer looks visually appealing and functions well on smartphones, tablets, and desktops.
7. Experiment with Layout Variations: Don’t be afraid to experiment with different layouts and variations to find the most effective design for your flyer. Consider using different column configurations, asymmetrical placements, or overlapping elements to add interest and uniqueness to your design.
By incorporating layouts and grids effectively, you can create a visually pleasing and well-structured digital flyer. Utilize grids to maintain consistency, balance elements throughout the layout, and ensure readability. Experiment with different layout variations to find the design that best represents your brand and message.
Including Contact Information and Social Media Links
When designing a digital flyer, it’s essential to include contact information and social media links to maximize engagement and provide avenues for further interaction with your audience. Here are some key points to consider when including contact information and social media links in your flyer:
1. Contact Details: Display relevant contact information such as phone numbers, email addresses, and website URLs. Make sure the information is accurate and up-to-date. Depending on the purpose of your flyer, consider including specific contacts like sales representatives or event coordinators.
2. Social Media Icons: Incorporate recognizable social media icons that link to your brand’s social media profiles. Include icons for platforms such as Facebook, Twitter, Instagram, LinkedIn, or any other channels that are relevant to your business or event. These icons can increase your online presence and encourage further engagement.
3. QR Codes: Consider adding QR codes that can be scanned by smartphones to quickly redirect users to your website, online store, or specific landing pages. QR codes provide a convenient and efficient way for the audience to access additional information or connect with your brand.
4. Placement: Ensure that contact information and social media links are prominently displayed and easy to locate. Position this information either at the bottom of the flyer or in a dedicated section and use contrasting colors or font styles to make it stand out. Avoid cluttering the design and give each contact detail enough space to be easily readable.
5. Call to Action: Accompany your contact information with a clear call to action (CTA) to encourage viewers to take the desired action. For example, include phrases like “Call Now,” “Visit Our Website,” or “Follow Us on Social Media” to guide the audience towards further engagement.
6. Consistency: Maintain consistency in the design style and formatting for all the contact information and social media links. Use the same font style, size, and colors to create visual coherence throughout the flyer. Consistency helps reinforce your brand identity and makes it easier for viewers to navigate the information.
7. Testimonials or Reviews: If applicable, consider including snippets of positive customer testimonials or reviews alongside the contact information. This adds credibility to your brand and can help build trust with potential customers.
Including contact information and social media links in your digital flyer ensures that viewers have multiple channels to connect with your brand or obtain more information. By making it easy for your audience to take action and engage further, you increase the chances of converting viewers into customers or event attendees.
Enhancing with Effects and Filters
Adding effects and filters to your digital flyer can elevate its visual appeal and create a unique aesthetic that catches viewers’ attention. By enhancing your design with these tools, you can add depth, creativity, and visual interest to your flyer. Here’s how to effectively incorporate effects and filters:
1. Shadows and Highlights: Use subtle drop shadows or highlights to create a sense of depth and dimension in your flyer. Shadows can make elements appear to float above the background, enhancing the visual hierarchy and making your design more engaging.
2. Gradients: Apply gradients to add a smooth transition of colors in your flyer. Gradients can create a visually pleasing effect and make your design appear more polished. Experiment with different color combinations to find the gradient that best complements your overall design.
3. Borders and Frames: Add borders or frames to specific elements in your flyer to draw attention or create a cohesive look. Borders can help emphasize important details, such as headings or images, and frames can provide a unified visual structure for different sections of your flyer.
4. Filters and Overlays: Apply filters or overlays to images or backgrounds to create a specific mood or aesthetic. Filters can adjust the color balance, saturation, or brightness of an image, while overlays can add texture or patterns. Experiment with different filters and overlays to achieve the desired effect.
5. Text Effects: Transform your text using different effects. Consider options like drop shadows, bevels, or glows to make your text stand out. However, use text effects sparingly to avoid overwhelming or distracting from the main message.
6. Blending Modes: Experiment with different blending modes to create interesting visual effects. Blending modes can change how colors interact with each other, creating unique combinations and styles. Play around with different modes, such as Overlay, Multiply, or Screen, to achieve the desired effect for your design.
7. Subtlety is Key: While effects and filters can enhance your flyer, it’s important to exercise restraint. Avoid overusing effects that may make the design appear cluttered or garish. Subtle enhancements can often have a greater impact, so find the right balance that enhances the overall aesthetic.
By incorporating effects and filters thoughtfully, you can elevate the visual appeal of your digital flyer and make it more visually captivating. Enhancements like shadows, gradients, borders, filters, and text effects can add depth, creativity, and a unique touch to your design, creating a lasting impression on your audience.
Resizing and Exporting the Flyer
After designing your digital flyer, it’s important to ensure that it is properly resized and exported to ensure optimal viewing and sharing. Resizing and exporting your flyer involves adjusting its dimensions and file format to suit different platforms and devices. Here’s a guide on how to resize and export your flyer:
1. Determine Target Platforms: Decide where you plan to share your flyer. Will it be posted on a website, shared on social media, or sent via email? Each platform may have different size requirements, so it’s important to consider this before resizing.
2. Aspect Ratio: Maintain the same aspect ratio of your original design when resizing. Keeping the aspect ratio consistent ensures that your flyer retains its proportions and doesn’t appear distorted or stretched.
3. Choose the Right Dimensions: Consider the target platform’s size recommendations and adjust the dimensions accordingly. Typically, for web use, a resolution of 72-96 pixels per inch (PPI) is sufficient. If printing, aim for a higher resolution of 300 PPI for optimal print quality.
4. Use Editing Software: Resize your flyer using professional editing software such as Adobe Photoshop or GIMP. These tools allow you to input specific dimensions and resample the image to maintain its quality during resizing.
5. Export Formats: Choose the appropriate file format based on the intended use of your flyer. For digital sharing, JPEG or PNG formats are commonly used. If your flyer includes transparency or requires high quality, consider using PNG for better resolution. For print purposes, opt for PDF or TIFF formats to preserve the quality of the design.
6. Optimize File Size: Ensure that the exported file size is optimized for faster loading and sharing. Compress the image without sacrificing too much quality using tools like TinyPNG or Adobe Acrobat’s built-in compression features. Strike a balance between file size and image quality to maintain a visually appealing flyer.
7. Check Compatibility: Before finalizing the export, ensure that the file format is compatible with the platforms or software you plan to use. Check for any restrictions or recommendations specific to each platform to avoid potential issues during uploading or sharing.
By effectively resizing and exporting your flyer, you can ensure that it is properly optimized for various platforms and devices, maintaining its visual integrity and reach. Be mindful of the recommended dimensions, aspect ratio, file formats, and file size optimization to create a flyer that looks great and performs well in any setting.
Printing and Distributing the Digital Flyer
While digital flyers are primarily designed for online distribution, there may be instances when you want to print and distribute physical copies. Printing and distributing your digital flyer effectively requires careful consideration of the following steps:
1. Find a Trusted Printing Service: Research and select a reputable printing service that meets your needs and budget. Consider factors such as printing quality, turnaround time, and available printing options (e.g., sizes, paper types).
2. Choose the Right Printing Format: Determine the size and format in which you want to print your flyer. Common options include standard letter size (8.5″ x 11″), A4 size, or larger formats like posters or banners. Select a size that suits your design and target audience.
3. Prepare the File for Printing: Ensure that your digital flyer is in the correct file format and resolution for printing. Save your design as a high-resolution PDF or TIFF file, ensuring that all images and fonts are embedded and that the color profile is suitable for printing.
4. Consider Printing Options: Explore different printing options to enhance the visual appeal of your flyer. This may include finishes like glossy or matte coatings, embossing, or spot UV effects. However, keep in mind the additional costs associated with these options.
5. Proofread and Review: Before sending your flyer for printing, carefully proofread the content, ensuring that there are no typos, grammar errors, or design inconsistencies. Review the layout, colors, and images to ensure that everything appears as intended.
6. Printing Quantity: Determine the number of copies you want to print based on your intended distribution channels and target audience. Consider factors such as budget, event size, or the number of locations where you plan to distribute the flyers.
7. Distribution Channels: Identify the most effective channels for distributing your printed flyers. This may include distributing them at events, placing them in local businesses, sending them via direct mail, or including them as handouts or inserts in relevant publications.
8. Tracking and Feedback: Implement a system to track the effectiveness of your flyer distribution. Include contact information or a QR code that allows recipients to provide feedback or respond to your call to action. Monitor responses and adjust your distribution strategy accordingly.
Printing and distributing physical copies of your digital flyer can help you reach a wider audience and make a lasting impression. By carefully selecting the printing service, preparing the file correctly, and strategically distributing the flyers, you can maximize the impact and achieve your desired objectives.