
Prerequisites
In order to successfully install Luminance for Philips Hue on Raspbian, you will need to ensure that you have the following prerequisites:
- A Raspberry Pi running Raspbian operating system.
- Access to the terminal on your Raspberry Pi.
- A stable internet connection.
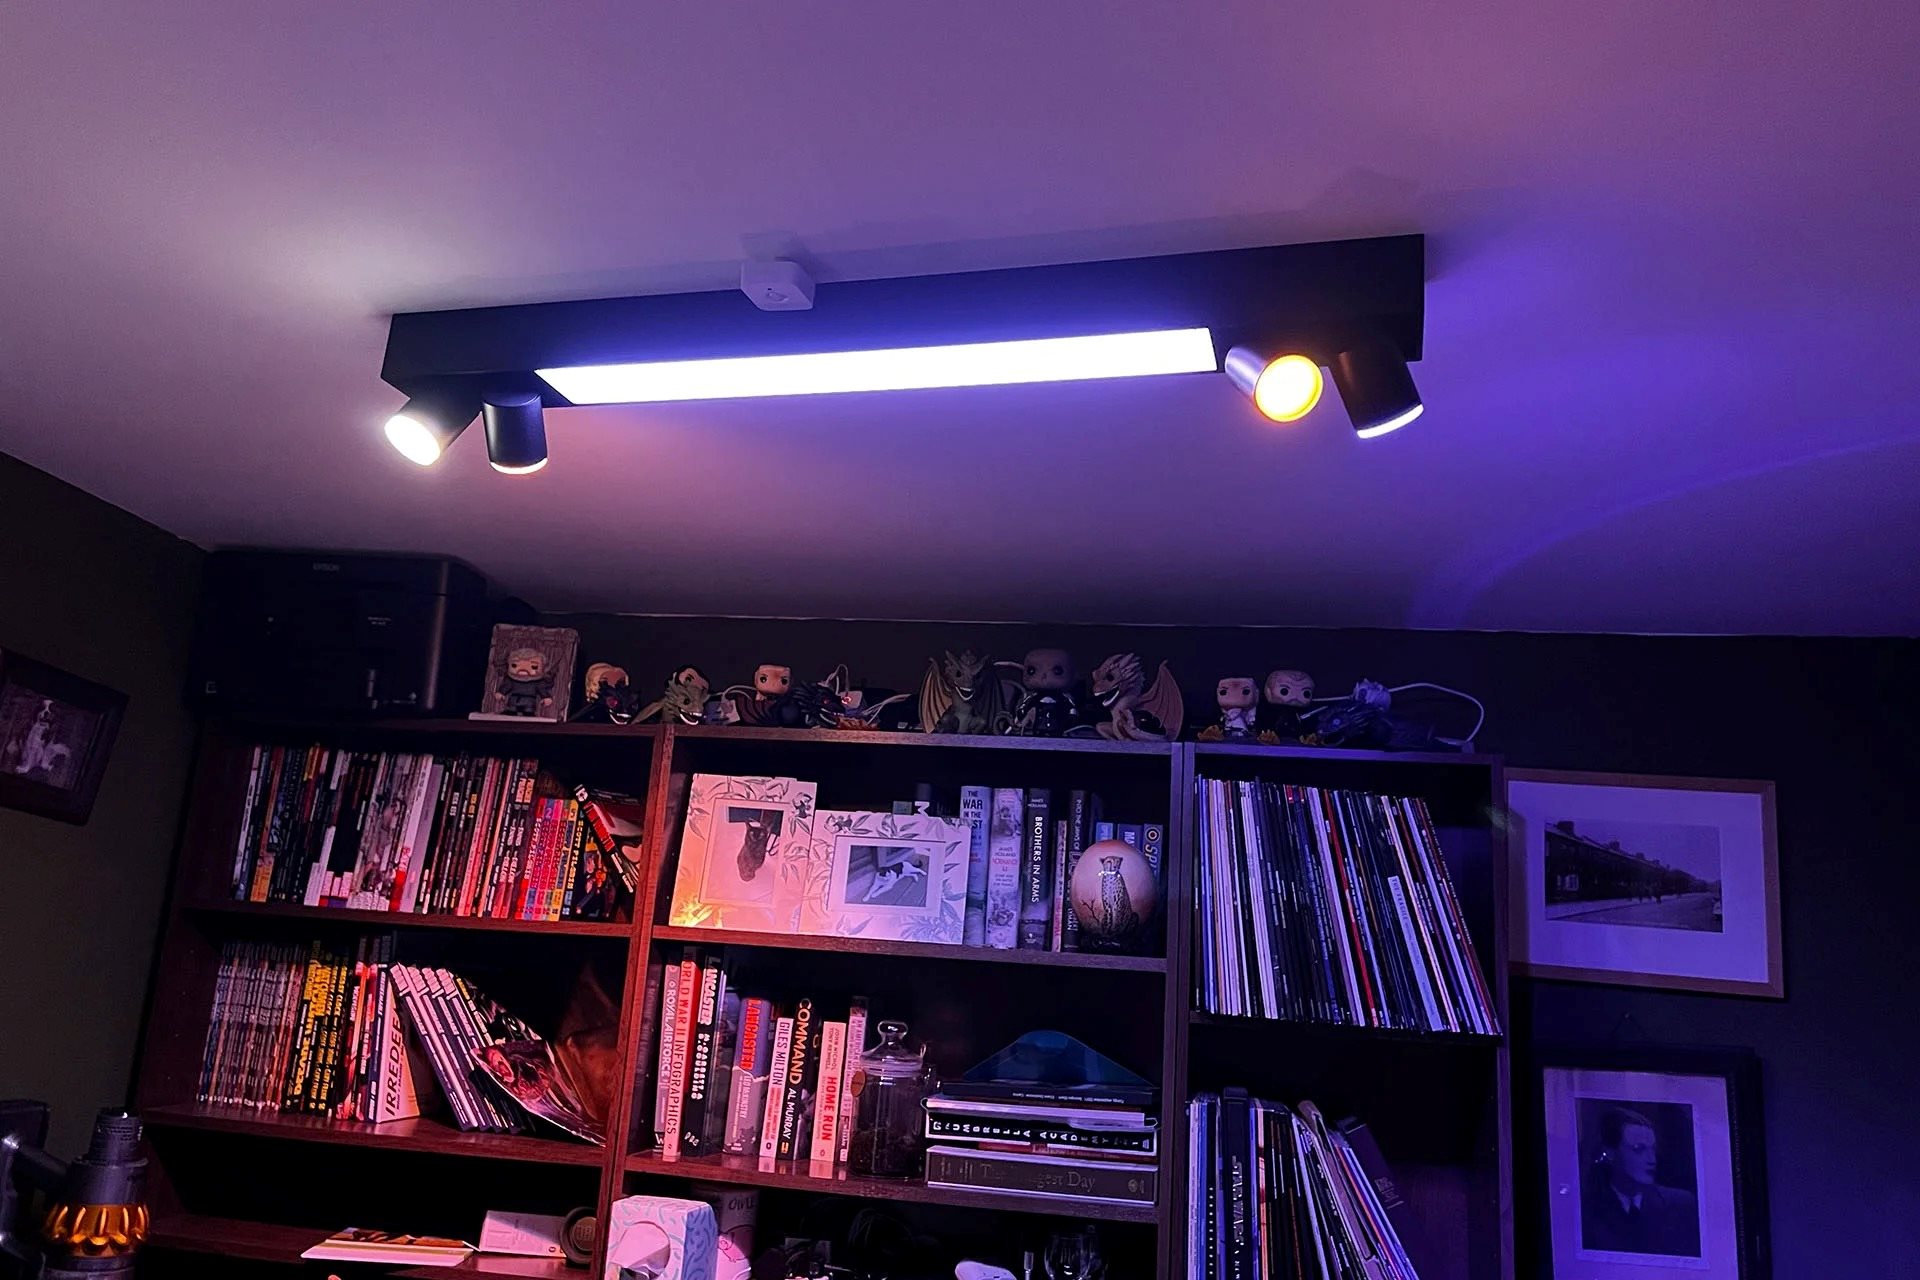
- A Philips Hue bridge connected to your network.
- A Philips Hue account and API credentials.
Before proceeding with the installation, make sure that your Raspberry Pi is up to date. This ensures that you have the latest software and security patches necessary for a smooth installation process. It is also important to have a Philips Hue bridge set up with your lights connected and working properly.
If you haven’t already created a Philips Hue account, you will need to do so in order to obtain the API credentials required for Luminance. To create an account, simply download the Philips Hue mobile app and follow the registration process.
Once you have your Raspberry Pi, Raspbian, internet connection, and Philips Hue bridge ready, you’re all set to move on to the next steps of the installation process.
Step 1: Update and Upgrade Raspbian
Before installing Luminance for Philips Hue on Raspbian, it is important to ensure that your operating system is up to date. This step will help you have the latest software packages and security patches, providing a stable foundation for the installation.
To update and upgrade Raspbian, follow these steps:
- Open the terminal on your Raspberry Pi. You can find it in the top menu bar or by pressing
Ctrl + Alt + Ton your keyboard. - Once the terminal is open, type the following command:
- After the update process is complete, you can proceed to upgrade the installed packages by entering the following command:
- If prompted, type
Yand press Enter to confirm the upgrades. - The upgrade process may take some time depending on your internet speed and the number of packages to be upgraded. Once complete, you’ll see the terminal prompt again.
sudo apt updateThis command updates the package lists for upgrades and new package installations.
sudo apt upgradeThis command upgrades all the installed packages to their latest available versions.
Now that you have successfully updated and upgraded your Raspbian operating system, you’re ready to move on to the next steps of the installation process.
Step 2: Install Dependencies
Before installing Luminance for Philips Hue on Raspbian, you will need to install certain dependencies that are required for the software to run smoothly. These dependencies include various libraries, packages, and tools that Luminance relies on.
To install the dependencies, follow these steps:
- Open the terminal on your Raspberry Pi.
- Type the following command and press Enter:
- If prompted, type
Yand press Enter to confirm the installation. - Once the installation is complete, you can proceed to install additional dependencies specific to Luminance. Enter the following command:
- If prompted, type
Yand press Enter to confirm the installation. - Your Raspberry Pi will now install the dependencies. This may take a few moments.
sudo apt install python3-pip python3-venv python3-dev libffi-dev libssl-devThis command installs the necessary Python packages and development libraries.
sudo apt install libusb-1.0-0-dev libudev-devThis command installs the USB and udev development libraries.
With the dependencies successfully installed, you are one step closer to getting Luminance up and running on your Raspberry Pi. In the next step, we will clone the Luminance repository from Github.
Step 3: Clone Luminance Repository
In this step, you will clone the Luminance repository from GitHub to your Raspberry Pi. This will allow you to access the Luminance software and its source code, which is essential for the installation process.
To clone the Luminance repository, follow these steps:
- Open the terminal on your Raspberry Pi.
- Navigate to the directory where you want to clone the repository. You can use the
cdcommand followed by the desired directory path. - Once you are in the desired directory, enter the following command:
- Press Enter to initiate the cloning process.
- Your Raspberry Pi will now download the repository, including all the necessary files and folders.
- Once the cloning process is complete, you will see a new folder in your chosen directory with the name of the Luminance repository.
git clone https://github.com/{Luminance repository URL}Replace {Luminance repository URL} with the actual URL of the Luminance repository.
With the Luminance repository successfully cloned, you now have access to the source code and files required for the installation. In the next step, you will install the required Python packages for Luminance.
Step 4: Install Required Python Packages
In this step, you will install the required Python packages for Luminance on your Raspberry Pi. These packages are necessary for Luminance to interface with the Philips Hue bridge and control your lights effectively.
To install the required Python packages, follow these steps:
- Open the terminal on your Raspberry Pi.
- Navigate to the directory where the Luminance repository was cloned. You can use the
cdcommand followed by the directory path. - Once you are in the Luminance repository directory, enter the following command:
- Activate the virtual environment by entering the following command:
- Your terminal prompt should now change to indicate that you are working within the virtual environment.
- Next, install the required Python packages by running the following command:
- The installation process may take a few moments as it retrieves and installs the required packages.
python3 -m venv .venvThis command creates a virtual environment named .venv in the current directory. It isolates the Python packages required for Luminance from the rest of your system.
source .venv/bin/activatepip install -r requirements.txtThis command reads the requirements.txt file in the Luminance repository and installs all the necessary Python packages.
With the required Python packages installed, you are now ready to obtain API credentials from the Philips Hue Developer Portal. This will allow Luminance to interact with your Philips Hue lights.
Step 5: Obtain API Credentials from Philips Hue Developer Portal
Before you can integrate Luminance with your Philips Hue lights, you need to obtain API credentials from the Philips Hue Developer Portal. These credentials will grant Luminance access to your Hue bridge, allowing it to control the lights effectively.
To obtain API credentials, follow these steps:
- Open a web browser on your computer or Raspberry Pi and go to the Philips Hue Developer Portal website. The URL is https://developers.meethue.com.
- If you haven’t created a developer account, click on the “Sign Up” button and follow the registration process. If you already have an account, log in using your credentials.
- Once logged in, navigate to the “My Apps” section of the developer portal.
- Click on the “Create New App” button to create a new app.
- Provide a name for your app and fill out the required fields, such as the description and the company name. You can leave the other fields blank if they are not relevant.
- Click on the “Create” button to create your app.
- You will be redirected to the app details page, where you can find the “Client ID” and “Client Secret” under the “OAuth” tab. These are your API credentials.
- Make a note of the “Client ID” and “Client Secret” as you will need them in the next steps.
With the API credentials in hand, you are closer to configuring Luminance and connecting it to your Philips Hue lights. In the next step, we will explore how to configure Luminance.
Step 6: Configure Luminance
Now that you have obtained the API credentials from the Philips Hue Developer Portal, you can proceed to configure Luminance for your Philips Hue lights. Configuration involves specifying the necessary details, such as the API credentials and bridge information, to enable Luminance to communicate with your lights.
To configure Luminance, follow these steps:
- Open the terminal on your Raspberry Pi.
- Navigate to the directory where the Luminance repository is cloned. You can use the
cdcommand followed by the directory path. - Activate the virtual environment by running the following command:
- Once the virtual environment is activated, you can configure Luminance by running the following command:
- Luminance will prompt you to enter the API credentials:
- Client ID: Enter the Client ID obtained from the Philips Hue Developer Portal.
- Client Secret: Enter the Client Secret obtained from the Philips Hue Developer Portal.
- Follow the on-screen instructions to complete the configuration process.
source .venv/bin/activatepython3 luminance.py configureDuring the configuration, Luminance will authenticate with the Philips Hue bridge using the provided API credentials. It will then save the necessary information for future use, such as the access token and bridge IP address. With Luminance successfully configured, you are now ready to test its functionality in the next step.
Step 7: Test Luminance
After configuring Luminance for your Philips Hue lights, it’s important to test its functionality to ensure that everything is working correctly. Testing Luminance allows you to verify the connection between Luminance and your lights, as well as confirm that you can control them as desired.
To test Luminance, follow these steps:
- Open the terminal on your Raspberry Pi.
- Navigate to the directory where the Luminance repository is cloned. You can use the
cdcommand followed by the directory path. - Activate the virtual environment by running the following command:
- Once the virtual environment is activated, you can test Luminance by running the following command:
- Luminance will connect to your Philips Hue bridge using the configured API credentials and attempt to control your lights.
- Follow the on-screen instructions to test different functionality, such as turning the lights on and off, changing colors, or adjusting brightness.
- Observe the behavior of your lights as you interact with Luminance. Ensure that the commands issued by Luminance are successfully executed on your lights.
source .venv/bin/activatepython3 luminance.py testBy testing Luminance, you can identify any potential issues or misconfigurations and address them accordingly. If the test is successful and you are able to control your lights as expected, you are ready to move on to the next step, where you will learn how to automate the startup of Luminance.
Step 8: Automate Luminance Startup
To ensure that Luminance starts automatically when your Raspberry Pi boots up, it is recommended to configure it for automated startup. This eliminates the need to manually launch Luminance every time your system restarts, providing a seamless and convenient experience.
To automate the startup of Luminance, follow these steps:
- Open the terminal on your Raspberry Pi.
- Navigate to the directory where the Luminance repository is cloned. You can use the
cdcommand followed by the directory path. - Activate the virtual environment by running the following command:
- Once the virtual environment is activated, you can set up the automated startup by running the following command:
- Luminance will configure your system to start automatically when it boots up.
- Restart your Raspberry Pi to verify that Luminance is started automatically.
- After the restart, check that Luminance is running by opening a web browser and accessing the Luminance web interface using the IP address and port specified during the configuration process.
- If Luminance successfully starts up and you can access the web interface, you have successfully automated the startup process.
source .venv/bin/activatepython3 luminance.py autostart enableBy automating the startup of Luminance, you can ensure that it is always ready to control your Philips Hue lights without any manual intervention. This is especially useful if you want Luminance to be a part of your smart home system or if you rely on its functionalities for specific lighting routines.
Step 9: Create Custom Light Effects
One of the great features of Luminance is the ability to create custom light effects for your Philips Hue lights. With custom light effects, you can unleash your creativity and personalize the lighting experience in your home.
To create custom light effects with Luminance, follow these steps:
- Open a web browser on your computer.
- Access the Luminance web interface by entering the IP address and port specified during the configuration process.
- Log in to the Luminance web interface using the credentials you set up during the configuration process.
- Once logged in, navigate to the “Effects” section in the web interface.
- Click on the “Create New Effect” button to start creating a custom light effect.
- Specify the name and description for the effect to help identify it.
- Configure the desired settings for the effect, such as color, brightness, transition time, and any other parameters available.
- Preview the effect to ensure it matches your desired lighting design.
- Save the custom light effect once you are satisfied with the settings.
- You can create multiple custom light effects by repeating the steps above.
Once you have created custom light effects, you can easily activate them through the Luminance web interface or by using the Luminance API. Enjoy the freedom to create stunning lighting displays, dynamic color changes, or synchronized effects to set the perfect ambiance in your home.
Remember to experiment with different settings and combinations to create truly unique and captivating light effects that enhance your living space.