
System Requirements
Before installing Kaspersky on your Mac, it is crucial to ensure that your system meets the necessary requirements. By doing so, you can guarantee a smooth installation process and optimal performance. Here are the system requirements you need to consider:
- Operating System: Kaspersky is compatible with macOS 10.12 Sierra or later versions.
- Processor: Your Mac should have at least an Intel-based processor with a clock speed of 1 GHz or higher.
- Memory (RAM): Kaspersky requires a minimum of 1 GB of available RAM to run smoothly.
- Hard Disk Space: Make sure you have at least 1.5 GB of free disk space for the installation process.
- Screen Resolution: Your Mac’s screen resolution should be at least 1024×768 pixels.
- Internet Connection: Kaspersky relies on an internet connection for regular updates and real-time protection, so a stable internet connection is necessary.
- Web Browser: You will need Safari 7.0 or higher, or Google Chrome 65.0 or higher for accessing Kaspersky’s online features.
It is worth mentioning that these system requirements are essential to ensure the proper functioning of Kaspersky on your Mac. Failing to meet these requirements may lead to performance issues or installation errors. Therefore, take the time to verify that your system meets all the necessary criteria before proceeding with the installation process.
Downloading Kaspersky
Now that you have verified that your Mac meets the system requirements, the next step is to download the Kaspersky antivirus software. Here’s a step-by-step guide on how to download Kaspersky:
- Open your preferred web browser and navigate to the Kaspersky website.
- Go to the “Downloads” or “Products” section of the website.
- Select the appropriate Kaspersky product for Mac.
- Click on the “Download” button to initiate the download process.
- Your browser will prompt you to save the installation file. Choose a location on your Mac where you want to save the file.
- Once the download is complete, locate the installation file on your Mac. It usually appears in the “Downloads” folder, unless you specified a different location.
Downloading Kaspersky may take a few minutes, depending on your internet connection speed. Ensure that you have a stable and reliable internet connection throughout the download process. It is also advisable to download the software from the official Kaspersky website to ensure its authenticity and security.
Remember to note down the location where you saved the installation file so that you can easily locate it during the installation process. With the download complete, you are now ready to move on to the next step, which is preparing for the installation of Kaspersky on your Mac.
Preparing Installation
Before you begin the installation of Kaspersky on your Mac, it’s important to make a few preparations to ensure a smooth and successful installation process. Follow these steps to prepare for the installation:
- Close all running applications: Before installing Kaspersky, it’s recommended to close all other applications and programs on your Mac. This helps prevent any conflicts during the installation process.
- Update your macOS: Ensure that your Mac’s operating system is up to date. Updating to the latest version of macOS can help improve compatibility and stability with Kaspersky.
- Disconnect peripheral devices: Disconnect any external devices such as printers, scanners, or external hard drives from your Mac. This eliminates any potential issues during the installation process.
- Backup your data: It’s always a good idea to create a backup of your important files and documents before installing any new software. While Kaspersky has a high success rate of installation, it’s better to be safe and have a backup of your data.
- Remove previous antivirus software: If you have any other antivirus software installed on your Mac, it’s recommended to uninstall it before installing Kaspersky. Having multiple antivirus programs can cause conflicts and reduce overall system performance.
- Ensure sufficient disk space: Check that you have enough available disk space to accommodate the installation of Kaspersky. As mentioned earlier, you need at least 1.5 GB of free disk space for the installation to proceed smoothly.
By following these preparation steps, you will minimize the chances of encountering any issues during the installation process and ensure a hassle-free experience. Once you have completed these preparations, you are now ready to proceed with the installation of Kaspersky on your Mac.
Starting the Installation
With the necessary preparations done, you can now begin the installation process of Kaspersky on your Mac. Follow these steps to get started:
- Locate the downloaded installation file on your Mac. It is usually in the “Downloads” folder, unless you specified a different location during the download.
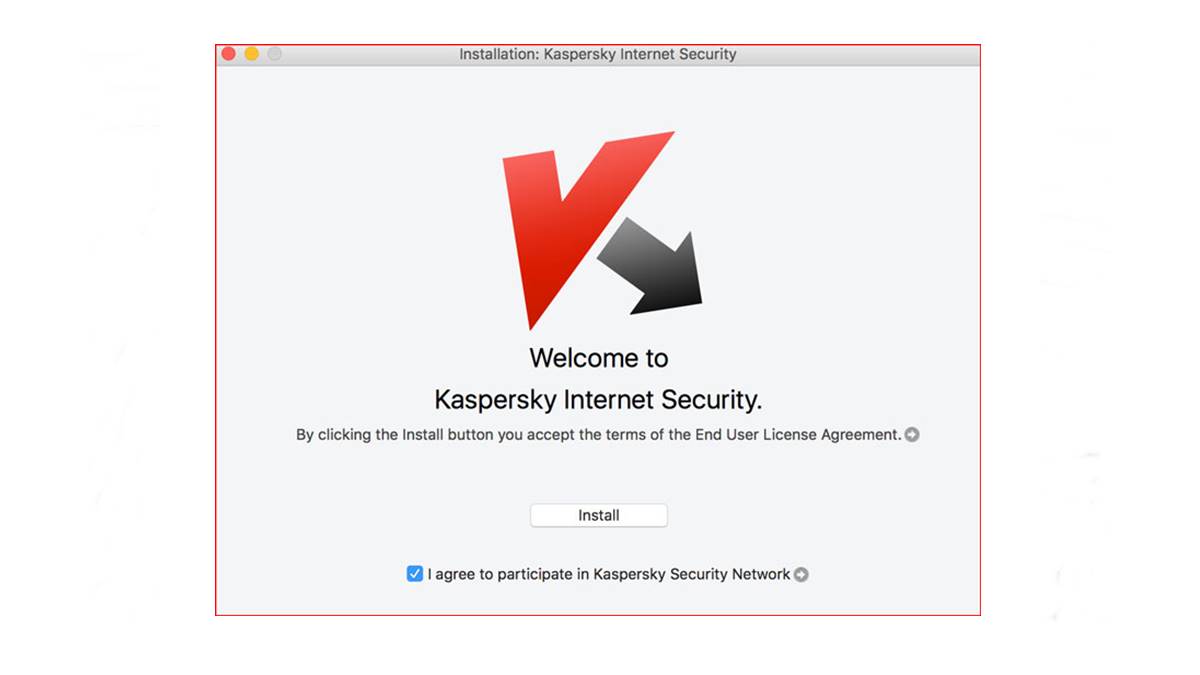
- Double-click the installation file to launch the Kaspersky installer. This will initiate the installation wizard.
- Read and accept the End User License Agreement (EULA) to proceed with the installation. It’s crucial to review the terms and conditions before proceeding.
- Choose the installation type. Kaspersky offers options such as “Typical” and “Custom.” The “Typical” installation includes standard settings, while the “Custom” installation allows you to customize the installation according to your preferences.
- Specify the installation location. By default, Kaspersky will be installed in the Applications folder. If you prefer a different location, you can choose it during the installation process.
- Enter your administrative credentials. You will be prompted to provide your username and password to grant permissions for the installation process. This ensures the installation can make the necessary changes to your system.
- Click on the “Install” button to start the installation process. Depending on your Mac’s speed, it may take a few minutes for the installation to complete.
- Once the installation is done, you will see a notification indicating the successful installation of Kaspersky on your Mac.
It is important to follow these steps carefully to ensure a successful installation of Kaspersky on your Mac. Once the installation is complete, you can proceed to activate and configure the settings of your Kaspersky antivirus software.
Activating Kaspersky
After successfully installing Kaspersky on your Mac, the next step is to activate your antivirus software. Activation is necessary to verify the authenticity of the product and ensure that you receive the latest updates for optimal protection. Follow these steps to activate Kaspersky:
- Open Kaspersky on your Mac. You can find the application in the Applications folder or by searching for it using Spotlight.
- In the Kaspersky main window, click on the “License” or “Activation” tab. The specific wording may vary depending on the version of Kaspersky you have installed.
- Click on the “Enter Activation Code” or “Activate Now” button. A dialog box will appear, prompting you to enter the activation code.
- Enter the activation code provided to you upon purchasing Kaspersky. Make sure to type it correctly, as the code is case-sensitive.
- Click on the “Activate” or “Apply” button to initiate the activation process. Kaspersky will connect to the server and verify the activation code.
- Wait for the confirmation message that the activation was successful. Once activated, Kaspersky will display the license information in the main window.
It’s important to note that the activation code is typically a combination of letters and numbers and is unique to your purchased product. Ensure that you have a valid activation code before proceeding with the activation process.
Once Kaspersky is successfully activated, it will start protecting your Mac against viruses, malware, and other security threats. To ensure continued protection, keep your Kaspersky software up to date by regularly updating it with the latest virus definitions and program updates.
Configuring the Settings
After activating Kaspersky on your Mac, it’s important to configure the settings to ensure optimal protection and customize the software according to your preferences. Follow these steps to configure the settings of your Kaspersky antivirus software:
- Open Kaspersky on your Mac. You can find the application in the Applications folder or by searching for it using Spotlight.
- In the Kaspersky main window, click on the “Settings” or “Preferences” tab. The specific wording may vary depending on the version of Kaspersky you have installed.
- Explore the different sections and options available to customize your settings. These sections may include General Settings, Scan Settings, Update Settings, and more.
- Review the General Settings and make adjustments based on your preferences. You can specify the frequency of scans, choose whether to enable or disable real-time protection, and configure other general options.
- Configure the Scan Settings according to your needs. You can choose to perform a quick scan, a full system scan, or schedule automatic scans at specific times or intervals.
- Ensure that the Update Settings are configured to automatically download and install the latest virus definitions and program updates. This will ensure that your Kaspersky software stays updated with the latest protection.
- Explore other settings available, such as the ability to exclude certain files or folders from scans, enable or disable specific protection features, and customize notifications and alerts.
- Once you have customized your settings, click on the “Apply” or “Save” button to save the changes.
Configuring the settings of your Kaspersky antivirus software allows you to tailor the software to your specific needs and preferences. It’s recommended to review and adjust the settings periodically to ensure that you have the most effective and efficient protection for your Mac.
By customizing the settings, you can optimize the performance of Kaspersky and ensure it aligns with your desired level of protection and user experience.
Running a Scan
Regularly running scans with your Kaspersky antivirus software is essential to keep your Mac protected and identify any potential security threats. Here’s how to run a scan using Kaspersky:
- Open Kaspersky on your Mac. You can find the application in the Applications folder or by searching for it using Spotlight.
- In the Kaspersky main window, locate and click on the “Scan” or “Scan Now” option. The wording may vary depending on the version of Kaspersky you have installed.
- Select the type of scan you want to perform. Kaspersky offers different scan options, such as Quick Scan, Full Scan, or Custom Scan.
- If you choose a Custom Scan, you can select specific files, folders, or drives to scan. This option allows you to have greater control over the scanning process.
- Click on the “Start Scan” or “Scan Now” button to initiate the scan. Kaspersky will begin scanning your Mac for viruses, malware, and other security threats.
- While the scan is running, you can monitor its progress and view any detected threats in real-time. Kaspersky will provide details about the threats found, allowing you to take appropriate action.
- Once the scan is complete, Kaspersky will display a summary of the scan results. Take note of any detected threats or suspicious files that require further attention.
- Depending on the severity of the threats found, you can choose to quarantine, delete, or take other necessary actions to resolve the issues identified by Kaspersky.
Running regular scans with Kaspersky helps ensure that your Mac remains free from viruses and malware. It is recommended to perform scans on a weekly or monthly basis, depending on your usage and level of online activities.
Remember that real-time protection is crucial to proactively prevent infections. However, performing manual scans adds an extra layer of security and peace of mind, ensuring that your Mac is thoroughly checked for any threats that may have slipped through the real-time protection.
Updating Kaspersky
Keeping your Kaspersky antivirus software up to date is crucial for maintaining optimal protection against the latest threats. Regular updates ensure that your software has the most recent virus definitions, program enhancements, and security patches. Here’s how to update Kaspersky on your Mac:
- Open Kaspersky on your Mac. You can find the application in the Applications folder or by searching for it using Spotlight.
- In the Kaspersky main window, look for the “Update” or “Update Now” option. The exact wording may vary depending on the version of Kaspersky you have installed.
- Click on the “Update” or “Update Now” button to initiate the update process. Kaspersky will connect to the server and check for any available updates.
- If updates are available, Kaspersky will download and install them automatically. The progress of the update will be displayed in the update wizard.
- While the update is being performed, it’s important to maintain a stable internet connection. Interruptions in the connection may result in incomplete updates or errors.
- Once the update process is complete, Kaspersky will display a confirmation message indicating that the software is up to date.
It is recommended to set Kaspersky to update automatically to ensure timely and hassle-free updates. Automatic updates ensure that your antivirus software continuously receives the latest virus definitions, ensuring maximum protection for your Mac.
Remember that updating Kaspersky not only enhances its functionality but also improves its ability to detect and combat new threats. By regularly updating the software, you can stay ahead of emerging malware and ensure that your Mac remains secure.
Troubleshooting Common Issues
While using Kaspersky on your Mac, you may encounter some common issues. Here are a few troubleshooting steps you can take to resolve them:
- Compatibility Issues: If you experience compatibility issues with certain software or applications, ensure that both Kaspersky and the conflicting software are up to date. Check if there are any known compatibility issues between the two and consider reaching out to Kaspersky support for further assistance.
- Performance Impact: If you notice a significant impact on your Mac’s performance after installing Kaspersky, check if there are any intensive scans or updates running in the background. Adjust the settings to schedule scans during low-usage periods to minimize the impact on your system’s performance.
- False Positives: Occasionally, Kaspersky may flag legitimate files or programs as threats in a process known as a false positive. If you believe a file has been incorrectly identified, you can add it to the exclusions or trusted applications list to prevent future detection.
- Update Failures: If you encounter issues with updating Kaspersky, start by ensuring that you have a stable internet connection. If the problem persists, try manually downloading the latest updates from the Kaspersky website and applying them. If the issue continues, contact Kaspersky support for further assistance.
- Error Messages: If you receive error messages during the installation, activation, or operation of Kaspersky, take note of the specific error code or message. Refer to the official Kaspersky documentation or reach out to their support team for guidance on resolving the specific error.
It’s important to note that these troubleshooting steps are general recommendations and may not address every issue you encounter. If you are unable to resolve the problem on your own, do not hesitate to seek assistance from Kaspersky support. Their team of experts can provide personalized guidance and help resolve any issues you may be facing.
By following these troubleshooting steps and staying proactive, you can ensure that Kaspersky operates smoothly and effectively on your Mac, providing the best possible protection against security threats.
Uninstalling Kaspersky
If you need to uninstall Kaspersky from your Mac for any reason, whether it’s to switch to a different antivirus software or perform a clean reinstall, follow these steps to remove Kaspersky from your system:
- Quit the Kaspersky application if it is currently running. You can do this by right-clicking on the Kaspersky icon in the menu bar and selecting “Quit.”
- Open the Finder on your Mac and navigate to the “Applications” folder.
- Locate the Kaspersky application in the Applications folder.
- Drag the Kaspersky application to the Trash or right-click on it and select “Move to Trash.” You may be required to enter your administrator password to confirm the action.
- Once Kaspersky is in the Trash, right-click on the Trash icon in the Dock and select “Empty Trash.” Confirm the action when prompted.
- After emptying the Trash, you have successfully uninstalled Kaspersky from your Mac.
- It is also recommended to remove any remaining files or folders related to Kaspersky. You can use Spotlight to search for any Kaspersky-related files and delete them manually. Be cautious when deleting files, ensuring that you are deleting the correct ones and not essential system files.
Removing Kaspersky from your Mac is a straightforward process. However, if you encounter any issues during the uninstallation or if there are leftover files after uninstalling, consider using the Kaspersky Uninstall Tool. This tool is available on the Kaspersky website and can assist in removing any remnants of the software.
Always ensure you have an alternative antivirus software installed on your Mac to maintain protection against potential threats after uninstalling Kaspersky.
By following these steps, you can successfully uninstall Kaspersky and make way for other security solutions or perform a clean reinstall if needed.