
Choosing the Right Digital Thermostat
When it comes to installing a digital thermostat, the first and most crucial step is choosing the right one for your HVAC system. A digital thermostat offers a range of advanced features and benefits, such as programmable temperature settings, energy-saving options, and remote access control. This section will guide you through the key factors to consider when selecting a digital thermostat.
1. Compatibility: Ensure that the digital thermostat you choose is compatible with your HVAC system. Different systems require different types of thermostats, such as single-stage, multi-stage, or heat pump thermostats. Check the compatibility specifications provided by the manufacturer or consult a professional if you’re unsure.
2. Programmable Options: Consider the level of programmability you desire. Most digital thermostats offer basic programmable options, allowing you to set different temperature schedules for different times of the day or week. More advanced models may include options for vacation mode or adaptive learning, which adjust the temperature based on your behavior patterns.
3. Connectivity: Determine whether you want a thermostat with remote access capability. Wi-Fi-enabled thermostats allow you to control your HVAC system remotely through a smartphone app or web interface. This feature offers convenience and energy savings by allowing you to adjust the temperature from anywhere and monitor energy usage.
4. Energy Efficiency: Look for a thermostat with energy-saving features like smart setback or adaptive recovery. These features optimize energy use by reducing heating or cooling when the space is unoccupied and gradually adjusting the temperature to your desired level before you arrive home.
5. Display and Interface: Consider the readability and ease of use of the thermostat’s display and interface. Look for a thermostat with a clear and backlit display, intuitive controls, and user-friendly interface. This ensures that you can easily read and navigate the settings, even in low light or from a distance.
6. Budget: Set a budget for your digital thermostat purchase. Prices can vary depending on the brand, model, and features. Determine your priorities and find a thermostat that meets your requirements without exceeding your budget.
By carefully considering these factors, you can choose the right digital thermostat that suits your HVAC system, lifestyle, and preferences. Remember to read product reviews and seek professional advice if you need further assistance in making your decision.
Tools and Materials Required
Before you begin the installation process, make sure you have the necessary tools and materials. Having everything on hand will streamline the installation process and ensure a smooth and efficient transition to your new digital thermostat. Here’s a list of the tools and materials you will need:
- Screwdriver (Phillips or flathead, depending on the type of screws used)
- Wire cutter/stripper
- Electrical tape
- Drill and drill bits (if necessary for mounting the thermostat base)
- Drywall anchors (if necessary for mounting the thermostat base)
- Level (to ensure proper alignment during installation)
- New digital thermostat
- Thermostat faceplate
- Mounting screws/anchors (if necessary)
Ensure that you have the correct screwdriver size to remove the screws holding your old thermostat in place. The wire cutter/stripper will come in handy for trimming and preparing the wires before connecting them to the new thermostat. Electrical tape is essential for securing the wire connections and preventing any exposed wires.
If you plan to mount the new thermostat base on a wall, you may need a drill and appropriate drill bits for creating holes. Additionally, if the wall requires extra support, you might need to use drywall anchors to ensure a secure installation.
Make sure you have a level to ensure that your new thermostat is mounted straight and properly aligned. This is essential for both aesthetics and efficient usage of the thermostat.
Lastly, you will need the new digital thermostat itself, which should be compatible with your HVAC system. Ensure that you have the right model and features that fit your requirements.
Having all these tools and materials ready beforehand will save you time and prevent any interruptions during the installation process. It’s always better to be prepared and have everything within reach before starting the installation.
Step 1: Turn Off Power to the HVAC System
Before you begin the installation process, it’s crucial to ensure your safety by turning off the power to the HVAC system. This step will prevent any electrical accidents or damage during the installation. Follow these instructions to turn off the power:
- Locate the main power switch or circuit breaker that controls the HVAC system. It is typically located near the HVAC unit or in the main electrical panel of your home.
- If you have a main power switch, turn it to the “Off” position. This will shut off all electricity supply to the HVAC system.
- If you have a circuit breaker, locate the one that controls the HVAC system and flip it to the “Off” position. You can identify the correct breaker by referring to the labeled diagram in the electrical panel or consulting the system’s user manual.
- After turning off the power, double-check to ensure that no electricity is flowing to the system. Test the HVAC system by changing the thermostat settings and verifying that it does not turn on.
It’s important to note that turning off the power will disable the heating and cooling functions in your home. Ensure that you take this into account and plan the installation during a time when the weather is suitable or make temporary arrangements for climate control.
By turning off the power to the HVAC system, you are taking necessary precautions to avoid any electrical hazards during the installation process. It’s always better to prioritize safety and ensure that you and your home are protected before proceeding with any electrical work.
Step 2: Remove the Old Thermostat
Now that you have turned off the power to the HVAC system, it’s time to remove the old thermostat. Follow these steps to safely remove the old thermostat:
- Start by removing the thermostat cover. Depending on the model, you may need to gently pry it off or unscrew it. Be careful not to damage the cover or any wires behind it.
- Once the cover is removed, you will see the thermostat base. Loosen the screws holding the base to the wall using a screwdriver. Keep track of the screws as you will need them later for installing the new thermostat.
- Gently pull the thermostat base away from the wall, exposing the wires connected to it. Take note of the wire connections and their corresponding labels if they are present.
- Disconnect the wires from the terminals by loosening the screws. In some cases, you may need to use a screwdriver or wire cutter/stripper to release the wires from the connectors.
- Once the wires are disconnected, remove the old thermostat base from the wall completely.
It’s important to handle the old thermostat and its wires with care to prevent any damage or accidental contact with live wires. If you are unsure about any step or encounter difficulties, it’s advisable to consult a professional to ensure a safe removal process.
After removing the old thermostat, examine the wall for any damage or residue left behind. Clean the area if necessary and make sure it is ready for installing the new thermostat.
By following these steps, you have successfully removed the old thermostat, clearing the way for the installation of your new digital thermostat. Ensure that you keep the wires organized and take note of the wire connections to facilitate a smooth transition to the next step.
Step 3: Label the Wires
After removing the old thermostat, it’s important to label the wires connected to the thermostat base. Properly labeling the wires will make it easier to connect them to the new thermostat later on. Follow these steps to label the wires:
- Start by examining the wires connected to the thermostat base. Each wire corresponds to a specific function, such as heating, cooling, or fan control.
- If the wires are already labeled, take note of the existing labels. These labels may be attached to the wires themselves or noted on the old thermostat’s base.
- If the wires are not labeled, use masking tape or adhesive labels to mark each wire. You can also use colored stickers or markers to differentiate between the wires.
- Make sure to label each wire based on its corresponding terminal or letter designation on the old thermostat. For example, if there is a wire connected to the “R” terminal, label it as “R”.
- If you’re unsure about the function or labeling of any wire, refer to the user manual of your HVAC system or consult a professional for assistance.
Properly labeling the wires is essential for a smooth installation process. It ensures that the wires are connected correctly to the new thermostat, preventing any confusion or potential damage to the HVAC system.
Once you have labeled all the wires, you can proceed to the next step with confidence, knowing that you have organized and prepared the wires for connecting them to the new thermostat.
Step 4: Mount the New Thermostat Base
With the old thermostat removed and the wires labeled, it’s time to mount the new thermostat base. Follow these steps to properly install the base:
- Start by aligning the new thermostat base against the wall. Ensure that the base is level and straight using a level. Make any necessary adjustments before proceeding.
- If the new thermostat base requires screw holes, use a drill and the appropriate drill bit to create the holes in the wall. Insert drywall anchors if needed for additional support.
- Once the holes are prepared, align the base again and insert the mounting screws through the base and into the wall. Secure the screws tightly, but be careful not to overtighten and damage the base or wall.
- Double-check that the base is securely mounted and level. Any misalignment at this stage can affect the proper functioning and aesthetics of the new thermostat.
It’s important to follow the manufacturer’s instructions when mounting the new thermostat base. Some thermostats may have specific requirements or special mounting mechanisms that differ from the standard screw-and-anchor method.
In addition, consider the location of the new thermostat base. Ideally, it should be installed on an interior wall, away from direct sunlight, drafts, and other sources of temperature fluctuation that could affect its accuracy.
By properly mounting the new thermostat base, you ensure a sturdy foundation for the rest of the installation process. Take your time to ensure a secure and level installation, as this is key to the optimal performance of your new digital thermostat.
Step 5: Connect the Wires to the New Thermostat
With the new thermostat base securely mounted, it’s time to connect the labeled wires to the new thermostat. Follow these steps to ensure a proper connection:
- Refer to the labels you made for each wire on the old thermostat base. Make note of the corresponding terminals or labels on the new thermostat.
- Start with the first wire and identify its corresponding terminal on the new thermostat. Loosen the screw or connector on the terminal to create an opening for the wire.
- Insert the wire into the appropriate terminal on the new thermostat. Make sure the wire is fully inserted and secured in place.
- Tighten the screw or connector on the terminal to secure the wire firmly. Ensure that the connection is tight, but be careful not to overtighten and damage the wire or terminal.
- Repeat this process for each labeled wire, connecting them to their respective terminals on the new thermostat base. Double-check each connection to ensure accuracy.
It’s important to handle the wires with care to prevent any bending, fraying, or damage to their insulation. If any wire appears damaged, it’s advisable to consult a professional before proceeding.
Depending on the new thermostat model, you may have additional terminals or connectors for specific functions like a common wire (C), a heat pump (O/B), or a fan (G). Reference the user manual of your new thermostat to determine the correct wiring configuration.
Once all the wires are securely connected to their corresponding terminals, you can proceed to the next step with confidence, knowing that the electrical connections are properly established.
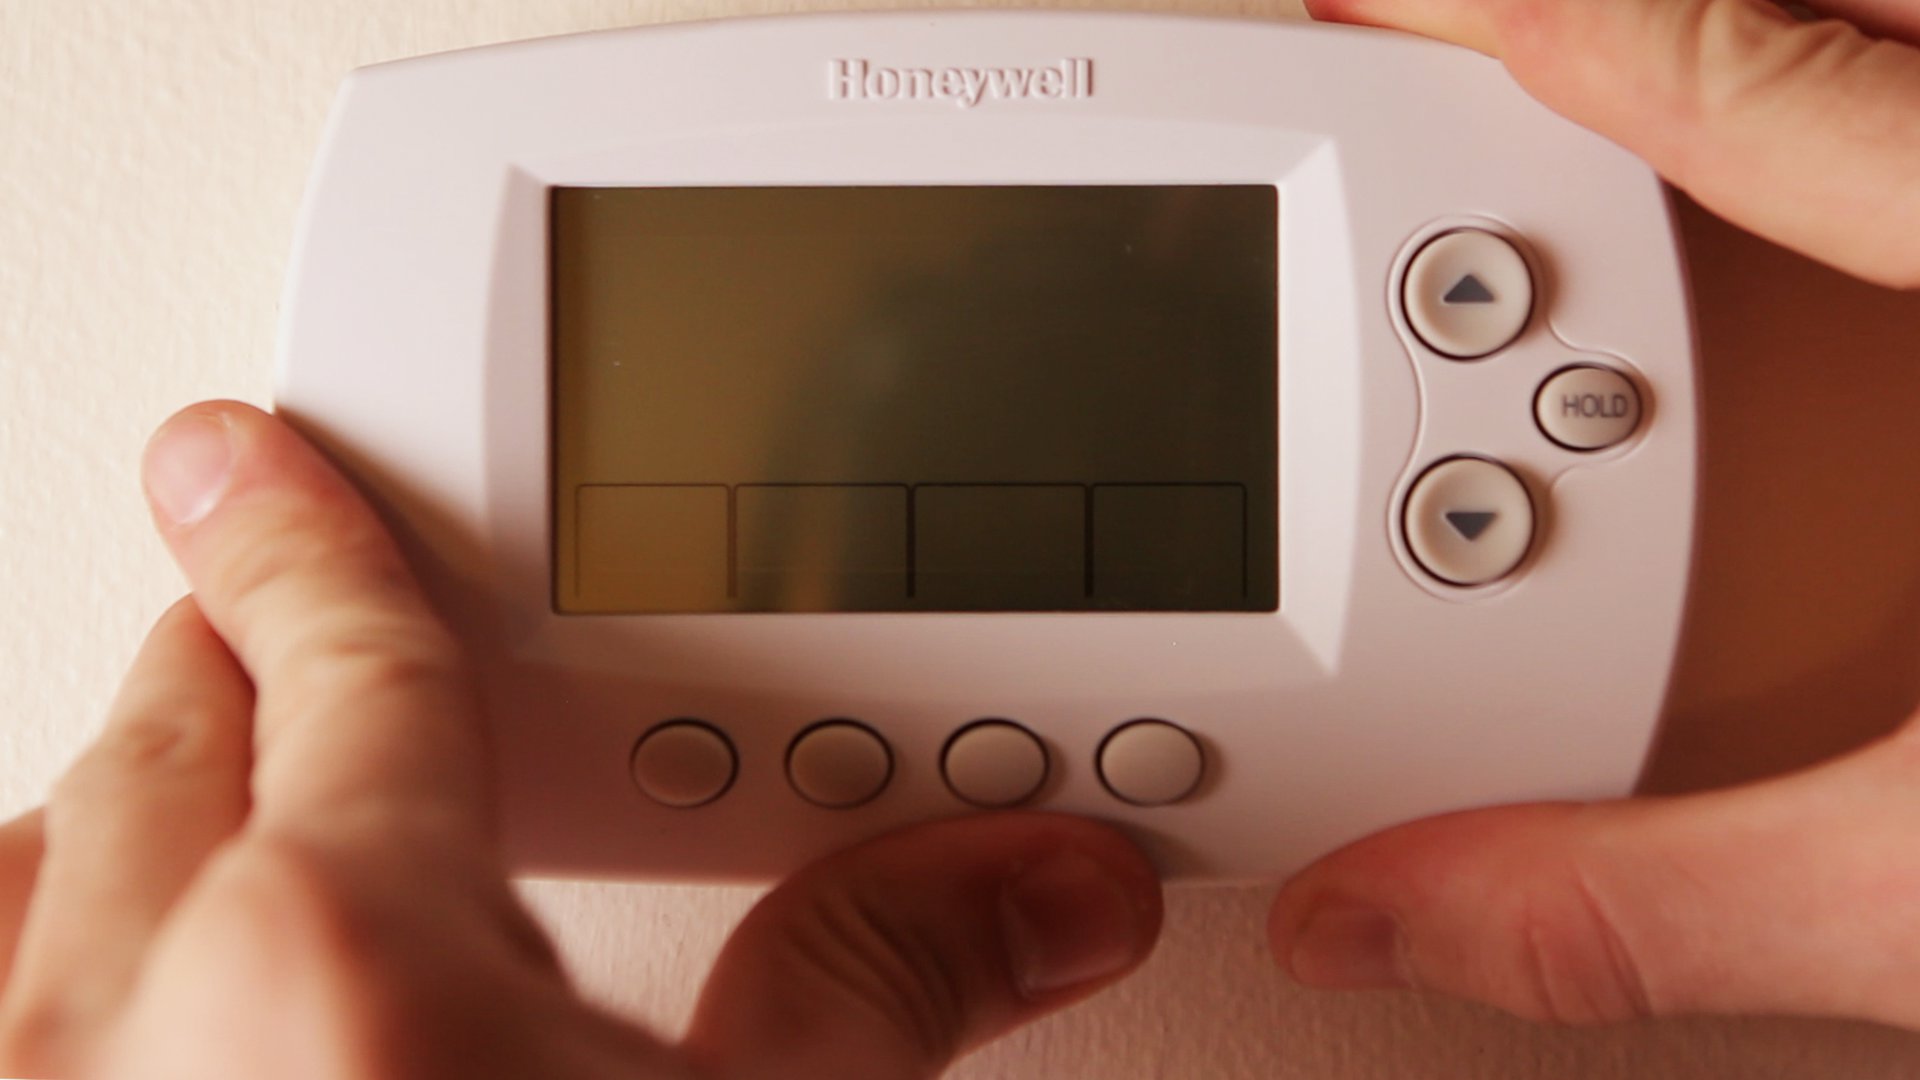
Step 6: Attach the New Thermostat Faceplate
Now that the wires are properly connected to the new thermostat base, it’s time to attach the faceplate. Follow these steps to complete this step:
- Take the new thermostat faceplate and align it with the mounted base. Ensure that it fits correctly and aligns with the screw holes or connectors on the base.
- Gently push the faceplate onto the base, making sure it snaps into place securely. Some thermostats may require a slight twist or turn to lock them into position.
- If there are screws provided with the new thermostat, insert them into the indicated screw holes on the faceplate and tighten them lightly. Be careful not to overtighten and damage the faceplate or base.
- Double-check that the faceplate is securely attached and aligned with the base. Any misalignment or loose connection can affect the functionality and appearance of the thermostat.
Depending on the new thermostat model, there may be additional components or features on the faceplate, such as buttons, a touchscreen display, or indicators for battery status or Wi-Fi connectivity. Familiarize yourself with these features by referring to the user manual provided by the manufacturer.
Once the faceplate is properly attached, take a moment to admire your new digital thermostat and its sleek appearance on the wall. It’s a significant upgrade that not only enhances the aesthetics but also provides advanced functionality for controlling your HVAC system.
With the faceplate in place, you’re ready to proceed to the next step – setting up and programming the new thermostat to suit your temperature preferences and energy-saving goals.
Step 7: Restore Power to the HVAC System
Now that the new thermostat is securely installed and the faceplate is attached, it’s time to restore power to the HVAC system. Follow these steps to ensure the power is properly restored:
- Locate the main power switch or circuit breaker for the HVAC system that you turned off earlier in the installation process.
- If you have a main power switch, turn it back to the “On” position.
- If you have a circuit breaker, locate the one that controls the HVAC system and flip it back to the “On” position.
- Ensure that the power is fully restored by checking if the HVAC system turns on and runs as expected.
- If the HVAC system does not turn on or there are any issues, double-check the wiring connections and consult a professional if needed.
Restoring power to the HVAC system is an essential step to ensure that your new thermostat can effectively control the heating and cooling in your home. It allows the thermostat to communicate with the HVAC system and regulate the temperature according to your settings.
After restoring power, it may take a few minutes for the HVAC system to kick in and start heating or cooling your home. Be patient and allow the system to stabilize before making any adjustments or changes to the thermostat settings.
Take the time to ensure that the HVAC system is functioning properly, including checking for any unusual noises, leaks, or irregular thermal performance. If you encounter any issues, it’s best to consult a professional to resolve them before proceeding.
By restoring power to the HVAC system, you have successfully completed a crucial step in the installation process, setting the stage for the next step – setting up and programming your new thermostat to suit your specific needs.
Step 8: Set Up and Program the New Thermostat
With the power restored to the HVAC system, it’s time to set up and program your new thermostat. Follow these steps to customize the settings according to your preferences:
- Refer to the user manual provided by the manufacturer to familiarize yourself with the specific setup instructions for your thermostat model.
- Start by setting the date and time on the thermostat. This ensures accurate scheduling and control of your HVAC system.
- If your thermostat has Wi-Fi connectivity, follow the instructions to connect it to your home network. This will allow you to control the thermostat remotely through a smartphone app or web interface.
- Explore the different programming options available on your thermostat. Most digital thermostats offer multiple temperature settings for different times of the day or week. Set the desired temperature schedule to match your daily routine and energy-saving goals.
- Take advantage of any advanced features offered by your thermostat, such as vacation mode, adaptive learning, or geofencing. Customize these features to optimize comfort and save energy when you’re away from home.
- Adjust any additional settings based on your preferences, such as the display brightness or temperature scale (Celsius or Fahrenheit)
- Ensure that all your settings are saved and applied to the thermostat. Some models may require you to press a specific button or follow on-screen prompts to confirm the changes.
- Double-check your programming and settings to ensure that they align with your desired temperature and comfort preferences.
Each thermostat model may have slight variations in the setup and programming process, so it’s important to follow the specific instructions provided by the manufacturer. Take the time to explore the available features and options to fully utilize the capabilities of your new thermostat.
By setting up and programming your new thermostat, you are taking control of your home’s climate and maximizing energy efficiency. Enjoy the comfort and convenience that your new digital thermostat brings to your daily life.
Step 9: Test the Thermostat Operations
After setting up and programming your new thermostat, it’s essential to test its operations to ensure everything is functioning as expected. Follow these steps to validate the thermostat’s performance:
- Set the thermostat to a temperature above or below the current room temperature, depending on whether you want to test the heating or cooling function.
- Listen for the HVAC system to activate and gauge the airflow coming from the vents. You should feel warm or cool air, depending on the selected mode.
- Observe the thermostat’s display to ensure that it accurately reflects the target temperature and mode you selected. The display should indicate that the system is running.
- Monitor the temperature in the room over time to see if it reaches the desired level based on the thermostat’s settings. The temperature should gradually approach and then maintain the set temperature.
- If you have specific programming or scheduling features enabled, verify that the thermostat adjusts the temperature according to the programmed settings at different times of the day.
- If your thermostat has Wi-Fi connectivity, test the remote control and monitoring capabilities. Use the smartphone app or web interface to adjust the thermostat’s settings from a different location and ensure that the changes are reflected on the thermostat.
- Pay attention to any unusual behavior or inconsistencies in the thermostat’s operations. If you notice any issues, consult the user manual or contact the manufacturer for troubleshooting assistance.
By testing the thermostat’s operations, you can confirm that it is working correctly and effectively controlling your HVAC system. This step ensures that your home remains comfortable and energy-efficient according to your preferences.
If you encounter any issues during testing or have concerns about the thermostat’s performance, don’t hesitate to reach out to a professional HVAC technician for guidance and assistance in resolving the problem.
With the thermostat successfully tested and operating as expected, you can now enjoy the benefits of your new digital thermostat, including enhanced comfort, energy savings, and convenient control over your home’s climate.
Tips for Troubleshooting and Common Issues
While installing and using a digital thermostat is relatively straightforward, you may encounter some common issues or challenges along the way. Here are some helpful tips for troubleshooting and resolving these issues:
- No Power: If the thermostat display is blank or not functioning, check if the power switch or circuit breaker controlling the HVAC system is on. If the power is on but the display remains unresponsive, ensure that the thermostat is properly wired and securely connected to the base.
- Inaccurate Temperature Readings: If you notice significant discrepancies between the thermostat reading and the actual room temperature, check for any sources of heat or cold air that may be affecting the thermostat’s accuracy. Avoid placing the thermostat near direct sunlight, drafts, or heating/cooling sources.
- Erratic Operation: If the HVAC system seems to turn on and off frequently or displays inconsistent behavior, check the programming and scheduling settings. Ensure that the temperature differentials are set appropriately to avoid excessive cycling.
- Wi-Fi Connectivity Issues: If you’re having trouble connecting the thermostat to your home network or experiencing connectivity dropouts, check your Wi-Fi signal strength and ensure that the thermostat is within range of the network. Restarting the router or resetting the thermostat’s Wi-Fi settings may also help resolve the issue.
- Non-Responsive Buttons or Controls: If certain buttons or control features on the thermostat are not responding, check for any dust, debris, or moisture that may be interfering. Gently clean the surface and buttons or consult the user manual for any reset procedures.
- Battery Replacement: If your thermostat uses batteries, monitor the battery status regularly. Replace the batteries if the low battery indicator appears or if the thermostat is not functioning correctly. Follow the manufacturer’s instructions for the correct battery type and replacement process.
- Professional Assistance: If you encounter persistent issues or are unsure about any aspect of the thermostat’s operation, it’s always advisable to seek professional assistance. HVAC technicians have the expertise to diagnose and resolve complex issues and can ensure that your thermostat and HVAC system are functioning optimally.
Remember, troubleshooting and resolving issues with your digital thermostat may require a combination of basic troubleshooting steps, reading the user manual, and seeking professional help when necessary. Patience and persistence are key to resolving any challenges you may face along the way.
By being proactive and informed about the potential issues and troubleshooting tips, you can overcome common problems and enjoy a smooth and trouble-free experience with your digital thermostat.