
What is a Line in Word
A line in Word refers to a horizontal or vertical dividing mark that can be inserted into a document. It can be used to separate content, create visual hierarchy, or add emphasis to specific sections. Adding lines can enhance the readability and organization of your document, making it easier for readers to navigate and comprehend the information.
Lines can be inserted in various ways, including using shapes, AutoFormat, or the border tool. Each method offers flexibility in terms of customization and placement. Depending on your document’s requirements, you can choose to insert a horizontal line or a vertical line.
Horizontal lines are typically used to break up sections of text, while vertical lines can be used to create columns or highlight specific content. Regardless of the type of line you choose to insert, it’s important to ensure that it complements the overall design aesthetic and enhances the readability of your document.
Lines can be customized in terms of color, thickness, and style to suit your specific needs. Word provides a range of options, allowing you to select a line that matches your document’s tone and style. Additionally, lines can also be removed or modified at any time, giving you the flexibility to make changes as needed.
When working with lines in Word, it’s essential to keep in mind that they should be used sparingly and purposefully. Too many lines can clutter the document and distract readers from the main content. Therefore, it’s crucial to consider the overall design and layout of your document when deciding where to insert lines.
Now that you have a better understanding of what a line is in Word, let’s explore the different ways to insert a line and customize it to suit your document’s requirements.
Different Ways to Insert a Line in Word
Microsoft Word provides multiple methods for inserting lines into your documents. Whether you want to add a horizontal line to separate sections or a vertical line for columnar formatting, here are three common ways to insert lines in Word:
- Using Shapes: One way to insert a line in Word is by using shapes. To do this, go to the “Insert” tab and click on “Shapes.” Select the line shape you want to use and draw it onto your document where you want the line to appear. You can then adjust the line’s length, thickness, and style using the formatting options.
- Using AutoFormat: Word’s AutoFormat feature allows for the quick insertion of horizontal lines. Simply type three hyphens “—” or three equal signs “===” followed by Enter. Word will automatically insert a horizontal line at that position. If you want a thicker line, type three asterisks “***” instead.
- Using the Border Tool: Another way to insert a line in Word is by utilizing the border tool. Select the paragraph or section where you want to insert the line, go to the “Home” tab, and click on the arrow next to the “Borders” button. From the drop-down menu, choose the type of line you want to insert, such as a horizontal line or a vertical line. The line will be inserted at the selected location.
These methods offer flexibility in placement and customization. You can easily adjust the appearance of the line, such as its color, thickness, and style, to match your document’s design. Experiment with different techniques to find the one that best suits your needs and enhances the overall visual appeal of your document.
Remember to use lines strategically and sparingly to maintain a clean and organized look. Lines should supplement the content, not overshadow it. By utilizing these different methods, you can effectively incorporate lines into your Word documents and improve their readability and visual structure.
Inserting a Line Using Shapes
One way to insert a line in Microsoft Word is by using shapes. This method allows for more flexibility and customization in terms of line length, thickness, and style. Here’s how you can insert a line using shapes:
- Select the location in your document where you want to insert the line.
- Go to the “Insert” tab in the toolbar at the top of the Word window.
- Click on the “Shapes” button in the “Illustrations” group.
- A drop-down menu will appear with various shape options. Scroll through the options or click on “Lines” to see different types of lines.
- Select the line shape you want to use by clicking on it once.
- A crosshair cursor will appear. Click and drag your cursor on the document to draw the line. The line will appear as you drag, allowing you to preview its length and position.
- Release the mouse button when you’re satisfied with the line’s placement.
- You can further customize the line by right-clicking on it and selecting “Format Shape” from the context menu. Here, you can adjust the line’s color, thickness, style, and other properties.
By using shapes to insert a line, you have more control over its appearance. You can create a straight line, a curved line, or even a diagonal line depending on your needs. Additionally, you can use shapes to create more complex illustrations or diagrams by combining lines with other shapes.
Remember to consider the overall design and readability of your document when inserting lines using shapes. Be mindful not to clutter the document with too many lines, as it can make it visually overwhelming and distract readers from the main content.
Now that you know how to insert a line using shapes, feel free to explore the various customization options and experiment with different line styles to enhance the visual appeal and organization of your Word documents.
Inserting a Horizontal Line Using AutoFormat
One quick and convenient way to insert a horizontal line in Microsoft Word is by using the AutoFormat feature. With just a few keystrokes, you can easily add a horizontal line to your document. Here’s how:
- Place your cursor at the desired location in your Word document where you want to insert the horizontal line.
- Type three hyphens “—” or three equal signs “===” followed by the Enter key.
- As soon as you press Enter, Word will automatically convert the three hyphens or equal signs into a horizontal line.
You can adjust the appearance of the horizontal line by modifying the paragraph formatting options. For example, you can change the font, size, color, and alignment of the line by selecting the paragraph and formatting it using the options available in the “Home” tab of the Word toolbar.
It’s important to note that you can also use three asterisks “***” instead of hyphens or equal signs if you want a thicker horizontal line. However, this may vary depending on the version of Word you are using.
AutoFormat provides a quick and efficient way to insert horizontal lines without the need for additional formatting or customization. It’s especially useful for when you need to add a separation between sections or create visual breaks in your document.
Keep in mind that AutoFormat inserts the horizontal line according to the default formatting style of your document. Therefore, if you have changed the default formatting, the line may appear differently. You can always modify the line’s appearance further by applying additional formatting options.
By leveraging the AutoFormat feature, you can save time and easily add horizontal lines to your Word documents, enhancing their visual appeal and organization.
Inserting a Horizontal Line Using the Border Tool
Another method for inserting a horizontal line in Microsoft Word is by using the border tool. This feature allows you to apply horizontal lines to specific paragraphs or sections of your document. Here’s how you can do it:
- Select the paragraph or section where you want to insert the horizontal line.
- Go to the “Home” tab in the Word toolbar.
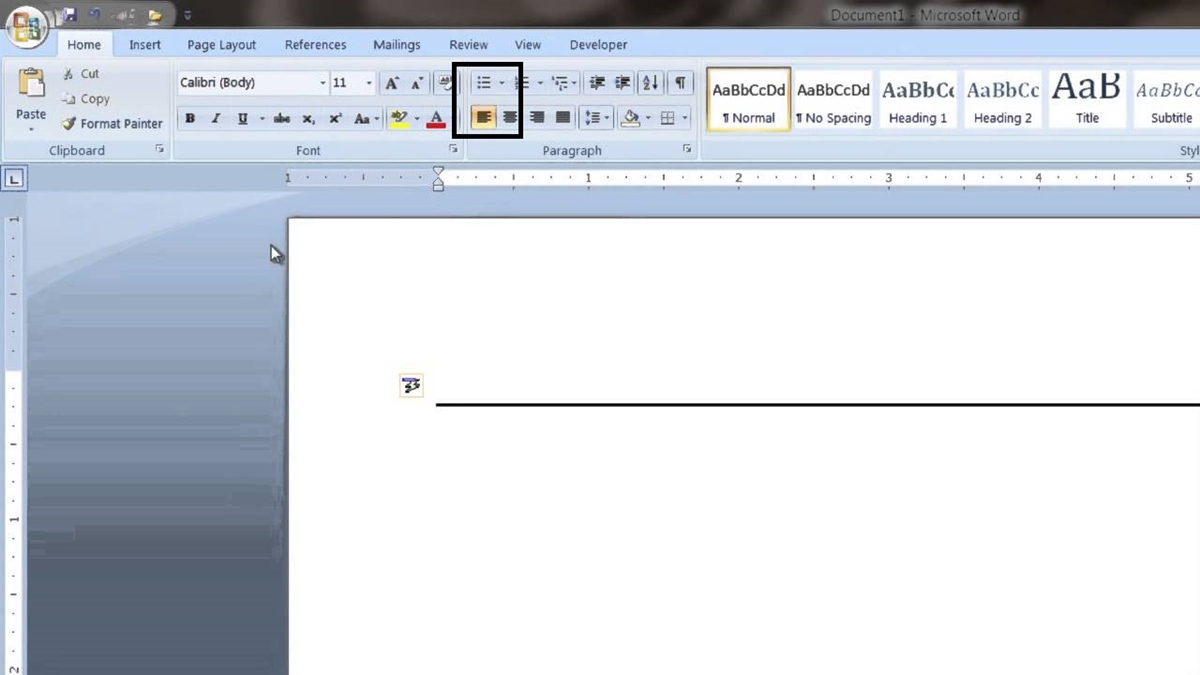
- In the “Paragraph” group, click on the arrow next to the “Borders” button.
- A drop-down menu will appear with various border options. Select “Horizontal Line” from the list.
Once you’ve selected “Horizontal Line,” a line will be inserted at the cursor position within the selected paragraph or section. If you want to insert a horizontal line at a different location, simply move your cursor to the desired position within the paragraph or section and repeat the steps above.
You can customize the appearance of the horizontal line by adjusting the border settings. To do this, follow these steps:
- Right-click on the horizontal line you inserted.
- Select “Borders and Shading” from the context menu.
- In the “Borders and Shading” dialog box, you can modify the line’s color, width, style, and placement.
- Click “OK” to apply your changes.
The border tool allows you to add horizontal lines to specific paragraphs or sections, giving you greater control over the document’s visual structure. It’s particularly useful when you want to separate different parts of your document or when you want to draw attention to specific sections of text.
Remember to use horizontal lines judiciously to maintain readability and avoid overwhelming the document with too many lines. The border tool offers a simple way to insert horizontal lines that can enhance the organization and visual appeal of your Word document.
Inserting a Vertical Line Using the Border Tool
In addition to horizontal lines, Microsoft Word’s border tool provides the option to insert vertical lines into your document. This feature is useful for creating columns, highlighting specific content, or adding a visual element to your document. Here’s how you can insert a vertical line using the border tool:
- Select the paragraph or section where you want to insert the vertical line.
- Go to the “Home” tab in the Word toolbar.
- In the “Paragraph” group, click on the arrow next to the “Borders” button.
- A drop-down menu will appear with various border options. Select “Draw Vertical Line” from the list.
Once you’ve selected “Draw Vertical Line,” your cursor will change into a small “plus” sign. Position the cursor where you want the vertical line to start, and then click and drag to the end position of the line. Release the mouse button, and the vertical line will be inserted into the document.
To customize the appearance of the vertical line, follow these steps:
- Right-click on the vertical line you inserted.
- Select “Borders and Shading” from the context menu.
- In the “Borders and Shading” dialog box, you can modify the line’s color, width, style, and placement.
- Click “OK” to apply your changes.
By using the border tool to insert a vertical line, you can create visual separation, focus attention, or establish a columnar layout within your Word document. This feature is especially useful for designing newsletters, brochures, or similar documents that require distinct sections.
As with horizontal lines, be mindful of not overusing vertical lines, as it can make your document appear cluttered or busy. Use them selectively and purposefully to enhance the readability and visual organization of your content.
Experiment with different line styles and placements to find the perfect balance and achieve the desired aesthetic for your document. The border tool provides you with the flexibility to insert vertical lines and customize them to suit your specific document’s needs.
Customizing the Line Style
When inserting lines in Microsoft Word, you have the ability to customize their style, color, thickness, and more. By adjusting these settings, you can create lines that perfectly match your document’s design and aesthetic. Here are some ways to customize the line style:
Color: By default, lines inserted in Word are black. However, you can easily change the color to match your document’s color scheme. To do this, right-click on the line and select “Format Shape” from the context menu. In the “Format Shape” pane or dialog box, navigate to the “Line” or “Outline” tab, depending on your Word version. From there, you can select a new color from the palette or choose a custom color. Experiment with various shades to find the ideal color for your line.
Thickness: The thickness of a line affects its visibility and impact. You can adjust the line’s thickness to make it more prominent or subtle. In the “Format Shape” pane or dialog box, look for the “Weight” option under the “Line” or “Outline” tab. Increase or decrease the thickness value until you achieve the desired thickness for your line. Keep in mind that excessively thick lines might overpower the content, while very thin lines may not be easily noticeable.
Style: Word offers different line styles, such as solid lines, dotted lines, dashed lines, or even custom patterns. You can experiment with these styles to create a unique look for your lines. In the “Format Shape” pane or dialog box, look for the “Line Style” option under the “Line” or “Outline” tab. Choose the desired line style from the available options. Preview how the line style looks by applying it to your line and adjusting it accordingly.
Transparency: Sometimes, you may want your lines to appear more subtle or blend into the document’s background. Adjusting the line’s transparency allows you to achieve this effect. In the “Format Shape” pane or dialog box, navigate to the “Fill” or “Line” tab, depending on your Word version. Look for the transparency or opacity settings and decrease the value to make the line more transparent. This is particularly useful when you want to create a watermark effect or add a subtle divider.
By customizing the line style in Word, you can create visually appealing documents that showcase your personal style and meet your specific design requirements. Remember to consider the overall look and readability of your document when making these customizations. Strive for a harmonious balance between the lines and the content to ensure an aesthetically pleasing and highly readable document.
Removing a Line from Word
If you have inserted a line in Microsoft Word and later decide that it is no longer needed or want to make changes to your document’s formatting, you can easily remove the line. Here are the steps to remove a line from Word:
- Locate the line you want to remove in your document.
- Select the entire line by clicking and dragging your mouse over it, or place your cursor at the beginning of the line and press the “Shift” key while using the right arrow key to select the line.
- Press the “Delete” or “Backspace” key on your keyboard to remove the selected line.
If the line you want to remove was inserted using the border tool, the above steps will remove the line entirely. However, if the line was inserted using other methods, such as shapes or AutoFormat, you may need to follow additional steps:
- Right-click on the line you want to remove.
- A context menu will appear. Select “Delete” or “Remove” from the menu options.
- The line will be deleted from your document.
It’s important to note that removing a line does not undo any changes you may have made to your document’s formatting. If you made adjustments to font size, spacing, or other formatting attributes specifically for that line, you may need to manually revert those changes if necessary.
Additionally, if you have multiple lines in your document and only want to remove a specific line without affecting the others, make sure to select only the line you want to remove and not the surrounding text or other lines.
By following these steps, you can easily remove any unwanted lines from your Word document and achieve the desired layout and formatting.
Tips and Tricks for Working with Lines in Word
Working with lines in Microsoft Word can enhance the visual appeal and organization of your documents. Here are some tips and tricks to help you effectively use lines in Word:
- Use lines sparingly: While lines can be helpful for separating content and creating visual hierarchy, it’s important not to overuse them. Too many lines can clutter the document and distract readers from the main content. Use lines strategically and purposefully to maintain a clean and organized look.
- Align lines consistently: When using horizontal lines to separate sections, ensure that they are aligned consistently throughout your document. Consistent alignment helps create a professional and polished look.
- Experiment with line styles: Word offers a variety of line styles, such as solid, dashed, dotted, and more. Take advantage of these different styles to add variation and visual interest to your document. Play around with the options and choose the style that best suits your content and design aesthetic.
- Utilize line thickness and color: Adjusting the thickness and color of lines can significantly impact their appearance. Experiment with different thicknesses and colors to find the right balance for your document. Thicker lines may draw more attention, while thinner lines can provide a subtle separation.
- Use lines in tables: Lines can be beneficial for organizing and structuring tables in Word. By applying gridlines or inserting lines within table cells, you can improve the clarity and readability of your data.
- Combine lines with other formatting elements: Explore the possibilities of combining lines with other formatting elements in Word. For example, you can use lines in conjunction with headings, lists, and bullet points to create visually appealing and organized documents.
- Consider document type and audience: The type of document and intended audience should influence your use of lines. More formal documents, such as business reports, may require clean and minimalist line styles, while creative documents, like brochures or flyers, may allow for more vibrant and ornamental lines.
- Test different line placements: Experiment with placing lines above or below headings, between paragraphs, or at the end of sections. Different placements can create varying visual effects and improve the flow of your document.
- Preview and proofread: Before finalizing your document with inserted lines, take the time to preview and ensure the lines appear as intended. Proofread your document to ensure there are no unintended line breaks, misalignments, or overlapping lines that could affect readability.
By keeping these tips and tricks in mind, you can effectively utilize lines in Microsoft Word to enhance the visual appeal, organization, and readability of your documents.