
What is Philips Hue?
Philips Hue is a revolutionary smart lighting system that allows you to control and personalize the lighting in your home like never before. It is a range of smart LED bulbs, light fixtures, and accessories that can be controlled using a smartphone, tablet, or other compatible devices. With Philips Hue, you have the power to create the perfect ambiance for any occasion and enhance the atmosphere of your living spaces.
One of the key features of Philips Hue is its ability to connect to your home Wi-Fi network, enabling you to control your lights from anywhere in the world using the Philips Hue app. This means that whether you are at home or away, you can easily turn your lights on or off, change their color, adjust their brightness, and even set schedules to automate your lighting.
Philips Hue also offers a wide spectrum of colors, allowing you to select from millions of shades to suit your mood or preference. Whether you want to create a bright and energetic environment for a morning workout or a relaxing and cozy atmosphere for a movie night, Philips Hue can cater to your specific lighting needs.
Moreover, Philips Hue is a versatile system that can seamlessly integrate with other smart home devices and platforms. It is compatible with popular voice assistants like Amazon Alexa, Google Assistant, and Apple HomeKit, allowing you to control your lights using voice commands. Additionally, you can link Philips Hue with other smart home devices such as motion sensors and smart switches to create a truly interconnected and automated lighting experience.
Overall, Philips Hue revolutionizes the way we think about lighting by combining innovative technology with endless possibilities for customization. Whether you are looking to set the mood for a romantic dinner, create a vibrant party atmosphere, or simply enhance the functionality of your lighting, Philips Hue is a game-changer in the world of smart lighting.
Why Group Lights?
Grouping lights in your Philips Hue system offers numerous benefits and can greatly enhance your lighting experience. Here are a few reasons why you should consider grouping lights:
1. Convenience and Efficiency: By grouping lights together, you can control multiple lights simultaneously with a single command or action. This saves you time and effort, especially when you have several lights in different rooms or areas of your home. For example, you can create a group for all the lights in your living room and easily turn them on or off together using the Philips Hue app or a voice command.
2. Customizable Scenes and Ambiance: Grouping lights allows you to create personalized scenes and ambiance. You can adjust the color, brightness, and even the timing of the lights in a group to create the perfect atmosphere for different activities or occasions. Whether you want a bright and energizing light for a productive work session or a warm and cozy glow for a relaxing evening, grouping lights gives you the flexibility to easily switch between preset scenes or create your own.
3. Room Control: Grouping lights by room enables you to have more control over the lighting in specific areas. For instance, you can create a group for the lights in your bedroom and control them separately from the lights in your living room. This allows you to set different lighting preferences and schedules for each room, catering to the unique needs and activities that take place in those spaces.
4. Synced Lighting Effects: When you group lights together, you can synchronize their color and effects for a cohesive lighting experience. For example, you can create a group for all the lights in your entertainment room and have them change color and intensity in sync with the music or on-screen action. This adds an extra layer of immersion and excitement to your movie nights or parties.
5. Enhanced Automation: Grouping lights opens up possibilities for automation and smart home integration. You can create routines or set timers to automatically control the lights in a group based on your preferences or daily routines. For example, you can have the lights in your kitchen turn on automatically in the morning or dim gradually in the evening to signal bedtime.
In summary, grouping lights in your Philips Hue system brings convenience, customization, and control to your lighting setup. Whether you want to simplify the management of multiple lights, create customized scenes, or sync lighting effects, grouping lights is a powerful feature that enhances the overall lighting experience in your home.
Creating a New Group
Creating a new group in your Philips Hue system allows you to organize and control multiple lights together. Whether you want to group lights in a specific room or create a custom combination, here’s how you can easily create a new group:
1. Open the Philips Hue app: Launch the Philips Hue app on your smartphone or tablet. Make sure your device is connected to the same Wi-Fi network as your Philips Hue Bridge.
2. Go to the settings menu: Tap on the “Settings” or “Menu” icon (usually represented by three horizontal lines) in the top-left corner of the app interface.
3. Select “Room setup” or “Light setup”: Depending on the version of the app, you may find either “Room setup” or “Light setup” in the list of options. Choose the appropriate one.
4. Add a new room or zone: In this step, you have two options:
a. Add a new room: If you want to group lights by room, tap on the “Add a room” option. You can choose from a list of common room names or enter a custom name for your new room.
b. Add a new zone: If you want to create a custom group that spans multiple rooms, tap on the “Add a zone” option. Select the rooms you want to include in the zone and give it a suitable name.
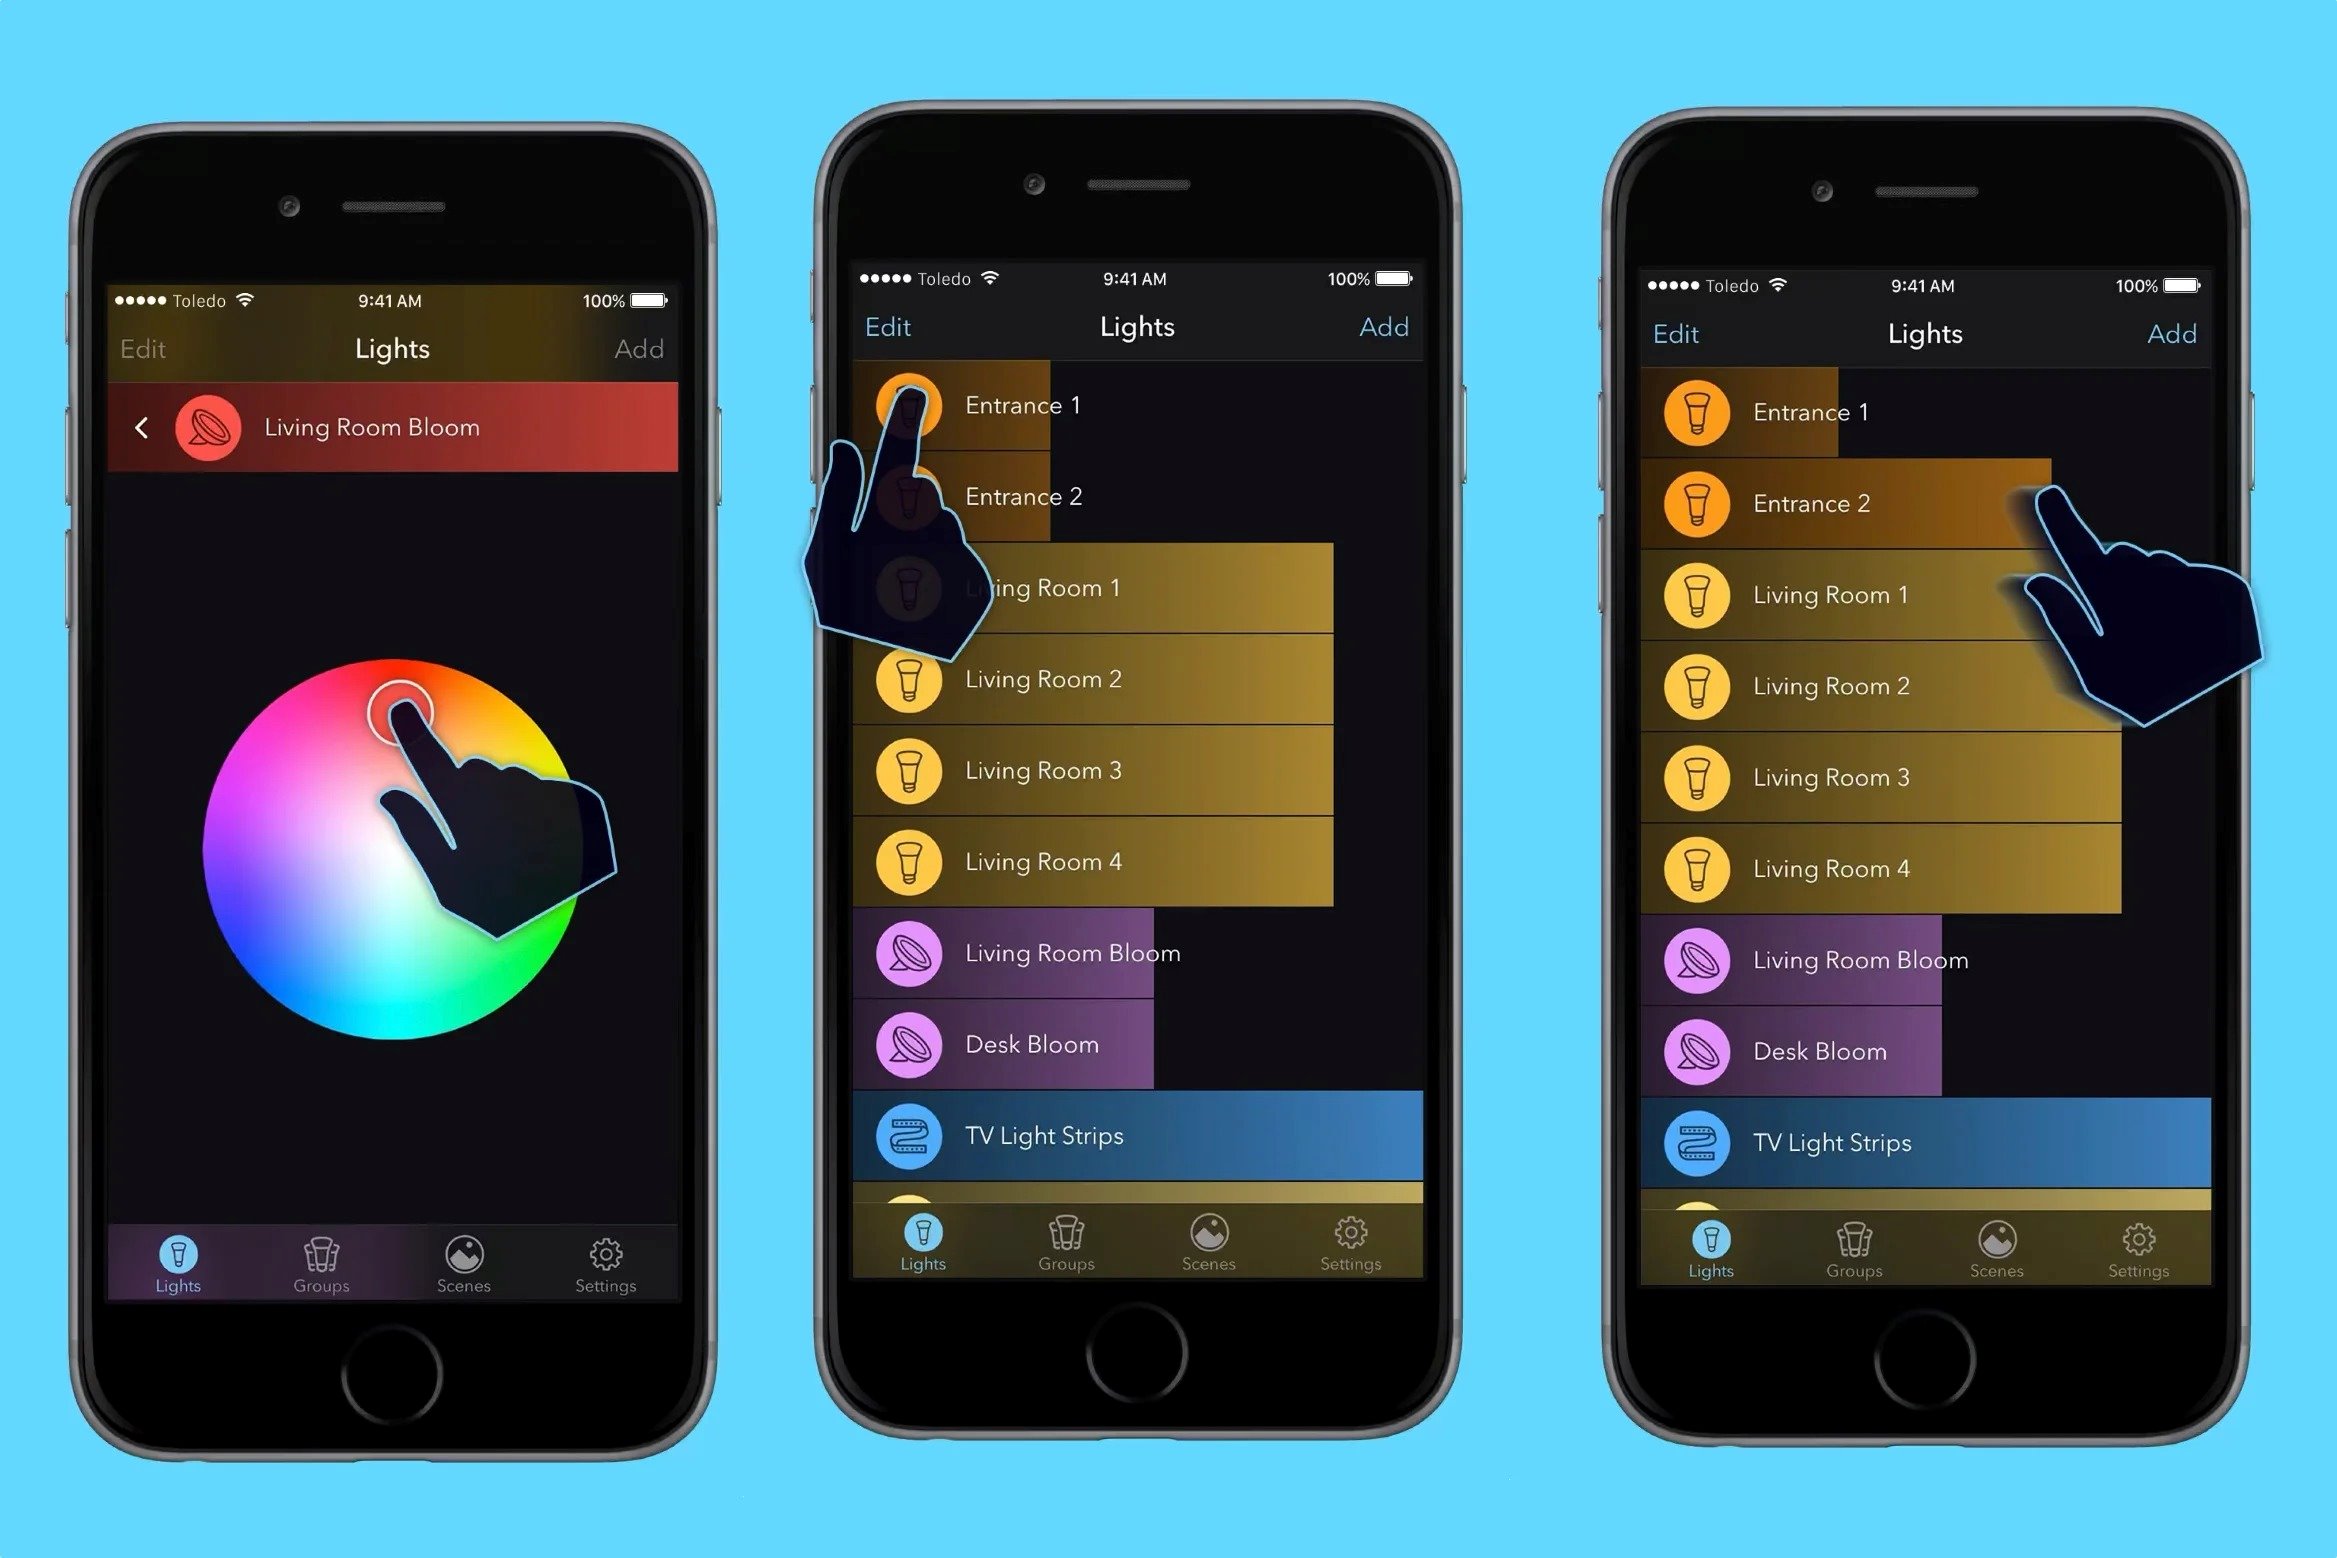
5. Select lights for the group: Once you’ve created the new room or zone, you will be prompted to select lights to include in the group. Tap on each light you want to add, and it will be highlighted or marked as selected.
6. Save and confirm: After selecting the lights, tap on the “Save” or “Done” button to create the new group. Confirm your selection if prompted, and the group will be added to your Philips Hue system.
Now, you have successfully created a new group in your Philips Hue system. You can control and customize the lights in the group using the Philips Hue app or compatible voice assistants. Remember, you can always edit or delete the group later if needed, allowing you to modify your lighting setup to suit your preferences and lifestyle.
Naming and Identifying Groups
Naming and identifying groups in your Philips Hue system is essential for easy management and control of your lights. By giving your groups clear and meaningful names, you can quickly identify and select them when adjusting your lighting settings. Here’s how you can effectively name and identify your groups:
1. Choose descriptive names: When naming a group, it’s important to choose a name that accurately reflects the lights included in the group. For example, if you have a group of lights in your living room, you could name it “Living Room Lights.” Using descriptive names helps you quickly identify the purpose or location of each group.
2. Consider room or area names: If you’re grouping lights by room or specific areas of your home, consider using the room or area name in the group’s title. For instance, you can name a group of lights in your bedroom “Bedroom Lights” or a group of lights in your kitchen “Kitchen Lights.” This helps in easily associating the group with its corresponding room.
3. Customize with additional details: If you have multiple groups within the same room or want to differentiate between similar groups, you can add additional details to the group name. For example, if you have two groups in your living room—one for overhead lights and another for floor lamps—you can name them “Living Room Overhead Lights” and “Living Room Floor Lamps” to distinguish between them.
4. Use consistent naming conventions: To maintain consistency and make it easier to navigate through your groups, establish a naming convention and stick to it. This can be as simple as using a specific format or capitalization style for all your group names. By keeping a consistent naming convention, you’ll have a more organized and user-friendly lighting control experience.
5. Assign recognizable icons: Along with names, you can assign icons or symbols to your groups. This visual representation can help you quickly identify and differentiate between groups at a glance. For example, you can assign a light bulb icon to a group of bedroom lights or a kitchen utensil icon to a group of kitchen lights. Most lighting control apps allow you to select from a range of preloaded icons or even upload custom icons for personalization.
Remember to regularly review and update your group names as your lighting needs evolve. As you add or remove lights from your groups, adjust the names accordingly to ensure accurate identification. By following these naming and identification practices, you’ll have a well-organized and easily manageable Philips Hue system that enhances your overall lighting experience.
Adding Lights to a Group
Adding lights to a group in your Philips Hue system allows you to control multiple lights together and create a cohesive lighting experience. Whether you have newly installed lights or want to reorganize your existing groups, here’s how you can easily add lights to a group:
1. Open the Philips Hue app: Launch the Philips Hue app on your smartphone or tablet. Ensure that your device is connected to the same Wi-Fi network as your Philips Hue Bridge.
2. Access the group settings: Navigate to the “Settings” or “Menu” section of the app. Look for either “Room setup” or “Group setup” options, and select the relevant option.
3. Choose the group to modify: From the list of existing groups, select the group to which you want to add lights. If you don’t have a suitable group, consider creating a new one first (refer to the “Creating a New Group” section for guidance).
4. Edit the group settings: Once you’re in the group settings, you should see an option to “Edit” or “Modify” the group. Tap on this option.
5. Add lights to the group: In the editing mode, you’ll find a list of available lights that are not yet included in the group. Select the lights you want to add by tapping on their respective checkboxes. Alternatively, there may be an option to “Add lights” or “Search for lights” within the group settings.
6. Save the changes: After selecting the lights to add, tap on the “Save” or “Done” button to save your changes. The newly added lights will now be part of the group, allowing you to control them together.
7. Test the group control: To ensure that the lights have been added successfully, test the group control by turning the lights on or off using the Philips Hue app or a compatible voice command. You should see all the lights in the group respond simultaneously.
Adding lights to a group in your Philips Hue system provides you with greater flexibility and control over your lighting setup. You can easily modify and expand your groups as you add new lights to your collection or rearrange existing ones. By grouping your lights together, you can create synchronized lighting effects, simplify control, and enhance the overall ambiance of your living spaces.
Removing Lights from a Group
Removing lights from a group in your Philips Hue system allows you to reorganize your lighting setup and control individual lights separately. Whether you want to reassign lights to different groups or simply remove them from a group, here’s how you can easily remove lights from a group:
1. Open the Philips Hue app: Launch the Philips Hue app on your smartphone or tablet. Ensure that your device is connected to the same Wi-Fi network as your Philips Hue Bridge.
2. Access the group settings: Navigate to the “Settings” or “Menu” section of the app. Look for either “Room setup” or “Group setup” options and select the relevant option.
3. Choose the group to modify: From the list of existing groups, select the group from which you want to remove lights. If you don’t have a suitable group, consider creating one first (refer to the “Creating a New Group” section for guidance).
4. Edit the group settings: Once you’re in the group settings, there should be an option to “Edit” or “Modify” the group. Tap on this option.
5. Remove lights from the group: In the editing mode, you’ll see a list of lights included in the group. Tap on the checkboxes next to the lights you want to remove to deselect them. Alternatively, there may be an option to “Remove lights” or “Deselect lights” within the group settings.
6. Save the changes: After removing the lights from the group, tap on the “Save” or “Done” button to save your changes. The selected lights will no longer be part of the group and can be controlled individually.
7. Test individual light control: To ensure that the lights have been removed successfully, test the control of each light individually. Use the Philips Hue app or voice commands to turn on or off each light that was removed from the group. The lights should respond independently.
Removing lights from a group allows you to customize your lighting system according to your preferences and needs. You can create new groups, redistribute lights between different groups, or control individual lights separately. By removing lights from a group, you gain more flexibility in creating unique lighting experiences in different areas of your home.
Adjusting Group Settings
Adjusting group settings in your Philips Hue system allows you to fine-tune and customize the behavior and characteristics of a group of lights. Whether you want to change the color, brightness, or behavior of a group, here’s how you can easily adjust the settings of a group:
1. Open the Philips Hue app: Launch the Philips Hue app on your smartphone or tablet. Ensure that your device is connected to the same Wi-Fi network as your Philips Hue Bridge.
2. Access the group settings: Navigate to the “Settings” or “Menu” section of the app. Look for either “Room setup” or “Group setup” options and select the relevant option.
3. Choose the group to modify: From the list of existing groups, select the group for which you want to adjust the settings. If you don’t have a suitable group, consider creating one first (refer to the “Creating a New Group” section for guidance).
4. Edit the group settings: Once you’re in the group settings, there should be an option to “Edit” or “Modify” the group. Tap on this option to access the settings of the selected group.
5. Adjust color and brightness: Within the group settings, you’ll find options to adjust the color and brightness of the lights in the group. You can manually select a specific color using a color wheel or slider, or choose from preset color scenes. Similarly, you can adjust the brightness level of the lights to your desired intensity.
6. Set behavior and effects: Some groups may offer additional settings for behavior and effects. For example, you may have options such as “Color loop” to create a dynamic changing color effect or “Fade in” to gradually increase the brightness of the lights. Explore these settings and customize them according to your preferences.
7. Save the changes: After adjusting the group settings, tap on the “Save” or “Done” button to save your changes. The settings you modified will be applied to the lights in the group.
By adjusting group settings, you can create different moods and atmospheres in your living spaces. Whether you want a vibrant and energetic ambiance or a soft and relaxing glow, customizing the settings of your groups allows you to create the perfect lighting experience for any occasion. Experiment with different combinations of colors, brightness, and effects to truly personalize your home’s lighting with Philips Hue.
Controlling Group Lights
Controlling group lights in your Philips Hue system allows you to easily manage and adjust multiple lights together. Whether you want to turn a group on or off, change the brightness, or adjust the color, here are some ways you can control the lights in a group:
1. Philips Hue app: The Philips Hue app provides a user-friendly interface for controlling your group lights. Open the app on your smartphone or tablet and navigate to the group you want to control. From there, you can tap on the respective buttons or sliders to turn the lights on or off, adjust the brightness level, and choose the desired color or scene.
2. Voice control: If you have a voice assistant device such as Amazon Alexa, Google Assistant, or Apple HomeKit, you can control your group lights with simple voice commands. Make sure your Philips Hue system is connected to your voice assistant, and then use commands like “Hey Google, turn on the living room lights” or “Alexa, set the bedroom lights to blue” to control your group lights hands-free.
3. Dimmer Switch or Tap Switch: Philips Hue offers physical controllers such as the Dimmer Switch or Tap Switch. These wireless devices allow you to control your group lights without the need for a smartphone or voice command. Simply mount the switch on the wall or place it on a surface, and you can turn the lights on or off, adjust the brightness, and even cycle through different scenes preset in the app.
4. Smart home integration: If you have a smart home system or hub like Samsung SmartThings or Apple HomeKit, you can integrate Philips Hue and control the group lights through the respective platform. This enables you to include the group lights in your overall smart home routines or automation, enhancing the convenience and efficiency of your lighting control.
5. Third-party apps and controls: There are numerous third-party apps and controls available that are compatible with Philips Hue. These apps offer additional features and customization options for controlling your group lights. Some apps even provide dynamic lighting effects, music synchronization, and advanced scheduling options to enhance your lighting experience.
By utilizing the various control methods available, you can easily adjust and customize your group lights to create the desired ambiance and atmosphere in your home. Whether it’s through the Philips Hue app, voice control, physical switches, smart home integration, or third-party apps, the ability to control your group lights gives you the power to transform your living spaces with just a few taps, commands, or actions.
Automating Group Lights
One of the greatest advantages of the Philips Hue system is the ability to automate your group lights. Through automation, you can create schedules, routines, and triggers to control your lights automatically, enhancing convenience and energy savings. Here are some ways to automate your group lights:
1. Schedules: With the Philips Hue app, you can create schedules to turn your group lights on or off at specific times of the day. This is useful for simulating your presence when you are away from home or for creating a consistent lighting routine. For example, you can schedule your living room lights to turn on in the evening just before you arrive home, ensuring a welcoming ambiance every time.
2. Motion Sensors: Philips Hue motion sensors allow you to automate your group lights based on motion detection. By placing motion sensors in strategic areas, such as hallways or entryways, your lights will automatically turn on when motion is detected, and then turn off after a specified period of inactivity. This not only saves energy but also provides added convenience, especially in areas where manual control may be cumbersome.
3. Geofencing: Geofencing allows you to automate your group lights based on your location. By using the GPS capabilities of your smartphone, you can set up geofences that trigger your lights to turn on or off when you enter or leave a specific area. For instance, you can have your lights turn on when you arrive home and turn off when you leave, eliminating the need to manually control them.
4. Smart Home Integration: Integrating Philips Hue with your smart home system or hub opens up even more possibilities for automating your group lights. With platforms like Samsung SmartThings, Apple HomeKit, or Google Assistant, you can create complex routines and automation sequences involving multiple smart devices. For example, you can set up a routine that gradually dims your group lights in the evening while also adjusting your thermostat and locking doors for a cozy and secure bedtime environment.
5. Remote Control: Philips Hue also offers remote control options through the app or compatible devices. This allows you to control your group lights even when you’re not at home. Whether you want to turn on the lights before you arrive or ensure they are off when you leave, remote control capabilities provide convenience, security, and peace of mind.
By automating your group lights, you can create a seamless and effortless lighting experience tailored to your lifestyle. Whether it’s through schedules, motion sensors, geofencing, smart home integration, or remote control, automation frees you from the need to manually control your lights and adds a touch of sophistication and convenience to your Philips Hue system.
Syncing Group Lights with Music or TV
Syncing your group lights with music or your TV is an exciting way to enhance your entertainment experience and create a dynamic atmosphere in your living spaces. With the Philips Hue system, you can synchronize the colors and effects of your group lights with the audio or visuals playing from your music or TV. Here’s how you can achieve this captivating effect:
1. Philips Hue Sync: Philips offers a dedicated software called Philips Hue Sync that allows you to sync your group lights with the audio and visuals of your music or TV. Install the Philips Hue Sync app on your computer, connect it to your Philips Hue Bridge, and select your desired group of lights. The app will analyze the audio or video output on your computer and generate dynamic lighting effects that match the mood and rhythm. This gives you a truly immersive and synchronized entertainment experience.
2. Third-party apps and devices: In addition to Philips Hue Sync, there are several third-party apps and devices available that can synchronize your group lights with music or your TV. These apps and devices use various methods, such as audio analysis or HDMI connections, to detect and react to the sound or visuals. Some popular options include Hue Sync Box, which connects to your TV and synchronizes your lights, and apps like iLightShow for music synchronization.
3. Entertainment zones: Philips Hue now offers Entertainment Zones, a feature that allows you to create multiple zones within a room and sync your group lights accordingly. For example, you can create a zone for your TV area and another for your stereo system. This provides more precise synchronization, as different zones can respond independently to different parts of the audio or visuals.
4. Philips Hue Play HDMI Sync Box: The Philips Hue Play HDMI Sync Box takes synchronization to the next level. It connects between your HDMI devices (such as your TV, gaming console, or streaming device) and your TV, analyzing the content in real-time and syncing your group lights accordingly. This ensures an immersive lighting experience that matches the action and atmosphere on your screen.
Whether you’re hosting a party, watching a movie, or simply enjoying your favorite music, syncing your group lights with the audio or visuals adds a dynamic and engaging element to your entertainment setup. By using Philips Hue Sync, third-party apps and devices, or the Philips Hue Play HDMI Sync Box, you can create a captivating and synchronized lighting experience that complements and amplifies your audio-visual enjoyment.
Troubleshooting Group Lights
While the Philips Hue system offers a seamless lighting experience, you may encounter occasional issues with your group lights. Here are some common troubleshooting steps to help you resolve any problems and ensure that your group lights function smoothly:
1. Check the power supply: Ensure that all the lights in your group have a proper power supply. Make sure they are securely connected to the power source, and that the power cables are intact and not damaged.
2. Verify the network connection: Confirm that your Philips Hue Bridge is connected to your Wi-Fi network. Check that your smartphone or tablet is also connected to the same network. If there are any connection issues, try resetting your router or reconnecting your bridge to the network.
3. Restart the Philips Hue Bridge: Sometimes, restarting the Philips Hue Bridge can resolve connectivity issues. Simply unplug the bridge from the power source, wait for a few seconds, and then plug it back in. Allow a few moments for the bridge to fully restart and reconnect to your network.
4. Ensure firmware updates: Keep your Phillips Hue Bridge and lights up to date by regularly checking for firmware updates using the Philips Hue app or the Philips Hue Bridge settings. Updating to the latest firmware can fix bugs, improve performance, and add new features to your lighting system.
5. Reset and reconnect lights: If you are experiencing issues with specific lights in your group, try resetting and reconnecting them. This can be done using the Philips Hue app or by following the manufacturer’s instructions for the specific model of light. Once reset, you can add them back to the group and test their functionality.
6. Check wireless interference: Verify if there are any devices or appliances that could be causing wireless interference. Microwaves, cordless phones, or neighboring Wi-Fi networks can disrupt the signal between the Philips Hue Bridge and the lights. Try moving the bridge or lights away from potential sources of interference or consider using Wi-Fi extenders for a stronger and more reliable connection.
7. Contact customer support: If you have tried all the troubleshooting steps and are still experiencing issues with your group lights, reach out to the Philips Hue customer support team. They can provide further guidance and assistance in resolving any persistent problems you may be facing.
Remember that troubleshooting steps may vary depending on the specific issue or setup you have. It’s also a good idea to consult the Philips Hue product documentation or online support resources for more detailed troubleshooting instructions tailored to your specific situation.
By following these troubleshooting steps, you can identify and resolve potential issues with your group lights and ensure that they operate smoothly, allowing you to enjoy the full benefits of your Philips Hue system.