
Setup Email VIP List
Have you ever missed an important email because it got lost in the sea of messages flooding your inbox? With iOS Mail’s VIP Email Alerts feature, you can ensure that you never miss an important message again. Setting up a VIP Email list allows you to prioritize emails from specific contacts, ensuring that their messages are immediately brought to your attention. Follow these steps to set up your VIP Email list:
1. Open the iOS Mail app on your device.
2. Go to the Mailboxes screen and tap on “VIP”.
3. Under the VIP section, you will find an option to “Add VIP…”. Tap on it.
4. Your contacts list will appear, allowing you to select the desired contact(s) for your VIP list. Tap on the name(s) of the contacts you wish to prioritize.
5. Tap on “Done” to save your selections. You have now successfully added contacts to your VIP list.
Once you have set up your VIP Email list, you can customize the alerts and notifications to ensure that you are promptly notified of any messages from your VIP contacts. In the next section, we will discuss how to customize VIP alerts to suit your preferences.
Customize VIP Alerts
Now that you have set up your VIP Email list, it’s time to customize the alerts and notifications to suit your preferences. iOS Mail offers several options to ensure that you are promptly notified of any messages from your VIP contacts. Follow these steps to customize your VIP alerts:
1. Open the iOS Mail app on your device.
2. Go to the Mailboxes screen and tap on “VIP”.
3. Tap on the “i” icon next to the VIP contact you wish to customize the alerts for.
4. In the VIP alert settings, you will find options to enable or disable notifications, select a custom alert sound, and choose whether to show the contact in the locked screen notifications.
5. Enable the “Allow Notifications” toggle switch to receive alerts for new emails from the VIP contact.
6. Tap on “Sound” to choose a custom alert sound for notifications from the VIP contact. You can select from the pre-installed sounds or choose a custom sound from your device’s library.
7. To ensure that you don’t miss any important emails, enable the “Show on Lock Screen” option. This will display notifications from the VIP contact even when your device is locked.
8. Tap on “Done” to save your VIP alert settings.
By customizing your VIP alerts, you can easily differentiate important emails from regular ones, ensuring that you never miss an important message from your VIP contacts. In the next section, we will learn how to mark contacts as VIP to add them to your VIP Email list.
Enable VIP Alerts
Enabling VIP Alerts in iOS Mail allows you to receive specialized notifications for emails from your VIP contacts. These alerts ensure that you never miss an important message from your VIP contacts. Follow these steps to enable VIP Alerts:
1. Open the iOS Mail app on your device.
2. Go to the Mailboxes screen and tap on “VIP”.
3. Tap on the “i” icon next to the VIP contact for whom you want to enable alerts.
4. In the VIP alert settings, ensure that the “Allow Notifications” toggle switch is enabled.
5. If you want to hear a sound for notifications from this VIP contact, select a custom alert sound by tapping on “Sound” and choosing an option from the list.
6. To see notifications from the VIP contact on your device’s lock screen, enable the “Show on Lock Screen” option.
7. Tap on “Done” to save your settings.
By enabling VIP Alerts, you ensure that important emails from your VIP contacts stand out among the rest, allowing you to respond promptly. In the next section, we will discuss how to mark contacts as VIP to add them to your VIP Email list.
Mark Contacts as VIP
One of the key features of iOS Mail is the ability to mark specific contacts as VIPs. When you mark a contact as a VIP, their emails will be highlighted and displayed prominently in your mailbox. This makes it easier to identify and prioritize important messages from your VIP contacts. Here’s how to mark contacts as VIP:
1. Open the iOS Mail app on your device.
2. Locate an email from the contact you want to mark as a VIP.
3. Swipe right on the email to reveal options, then tap on the “More” button (represented by three dots).
4. In the contextual menu that appears, tap on “Mark…” to reveal additional options.
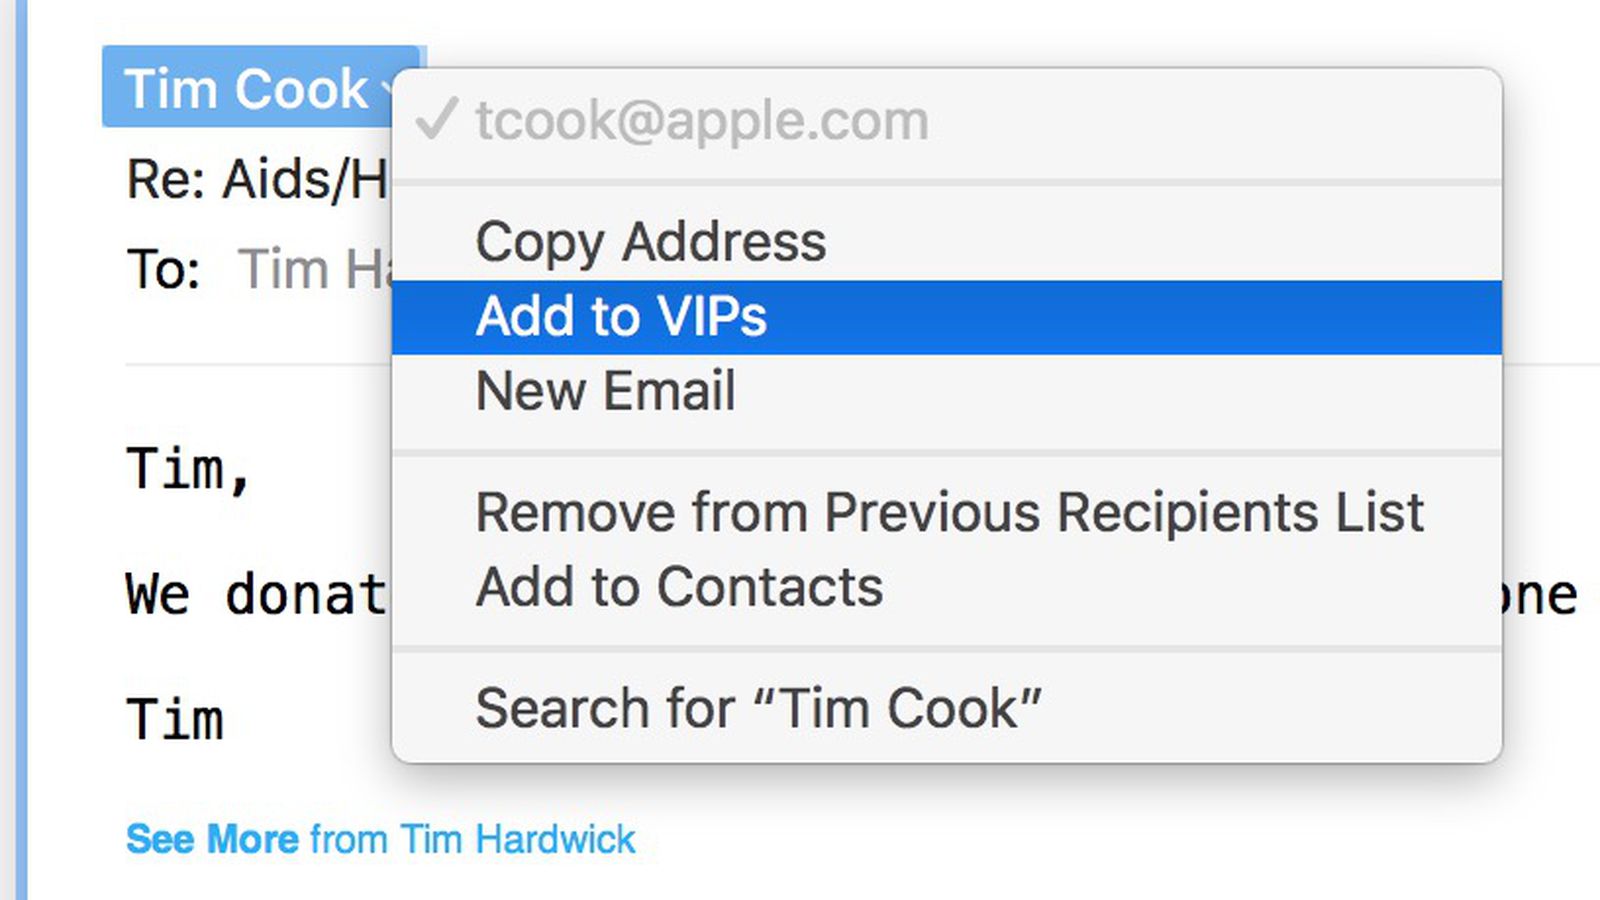
5. Tap on “Mark as VIP”.
6. A popup will appear, asking you to confirm the action. Tap on “Mark as VIP” again to confirm.
7. The contact is now marked as a VIP and their emails will be easily identifiable in your mailbox.
You can repeat these steps for any other contacts you want to mark as VIPs. This enables you to prioritize their emails and ensures that you never miss any important messages from them. In the next section, we will explore how to set email notifications specifically for your VIP contacts.
Set Email Notifications for VIPs
Setting up email notifications specifically for your VIP contacts ensures that you receive immediate alerts for their messages. This allows you to stay on top of important communication and respond promptly. Here’s how to set email notifications for VIPs in iOS Mail:
1. Open the iOS Mail app on your device.
2. Go to the Mailboxes screen and tap on “VIP”.
3. Tap on the “i” icon next to the VIP contact for whom you want to set email notifications.
4. In the VIP alert settings, ensure that the “Allow Notifications” toggle switch is enabled.
5. Under the “Alert Style” section, you can choose between three options: None, Banners, and Alerts. Select the option that suits your preferences.
6. Enable the “Badge App Icon” option if you want to see a badge notification on the Mail app icon when you receive emails from this VIP contact.
7. If you want the VIP contact’s emails to appear with a distinctive sound, tap on “Sound” and select the desired sound from the list.
8. To see notifications from the VIP contact on your device’s lock screen, enable the “Show on Lock Screen” option.
9. Tap on “Done” to save your settings.
By setting up email notifications for VIPs, you ensure that you receive immediate alerts and can prioritize communication with your important contacts. In the next section, we will explore how to set a custom VIP alert sound to further enhance the distinguishability of their emails.
Set a Custom VIP Alert Sound
One way to further enhance the distinguishability of emails from your VIP contacts is by setting a custom alert sound specifically for them. With a unique sound, you can instantly recognize when an important message arrives. Here’s how to set a custom VIP alert sound in iOS Mail:
1. Open the iOS Mail app on your device.
2. Go to the Mailboxes screen and tap on “VIP”.
3. Tap on the “i” icon next to the VIP contact for whom you want to set a custom alert sound.
4. In the VIP alert settings, ensure that the “Allow Notifications” toggle switch is enabled.
5. Under the “Sound” section, tap on the current sound to open the sound selection menu.
6. Browse the list of pre-installed sounds and tap on the one you want to use as the custom alert sound for this VIP contact. Alternatively, you can tap on “Classic” at the top of the list to choose a custom sound from your device’s library.
7. Tap on “Done” to save your settings.
By setting a custom VIP alert sound, you can easily differentiate emails from your VIP contacts from the rest of your inbox. This ensures that you promptly attend to important messages, even in a crowded mailbox. In the next section, we will discuss how to customize the display of your VIP list.
Customize VIP List Display
The VIP List in iOS Mail displays all your important contacts in a dedicated section, making it easy to access their emails quickly. You can further customize the display of your VIP list to suit your preferences and improve your workflow. Here’s how to customize the VIP list display:
1. Open the iOS Mail app on your device.
2. Go to the Mailboxes screen and tap on “VIP”.
3. Tap on the “Edit” button in the top-right corner of the screen.
4. You can now rearrange the order of your VIP contacts by dragging and dropping them using the handles on the right side.
5. To remove a contact from the VIP list, tap on the red minus (“-“) button next to their name and confirm the removal.
6. If you want to add more contacts to the VIP list, tap on the green plus (“+”) button and select the desired contacts from your contacts list.
7. Once you have made the desired changes, tap on the “Done” button to save your customized VIP list display.
By customizing the VIP list display, you can arrange your important contacts in an order that makes the most sense to you and easily add or remove contacts as needed. This improves your workflow and allows you to efficiently manage important emails. In the next section, we will discuss how to remove contacts from the VIP list.
Remove Contacts from VIP List
As your email communication needs evolve, you may find that certain contacts no longer require VIP status. In such cases, it’s important to know how to remove contacts from the VIP list in iOS Mail. Here’s how you can remove contacts from the VIP list:
1. Open the iOS Mail app on your device.
2. Go to the Mailboxes screen and tap on “VIP”.
3. Locate the contact that you want to remove from the VIP list.
4. Swipe left on the contact’s name to reveal the “Remove” button.
5. Tap on “Remove” to confirm the removal of the contact from the VIP list.
Once you remove a contact from the VIP list, their emails will no longer receive the special treatment associated with VIP status. They will appear like any other email in your inbox.
It’s important to regularly review and update your VIP list to ensure that it remains relevant to your current needs. By removing contacts that no longer require VIP status, you can focus your attention on the most important messages and maintain an organized email workflow.
In the next section, we will discuss how to disable VIP email alerts altogether, if you no longer wish to receive them.
Disable VIP Email Alerts
If you no longer wish to receive VIP email alerts in iOS Mail, you have the option to disable them. Disabling VIP email alerts will prevent any special notifications or visual cues for emails from your VIP contacts. Here’s how you can disable VIP email alerts:
1. Open the iOS Mail app on your device.
2. Go to the Mailboxes screen and tap on “VIP”.
3. Tap on the “i” icon next to the VIP contact for whom you want to disable alerts.
4. In the VIP alert settings, disable the “Allow Notifications” toggle switch.
By disabling VIP email alerts, you will no longer receive special notifications for emails from the chosen VIP contact. Instead, their emails will appear in your mailbox like any other regular email.
This feature is particularly useful if you no longer wish to be alerted for emails from specific contacts or if you prefer to manage all your emails in the same manner. It allows you to customize your email experience based on your preferences and needs.
In this guide, we have covered everything from setting up the VIP email list to customizing notifications, sounds, and display options. By utilizing these features effectively, you can ensure that you never miss important emails from your VIP contacts and stay on top of your communication.