
What is the Internet Security Tab?
The Internet Security Tab is a crucial feature that allows users to manage their online security settings. It is typically found within the settings or options menu of web browsers, providing users with control over various security aspects while they explore the internet. With the growing number of online threats, it is essential to understand how to access and utilize this tab to ensure a safe browsing experience.
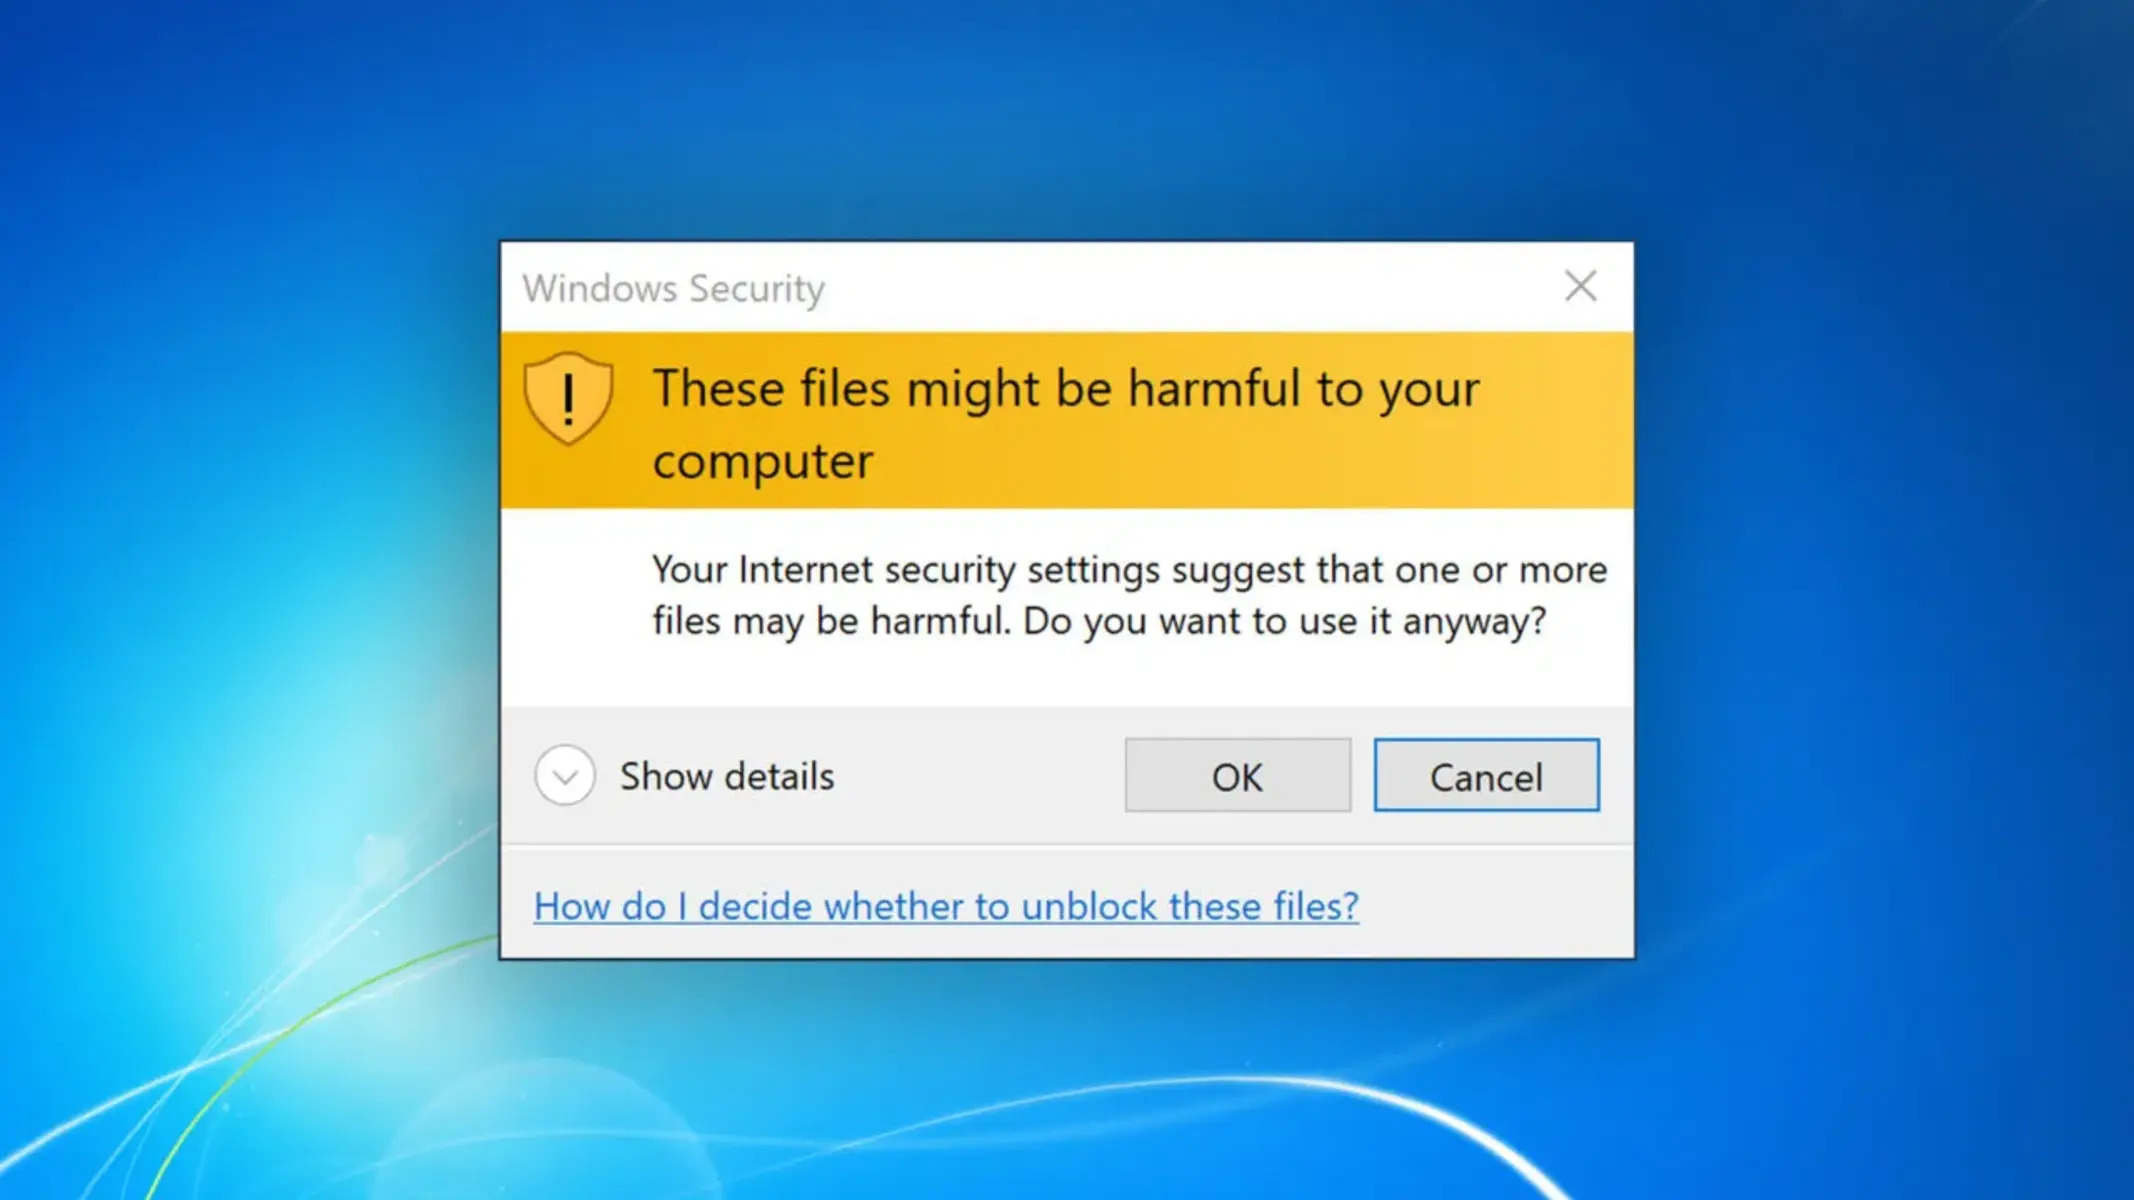
The Internet Security Tab is designed to safeguard users against malicious activities such as phishing attempts, malware infections, and unauthorized access to personal information. By adjusting the settings within this tab, users can enhance their protection against potential online threats.
The Internet Security Tab generally offers a range of settings that can be customized according to individual preferences and requirements. These can include options for blocking pop-ups, enabling or disabling JavaScript, managing cookies, and controlling access to websites with suspicious or harmful content. In addition, it may provide features such as anti-phishing and anti-malware protection, which can automatically detect and block potentially harmful websites.
By accessing the Internet Security Tab, users can also set up preferences for secure browsing, such as enabling secure connections (HTTPS) and warning prompts for unsecured websites. Some browsers may even offer advanced security features like sandboxing, which isolates web pages or applications to prevent them from accessing sensitive system resources.
It is important to note that the specific location and terminology for the Internet Security Tab may vary slightly depending on the web browser being used. Examples of popular web browsers include Google Chrome, Mozilla Firefox, Microsoft Edge, and Safari. However, regardless of the browser, the functionality and purpose of the Internet Security Tab remain relatively consistent.
Step 1: Open Your Web Browser
The first step in accessing the Internet Security Tab is to open your preferred web browser. This can be any browser you have installed on your device, such as Google Chrome, Mozilla Firefox, Microsoft Edge, or Safari. Simply locate the browser icon on your desktop or in the start menu and click on it to launch the application.
Once the browser is open, you will be presented with a blank window or a homepage, depending on your browser settings. Take a moment to ensure that you have a stable internet connection before proceeding to the next step, as this will ensure that you can access all the necessary features and functionalities of the browser.
If you have multiple web browsers installed on your device, you can choose any browser you prefer for accessing the Internet Security Tab. Keep in mind that the location of the tab may vary slightly between different browsers, but the general process remains the same.
It is worth noting that some browsers, such as Google Chrome, may have additional security features built into their interface, such as a small green padlock icon indicating a secure connection. These indicators can give you peace of mind regarding the security of your browsing experience. However, for more granular control over your security settings, you will need to access the Internet Security Tab.
Now that you have your web browser open and ready, you can proceed to the next step, which involves accessing the settings or options menu. This is where you will find the Internet Security Tab, allowing you to customize your security preferences and ensure safer browsing.
Step 2: Access the Settings or Options Menu
Once you have your web browser open, the next step is to access the settings or options menu. This menu is where you will find various customization options for your browser, including the Internet Security Tab.
To access the settings or options menu, look for a small icon or button usually located in the top-right or top-left corner of the browser window. It can be represented by three horizontal lines (also known as the hamburger menu), three dots, or a gear icon. Different browsers may have different icons, but the purpose remains the same – to access the browser settings.
Clicking on this icon or button will trigger a drop-down menu, from which you can select the “Settings” or “Options” option. Alternatively, some browsers provide a direct link to the settings menu in the form of a gear icon.
Upon selecting the settings or options menu, a new tab or window will open with a range of customization options. This is where you can fine-tune various aspects of your browser such as appearance, privacy settings, and extensions.
It is essential to mention that the location and naming of the settings or options menu may vary slightly depending on the browser you are using. For example, in Google Chrome, the menu is represented by three vertical dots and titled “Settings”. In Mozilla Firefox, it is represented by three horizontal lines and titled “Options”. Regardless of the browser, you can generally find the settings or options menu at the top of the browser window.
Now that you have accessed the settings or options menu, you are one step closer to finding the Internet Security Tab. In the next step, we will guide you through locating the security or privacy tab within the settings menu.
Step 3: Locate the Security or Privacy Tab
After accessing the settings or options menu of your web browser, the next step is to locate the Security or Privacy tab. This tab contains various settings related to online security and privacy, including the Internet Security Tab.
The exact location and naming of the Security or Privacy tab may vary depending on the browser you are using. In most cases, you will find it listed as a separate tab along with other customization options such as appearance and extensions.
To locate the Security or Privacy tab, carefully scan through the different tabs available in the settings menu. Look for keywords such as “Security”, “Privacy”, or any indicators related to online safety. The icon or label for the tab might vary, but it commonly resembles a padlock, a shield, or a lock.
It is important to note that some browsers may integrate the security settings within another tab, such as the “Advanced” or “Preferences” tab. Keep an eye out for any tabs or options that might contain security-related settings.
If you are having trouble finding the Security or Privacy tab, you can use the search or find function in the settings menu. This feature allows you to search for specific keywords, which can help you locate the desired tab more efficiently.
Once you have located the Security or Privacy tab, proceed to the next step to navigate to the Internet Security section. This is where you can access the Internet Security Tab and customize your security settings to ensure a safer browsing experience.
Step 4: Navigate to the Internet Security Section
After locating the Security or Privacy tab in your browser’s settings menu, the next step is to navigate to the Internet Security section. This section is where you can access the specific settings related to online security and make adjustments according to your preferences.
Within the Security or Privacy tab, you will find a list of different security settings and options. Look for a subsection or category specifically labeled as “Internet Security” or something similar. This is the section that contains the Internet Security Tab and the settings related to it.
Click on the “Internet Security” subsection to expand it and reveal the available options. Depending on your browser, you may find settings such as blocking pop-ups, managing cookies, enabling safe browsing, or setting permissions for websites.
It is important to explore all the options within the Internet Security section to familiarize yourself with the available settings. You may find additional settings or advanced options that can further enhance your online security.
If you are unsure about a particular setting, many browsers provide descriptions or tooltips that explain the function and potential impact of each option. Take the time to read through these descriptions to make an informed decision.
Remember that the specific layout and organization of the Internet Security section may vary slightly depending on the browser you are using. In some cases, you may encounter a different name for this section, such as “Web Security” or “Security Settings.” However, the purpose of this section remains the same – to provide you with control over your online security settings.
Now that you have successfully navigated to the Internet Security section, you can proceed to the next step to learn how to adjust the Internet Security settings according to your preferences.
Step 5: Adjust the Internet Security Settings
Once you have accessed the Internet Security section in your browser’s settings menu, it’s time to adjust the Internet Security settings according to your preferences and security needs. These settings allow you to customize your browsing experience and enhance your protection against online threats.
Within the Internet Security section, you will find a range of settings that you can modify. These settings may include options for blocking pop-ups, enabling or disabling JavaScript, managing cookies, and controlling access to websites with suspicious or harmful content.
To adjust the Internet Security settings, carefully review the available options and consider the level of security and convenience you desire. For example, you might choose to enable pop-up blocking to prevent intrusive advertisements or disable JavaScript on untrusted websites to minimize the risk of malicious code execution.
It is advisable to approach these settings with caution and strike a balance between enhanced security and usability. Some settings may have an impact on your browsing experience, so it’s important to understand the potential implications before making any changes.
Additionally, you may come across advanced security features within the Internet Security settings, such as anti-phishing and anti-malware protection. These features can automatically detect and block potentially harmful websites, providing an additional layer of defense against online threats.
Make sure to explore all the available options and take the time to read any descriptions or tooltips provided by the browser. This will help you make well-informed decisions and ensure that your Internet Security settings align with your security preferences and requirements.
Once you have adjusted the Internet Security settings to your satisfaction, you are ready to proceed to the final step of saving and applying the changes.
Step 6: Save and Apply the Changes
After adjusting the Internet Security settings according to your preferences, it is essential to save and apply the changes to ensure that your new configurations take effect. This step ensures that the browser implements your desired security settings for a safer browsing experience.
Once you have made your desired changes in the Internet Security section, look for a “Save” or “Apply” button within the settings menu. This button is usually located at the bottom or in a prominent position within the Internet Security section.
Click on the “Save” or “Apply” button to confirm your modifications. Some browsers may prompt you to restart the browser for the changes to take effect. If prompted, follow the instructions and close the browser before relaunching it to ensure that the updated settings are applied.
It is important to note that some browsers may not require you to explicitly save or apply the changes. In such cases, your modifications are automatically saved and implemented as soon as you make them.
After saving and applying the changes, take a moment to test your new Internet Security settings by browsing various websites. Ensure that the desired security features are active, such as blocking pop-ups or warning prompts for unsecured websites. If any issues or unexpected behaviors arise, you can revisit the Internet Security section to make further adjustments as needed.
Remember to periodically review and update your Internet Security settings to stay up to date with evolving online threats. As new threats emerge, browser developers may release updates or introduce additional security features to enhance your protection.
Congratulations! You have successfully adjusted and applied your Internet Security settings. By taking these proactive measures, you can enjoy a safer and more secure browsing experience while exploring the vast world of the internet.
Additional Tips for Managing Internet Security Settings
Managing your Internet Security settings is an ongoing process that requires vigilance and regular updates. To further enhance your online security, consider the following additional tips:
- Keep your browser up to date: Regularly check for updates to ensure that you have the latest security patches and features. This helps to safeguard against newly discovered vulnerabilities.
- Use strong and unique passwords: Choose strong and complex passwords for your online accounts, and avoid using the same password across multiple platforms. This minimizes the risk of unauthorized access to your accounts.
- Enable two-factor authentication (2FA): Implementing two-factor authentication adds an extra layer of security to your accounts. It requires you to provide an additional verification method, such as a code sent to your phone, when logging in.
- Be cautious of suspicious emails and links: Avoid clicking on links or downloading attachments from unknown or suspicious sources. Phishing emails often attempt to trick users into revealing sensitive information or installing malware.
- Use reputable antivirus and antimalware software: Install and regularly update reputable antivirus and antimalware software to detect and remove potential threats from your device.
- Regularly clear your browser cache and cookies: Clearing your cache and cookies can help delete stored information that may be accessed by malicious entities and improves your online privacy.
- Exercise caution when installing browser extensions or plugins: Only install extensions from trusted sources and regularly review and remove any unused or suspicious extensions.
- Educate yourself about safe browsing practices: Stay informed about the latest online threats and best practices for safe browsing. Be wary of sharing personal information and practice discretion when interacting on the internet.
By following these additional tips and being proactive in managing your Internet Security settings, you can significantly reduce the risk of falling victim to online threats and enjoy a safer online experience.