
Check Zoom Settings
If your iPad screen is zoomed in or showing a magnifying glass icon, it’s likely that the Zoom feature is enabled. The Zoom feature enlarges the screen for better visibility, but sometimes it can be enabled unintentionally. Follow these steps to check and disable the Zoom settings:
- Double-tap with three fingers on the screen to toggle Zoom on or off. This feature allows you to quickly zoom in and out without changing any settings.
- If double-tapping doesn’t work, go to the Settings app on your iPad and tap on “Accessibility.”
- Tap on “Display & Text Size.”
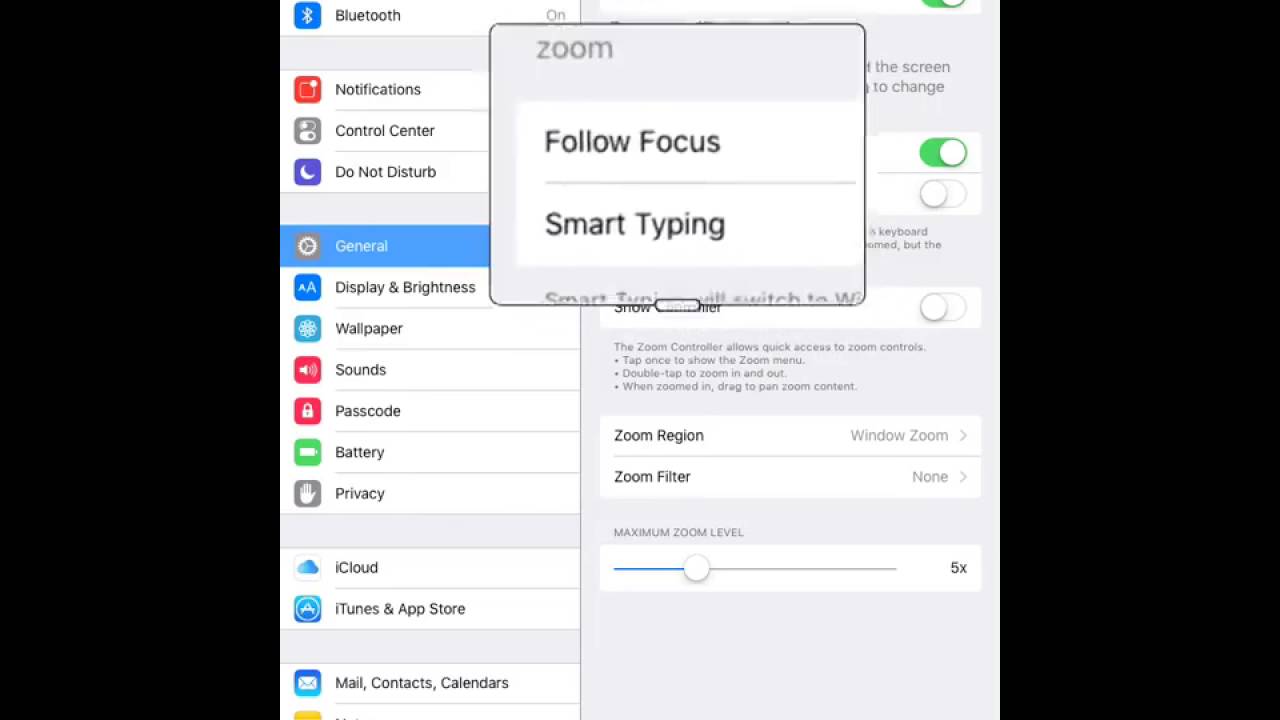
- Under the “Vision” section, look for “Zoom” and make sure it is toggled off. If it’s already disabled, you might want to try toggling it on and off again to see if that resolves the issue.
Once you have disabled the Zoom feature, check if your iPad screen is back to its normal size. If it’s still zoomed in, continue with the following steps.
Note: If you are unable to navigate the Settings app due to the zoomed-in screen, use three fingers to scroll the screen and locate the “Accessibility” menu.
Turn off Zoom
If your iPad screen is still zoomed in after checking the Zoom settings, you may need to turn off the Zoom feature completely. Here’s how:
- Go to the Settings app on your iPad.
- Tap on “Accessibility.”
- Under the “Vision” section, locate the “Zoom” option and tap on it.
- Toggle the “Zoom” switch off.
Once you have turned off Zoom, check if the screen returns to its normal size. If the issue persists, proceed to the next step.
Note: If you are using an iPad with Face ID, you can also turn off Zoom by going to the Control Center. Simply swipe down from the top-right corner of the screen (or swipe up from the bottom on older iPad models) to access the Control Center. Tap on the “Zoom” icon to disable it.
Restart your iPad
If your iPad screen is still zoomed in, the next troubleshooting step is to restart your device. A simple restart can often resolve various software-related issues, including the Zoom problem. Here’s how to restart your iPad:
- Press and hold the Sleep/Wake (or Power) button located on the top or side of your iPad.
- Wait for the “Slide to power off” option to appear on the screen.
- Drag the slider from left to right to power off your iPad.
- Once your iPad is turned off, press and hold the Sleep/Wake button again until the Apple logo appears on the screen.
Now, check if the zoomed-in screen problem has been resolved. If not, try the next troubleshooting method.
Note: If you are using an iPad with Face ID, press and hold either the volume up or volume down button along with the Sleep/Wake button until the power-off slider appears.
Update iPad software
Updating your iPad’s software can often fix bugs and glitches, including issues with screen zooming. Here’s how to check for and install any available software updates:
- Go to the Settings app on your iPad.
- Tap on “General.”
- Scroll down and tap on “Software Update.”
- If an update is available, you’ll see a notification. Tap on “Download and Install” to begin the update process. Make sure your iPad is connected to a stable Wi-Fi network and has sufficient battery life.
- Follow the on-screen prompts to download and install the software update.
- If prompted, enter your passcode to proceed with the update.
Once the update is complete, check if the zoom problem persists. In many cases, updating the software can resolve various issues, including the zoomed-in screen.
Note: It’s always recommended to regularly check for software updates on your iPad to ensure you have the latest features and bug fixes.
Reset all settings
If the previous steps haven’t resolved the zoom issue on your iPad, you can try resetting all settings. This process will revert your iPad back to its default settings without affecting your personal data. However, please note that it will remove your customized settings and preferences. Follow these steps to reset all settings:
- Open the Settings app on your iPad.
- Tap on “General.”
- Scroll down and tap on “Reset.”
- Tap on “Reset All Settings.”
- Enter your passcode if prompted.
- Confirm the reset by tapping “Reset All Settings” again.
- Your iPad will restart and restore the default settings.
After the reset, check if the zoom problem has been resolved. You will need to reconfigure any customized settings, such as wallpaper, notifications, and accessibility options, according to your preferences.
Note: Resetting all settings will not delete any of your data, such as apps, photos, or documents. However, it’s always recommended to backup your iPad before performing any major changes.
Restore iPad
If none of the previous troubleshooting steps have resolved the zoomed-in screen issue on your iPad, you may need to restore your device to its factory settings. Restoring your iPad will erase all data and settings, so it’s crucial to backup your device beforehand. Follow these steps to restore your iPad:
- Connect your iPad to a computer and open iTunes (for Windows) or Finder (for Mac).
- Select your iPad when it appears in iTunes or Finder.
- In the Summary tab, click on the “Restore iPad” (or “Restore iPhone”) button.
- Confirm your decision to restore your device.
- Wait for the restore process to complete. This may take some time.
Once your iPad is restored, it will be set up as a new device. You can choose to restore from a backup or set it up as a new iPad.
Note: If you have enabled Find My iPad/iPhone, you may need to enter your Apple ID and password during the restore process.
After the restore, check if the zoomed-in screen problem has been resolved. If not, it’s recommended to contact Apple Support for further assistance.
Contact Apple Support
If you’ve followed all the previous troubleshooting steps and the zoomed-in screen issue persists on your iPad, it’s time to reach out to Apple Support for further assistance. Apple Support experts have the knowledge and resources to help you resolve any hardware or software-related problems. Here’s how you can contact Apple Support:
- Visit the Apple Support website and navigate to the iPad support page.
- Scroll down and click on “Contact Support.”
- Choose the option to “Chat,” “Phone,” or “Schedule a Call” depending on your preference.
- If you select the chat option, you can chat with an Apple Support representative online.
- If you choose the phone option, you will receive a phone number to call and speak with a support representative.
- If you opt for scheduling a call, you can select a convenient time for Apple Support to call you.
When contacting Apple Support, be prepared to provide them with details about the issue, any steps you’ve already taken to troubleshoot, and any error messages or symptoms you’ve encountered. This information will help the support team assist you more effectively.
Remember, Apple Support is dedicated to resolving your issues and providing you with the best possible solution.
Note: If your iPad is still under warranty or AppleCare, you may be eligible for free support or repair services.