Check the Connections
When your Chromecast is not producing any sound, the first step is to check all the connections involved in the setup. Sometimes, a loose or disconnected cable can be the culprit. Follow these steps to ensure that all the connections are secure:
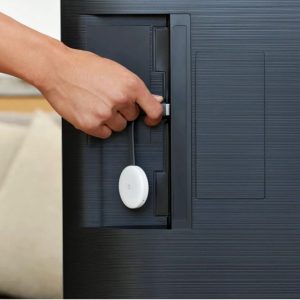
- Make sure that your Chromecast is properly plugged into the HDMI port of your TV or audio receiver. Check both ends of the cable and ensure they are securely connected.
- Verify that the HDMI input on your TV or audio receiver is set to the same input source that the Chromecast is connected to. Use your TV remote or receiver remote to switch inputs and confirm that you have selected the correct one.
- If you are using an HDMI extension cable, try removing it and plug the Chromecast directly into the HDMI port to eliminate any potential issues with the extension cable.
- If you are using an audio receiver or soundbar in your setup, make sure that the Chromecast is properly connected to the audio device. Check the audio input settings on your receiver or soundbar to ensure it is receiving audio from the Chromecast.
- Inspect the power cable of your Chromecast and make sure it is securely connected to a power source. Try using a different power outlet or USB port if you suspect any issues with the current power source.
By verifying all the connections in your Chromecast setup, you can ensure that there are no loose or faulty connections preventing sound from being produced. If the issue persists after checking the connections, proceed to the next troubleshooting steps.
Ensure the Volume is Not Muted
Another common reason for no sound on your Chromecast may be that the volume is muted on either the Chromecast device itself or the device you are casting from. Follow these steps to ensure that the volume is not muted:
- On your TV or audio receiver, locate and verify the volume level. Ensure that the volume is not set to zero or muted. Use the remote control or buttons on the TV/audio receiver to increase the volume.
- If you are using the Google Home app to control your Chromecast, open the app and tap on the Chromecast device. Within the device settings, make sure the volume level is not muted or set too low.
- If you are casting from a mobile device, check the volume settings on that device. Ensure that the volume is turned up and not set to mute. Use the volume buttons on your device or the media controls to adjust the volume level.
- If you are casting from a computer, locate the volume icon in the taskbar or system tray and click on it. Check that the volume is not muted and adjust the volume slider if necessary.
Incorrectly adjusted volume settings can easily go unnoticed and can lead to no sound being emitted from your Chromecast. Make sure to verify and adjust the volume settings on both your casting device and the Chromecast itself. Once you have confirmed that the volume is not muted, continue troubleshooting if the issue persists.
Restart the Chromecast
Restarting your Chromecast is one of the simplest yet effective troubleshooting steps that can resolve many common issues, including sound problems. Here’s how you can restart your Chromecast:
- Unplug the power cable from the back of your Chromecast device.
- Wait for about 10-15 seconds before plugging the power cable back in.
- While the Chromecast is restarting, make sure to also restart your TV or audio receiver.
- After the Chromecast has powered back on and your TV or audio receiver is ready, try casting content again and check if the sound is now working properly.
Restarting the Chromecast can help resolve temporary software or connectivity issues that may be causing the sound problem. It essentially refreshes the device and allows it to establish a fresh connection with your casting device and the TV or audio receiver it is connected to.
If the sound issue persists even after restarting the Chromecast, move on to the next troubleshooting step.
Update the Chromecast Firmware
Keeping your Chromecast firmware up to date is essential for ensuring optimal performance and resolving any software-related issues. If your Chromecast is not producing sound, it’s recommended to check for available firmware updates. Follow these steps to update the firmware:
- Open the Google Home app on your casting device.
- Select the Chromecast device you want to update.
- Tap on the Settings icon for the Chromecast.
- Scroll down and select “More” or “Device information”.
- If an update is available, you will see an option to update the firmware. Click on “Update” and follow the on-screen instructions to complete the process.
Updating the Chromecast firmware can fix any known bugs or software issues that could be causing the audio problem. It’s important to ensure that both your casting device and Chromecast are running the latest firmware versions to achieve the best compatibility and performance.
If you have completed the firmware update and the sound issue persists, move on to the next troubleshooting step.
Reset the Chromecast
If you have tried the previous troubleshooting steps and are still experiencing sound issues with your Chromecast, performing a reset may be necessary. Resetting the Chromecast can help resolve any persistent software or configuration conflicts. It’s important to note that a reset will erase all settings and preferences, so you will need to set up the Chromecast again. Here’s how to reset your Chromecast:
- Locate the small reset button on your Chromecast device. It is usually located near the power port.
- Using a paperclip or another small pointed object, press and hold the reset button for about 15-20 seconds.
- Release the reset button after the LED light on the Chromecast starts blinking.
- Once the Chromecast has reset, go through the setup process again using the Google Home app on your casting device.
Resetting the Chromecast will restore it to its factory default settings and should resolve any persistent sound issues. However, keep in mind that you will need to go through the initial setup process again and reconnect the Chromecast to your Wi-Fi network.
If the sound issue still persists after resetting the Chromecast, proceed to the next troubleshooting step.
Check the HDMI Connection
If your Chromecast is not producing sound, it’s crucial to examine the HDMI connection between your Chromecast device and your TV or audio receiver. A loose or faulty HDMI connection can disrupt the audio signal. Follow these steps to check the HDMI connection:
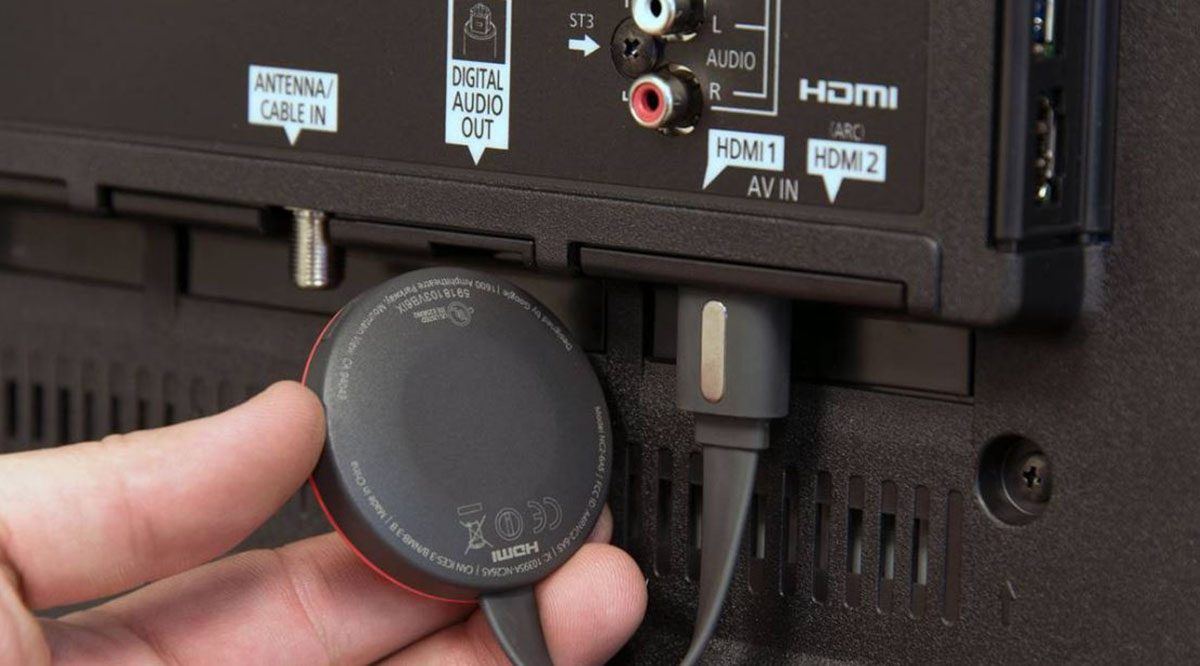
- Ensure that the HDMI cable is securely connected to both the HDMI port on your Chromecast and the corresponding HDMI input on your TV or audio receiver.
- Try unplugging and reinserting the HDMI cable on both ends to establish a secure connection.
- If possible, try using a different HDMI cable to rule out any issues with the cable itself.
- If you are using an HDMI switch or splitter in your setup, try connecting the Chromecast directly to the TV or audio receiver to bypass the additional equipment temporarily.
By checking and ensuring a proper HDMI connection, you can eliminate any potential issues caused by a loose or faulty connection. If the sound problem persists, continue to the next troubleshooting step.
Disable Audio Passthrough
If you’re experiencing sound issues with your Chromecast, it’s worth checking if audio passthrough is enabled. Audio passthrough allows the Chromecast to send the audio signal directly to the audio receiver or TV for decoding. However, some devices may have compatibility issues that can affect sound output. To disable audio passthrough, follow these steps:
- Open the Google Home app on your casting device.
- Select the Chromecast device you’re experiencing issues with.
- Tap on the Settings icon for the Chromecast.
- Scroll down and select “Audio”.
- Toggle off the option for “Audio passthrough” or “Passthrough”.
Disabling audio passthrough can help resolve compatibility issues between your Chromecast and the audio hardware it’s connected to. The audio signal will be decoded by the Chromecast itself, ensuring better compatibility and reducing the chance of sound issues.
If the sound problem persists after disabling audio passthrough, proceed to the next troubleshooting step.
Restart the Casting Device
When troubleshooting sound issues with your Chromecast, it’s important to consider the casting device you are using. Sometimes, the problem may lie with the device you’re casting from. Restarting the casting device can help resolve any temporary software or connectivity issues. Here’s how you can restart the casting device:
- On your mobile device or computer, navigate to the settings or control center.
- Find the option to restart or reboot the device.
- Select the restart option and wait for the device to power off and on again.
Restarting the casting device clears any temporary cache or software glitches that might be affecting the casting process. Once the device has restarted, try casting again to see if the sound issue has been resolved.
If the sound problem persists even after restarting the casting device, proceed to the next troubleshooting step.
Use Another Casting App
If you’re still encountering sound issues with your Chromecast, it’s worth trying a different casting app. In some cases, the problem may be specific to the app you’re currently using. By using an alternative casting app, you can determine if the issue lies with the original app or with the Chromecast itself. Follow these steps to use another casting app:
- Explore other casting apps available on your casting device’s app store or marketplace.
- Install a different casting app that supports Chromecast functionality.
- Open the new casting app and connect it to your Chromecast device.
- Select content to cast and check if the sound is working properly.
By using a different casting app, you can isolate any potential app-specific issues that may be causing the sound problem. If the sound works fine with the alternative casting app, it could point to a problem with the original app you were using.
If you’re still experiencing sound issues with multiple casting apps, proceed to the next troubleshooting step.
Factory Reset the Chromecast
If none of the previous troubleshooting steps have resolved the sound issues with your Chromecast, performing a factory reset may be necessary. Resetting the Chromecast to its factory settings can help resolve any persistent software or configuration problems. Keep in mind that a factory reset will erase all settings and preferences, so you will need to set up the Chromecast again. Here’s how to factory reset your Chromecast:
- Locate the small reset button on your Chromecast device. It is usually located near the power port.
- Using a paperclip or another small pointed object, press and hold the reset button for about 15-20 seconds.
- Release the reset button after the LED light on the Chromecast starts blinking.
- Once the Chromecast has reset, go through the setup process again using the Google Home app on your casting device.
Performing a factory reset will return your Chromecast to its original state and should resolve any persistent sound issues. However, it’s important to note that you will need to set up the Chromecast again, including connecting it to your Wi-Fi network and signing in to your Google account.
If the sound problem persists after performing a factory reset, it may indicate a more complex hardware issue. In such cases, contacting the manufacturer’s support or seeking professional assistance may be necessary.