
Choose the Best Resolution for Your Chromecast
When it comes to streaming content on your Chromecast, choosing the right resolution can greatly enhance your viewing experience. The resolution refers to the number of pixels displayed on the screen, and it plays a crucial role in determining the clarity and detail of the images and videos.
Before you start adjusting the resolution settings, it’s important to consider a few factors. First, you need to determine the capabilities of your TV or display. Make sure it supports the desired resolution to avoid compatibility issues. Additionally, take into account your internet connection speed to ensure smooth and uninterrupted playback.
There are several resolution options available for Chromecast, and the choice usually depends on your preferences and the content you are streaming. Here are some common resolution options and their characteristics:
- 1080p (Full HD): This is the standard resolution for most high-definition content. It provides crisp and detailed images, making it ideal for movies, TV shows, and gaming.
- 720p (HD): This resolution is slightly lower than 1080p but still offers good quality visuals. It is suitable for streaming videos and other content if you have a slower internet connection or if your TV does not support 1080p.
- 480p (SD): This lower resolution is suitable for older TVs or devices with limited display capabilities. While it may not offer the same level of detail as higher resolutions, it can still provide a satisfactory viewing experience.
Now that you have an understanding of the different resolution options, you can choose the one that best suits your needs. If you prefer the highest quality visuals and have a reliable internet connection, opt for 1080p. However, if you are facing buffering issues or have a lower-end TV, consider switching to a lower resolution like 720p or 480p.
Adjusting the resolution on your Chromecast is a relatively simple process, and in the following sections, we will guide you through the steps on different devices and platforms.
Adjusting the Resolution Settings on Your TV
Before making any changes to the resolution settings on your Chromecast, it’s essential to ensure that your TV is set to the correct resolution. Here’s how you can adjust the resolution settings on your TV:
- Access the settings menu on your TV by pressing the “Menu” or “Settings” button on your remote control. The location of this button may vary depending on your TV model.
- Navigate to the “Display” or “Picture” settings option in the menu. Look for options related to resolution or display quality.
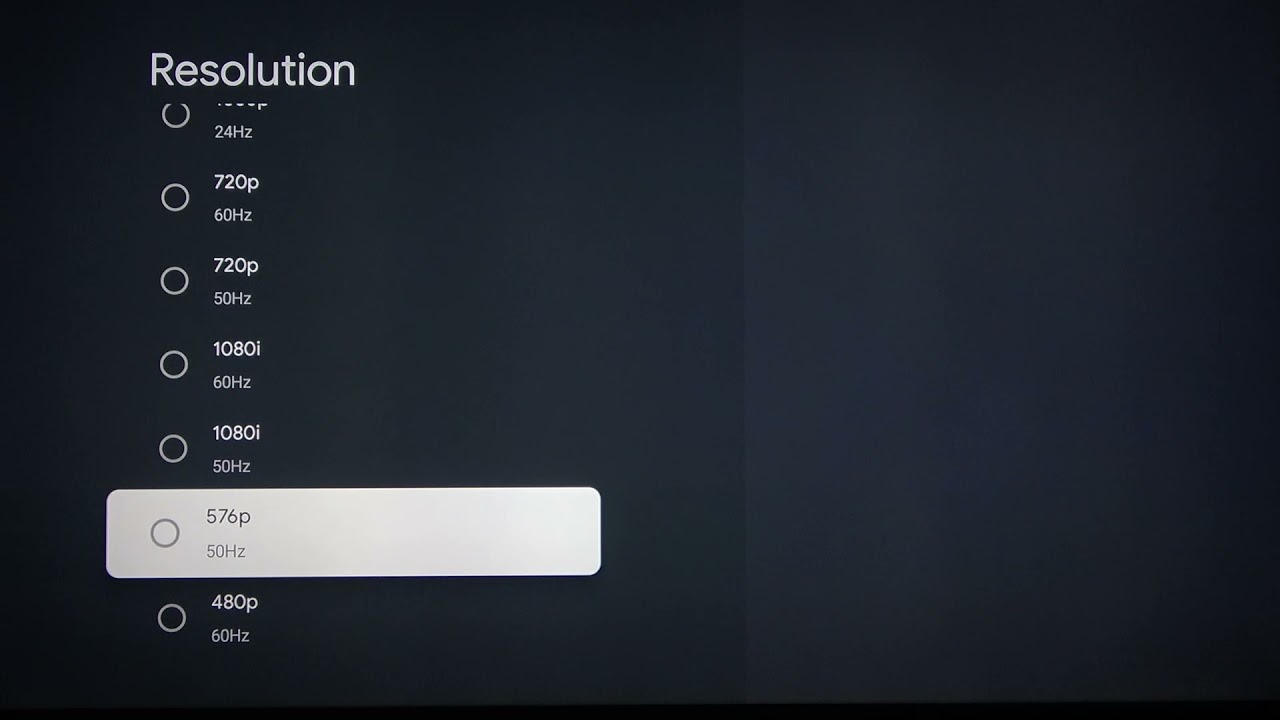
- Select the appropriate resolution option that matches the capabilities of your TV and preference. Common options include 1080p, 720p, and 480p.
- Save your changes and exit the settings menu.
By adjusting the resolution settings on your TV, you ensure that it is optimized to display the desired resolution from your Chromecast. This will help you to fully enjoy the high-quality visuals offered by your streaming content.
If you are unsure about the capabilities of your TV or the best resolution to choose, consult the user manual or the manufacturer’s website for more information. It is essential to set the resolution to match the capabilities of your TV to avoid any compatibility issues or unnecessary strain on your device.
Now that you have correctly set the resolution on your TV, you can proceed to adjust the resolution settings on your Chromecast itself. Keep reading to learn how to adjust the resolution on different devices and platforms.
Adjusting Chromecast Resolution on Android Devices
If you’re using an Android device to stream content to your Chromecast, adjusting the resolution is a straightforward process. Here’s how you can do it:
- Make sure your Android device is connected to the same Wi-Fi network as your Chromecast.
- Open the Google Home app on your Android device. If you don’t have it installed, you can download it from the Google Play Store.
- Select the Chromecast device you want to adjust the resolution for. You can find it under the “Devices” tab in the app.
- Tap on the three-dot menu icon in the top-right corner of the device card, then select “Settings.”
- Scroll down in the settings menu and tap on “Display and sound.”
- Under the “Resolution” section, select the desired resolution from the available options: 1080p, 720p, or 480p.
- Once you’ve chosen the resolution, tap on the back arrow to save your changes.
By adjusting the resolution settings on your Android device, you ensure that the appropriate resolution is being sent to your Chromecast for streaming. This helps in maintaining the desired video quality and ensuring the smooth playback of your favorite content.
If you experience any issues with the selected resolution, such as buffering or video quality problems, you can try switching to a lower resolution to ensure better playback performance. Experimenting with different resolutions can help you find the optimal setting based on your viewing preferences and internet connection.
Now that you know how to adjust the resolution on Android devices, let’s move on to the next section to learn how to adjust the resolution on iOS devices.
Adjusting Chromecast Resolution on iOS Devices
If you’re using an iOS device, such as an iPhone or iPad, to stream content to your Chromecast, adjusting the resolution can be done through the Google Home app. Follow these steps to adjust the resolution on your iOS device:
- Make sure your iOS device is connected to the same Wi-Fi network as your Chromecast.
- Open the Google Home app on your iOS device. If you haven’t installed it, you can download it from the App Store.
- In the app, tap on the “Devices” tab at the bottom of the screen.
- Select your Chromecast device from the available options.
- Tap on the “Settings” gear icon in the top-right corner of the screen.
- Scroll down and select “Display and sound.”
- Under the “Resolution” section, choose the desired resolution: 1080p, 720p, or 480p.
- Tap on the back arrow to save your changes.
By adjusting the resolution settings on your iOS device, you can ensure that your Chromecast receives the correct resolution for streaming content. This allows for a more optimized and enjoyable viewing experience.
Remember that selecting a higher resolution, such as 1080p, may require a stronger internet connection to maintain smooth playback. If you experience any issues, consider lowering the resolution to 720p or 480p to improve performance.
Now that you’ve learned how to adjust the resolution on iOS devices, let’s move on to the next section to explore how to adjust the resolution on Mac and Windows computers.
Adjusting Chromecast Resolution on Mac and Windows Computers
If you’re streaming content to your Chromecast from a Mac or Windows computer, you can adjust the resolution settings through the Google Chrome browser. Here’s how you can do it:
- Make sure your computer is connected to the same Wi-Fi network as your Chromecast.
- Open the Google Chrome browser on your computer.
- Click on the three-dot menu icon in the top-right corner of the browser window.
- From the dropdown menu, select “Cast.”
- A “Cast to” window will appear. Click on the “Sources” dropdown menu and choose “Cast tab.”
- Select your Chromecast device from the list of available devices.
- Once your Chromecast is connected, click on the three-dot menu icon again and select “Settings.”
- In the settings menu, scroll down and click on “Advanced.”
- Under the “Video” section, you’ll find the option to select the resolution. Choose from 1080p, 720p, or 480p.
- Close the settings tab and start casting your desired content.
Adjusting the resolution settings on your Mac or Windows computer ensures that the correct resolution is sent to your Chromecast for optimal streaming quality. It allows you to enjoy your favorite movies, TV shows, or videos with clear and crisp visuals.
Remember, higher resolutions may require a faster internet connection to maintain smooth playback without buffering. If you encounter any issues, consider switching to a lower resolution to improve the streaming experience.
Now that you know how to adjust the resolution on Mac and Windows computers, let’s move on to the next section to address some common resolution issues with Chromecast and how to troubleshoot them.
Troubleshooting Common Chromecast Resolution Issues
While Chromecast offers an excellent streaming experience, you may encounter some resolution issues along the way. Here are some common problems and troubleshooting steps to help you resolve them:
1. Buffering or slow playback: If you experience buffering or slow playback, it could be due to insufficient internet speed. Consider upgrading your internet plan or moving your router closer to your Chromecast for a stronger connection.
2. Poor video quality: If the video quality is consistently poor, check if your internet connection is stable and fast enough to support the selected resolution. You might also want to ensure that your TV and Chromecast are compatible with the chosen resolution.
3. Incompatible resolution: If you’re unable to select or maintain a specific resolution, it might indicate an incompatible resolution between your TV and Chromecast. Check the specifications of both devices and choose a resolution that they both support.
4. Overscan or underscan issues: Overscan or underscan can cause parts of the screen to be cut off or the image to appear smaller than the screen size. To fix this, go to your TV settings and adjust the overscan or underscan settings to fit the screen properly.
5. HDMI handshake issues: Sometimes, the HDMI connection between your Chromecast and TV may experience handshake issues, leading to resolution problems. Try disconnecting and reconnecting the HDMI cable or power cycle both the Chromecast and the TV to resolve the issue.
6. Chromecast firmware updates: Ensure that your Chromecast is running on the latest firmware version. Outdated firmware can sometimes cause resolution or playback issues. Check for updates in the Google Home app under the Chromecast device settings.
7. Resetting Chromecast: If all else fails, you can try resetting your Chromecast to its factory settings. This will erase all settings and data, so make sure to set it up again and reconnect it to your network.
By following these troubleshooting steps, you can address common resolution issues and improve your Chromecast streaming experience. Remember that resolving technical issues may require patience and experimentation to find the best solution for your specific situation.
Now that you’re equipped with troubleshooting knowledge, you can effectively tackle resolution problems and enjoy a smoother streaming experience with your Chromecast.