
Check Your Internet Connection
When you’re facing issues with your VPN connection, the first step is to check your internet connection. Without a stable and reliable internet connection, your VPN might not be able to establish a secure connection. Here are a few steps to troubleshoot your internet connection:
- Test your internet speed: Use an online speed testing tool to check the speed and stability of your internet connection. If you have a slow or inconsistent connection, contact your internet service provider for assistance.
- Restart your modem and router: Power off both your modem and router, then wait for a few minutes before turning them back on. This can help resolve any temporary issues that might be affecting your internet connectivity.
- Connect via a different network: If possible, try connecting to your VPN using a different network. For example, if you’re currently using Wi-Fi, switch to a wired Ethernet connection, or vice versa. This can help determine if the issue is specific to your current network.
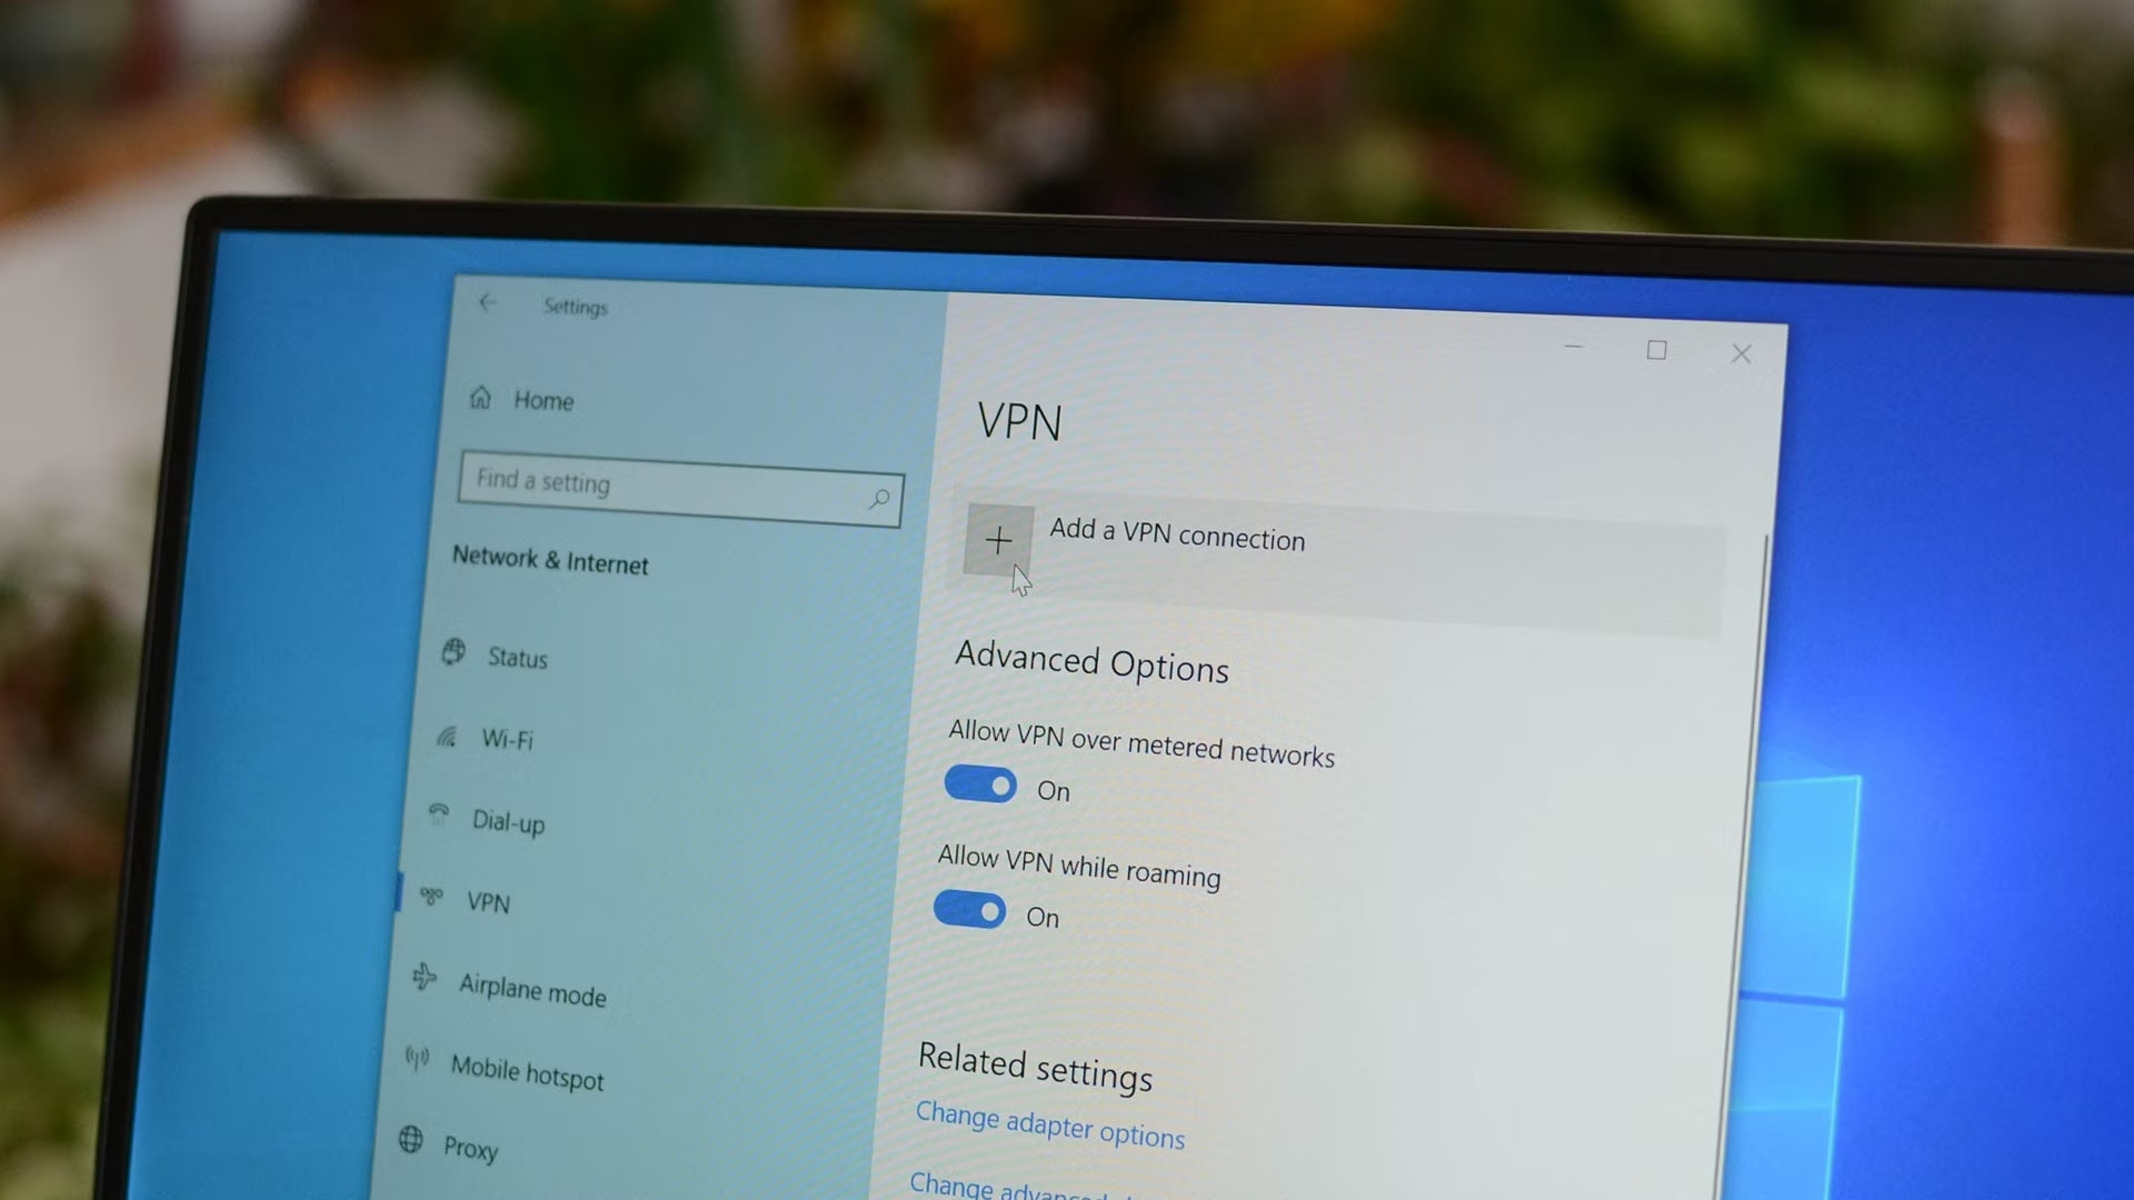
- Disable VPN and test your connection: Temporarily disable your VPN and check if you can access the internet without it. If you can, it’s likely the VPN configuration or servers that are causing the issue.
- Check for any network disruptions or outages: Visit your internet service provider’s website or contact their customer support to check if there are any known network disruptions or outages in your area. Sometimes, these disruptions can impact your VPN connection.
By following these steps, you can determine if the issue lies with your internet connection or with your VPN software. If you find that your internet connection is stable but your VPN still won’t connect, proceed to the next troubleshooting steps.
Verify Your VPN Account Details
If you’re having trouble connecting to your VPN, it’s important to verify your VPN account details. Incorrect login credentials or expired subscription can prevent your VPN from establishing a successful connection. Follow these steps to verify your VPN account details:
- Double-check your username and password: Ensure that you are entering the correct username and password provided by your VPN service. Pay attention to uppercase and lowercase letters, as VPN credentials are case-sensitive. If you’re unsure of your login details, refer to your VPN provider’s website or contact their support team.
- Renew your VPN subscription: If your VPN subscription has expired, you may no longer be able to connect to the VPN servers. Check the validity of your subscription and renew it if necessary. Most VPN services offer options to auto-renew or manually extend your subscription.
- Update your VPN client: Ensure that you are using the latest version of your VPN client software. VPN providers regularly release updates to improve performance, security, and compatibility with different operating systems. Check your provider’s website or the app store for any available updates.
- Confirm server and protocol settings: Verify that you are using the correct server and protocol settings recommended by your VPN provider. Some providers have specific servers for different purposes, such as streaming or torrenting. Make sure you’re choosing the appropriate server for your intended use.
- Check for any account restrictions: Certain VPN providers impose limitations on simultaneous connections or specific usage restrictions. Ensure that you are adhering to your VPN provider’s terms and conditions to avoid any connection issues.
By verifying your VPN account details, you can eliminate any login or subscription-related factors that may be preventing your VPN from connecting. If you have confirmed that your account details are correct and up to date, proceed to the next troubleshooting steps.
Restart Your Devices
When you’re encountering problems with your VPN connection, a simple yet effective troubleshooting step is to restart your devices. Restarting can help resolve any temporary software glitches or conflicts that might be interfering with your VPN connection. Follow these steps to restart your devices:
- Restart your computer: Close any open programs and files, then click on the “Start” menu and select “Restart” or “Shut down” followed by “Restart.” This will fully power off your computer and start it up again.
- Restart your router: Locate the power button on your router or unplug the power cable from the back. Wait for about 30 seconds, then plug it back in or press the power button to turn it on again. Give your router a few minutes to fully reboot.
- Restart your modem: If you have a separate modem, unplug the power cable from the back or press the power button to turn it off. Wait for 30 seconds, then plug it back in or press the power button to power it on again.
- Wait for your devices to reconnect: After restarting your computer, router, and modem, wait for them to fully boot up and establish a stable connection. This may take a few minutes, so be patient.
Restarting your devices can clear out any temporary network or software issues that might be affecting your VPN connection. It allows your devices to start fresh and establish a more stable connection. If restarting your devices doesn’t resolve the VPN connection problem, you can proceed with the next troubleshooting steps.
Update Your VPN Software
If you’re experiencing issues with your VPN connection, one possible reason could be outdated VPN software. VPN providers often release updates to improve performance, add new features, and address security vulnerabilities. Updating your VPN software to the latest version can help resolve connectivity problems. Follow these steps to update your VPN software:
- Check for updates: Open your VPN client software and look for an option to check for updates. It may be located in the “Settings” or “About” section. Click on the update button to initiate the update process.
- Visit the VPN provider’s website: If your VPN client doesn’t have an automatic update feature, visit your VPN provider’s website to download the latest version of their software. Look for a “Downloads” or “Software” section on their website and download the appropriate version for your operating system.
- Uninstall the old version: If you’ve downloaded the latest version from your VPN provider’s website, it’s recommended to uninstall the old version before installing the new one. Go to the “Control Panel” in Windows, or “Applications” in macOS, and uninstall the existing VPN software.
- Install the updated VPN software: Once you’ve uninstalled the old version, run the installer for the updated VPN software that you downloaded. Follow the on-screen instructions to complete the installation process.
- Restart your computer: After installing the updated VPN software, restart your computer to ensure that all changes take effect. This helps refresh the system and ensures a clean start with the updated software.
Updating your VPN software is essential as it can address compatibility issues with your operating system and resolve any bugs or performance-related issues. If updating your VPN software doesn’t fix the connection problem, continue with the next troubleshooting steps.
Switch VPN Servers
If you’re having trouble connecting to your VPN, the issue might be with the specific server you’re trying to connect to. Switching to a different VPN server can help resolve connectivity problems and provide you with a stable connection. Follow these steps to switch VPN servers:
- Open your VPN client software: Launch your VPN client software on your computer or mobile device.
- Explore the server options: Look for a “Server” or “Location” option within your VPN client. Click on it to access the available server locations.
- Select a different server: Choose a different server location from the list provided by your VPN provider. It’s recommended to select a server that is geographically closer to your physical location for improved speed and performance.
- Connect to the new server: Once you’ve selected a different server, click on the “Connect” or “Connect to” button within your VPN client to establish a connection to the new server.
- Verify the connection: After connecting to the new server, check if your VPN connection is now established. You can visit a website like “https://www.whatismyip.com” to confirm that your IP address has changed to match the server location you selected.
Switching VPN servers can help resolve connectivity issues if the problem is specific to a particular server. Different servers may have varying levels of traffic or maintenance, which can impact their reliability. If switching servers doesn’t solve your VPN connection problem, proceed to the next troubleshooting steps.
Change VPN Protocols
If you’re experiencing connection issues with your VPN, the problem could lie with the VPN protocol being used. VPN protocols determine the method by which your VPN establishes a secure connection with the server. Switching to a different VPN protocol can help resolve compatibility issues and enhance your VPN connection. Follow these steps to change VPN protocols:
- Open your VPN client software: Launch your VPN client software on your computer or mobile device.
- Access the protocol settings: Look for a “Settings” or “Preferences” option within your VPN client and click on it to access the settings.
- Select a different protocol: In the settings menu, you will find a list of available VPN protocols. Common protocols include OpenVPN, L2TP/IPSec, and PPTP. Choose a different protocol from the list.
- Save the changes: Once you’ve selected a different protocol, save the changes and exit the settings menu.
- Connect to the VPN: Go back to the main interface of your VPN client and click on the “Connect” or “Connect to” button to establish a new connection using the updated protocol.
Changing VPN protocols can help address compatibility issues between your device and the VPN server. Some protocols may be more secure or stable depending on the network conditions. If changing VPN protocols doesn’t resolve the connection problem, proceed to the next troubleshooting steps.
Disable Firewall/Antivirus Software
If you’re encountering difficulties connecting to your VPN, it’s possible that your firewall or antivirus software is blocking the VPN connection. Firewalls and antivirus programs often have built-in security measures that can interfere with VPN connectivity. Disabling these programs temporarily can help determine if they are causing the connection issue. Follow these steps to disable your firewall or antivirus software:
- Open your firewall settings: Access the settings or preferences of your firewall software. This can usually be done by clicking on the firewall icon in the system tray or by searching for the firewall program in your computer’s settings menu.
- Disable the firewall: In the firewall settings, look for an option to disable or turn off the firewall protection. Click on it to temporarily disable the firewall. Keep in mind that disabling your firewall can leave your computer more vulnerable to security threats, so proceed with caution and re-enable it once you’ve finished troubleshooting the VPN connection.
- Disable antivirus software: If you have antivirus software installed, locate its icon in the system tray or search for it in the computer’s settings. Open the antivirus program and navigate to the settings or preferences section. Look for an option to temporarily disable the antivirus protection and click on it.
- Attempt to connect to the VPN: Once your firewall and antivirus software are disabled, try connecting to your VPN again. If the connection is successful, it indicates that the firewall or antivirus software was causing the connection problem.
- Re-enable firewall and antivirus software: After troubleshooting the VPN connection, it’s important to re-enable your firewall and antivirus software to ensure the ongoing security of your device.
Disabling your firewall and antivirus software temporarily can help determine if they are blocking the VPN connection. However, it’s crucial to re-enable these security measures after troubleshooting to maintain the protection of your device. If disabling your firewall or antivirus software doesn’t resolve the VPN connection issue, proceed to the next troubleshooting steps.
Reset Network Settings
If you’re still encountering difficulties with your VPN connection, resetting your network settings can help resolve any underlying network configuration issues that might be affecting the VPN. Resetting the network settings will clear any saved network configurations, such as Wi-Fi passwords and VPN settings. Follow these steps to reset your network settings:
- Windows:
- Step 1: Open the “Settings” menu and click on “Network & Internet.”
- Step 2: Scroll down and click on “Network reset.”
- Step 3: Click on “Reset now” and confirm your selection. Your computer will restart, and the network settings will be reset to default.
- macOS:
- Step 1: Click on the Apple menu and select “System Preferences.”
- Step 2: Click on “Network.”
- Step 3: In the left sidebar, select the network connection you’re using (Wi-Fi or Ethernet).
- Step 4: Click on the cog icon at the bottom and choose “Reset to Default.”
- Step 5: Confirm your selection, and your network settings will be reset to their default configuration.
- Mobile devices:
- Step 1: Open the “Settings” app on your mobile device.
- Step 2: Tap on “General.”
- Step 3: Scroll down and tap on “Reset.”
- Step 4: Choose “Reset Network Settings.”
- Step 5: Enter your passcode if prompted and confirm the network reset.
Resetting your network settings can help resolve any misconfigurations that might be causing issues with your VPN connection. However, keep in mind that resetting your network settings will also remove any saved Wi-Fi passwords, so make sure you have them available for re-entry. If resetting your network settings doesn’t resolve the VPN connection problem, it’s recommended to contact your VPN provider’s support team for further assistance.
Contact VPN Support
If you’ve tried all the previous troubleshooting steps and are still unable to connect to your VPN, it’s time to reach out to the VPN provider’s support team. They have the expertise and resources to assist with more advanced technical issues you may be facing. Here are the steps you can follow to contact VPN support:
- Visit the VPN provider’s website: Go to the VPN provider’s official website and look for a “Support” or “Contact Us” page. They usually provide multiple methods of contacting their support team, such as live chat, email, or phone.
- Choose your preferred contact method: Select the contact method that suits you best. Live chat is often the quickest option, while email allows you to provide more detailed information about your issue.
- Provide details about your problem: Clearly explain the issue you’re experiencing with your VPN connection. Include any error messages, the steps you’ve already taken to troubleshoot, and the device and operating system you’re using.
- Follow their instructions: The VPN support team will guide you through additional troubleshooting steps, which may include providing log files or performing specific tests. Be sure to follow their instructions carefully and provide any requested information or files.
- Be patient and cooperative: Resolving complex technical issues can take time, so it’s important to be patient while working with the support team. Be cooperative and responsive to their queries or requests for information.
By contacting the VPN provider’s support team, you can leverage their expertise to resolve the connection problem. They may have specific knowledge about their VPN software or server configurations that can lead to a solution. Remember, they are there to help you, so don’t hesitate to reach out for support when needed.