
Setting Up Your Google Docs Document
When it comes to formatting your paper according to the MLA (Modern Language Association) style, using Google Docs can make the process a whole lot easier. Google Docs provides a user-friendly interface and many formatting options that can help you create a properly formatted MLA document. Here’s how you can set up your Google Docs document to meet MLA requirements:
1. Open Google Docs and create a new document. If you already have a document in progress, you can go to “File” and select “New” to start a fresh document.
2. Set the margin size by going to the “File” menu, selecting “Page Setup,” and then adjusting the margin settings. In MLA format, the margins should be 1 inch on all sides.
3. Adjust the line spacing to double-spaced. This can be done by selecting the entire document (Ctrl + A), going to the “Format” menu, choosing “Line spacing,” and selecting “Double.”
4. Select an appropriate font and font size. MLA format recommends using a legible font such as Times New Roman or Arial, with a font size of 12.
5. Add page numbers to your document. In MLA format, the page numbers should be placed in the top right corner of each page, starting with the first page. To add page numbers, go to the “Insert” menu, select “Header & Page Number,” and choose the desired location for the page number.
6. Insert a header at the top of each page. The header should include your last name, followed by a space and the page number. To insert a header, go to the “Insert” menu, select “Header & Page Number,” and choose “Header.”
By following these steps, you can easily set up your Google Docs document to meet the requirements of MLA format. Remember to save your document regularly as you work on it to avoid losing any progress. In the next sections, we’ll cover specific formatting guidelines for titles, paragraph indentation, in-text citations, and creating a works cited page.
Changing the Margins and Line Spacing
In MLA format, the margins should be set to 1 inch on all sides of the page. This ensures that there is ample white space around the text and allows for easier reading and grading. To change the margins in Google Docs, follow these steps:
1. Open your document in Google Docs.
2. Click on “File” in the top-left corner of the menu bar, then select “Page Setup” from the drop-down menu.
3. In the Page Setup dialog box, you will see options for adjusting the margins. By default, Google Docs sets the margins to 1 inch. However, if you need to change the margins, click on the drop-down menus next to the margin measurements and select the desired size.
4. Once you have selected the desired margin size, click “OK” to apply the changes to your document.
Next, you’ll want to adjust the line spacing to meet MLA format requirements, which call for double spacing throughout the entire document. Here’s how:
1. Select the text in your document by pressing Ctrl + A on your keyboard. This will highlight all the text in the document.
2. With the text selected, click on the “Format” tab in the menu bar at the top of the screen.
3. In the “Format” dropdown menu, select “Line spacing.”
4. In the “Line spacing” sub-menu, select “Double.”
By changing the margins and line spacing in your Google Docs document, you can ensure that your paper adheres to the MLA format guidelines. This will not only make your document visually appealing but also ensure that it is easy to read and follow. Remember to review the overall appearance of your document before submitting it to ensure that all formatting is correct.
Selecting the Font and Font Size
Choosing the right font and font size is essential when formatting your Google Docs document in MLA style. The font should be legible and easy to read, while the font size should be uniform throughout the document. Here’s how you can select the appropriate font and font size:
1. Open your document in Google Docs.
2. Click on the “Format” tab in the menu bar at the top of the screen.
3. In the “Format” dropdown menu, select “Paragraph styles.”
4. From the list of available styles, click on “Normal Text.”
5. Click on the font dropdown menu, located next to the “Normal Text” option.
6. Choose a font that is recommended for MLA format, such as Times New Roman or Arial. These fonts are widely accepted and provide a professional look to your document.
7. Once you have selected the font, click on the font size dropdown menu, located next to the font selection.
8. Choose a font size of 12. This size is standard for MLA format and ensures that your text is easily readable.
9. After selecting the font and font size, the changes will be applied to your document automatically.
It’s important to note that the font and font size should remain consistent throughout your document. Avoid using different fonts or sizes for headings or sections within the document, as this can lead to inconsistencies in the overall appearance.
By selecting the appropriate font and font size in your Google Docs document, you can ensure that your paper looks professional and meets the requirements of MLA format.
Adding Page Numbers
In MLA format, it is important to include page numbers in your document for easy reference and organization. Adding page numbers in Google Docs is a straightforward process. Follow these steps to include page numbers in your MLA-formatted document:
1. Open your document in Google Docs.
2. Click on the “Insert” tab in the menu bar at the top of the screen.
3. From the dropdown menu, select “Header & Page Number.”
4. In the submenu that appears, click on “Page Number.”
5. You will be presented with various options for page number placement. For MLA format, choose the “Top of Page” option, preferably the “Top Right” location.
6. The page number will be inserted in the header section of your document. It will automatically appear on every page of your document.
If your instructor requires you to start page numbering from a specific page, such as the second page or your introduction, follow these additional steps:
1. Place your cursor at the beginning of the page where you want the page numbering to start.
2. Navigate to the “Insert” tab in the menu bar.
3. Select “Break” from the dropdown menu.
4. In the submenu that appears, select “Page Break.”
By adding page numbers to your MLA-formatted document, you can ensure that your paper is well-organized and ready for submission. Remember to review your document to ensure that all page numbers are appropriately placed and follow the MLA formatting guidelines.
Inserting a Header
In MLA format, it is common practice to include a header at the top of each page of your document. The header typically consists of your last name and the page number. To insert a header in your Google Docs document and properly format it according to MLA guidelines, follow these steps:
1. Open your document in Google Docs.
2. Click on the “Insert” tab in the menu bar at the top of the screen.
3. From the dropdown menu, select “Header & Page Number.”
4. In the submenu that appears, click on “Header.”
5. A section will appear at the top of the page where you can enter your header text. Choose either the left-aligned or right-aligned option, depending on your preference or instructor’s guidelines.
6. In the header section, type your last name. Make sure to omit any titles (e.g., “Mrs.,” “Dr.”) or degrees (e.g., “Ph.D.”) and simply include your last name in capital letters.
7. Press the spacebar or add a space after your last name.
8. Click on the “Insert” tab in the menu bar again, and select “Page number” from the dropdown menu.
9. Choose the appropriate page number position, typically “Top Right,” to align it with your last name in the header section.
10. The header, consisting of your last name and the page number, will now appear on each page of your document.
Remember to double-check your header formatting to ensure that it meets MLA guidelines. For example, make sure there is a space between your last name and the page number, and that the font style and size match the rest of your document.
By inserting a header in your Google Docs document and following MLA guidelines, you can maintain consistent formatting throughout your paper and create a professional-looking document.
Creating a Title Page
In MLA format, adding a title page to your document is not required unless specifically instructed by your instructor. However, if you are required to include a title page, here are the steps to create one in Google Docs:
1. Open your document in Google Docs.
2. Click on the “Insert” tab in the menu bar at the top of the screen.
3. From the dropdown menu, select “Page Break” to create a new page for the title page.
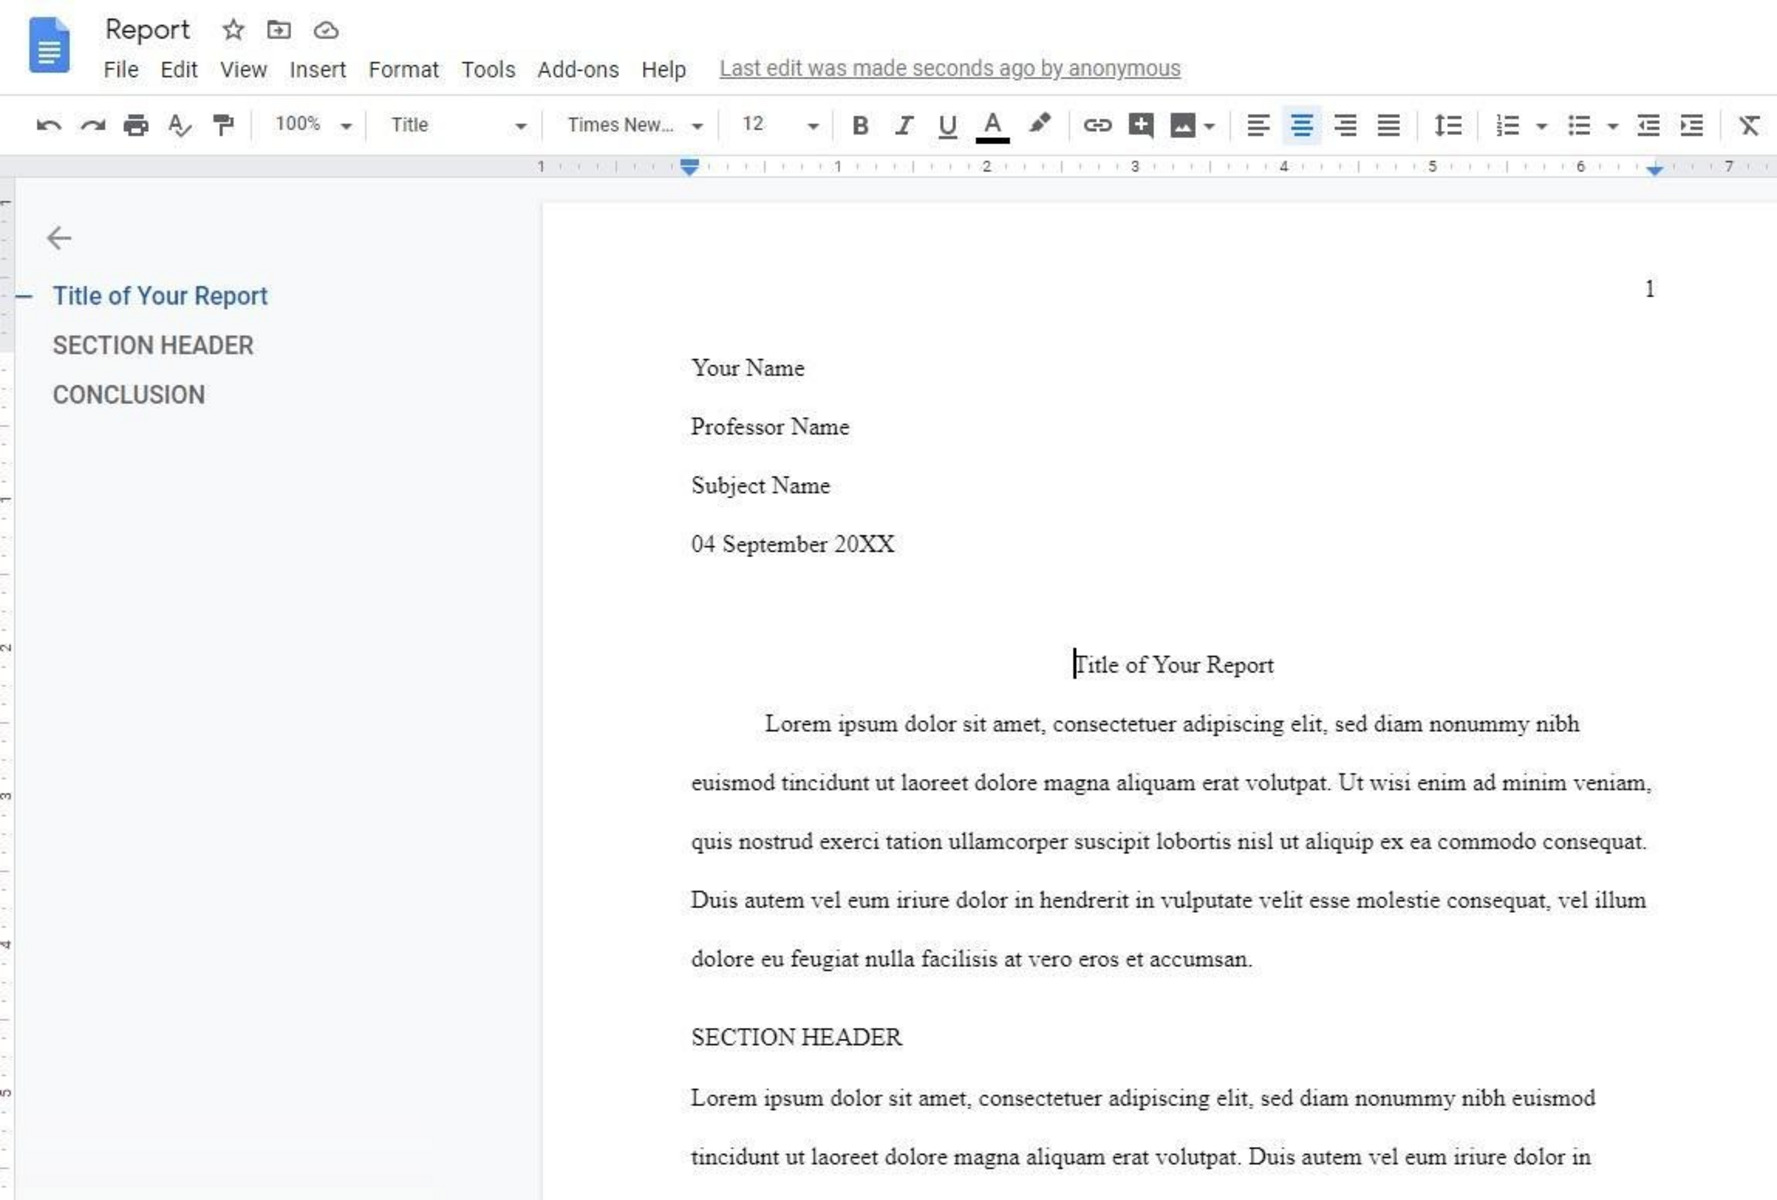
4. On the new blank page, type your title at the top of the page. The title should be centered and written in standard title case, where the first letter of each major word is capitalized.
5. Press “Enter” on your keyboard to create a new line beneath the title.
6. On the new line, type your name, followed by your instructor’s name, the course name, and the date. Each piece of information should be on a new line and centered.
7. You can add additional information that may be required by your instructor, such as the assignment name or class section, if applicable.
8. After entering all the necessary information, format the text of the title page consistently using the same font and font size as specified by MLA guidelines (typically Times New Roman, 12-point font).
9. Review the title page to ensure that all the information is correctly and clearly presented.
Remember, in MLA format, the title page is not numbered. The page numbering should start from the first page of your document, which will follow the title page.
Creating a title page in Google Docs can provide a professional and organized look to your MLA format document. Always check your assignment guidelines to determine if a title page is required or if there are any specific formatting instructions provided by your instructor.
Setting the Indentation for Paragraphs
In MLA format, paragraphs should be indented by 0.5 inches or one tab space to visually separate them and improve readability. Google Docs provides an easy way to set the indentation for paragraphs in your document. Here’s how you can adjust the indentation:
1. Open your document in Google Docs.
2. Highlight the text where you want to apply the indentation. This could be a single paragraph or multiple paragraphs.
3. Click on the “Format” tab in the menu bar at the top of the screen.
4. From the dropdown menu, select “Align & indent.”
5. In the sub-menu that appears, click on “Indentation options.”
6. In the “Indentation options” dialog box, you will see options to adjust the left and right indentation. To set the paragraph indentation, focus on the “Left” margin.
7. Set the “Left” indentation to 0.5 inches or choose the “First line” option, which will automatically indent the first line of each paragraph.
8. Once you’ve selected the desired indentation setting, click “OK” to apply the changes to your selected text.
The indentation will be applied to the selected paragraphs, visually separating them from the rest of the text. It is important to note that indentation should only be applied to the first line of each paragraph.
Remember to review your document after applying the paragraph indentation to ensure consistency. Check that all paragraphs have the appropriate indentation and there are no inconsistencies in spacing.
By setting the indentation for paragraphs in your MLA-formatted document, you can enhance readability and adhere to the formatting guidelines. This small adjustment can make a significant difference in the overall appearance of your document, making it more professional and visually appealing.
Using Hanging Indentation for Works Cited Entries
In MLA format, the works cited page is an essential component of your document. It lists all the sources you have cited in your paper and provides the necessary information for readers to locate and verify your sources. One crucial formatting guideline for the works cited page is the use of hanging indentation. Hanging indentation is when the first line of each citation starts flush left, while subsequent lines are indented. Here’s how you can apply hanging indentation in Google Docs:
1. Open your document in Google Docs.
2. Go to the end of your document, where the works cited page will be created.
3. Start by typing the first entry of your works cited list. Include the author’s name, title of the source, publication information, and any other required information based on the type of source you are citing. Be sure to follow the MLA formatting guidelines for each source type.
4. Once you have completed the first entry, press “Enter” on your keyboard to move to the next line.
5. Click at the beginning of the second line, which should be the first line of your citation, after the author’s name.
6. Click on the “Format” tab in the menu bar at the top of the screen.
7. From the dropdown menu, select “Align & indent.”
8. In the sub-menu that appears, click on “Indentation options.”
9. In the “Indentation options” dialog box, you will see options to adjust the left and right indentation. Focus on the “Left” margin.
10. Set the “Left” indentation to the desired size for hanging indentation. In MLA format, the recommended indentation is 0.5 inches.
11. Once you’ve selected the desired indentation, click “OK” to apply the hanging indentation to your selected line.
12. Continue entering the rest of your works cited entries, making sure to apply hanging indentation to each line as you did in the previous steps.
By applying hanging indentation to your works cited entries, you ensure that the page is properly formatted according to MLA guidelines. It helps distinguish between different citations and improves the readability and organization of your document.
Citing Sources Within Your Document
When writing a research paper or academic document in MLA format, it is crucial to properly cite your sources within the text. This allows readers to identify where your information and ideas come from and enable them to locate the original sources for further reference. Here are the guidelines for citing sources within your MLA-formatted document:
1. Use in-text citations whenever you quote, paraphrase, or refer to information from a source.
2. Place the author’s last name and the page number in parentheses immediately after the cited information. For example: (Smith 45).
3. If the author’s name is mentioned in the text, only include the page number in parentheses after the cited information. For example: According to Smith, this phenomenon is well-documented (45).
4. If the source has no identifiable author, use a shortened version of the title instead. Enclose the title in quotation marks and place it in parentheses, along with the page number. For example: (“Article Title” 27).
5. If you are citing multiple works by the same author, include a shortened version of the title to differentiate between them. For example: (Smith, Book Title 72).
6. If you are citing a source with multiple authors, include all the authors’ last names in the citation. For example: (Smith, Johnson, and Williams 103).
7. If the source has more than three authors, use the first author’s last name followed by “et al.” (Latin for “and others”). For example: (Smith et al. 56).
8. If you are citing an indirect source (a source cited within another source), use the phrase “qtd. in” (short for “quoted in”) before the author and page number. For example: (Smith qtd. in Johnson 85).
Remember to include full bibliographic details for each cited source in your works cited page. The in-text citations should correspond to the entries in the works cited page.
By properly citing your sources within your MLA-formatted document, you acknowledge the contributions and ideas of others and avoid plagiarism. It demonstrates your understanding of academic integrity and strengthens the credibility of your work.
Creating a Works Cited Page
In MLA format, the works cited page is a separate page at the end of your document that lists all the sources you have cited in your paper. It provides readers with the necessary information to locate and reference the sources. Creating a works cited page in MLA format involves following specific guidelines. Here’s how you can create a works cited page in your MLA-formatted document:
1. Start a new page at the end of your document, immediately following the last page of your text.
2. On the new page, center the title “Works Cited” at the top of the page. The title should be in the same font and font size as the rest of your document.
3. Double-space all entries in your works cited page. This means that there should be one blank line between each entry.
4. The entries should be listed in alphabetical order by the author’s last name. If there is no author, start with the title of the source.
5. Each entry should include the necessary information to identify and locate the source. This typically includes the author’s name, title of the source, publication details (such as the publisher and publication date), and page numbers (if applicable).
6. Format each entry with a hanging indentation, where the first line starts flush left, and subsequent lines are indented. To apply hanging indentation, select the text of the entry and follow the steps outlined in the “Using Hanging Indentation for Works Cited Entries” section.
7. Make sure to use the appropriate punctuation and formatting for each type of source (such as books, articles, websites, etc.) according to MLA guidelines.
8. Review your works cited page carefully to ensure that all the necessary information is included and that the formatting is consistent. Check for accuracy of author names, title capitalization, and proper citation punctuation.
Remember that the works cited page should only include the sources that are cited in your paper. Exclude any sources that you consulted but did not directly reference or cite in your work.
By creating a works cited page in MLA format, you provide readers with a comprehensive list of your sources, allowing them to easily locate and verify the information you have used in your document. This demonstrates your adherence to academic integrity and strengthens the credibility of your research.
Formatting In-text Citations and Works Cited Entries
Formatting in-text citations and works cited entries correctly is essential when following MLA guidelines. Proper formatting ensures that you give appropriate credit to the original sources and allows readers to locate the sources you have used. Here are the key considerations for formatting in-text citations and works cited entries:
In-text Citations:
1. Use parenthetical citations containing the author’s last name and the page number(s) where the cited information can be found. For example: (Smith 45).
2. If the author’s name is mentioned in the text, only include the page number(s) in parentheses. For example: According to Smith, this phenomenon is well-documented (45).
3. If the source has no identifiable author, use a shortened version of the title instead, enclosed in quotation marks. Include the page number(s) in parentheses. For example: (“Article Title” 27).
4. For online sources without page numbers, use other identifying information such as paragraph numbers, section headings, or timestamps, if available. If no such information is provided, omit the page number(s) altogether.
Works Cited Entries:
1. Start each works cited entry with the author’s last name, followed by a comma and their first name or initials, if provided. If no author is available, begin with the title of the source.
2. Capitalize the first letter of each major word in the title, excluding articles, prepositions, and conjunctions.
3. Italicize the titles of books, journals, websites, and other complete works. Enclose the titles of articles, essays, or short stories in quotation marks.
4. Provide publication details including the name of the publisher, publication date, and page numbers, if applicable.
5. Use the appropriate citation format depending on the source type (books, articles, websites, etc.). Refer to MLA guidelines for specific formatting rules for each source type.
6. Double-check the accuracy of all information, including author names, publication dates, and page numbers, to ensure that the works cited entries are correct.
7. Format the works cited page with a hanging indent, where the first line is flush left, and subsequent lines are indented. Consult the “Using Hanging Indentation for Works Cited Entries” section for instructions on applying hanging indentation in Google Docs.
By formatting in-text citations and works cited entries accurately in MLA style, you demonstrate proper citation practices and provide readers with the necessary information to locate and verify your sources. Adhering to these guidelines reinforces the integrity of your work and upholds academic standards.