
What is Windows.old folder
The Windows.old folder is a system folder that is created when you upgrade your operating system to a newer version or when you perform a fresh installation of Windows. It contains a backup of all the files and settings from the previous installation.
When you upgrade or reinstall Windows, the Windows.old folder is automatically created to ensure that you can revert back to the previous version of Windows if needed. It stores important system files, program files, and user data from the previous installation.
The Windows.old folder is typically located in the C:\ drive and can take up a significant amount of disk space, ranging from a few gigabytes to several dozen gigabytes, depending on the size of your previous installation.
This folder is important for a short period of time after the upgrade or installation, as it allows you to roll back to the previous version of Windows if you encounter any issues. However, once you are confident that the new installation is stable and functioning properly, it is safe to delete the Windows.old folder to reclaim valuable disk space.
It is worth noting that the Windows.old folder is not necessary for the normal operation of your computer. It is primarily intended as a backup and recovery measure. Therefore, if you are running low on disk space or simply want to tidy up your system, deleting the Windows.old folder can free up a substantial amount of storage.
However, before you jump into deleting the Windows.old folder, it is important to understand the potential consequences. Deleting this folder will permanently remove the previous installation files, including system settings, installed programs, and personal files. Therefore, it is crucial to back up any important files and settings from the Windows.old folder before proceeding with its deletion.
Why should you delete Windows.old folder?
While the Windows.old folder serves a purpose during the transition to a new operating system, keeping it around for an extended period of time is unnecessary and can take up valuable disk space. Here are a few reasons why you should consider deleting the Windows.old folder:
- Reclaim disk space: The Windows.old folder can occupy a substantial amount of storage on your hard drive. If you are struggling with limited disk space, deleting this folder can free up significant room for other important files and applications.
- Improved system performance: By removing the Windows.old folder, you can potentially experience a boost in system performance. With more available disk space, your computer can operate more smoothly and efficiently.
- Reduced clutter: Deleting the Windows.old folder can help declutter your system and make it easier to navigate through your files and directories. This can lead to a more organized and streamlined computing experience.
- Prevent potential security risks: Keeping the Windows.old folder indefinitely may expose your system to potential security risks. As the folder contains previous installation files and configurations, it could be a target for malicious attacks or unauthorized access.
- Unable to rollback to previous version: After a certain period of time, the Windows.old folder becomes obsolete, and there is no need to keep it for future rollbacks to the previous version of Windows. By deleting it, you are simply removing unnecessary files that you are unlikely to use again.
While there are valid reasons to delete the Windows.old folder, it is important to consider your specific needs and circumstances. If you are unsure whether you may need to revert to the previous version of Windows or have concerns about permanently losing files, it is advisable to back up any important data before deleting the folder.
How to delete Windows.old folder using Disk Cleanup
If you want to delete the Windows.old folder, one of the easiest and safest methods is to use the built-in Disk Cleanup utility. Here’s how you can do it:
- Open the File Explorer by pressing the Windows key + E on your keyboard.
- Right-click on the drive where Windows is installed (usually the C: drive) and select “Properties.”
- In the Properties window, click on the “Disk Cleanup” button under the General tab.
- The Disk Cleanup utility will start calculating the amount of space you can free up on your system.
- In the Disk Cleanup window, click on the “Clean up system files” button.
- Select the “Previous Windows installation(s)” option and any other files you want to delete, then click “OK.”
- You will see a confirmation prompt asking if you want to permanently delete these files. Click on “Delete Files” to proceed.
- The Disk Cleanup utility will start deleting the Windows.old folder and other selected files. This might take a few minutes, depending on the size of the folder and your system’s performance.
- Once the process is complete, the Windows.old folder will be removed, and the disk space will be reclaimed.
It’s important to note that you should only delete the Windows.old folder if you are confident that your system is running smoothly and you no longer need the option to revert to the previous version of Windows. Additionally, make sure to carefully review the list of files selected for deletion in the Disk Cleanup utility to avoid mistakenly removing files that you need.
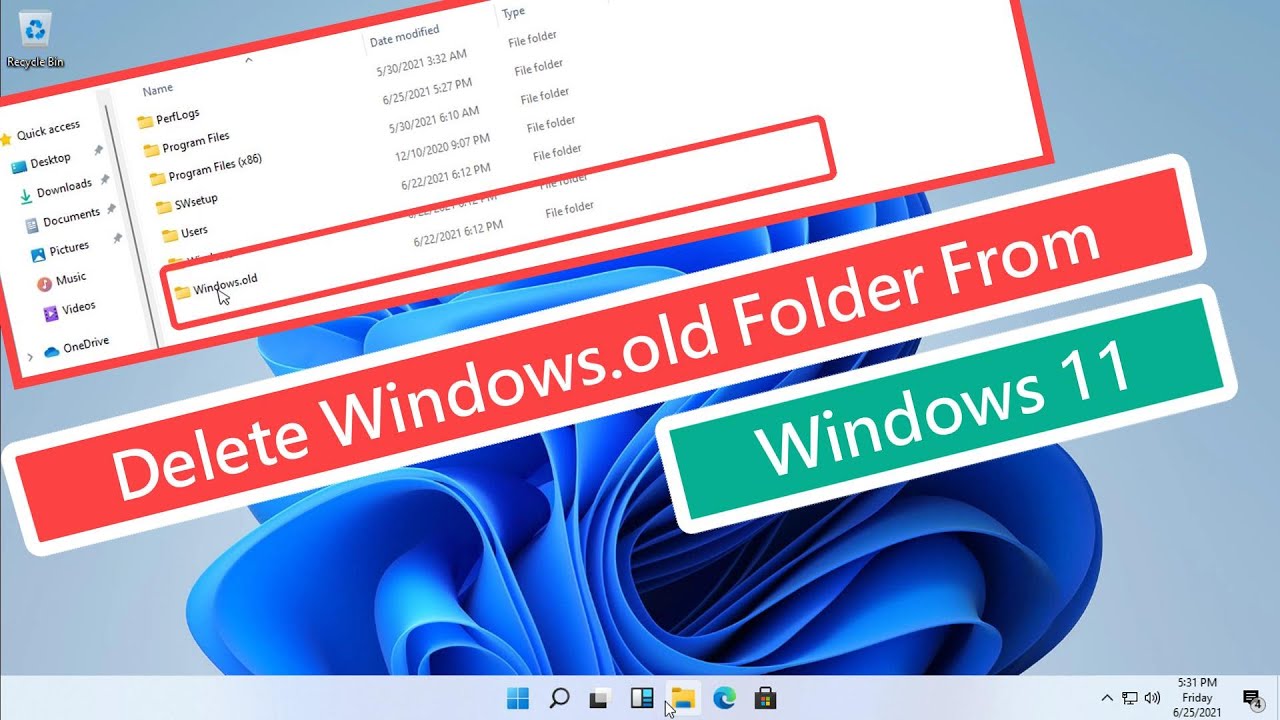
How to delete Windows.old folder using File Explorer
If you prefer a more manual approach, you can delete the Windows.old folder using File Explorer. Here’s how:
- Open File Explorer by pressing the Windows key + E on your keyboard.
- Navigate to the drive where Windows is installed (usually the C: drive).
- Locate the Windows.old folder.
- Right-click on the Windows.old folder and select “Delete” from the context menu.
- You will be prompted with a confirmation dialog asking if you want to permanently delete the folder. Click “Yes” to proceed.
- If the folder is large, the deletion process may take some time. Once it is complete, the Windows.old folder and its contents will be completely removed from your system.
It’s essential to exercise caution when manually deleting the Windows.old folder using File Explorer. Ensure that you no longer need any files or settings from the previous installation before proceeding. Deleting the folder will permanently remove its contents, including system files, program files, and user data.
Remember, manually deleting the Windows.old folder does not provide any backup or recovery option. If you believe you may need to rollback to the previous version of Windows, it is advisable to create a backup of your important files and settings before deleting the folder.
How to delete Windows.old folder using Command Prompt
If you prefer using Command Prompt to delete the Windows.old folder, you can follow these steps:
- Open Command Prompt with administrative privileges. To do this, right-click on the Start button, then select “Command Prompt (Admin)” or “Windows PowerShell (Admin)”.
- In the Command Prompt window, type the following command and press Enter:
rd /s /q C:\Windows.old - The command above will remove the Windows.old folder and its contents. The
/sflag ensures that all subfolders and files within the Windows.old folder are deleted, while the/qflag enables quiet mode, which suppresses the confirmation prompts. - Depending on the size of the Windows.old folder and your system’s performance, the deletion process might take a while. Once it is complete, the Windows.old folder will be removed from your system.
It’s important to note that using Command Prompt to delete the Windows.old folder requires administrative privileges. Make sure you are logged in as an administrator or have the necessary permissions to execute the command. Additionally, ensure that you no longer need any files or settings from the previous installation before proceeding, as the folder and its contents will be permanently deleted.
This method is useful if you prefer a command-line interface or if you need to automate the deletion process on multiple systems. However, it’s recommended to exercise caution when using Command Prompt, as executing commands incorrectly may cause unintended consequences.
How to delete Windows.old folder using third-party software
If you’re looking for an alternative method to delete the Windows.old folder, you can consider using third-party software specifically designed for this purpose. Here’s how you can use such software to remove the Windows.old folder:
- Research and select a reputable third-party software that specializes in disk cleanup and system optimization.
- Download and install the software on your computer.
- Launch the software and navigate to the section or feature related to disk cleanup or system cleanup.
- Look for an option to remove previous Windows installations or specifically target the Windows.old folder.
- Select the appropriate option and initiate the cleanup process.
- Follow the prompts and wait for the software to complete the cleaning process.
- Once the process is finished, the Windows.old folder will be deleted, freeing up disk space on your system.
It’s important to note that the steps may vary depending on the third-party software you choose to use. It’s recommended to carefully read the instructions provided by the software developer to ensure proper and safe removal of the Windows.old folder.
Using third-party software can provide additional features and customization options compared to the built-in methods. However, always exercise caution when downloading and installing software from the internet. Ensure that the software is reputable, reliable, and obtained from official sources to avoid any potential security risks.
Remember to review the features and limitations of the software you choose, as well as any potential costs associated with its use. Additionally, it’s advisable to perform a backup of any important files or settings before using third-party software to delete the Windows.old folder, just as a precautionary measure.
Precautions to take before deleting Windows.old folder
Before you proceed with deleting the Windows.old folder, it is essential to consider a few precautions to ensure a smooth and secure process. Here are some precautions to take:
- Backup important files: Before deleting the Windows.old folder, make sure to backup any important files or data that you may need from the previous installation. This includes documents, photos, videos, and any other personal files. You can copy them to an external storage device or upload them to a cloud storage service.
- Check for any needed files or settings: Review the contents of the Windows.old folder to ensure that there are no important files or settings you want to keep. Take note of any custom configurations or software installations that you may need to replicate in the new installation of Windows.
- Verify system stability: Ensure that your new installation of Windows is stable, and you don’t encounter any critical issues before deleting the Windows.old folder. Give yourself enough time to fully test the new installation and make sure all necessary drivers and software are working properly.
- Confirm all necessary licenses or activation: If you have any software licenses or product activations tied to the previous installation, ensure that you have the necessary information and documentation to reactivate them in the new installation.
- Consider creating a system image: As an additional precaution, you may want to create a system image or a full backup of the current installation before proceeding with deleting the Windows.old folder. This allows you to revert back to the exact state of your system if any issues arise later on.
- Follow recommended deletion methods: When deleting the Windows.old folder, it is best to use the recommended methods such as Disk Cleanup, File Explorer, or Command Prompt. These methods are designed to safely remove the folder while minimizing the risk of accidental file deletion or system errors.
By taking these precautions before deleting the Windows.old folder, you can ensure that you have proper backups and have evaluated the stability and readiness of your new installation of Windows. This will help to safeguard your important files and configurations and provide peace of mind throughout the deletion process.