
Why should you delete media storage data on Android?
Managing storage space on your Android device is crucial for its optimal performance and functionality. Media storage data, such as photos, videos, and audio files, can accumulate over time, clogging up your device’s memory and slowing it down. Clearing media storage data not only helps free up valuable storage space but also offers several other benefits. Here are some reasons why you should consider deleting media storage data on your Android device.
1. Improved device performance: Deleting unnecessary media files can help improve the overall performance of your Android device. By freeing up storage space, your device can operate more efficiently, allowing faster app launches, smoother multitasking, and better responsiveness.
2. Enhanced storage management: Regularly deleting media storage data allows you to efficiently manage your device’s storage. It enables you to keep track of the amount of space different types of media files occupy and make informed decisions on which files to keep, delete, or transfer to alternative storage solutions.
3. Protecting your privacy: Photos and videos can contain sensitive information, including personal, financial, or even intimate content. By deleting unnecessary media files, you can minimize the risk of unauthorized access or accidental exposure. It’s essential to protect your privacy by removing files you no longer need or want to keep.
4. Reducing backup size: If you regularly back up your Android device, having unnecessary media files in the backup can consume considerable storage space. By deleting unnecessary media storage data, you can reduce the size of your backups, making them faster and more efficient.
5. Creating space for new memories: Deleting old or unwanted media files creates room for new memories. Whether it’s capturing precious moments, exploring photography, or simply making space for new apps and content, regularly clearing media storage data allows you to create new experiences without worrying about limited storage space.
Overall, deleting media storage data on your Android device is essential for maintaining an organized, efficient, and secure device. By clearing unnecessary files, you can improve device performance, enhance storage management, protect your privacy, reduce backup sizes, and make space for new memories. Now that you understand the importance, let’s explore how you can delete media storage data on your Android device.
Step 1: Assessing your media storage usage
Before diving into the process of deleting media storage data on your Android device, it’s essential to assess your current media storage usage. This step will help you understand how much space your media files are occupying and identify which files can be deleted to free up storage. Follow these steps to assess your media storage usage:
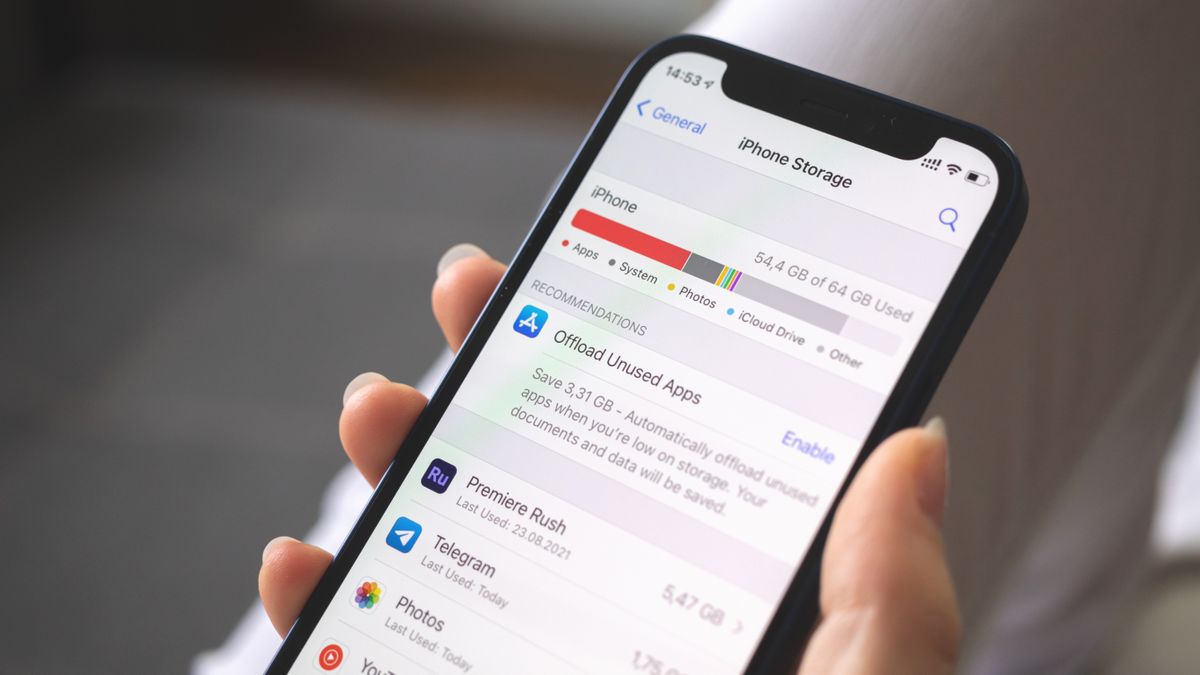
1. Access the storage settings: On your Android device, go to the Settings app. Scroll down and find the “Storage” option. Tap on it to access the storage settings.
2. Check media storage usage: Within the storage settings, you will see a breakdown of your device’s storage usage. Look for a section specifically dedicated to media storage or files. Here, you will find information on how much space your photos, videos, and other media files are taking up.
3. Identify large files: Sort the files by size to identify large media files that are consuming significant storage space. This could include high-resolution photos, long videos, or audio files. Take note of the largest files to prioritize their deletion later.
4. Review file types: Assess the different file types within your media storage. Are there duplicates, blurry photos, or low-quality videos that can be deleted? Removing unnecessary files can open up a significant amount of space on your device.
5. Consider alternative storage options: If you have media files that you don’t want to delete but are taking up a substantial amount of space, consider transferring them to alternative storage solutions. This could include cloud storage services, external storage devices, or even a computer.
By assessing your media storage usage, you gain valuable insights into how your files are taking up space on your Android device. This knowledge will guide you in the next steps of deleting unnecessary media files, freeing up storage for important apps, and creating space for new content. Take the time to analyze your media storage usage before proceeding to the next steps.
Step 2: Backup your media files
Before you start deleting media storage data on your Android device, it’s important to backup any important files to ensure you don’t lose them accidentally. Backing up your media files provides an extra layer of protection and peace of mind. Follow these steps to backup your media files:
1. Choose a backup method: There are several ways to backup your media files. One common method is to use cloud storage services such as Google Drive, Dropbox, or OneDrive. You can also connect your device to a computer and manually transfer the files. Additionally, there are dedicated backup apps available on the Google Play Store that can simplify the process.
2. Select the files to backup: Determine which media files you want to backup. This typically includes photos, videos, and audio files. You may choose to backup specific folders or select individual files based on your preference.
3. Start the backup process: Depending on the backup method you choose, follow the instructions provided by the cloud storage service, backup app, or computer software. Typically, you will need to sign in to your cloud storage account, connect your device to the computer, or use the app’s interface to initiate the backup process.
4. Monitor the backup progress: While the backup is in progress, keep an eye on the progress indicator or status of the backup process. This will ensure that all your important media files are successfully backed up and ready for retrieval if needed.
5. Verify the backup: Once the backup process is complete, take a moment to verify that your media files have been successfully backed up. Access your cloud storage account or check the backup destination on your computer to ensure that all the files you intended to backup are present and accessible.
By backing up your media files before deleting them, you safeguard your precious memories and important content from accidental loss. This step ensures that even if you delete the media files from your device, you can still access them from your backup source whenever needed. Now that you have successfully backed up your media files, you are ready to proceed with clearing the media storage data on your Android device.
Step 3: Clear cache data for media storage
Clearing the cache data for media storage can help free up valuable space on your Android device. Cache files are temporary files stored by apps to help them load faster. However, over time, these cache files can accumulate and take up a significant amount of storage space. Follow these steps to clear cache data for media storage:
1. Access the app settings: On your Android device, go to the Settings app. Scroll down and find the “Apps” or “Application Manager” option. Tap on it to access the list of installed apps.
2. Select media-related apps: Look for apps that are specifically related to media, such as gallery apps, music apps, or video apps. Tap on one of these apps to access its settings.
3. Clear app cache: Within the app settings, you will find an option to clear the cache data. Tap on this option to initiate the cache clearing process. Depending on the app, you may see a confirmation prompt before the cache data is cleared.
4. Repeat for other media-related apps: Repeat the above steps for other media-related apps installed on your device. Clearing the cache for multiple apps can significantly free up storage space used by temporary files.
5. Restart your device: Once you have cleared the cache data for media-related apps, it is recommended to restart your device. This will help ensure that any residual cache data is fully cleared and that your device starts fresh.
By clearing the cache data for media-related apps, you remove unnecessary temporary files, leading to increased storage space on your Android device. However, keep in mind that clearing the cache may result in slightly longer load times for the apps, as they will need to rebuild their cache. Now that you have cleared the cache data, let’s move on to the next step of deleting media files manually.
Step 4: Deleting media files manually
Manually deleting media files that you no longer need or want can free up a significant amount of storage space on your Android device. Follow these steps to delete media files manually:
1. Access the file manager: Android devices typically come with a built-in file manager app. Find and open the file manager app on your device. If you don’t have one, you can download a third-party file manager app from the Google Play Store.
2. Navigate to the media folders: Use the file manager app to navigate to the folders where your media files are stored. Common locations include “DCIM” for photos and videos, “Music” for audio files, and “Downloads” for downloaded media files.
3. Browse and select files: Browse through the folders to locate the media files you want to delete. You can long-press on a file to select it or tap the checkbox next to each file you want to delete. To select multiple files at once, use the “Select” or “Mark” option in the file manager app.
4. Delete selected files: Once you have selected the files you want to delete, look for the delete option in the file manager app. This is usually represented by a trash bin or a delete icon. Tap on the delete option to permanently remove the selected media files from your device.
5. Empty the trash: Some file manager apps have a trash or recycle bin feature that holds deleted files temporarily. If your file manager app has this feature, remember to empty the trash to completely free up the storage space occupied by the deleted media files.
6. Repeat for other media folders: If you have media files stored in multiple folders, repeat the above steps for each folder to ensure all unnecessary files are deleted.
By manually deleting media files, you have full control over which files to remove and can quickly free up storage space on your Android device. However, be cautious when deleting files and double-check to ensure you don’t accidentally delete any important or irreplaceable files. Now that you have learned how to manually delete media files, let’s explore an alternative method using a file manager app in the next step.
Step 5: Using a file manager app to delete media files
Using a file manager app can offer a more convenient and efficient way to delete media files on your Android device. These apps provide advanced features and options for managing and organizing your files. Follow these steps to delete media files using a file manager app:
1. Download a file manager app: If you don’t have a file manager app installed on your Android device, head to the Google Play Store and download one that suits your needs. Popular options include ES File Explorer, Astro File Manager, and Solid Explorer.
2. Install and open the file manager app: Once the file manager app is downloaded and installed, open it to begin managing your files.
3. Navigate to the media folders: Use the file manager app to navigate to the folders that contain your media files. This typically includes folders such as “DCIM” for photos and videos, “Music” for audio files, and “Downloads” for downloaded media files.
4. Select files to delete: Within the file manager app, you can either long-press on a file to select it or tap the checkbox next to each file you want to delete. Some file manager apps also offer features like multi-select or batch delete, allowing you to select multiple files at once.
5. Delete selected files: Once you have selected the files you want to delete, look for the delete option within the file manager app. It is typically represented by a trash bin or a delete icon. Tap on the delete option to permanently remove the selected media files from your device.
6. Confirm the deletion: Depending on the file manager app, you may be prompted to confirm the deletion of the selected files. Double-check the files you have selected and confirm the deletion if you are sure you no longer need them.
7. Empty the trash: Just like the manual deletion method, some file manager apps have a trash or recycle bin feature that temporarily holds deleted files. If your file manager app has this feature, make sure to empty the trash to completely free up the storage space occupied by the deleted media files.
Using a file manager app can streamline the process of deleting media files and offer additional features for managing your files effectively. Explore the options and features provided by different file manager apps to find one that best suits your needs. Now that you have learned how to use a file manager app to delete media files, let’s explore another method using cloud storage services in the next step.
Step 6: Utilizing cloud storage services
Cloud storage services offer a convenient solution for managing and storing your media files without taking up valuable space on your Android device. By uploading your media files to the cloud, you can access them from any device with an internet connection and create additional storage space on your Android device. Follow these steps to utilize cloud storage services for managing your media files:
1. Choose a cloud storage service: There are several popular cloud storage services available, including Google Drive, Dropbox, OneDrive, and iCloud. Choose the service that suits your storage needs and preferences.
2. Install the cloud storage app: Download and install the app for the cloud storage service you have chosen from the Google Play Store or the respective app store for your device.
3. Create an account: Sign up for an account with the cloud storage service if you don’t have one already. Follow the instructions provided by the app to complete the registration process.
4. Upload your media files: Open the cloud storage app and navigate to the option for uploading files. Choose the media files you want to upload from your Android device’s storage or file manager app, and wait for the upload process to complete. Some cloud storage apps may allow you to upload files automatically by syncing selected folders.
5. Organize your files: Once your media files are uploaded, you can create folders or albums within the cloud storage app to organize your files. This will help you easily locate and manage your media files in the future.
6. Access your media files: With your media files stored in the cloud, you can now access them from any device with the cloud storage app installed and an internet connection. You can view, download, or share your media files as needed without taking up space on your Android device.
7. Delete local copies of media files: After successfully uploading your media files to the cloud, you can delete the local copies from your Android device to free up storage space. However, make sure you have a backup of your files in case you need them offline or if any issues arise with your cloud storage service.
Using cloud storage services allows you to store and manage your media files securely and access them anytime, anywhere. It’s a great way to create additional space on your Android device while still retaining control and easy accessibility to your media files. Now that you know how to utilize cloud storage services, let’s move on to managing media-intensive apps in the next step.
Step 7: Clearing app data for media-intensive apps
Media-intensive apps such as social media, video streaming, and photo editing apps can accumulate a significant amount of data over time. Clearing the app data for these apps not only frees up storage space but also helps improve their performance. Follow these steps to clear the app data for media-intensive apps on your Android device:
1. Access the app settings: Open the Settings app on your Android device and find the “Apps” or “Application Manager” option. Tap on it to view a list of the installed apps on your device.
2. Select media-intensive apps: Scroll through the app list and identify media-intensive apps such as social media, video streaming apps, or photo editing apps. Tap on the app that you want to clear the data for.
3. Clear app data: Within the app settings, you will see an option to clear the app data. Tap on this option to initiate the clearing process. Note that clearing app data will remove all personalized settings, preferences, and stored data within the app, including any downloaded media files.
4. Confirm the action: Depending on the app, you may be prompted to confirm the clearing of the app data. Confirm the action if you are sure you want to proceed.
5. Repeat for other media-intensive apps: Repeat the above steps for other media-intensive apps installed on your Android device. Clearing the app data for multiple apps can help reclaim a significant amount of storage space and improve overall device performance.
6. Restart your device: Once you have cleared the app data for media-intensive apps, it is recommended to restart your device. This ensures that any residual data or temporary files are completely cleared, allowing the apps to start fresh.
By clearing the app data for media-intensive apps, you not only free up storage space but also optimize the performance of these apps. However, keep in mind that clearing the app data will remove any personalized settings or data associated with the app. Make sure to backup or sync any important data before clearing the app data. Now that you have cleared app data for media-intensive apps, let’s explore managing media storage in system settings in the next step.
Step 8: Managing media storage in system settings
In addition to clearing individual app data, you can also manage media storage in the system settings of your Android device. These settings allow you to control how media files are stored, organized, and accessed on your device. Follow these steps to manage media storage in the system settings:
1. Open device settings: Open the Settings app on your Android device.
2. Find storage settings: Scroll down and look for the “Storage” or “Storage and USB” option. Tap on it to access the storage settings.
3. Manage media storage: Within the storage settings, you will find options to manage media storage. This may be labeled as “Media storage,” “Explore,” or something similar.
4. Configure storage preferences: Depending on your device and Android version, you may have different configuration options available. These can include choosing the default storage location for media files (internal storage or SD card), selecting how media files are organized (by date or folder), or setting a limit on the amount of storage space used by media files.
5. Review and delete unnecessary files: Within the media storage settings, you may have the option to review and delete unnecessary files. This can include cache files, temporary files, or files that are no longer associated with any apps.
6. Configure automatic cleaning: Some Android devices have built-in options for automatically cleaning up media storage. This can include features like automatically deleting backed up media files or removing similar or duplicate files.
7. Explore additional media management options: Depending on your device and Android version, you may have additional options within the media storage settings. These can include features like smart storage, where your device automatically removes unused media files when storage is low, or managing specific app permissions related to media storage.
By effectively managing media storage settings in your Android device’s system settings, you have more control over how your media files are stored and organized. This can help optimize storage space, improve organization, and enhance your overall user experience. Now that you have learned how to manage media storage in system settings, let’s explore the final step of resetting your device to factory settings.
Step 9: Resetting your device to factory settings
If you’ve tried all the previous steps and still find that your Android device’s media storage is overly cluttered or experiencing performance issues, you may consider resetting your device to its factory settings. This option should only be chosen as a last resort, as it will erase all data and settings on your device. Follow these steps to reset your device to factory settings:
1. Back up your data: Before resetting your device, make sure to back up any important data, such as photos, videos, contacts, and documents. You can use cloud storage services, external storage devices, or computer backups for this purpose.
2. Access the device settings: Open the Settings app on your Android device.
3. Find the “System” or “About phone” option: Scroll down and look for the “System” or “About phone/tablet” option. Tap on it to access the system settings.
4. Locate the “Reset” or “Backup & reset” option: In the system settings, find the “Reset” or “Backup & reset” option. This may be listed as “Factory data reset” or “Reset phone.”
5. Confirm the reset: Tap on the reset option and read the warning message that appears. This message will inform you that all data and settings will be erased. If you are certain, confirm the reset by selecting “Reset phone” or “Erase everything.”
6. Follow the on-screen instructions: Your device will now guide you through the process of resetting to factory settings. This typically involves confirming your device passcode or Google account password.
7. Wait for the reset to complete: Once the reset process begins, your device will go through a series of steps to erase all data, settings, and apps. It may take a few minutes for the reset to complete.
8. Set up your device: After the reset, your device will return to its original factory state. Follow the on-screen instructions to set up your device, including signing in with your Google account and restoring any backed-up data.
By resetting your device to factory settings, you essentially start fresh with a clean slate. This can help resolve persistent storage or performance issues that are difficult to address through other methods. However, remember to back up your data prior to resetting, as all data will be permanently erased. Use this option as a last resort and only if you are experiencing significant issues with your device’s media storage.