
Opening the Terminal
The Terminal is a command-line interface on your Mac that allows you to execute various commands and perform tasks efficiently. To open the Terminal, follow these steps:
- Click on the Finder icon located in your Dock.
- In the Finder menu, click on Applications.
- Scroll down and open the Utilities folder.
- Inside the Utilities folder, find and click on Terminal to launch it.
Alternatively, you can use Spotlight to quickly search for and open the Terminal. Simply press Command + Space to open Spotlight, type “Terminal”, and press Return.
Once the Terminal application opens, you’ll see a window with a command prompt, where you can start entering commands and interacting with your system.
It’s important to note that the Terminal allows you to perform tasks with elevated privileges, so exercise caution when executing commands, as they can have significant impacts on your system.
Now that you’re familiar with opening the Terminal, let’s move on to the next section to learn how to navigate to the location of the file you want to delete.
Navigating to the File’s Location
Before you can delete a file using the Terminal, you need to navigate to the location of the file. Follow these steps to navigate to the file’s location:
- Type
cdfollowed by a space in the Terminal window. - Drag and drop the folder containing the file onto the Terminal window. This will automatically paste the folder’s path into the Terminal.
- Press Return to change your current directory to the folder’s location.
If you already know the path to the file, you can manually navigate to its location using the cd command. For example, to navigate to a folder named “Documents” located in your home directory, you can enter cd ~/Documents.
Once you’ve successfully navigated to the file’s location, you can proceed to the next step and verify the file’s existence before proceeding with the deletion.
Now that we’ve covered how to navigate to the file’s location, let’s move on to the next section and learn how to verify the file’s existence.
Verifying the File’s Existence
Before deleting a file using the Terminal, it’s important to verify that the file actually exists in the specified location. This step helps ensure that you are deleting the correct file and avoids accidentally deleting important files.
To verify the file’s existence, follow these steps:
- Use the
lscommand to list the contents of the directory. This will display all the files and folders present in the current directory. - Scan the list for the filename of the file you want to delete. If the file is present, you can proceed with the deletion. If not, you may have navigated to the wrong location or the file may have already been deleted.
If you are unsure of the exact filename or want to search for a specific file, you can use wildcard characters. The asterisk (*) represents any combination of characters, while the question mark (?) represents any single character. For example, if you’re looking for a file starting with “report” followed by any characters and ending with “.txt”, you can use the command ls report*.txt.
Verifying the file’s existence helps prevent unintentional deletions and ensures that you are deleting the correct file. Now that you know how to verify the file’s presence, let’s move on to the next section and explore different methods for deleting files using the Terminal.
Deleting a File
Once you have confirmed the file’s existence, you can proceed with the deletion using the Terminal. There are different methods to delete a file, depending on whether you want to delete a single file or multiple files.
4.1 Deleting a Single File
To delete a single file, follow these steps:
- Make sure you are in the directory where the file is located. You can use the
cdcommand to navigate to the desired directory. - Enter the following command:
rm filename, replacing “filename” with the name of the file you want to delete. - Press Return to execute the command. The file will be permanently deleted.
Once the file is deleted, it cannot be easily recovered, so exercise caution when using the rm command. Always double-check the file name before executing the command.
4.2 Deleting Multiple Files
If you need to delete multiple files with a similar naming pattern or extension, you can use wildcard characters to specify a range of files. Here’s how:
- Ensure you are in the correct directory.
- Enter the command:
rm pattern, replacing “pattern” with the desired naming pattern or extension. For example,rm *.txtwill delete all files with the “.txt” extension. - Press Return to delete the matching files in the directory.
- Any files that match the specified pattern will be permanently deleted.
Remember to use this method with caution, as it can delete multiple files at once without confirmation.
Now that you know how to delete files using the Terminal, let’s explore how to bypass confirmation prompts for file deletion.
1 Deleting a Single File
If you want to delete a single file using the Terminal, follow these steps:
- Make sure you are in the directory where the file is located. You can use the
cdcommand to navigate to the desired directory. - Enter the following command:
rm filename, replacing “filename” with the name of the file you want to delete. - Press Return to execute the command. The file will be permanently deleted.
For example, if you want to delete a file named “example.txt” located in your home directory, you would enter the command rm ~/example.txt.
It’s essential to double-check the file name and location before executing the command, as the deletion is irreversible.
When you delete a file using the rm command, it doesn’t get moved to the Trash but is directly removed from your system. Therefore, exercise caution when using this command to prevent accidental deletions.
If the file you’re attempting to delete is write-protected or owned by another user, the Terminal may prompt you for confirmation. You can use the sudo command with rm to gain administrative privileges and bypass the confirmation prompt. However, be cautious when using sudo as it grants extensive permissions.
Deleting a single file with the Terminal is a quick and efficient way to remove unwanted files from your Mac. Now that you’re familiar with deleting a single file, let’s move on to the next section and learn how to delete multiple files simultaneously.
2 Deleting Multiple Files
If you need to delete multiple files with a similar naming pattern or extension, you can use the Terminal to delete them all at once. The use of wildcard characters allows you to specify a range of files to be deleted. Here’s how:
- Ensure that you are in the directory containing the files you want to delete. You can navigate to the desired directory using the
cdcommand. - Enter the command:
rm pattern, replacing “pattern” with the desired naming pattern or extension. For example, if you want to delete all files with the “.txt” extension, you would enterrm *.txt. - Press Return to execute the command. The Terminal will delete all files that match the specified pattern in the directory.
Keep in mind that using wildcard characters can be powerful but also potentially dangerous, as it can delete multiple files without confirmation. It’s crucial to double-check your command and ensure that you want to delete all the files that match the specified pattern.
For instance, if you have files named “example1.txt”, “example2.txt”, and “example3.txt” in the current directory and you want to remove all of them, you would use the command rm example*.txt.
Exercise caution when using wildcard characters to delete multiple files, as the process is irreversible and can lead to unintended deletion of important files.
Now that you’re familiar with deleting multiple files using the Terminal, let’s move on to the next section and discover how to bypass confirmation prompts for file deletion.
Bypassing Confirmation Prompts
By default, when you use the rm command to delete files, the Terminal prompts you to confirm each deletion. However, if you’re confident about the files you want to delete and want to bypass these confirmation prompts, you can use the -f or --force option.
To bypass confirmation prompts when deleting files, follow these steps:
- Open the Terminal application on your Mac.
- Navigate to the directory containing the files you want to delete using the
cdcommand. - Enter the following command:
rm -f filename, replacing “filename” with the name of the file you wish to delete. - Press Return to execute the command. The file will be deleted without any confirmation prompts.
For example, to delete a file named “example.txt” without confirmation prompts, you would use the command rm -f example.txt.
It’s important to exercise caution when using the -f or --force option, as it can result in irreversible deletion of files. Double-check that you’re deleting the correct file before executing this command.
Note that the -f option will also silence error messages, so if there are any issues with the deletion, you may not be alerted. Use this option carefully and only when you’re confident about the files you want to delete.
Now that you know how to bypass confirmation prompts when deleting files, let’s move on to the next section and explore how to delete a file permanently without sending it to the Trash.
Deleting a File Permanently (Not to Trash)
By default, when you delete a file using the rm command in the Terminal, it gets moved to the Trash, where you can still recover it if needed. However, if you want to delete a file permanently without sending it to the Trash, you can use the -rm or --remove option.
To delete a file permanently without sending it to the Trash, follow these steps:
- Open the Terminal application on your Mac.
- Navigate to the directory containing the file using the
cdcommand. - Enter the following command:
rm -rm filename, replacing “filename” with the name of the file you want to delete. - Press Return to execute the command. The file will be permanently deleted without being moved to the Trash.
For example, if you want to permanently delete a file named “example.txt”, you would use the command rm -rm example.txt.
Be extremely cautious when using the -rm or --remove option, as there is no way to recover the file once it is deleted. Make sure you have backed up any important files before using this option.
This method is useful when you want to free up storage space on your Mac and ensure that the file is completely removed from your system without any chance of recovery.
Now that you know how to delete a file permanently without sending it to the Trash, let’s move on to the next section and explore how to delete folders and their contents using the Terminal.
Deleting a Folder and Its Contents
Deleting a folder and its contents using the Terminal is similar to deleting a single file. However, you need to use the -r or -R option to delete the folder recursively, including all of its subdirectories and files.
To delete a folder and its contents using the Terminal, follow these steps:
- Open the Terminal application on your Mac.
- Navigate to the parent directory of the folder you want to delete using the
cdcommand. - Enter the following command:
rm -r foldernameorrm -R foldername, replacing “foldername” with the name of the folder you wish to delete. - Press Return to execute the command. The folder and all its contents will be permanently deleted.
For example, if you want to delete a folder named “example” located in your current directory, you would use the command rm -r example.
Be cautious when using the -r or -R option, as it recursively deletes all files and subdirectories within the specified folder. Once the deletion is complete, there is no way to recover the deleted files.
Make sure you have a backup of any important files before using this command. It’s recommended to double-check the folder name and location before executing the command to avoid accidental deletion.
Now that you know how to delete a folder and its contents using the Terminal, let’s move on to the next section and learn how to delete a file with special characters or spaces in the name.
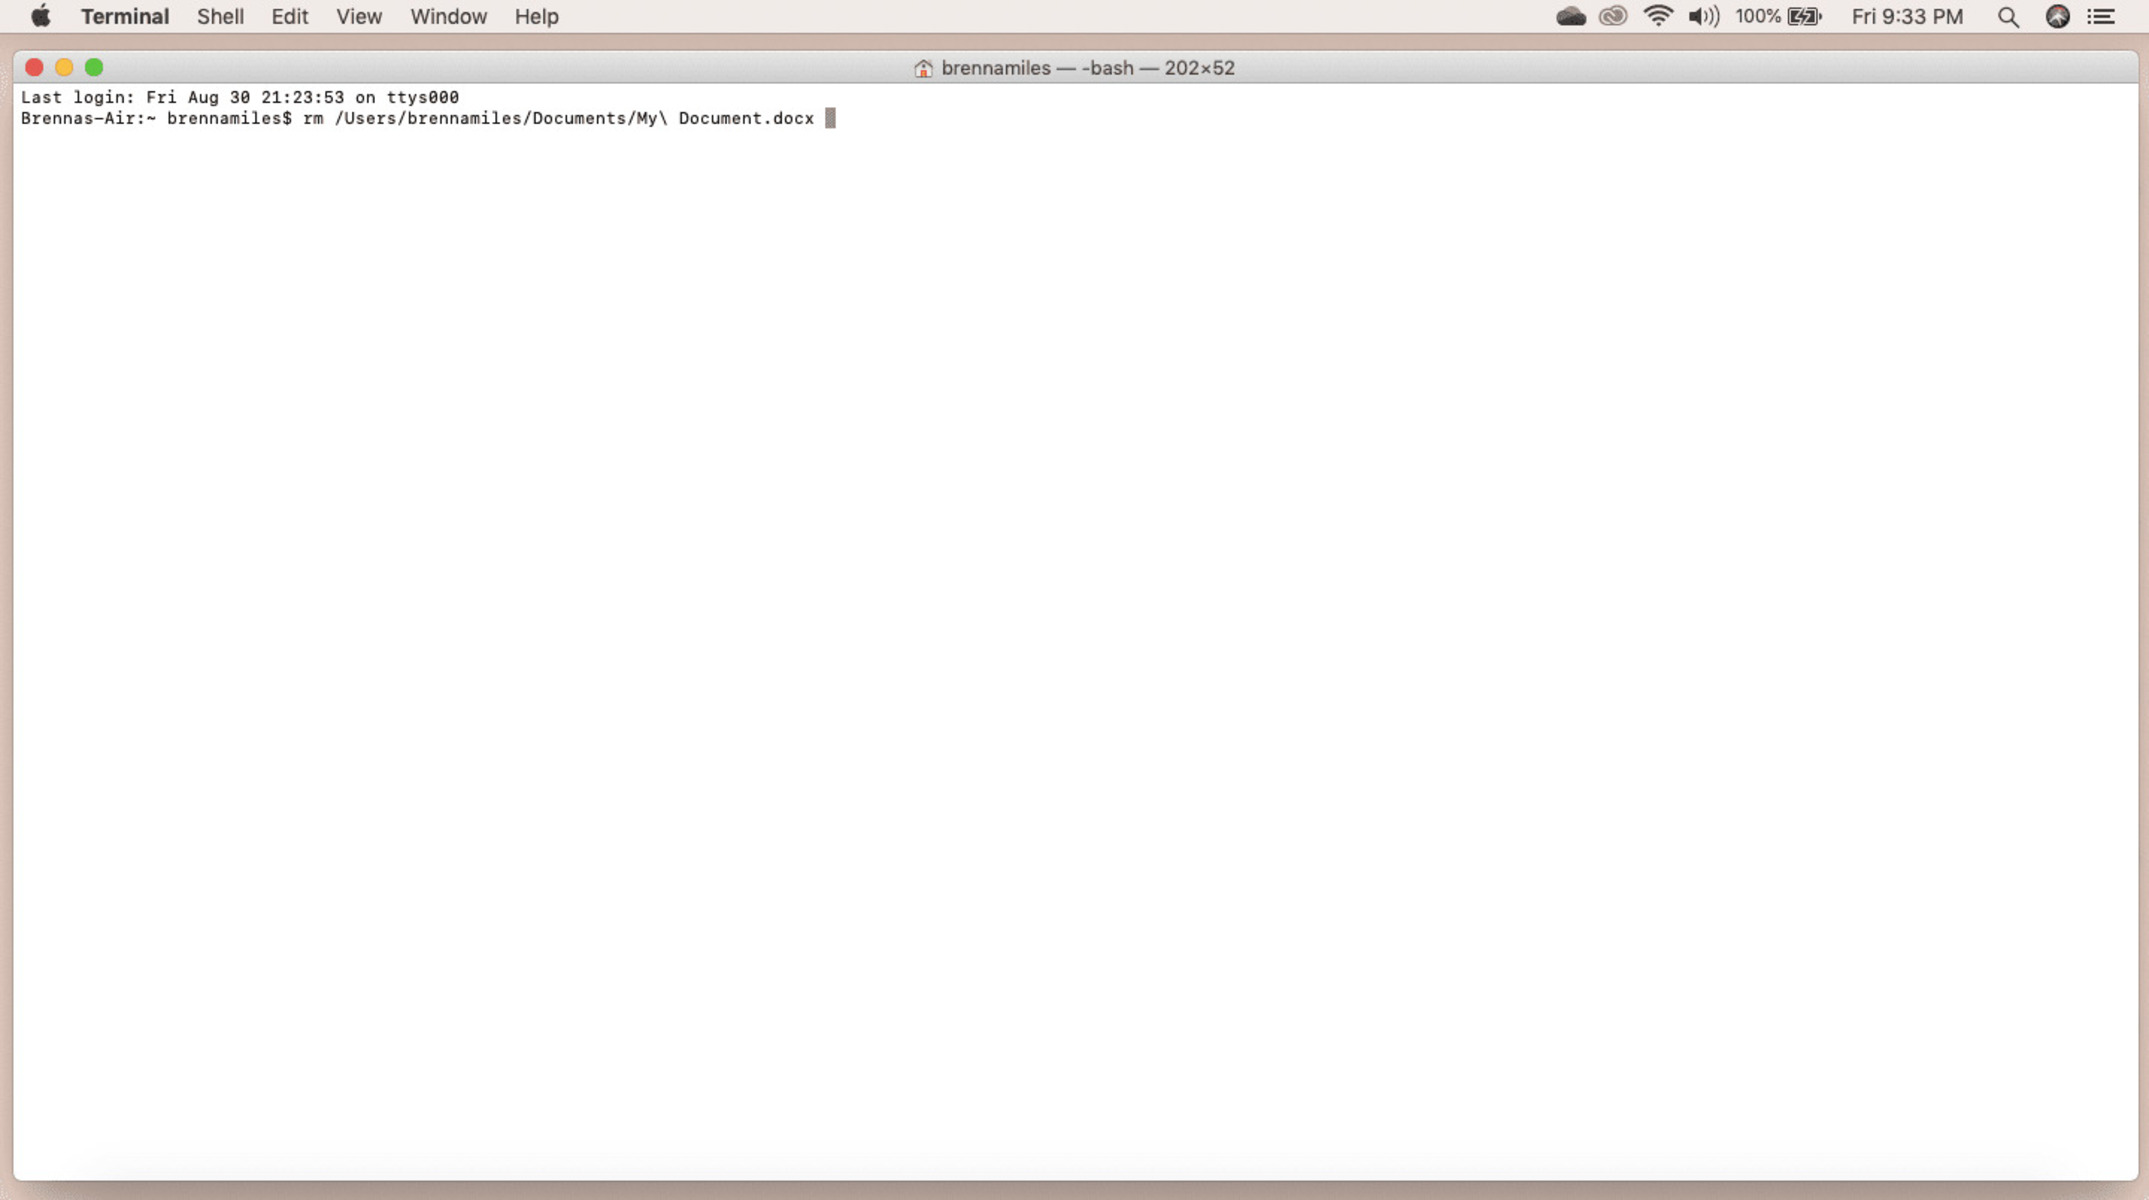
Deleting a File with Special Characters or Spaces in the Name
Deleting a file with special characters or spaces in the name can be a bit tricky in the Terminal. However, there are a few methods you can use to handle this situation.
Method 1: Escape Special Characters
If your file has special characters in the name, you can use the backslash (\) character to escape them. When you escape a special character, it tells the Terminal to interpret it as part of the file name rather than as a command or symbol.
To delete a file with special characters in the name, follow these steps:
- Open the Terminal application on your Mac.
- Navigate to the directory where the file is located using the
cdcommand. - Enter the following command:
rm 'filename', replacing “filename” with the name of the file you want to delete. - Press Return to execute the command. The file will be deleted.
For example, if your file is named “my$file.txt”, you would use the command rm 'my$file.txt' to delete it.
Method 2: Tab Completion
If your file name contains spaces, you can use the Tab key to automatically complete the name while escaping spaces. This method can save you from manually escaping each space or special character in the file name.
To delete a file with spaces in the name using tab completion, follow these steps:
- Open the Terminal application on your Mac.
- Navigate to the directory where the file is located using the
cdcommand. - Enter a portion of the file name before the first space.
- Press the Tab key on your keyboard. The Terminal will automatically complete the file name while escaping the spaces.
- Press Return to execute the command. The file will be deleted.
Using either of these methods, you can effectively delete files with special characters or spaces in the name using the Terminal.
Now that you know how to handle files with special characters or spaces in the name, let’s move on to the last section and learn how to restore deleted files from the Trash.
Restoring Deleted Files from Trash (Undeleting)
If you have accidentally deleted a file and it has been moved to the Trash, you can easily restore it without needing the Terminal. Here’s how:
- Click on the Trash icon located in your Dock to open the Trash folder.
- Locate the file you want to restore.
- Right-click (or Control-click) on the file and select Put Back. Alternatively, you can drag the file out of the Trash and back to its original location.
The file will be restored to its original location and will no longer be in the Trash. You can now access and use the file as you normally would.
It’s important to note that files in the Trash are only kept for a certain period of time or until you manually empty the Trash. Therefore, it’s recommended to restore the file as soon as possible if you want to recover it.
If you have already emptied the Trash and permanently deleted the file, it is not possible to restore it directly. However, you can try using data recovery software to attempt file recovery. These software options scan your storage device for deleted files and attempt to recover them. Keep in mind that the success of file recovery depends on various factors, such as the length of time since the file was deleted and the condition of the storage device.
Now that you know how to restore deleted files from the Trash, you have a safety net in case any important files are accidentally deleted.
Congratulations! You have learned various methods for deleting files and folders using the Terminal on your Mac. Whether you are deleting single files, multiple files, or folders, remember to exercise caution and double-check before deleting to avoid any unintended consequences.