
Restart Your Mac in Safe Mode
If you are unable to log in to your Mac, one of the first troubleshooting steps you can try is starting your computer in Safe Mode. Safe Mode is a minimal boot environment that can help identify and resolve various software-related issues. To restart your Mac in Safe Mode, follow these steps:
- Shut down your Mac: Click on the Apple menu in the top-left corner of the screen and select “Shut Down”.
- Start your Mac in Safe Mode: Press the power button to turn on your Mac and immediately hold down the Shift key.
- Release the Shift key: Once you see the Apple logo or a spinning globe, you can release the Shift key. It may take longer than usual for your Mac to boot up in Safe Mode, so be patient.
In Safe Mode, your Mac will load only the essential system software, disabling unnecessary extensions and login items. This helps in isolating any software conflicts or corrupt files that may be preventing you from logging in. If your Mac successfully starts up in Safe Mode, it indicates that the issue may be related to third-party software or login items.
While in Safe Mode, you can perform some basic troubleshooting steps such as running disk utility to repair disk permissions, checking for malware, or deleting problematic login items. However, if the issue persists even in Safe Mode, it may indicate a more serious hardware-related problem or a corruption within the operating system.
Once you have successfully logged in to your Mac in Safe Mode and determined whether the issue is software-related, you can proceed with the necessary troubleshooting steps to resolve the login problem. If Safe Mode didn’t resolve the issue, don’t worry; there are still other options you can try.
Open Terminal from the Utilities menu
After restarting your Mac in Safe Mode, the next step is to open Terminal from the Utilities menu. Terminal is a powerful built-in application that allows you to execute various commands on your Mac. Here’s how you can open Terminal:
- Boot your Mac in Safe Mode: Follow the steps provided in the previous section to start your Mac in Safe Mode.
- Access the Utilities menu: Once your Mac has booted up in Safe Mode, click on the “Utilities” menu in the top menu bar. It is located between the “Window” and “Help” menus.
- Select Terminal: From the “Utilities” menu, click on “Terminal” to open the Terminal application.
Opening Terminal provides you with a text-based interface where you can enter commands to perform various tasks. It is especially useful for troubleshooting and performing advanced actions that are not available through the regular user interface.
With Terminal open, you can now proceed to the next step, which involves entering a specific command to create a new administrator account on your Mac. Creating a new administrator account can help resolve login issues by providing a fresh user account for you to log into.
Note: It is important to exercise caution when using Terminal and entering commands. Make sure to follow instructions carefully and double-check the commands before executing them, as entering incorrect commands can have unintended consequences.
Enter a Command to Create a New Administrator Account
After opening Terminal from the Utilities menu, you can proceed to enter a specific command that will allow you to create a new administrator account on your Mac. This new account will provide you with an alternative login option in case your original account is encountering issues. Here’s how you can create a new administrator account using Terminal:
- Type the Command: In the Terminal window, type the following command and press Enter:
sudo dscl . -create /Users/NewAdminUser UserShell /bin/bash - Set the Password: Next, enter the command:
sudo dscl . -passwd /Users/NewAdminUserand press Enter. You will be prompted to enter a new password for the new administrator account. Enter the desired password and press Enter. Note that while typing the password, you won’t see any characters appear on the screen, but the input is being registered. - Grant Administrative Privileges: To grant administrative privileges to the new account, enter the command:
sudo dscl . -append /Groups/admin GroupMembership NewAdminUserand press Enter.
The above commands use the Directory Service Command Line (dscl) to create a new user, set a password, and grant administrative privileges to the newly created account. This ensures that the new account has the necessary privileges to perform administrative tasks on your Mac.
Once you have entered the commands and set the password, you can proceed to the next step, which involves restarting your Mac to apply the changes and access the newly created administrator account.
Note: Replace “NewAdminUser” with the desired username for the new administrator account. Make sure to choose a unique username that doesn’t conflict with existing user accounts on your Mac.
Restart Your Mac
After entering the command to create a new administrator account, the next step is to restart your Mac to apply the changes and access the newly created account. Restarting your Mac allows the system to update and refresh, ensuring that the changes take effect. Here’s how you can restart your Mac:
- Close Terminal: If Terminal is still open, you can close it by clicking on the “Terminal” menu in the top menu bar and selecting “Quit Terminal”.
- Click on the Apple menu: In the top-left corner of the screen, click on the Apple menu.
- Select “Restart”: From the dropdown menu, select the “Restart” option.
- Wait for your Mac to restart: Once you have selected the “Restart” option, your Mac will begin the restart process. It may take a few minutes for the restart to complete.
During the restart process, your Mac will shut down and then boot up again. It will go through a series of checks and updates before reaching the login screen. Once your Mac has restarted, you can proceed to the next step, which involves logging in with the new administrator account.
Restarting your Mac helps ensure that all system processes and settings are properly refreshed, allowing your new administrator account to be recognized and accessible.
Note: If you encounter any issues during the restart process, such as your Mac freezing or not responding, you may need to perform a forced restart. To do this, press and hold the power button on your Mac until it shuts down, and then press the power button again to turn it back on.
Log In with the New Administrator Account
After restarting your Mac, you can proceed to log in with the new administrator account you created. Logging in with the new account will allow you to access your Mac and perform administrative tasks. Here’s how you can log in with the new administrator account:
- At the login screen: Once your Mac has restarted, you will be presented with the login screen. Here, you will see a list of user accounts available on your Mac.
- Select the new administrator account: From the list of user accounts, click on the new administrator account you created. This will highlight the account.
- Enter the password: With the new administrator account selected, enter the password you set for the account using Terminal. Remember that while typing the password, the characters will not be visible on the screen.
- Click “Log In”: Once you have entered the password, click on the “Log In” button to proceed.
Upon successful login, your Mac will load the necessary settings and preferences associated with the new administrator account. You will be taken to the desktop environment, where you can access your files, applications, and system settings.
Logging in with the new administrator account allows you to perform various administrative tasks, such as troubleshooting issues with other user accounts, managing software installations, and modifying system preferences. It provides you with a fresh user environment, separate from any issues encountered with the original account.
Once you have logged in with the new administrator account, you can proceed to the next step, which involves deleting the problematic user account that was causing login issues.
Note: If you encounter any login issues with the new administrator account, ensure that you have entered the correct password and double-check that you have selected the correct account from the login screen.
Delete the Problematic User Account
Once you have successfully logged in with the new administrator account, the next step is to delete the problematic user account that was causing login issues. Deleting the problematic account ensures that any associated settings or files are removed from your Mac. Here’s how you can delete the problematic user account:
- Open System Preferences: Click on the Apple menu in the top-left corner of the screen and select “System Preferences” from the dropdown menu.
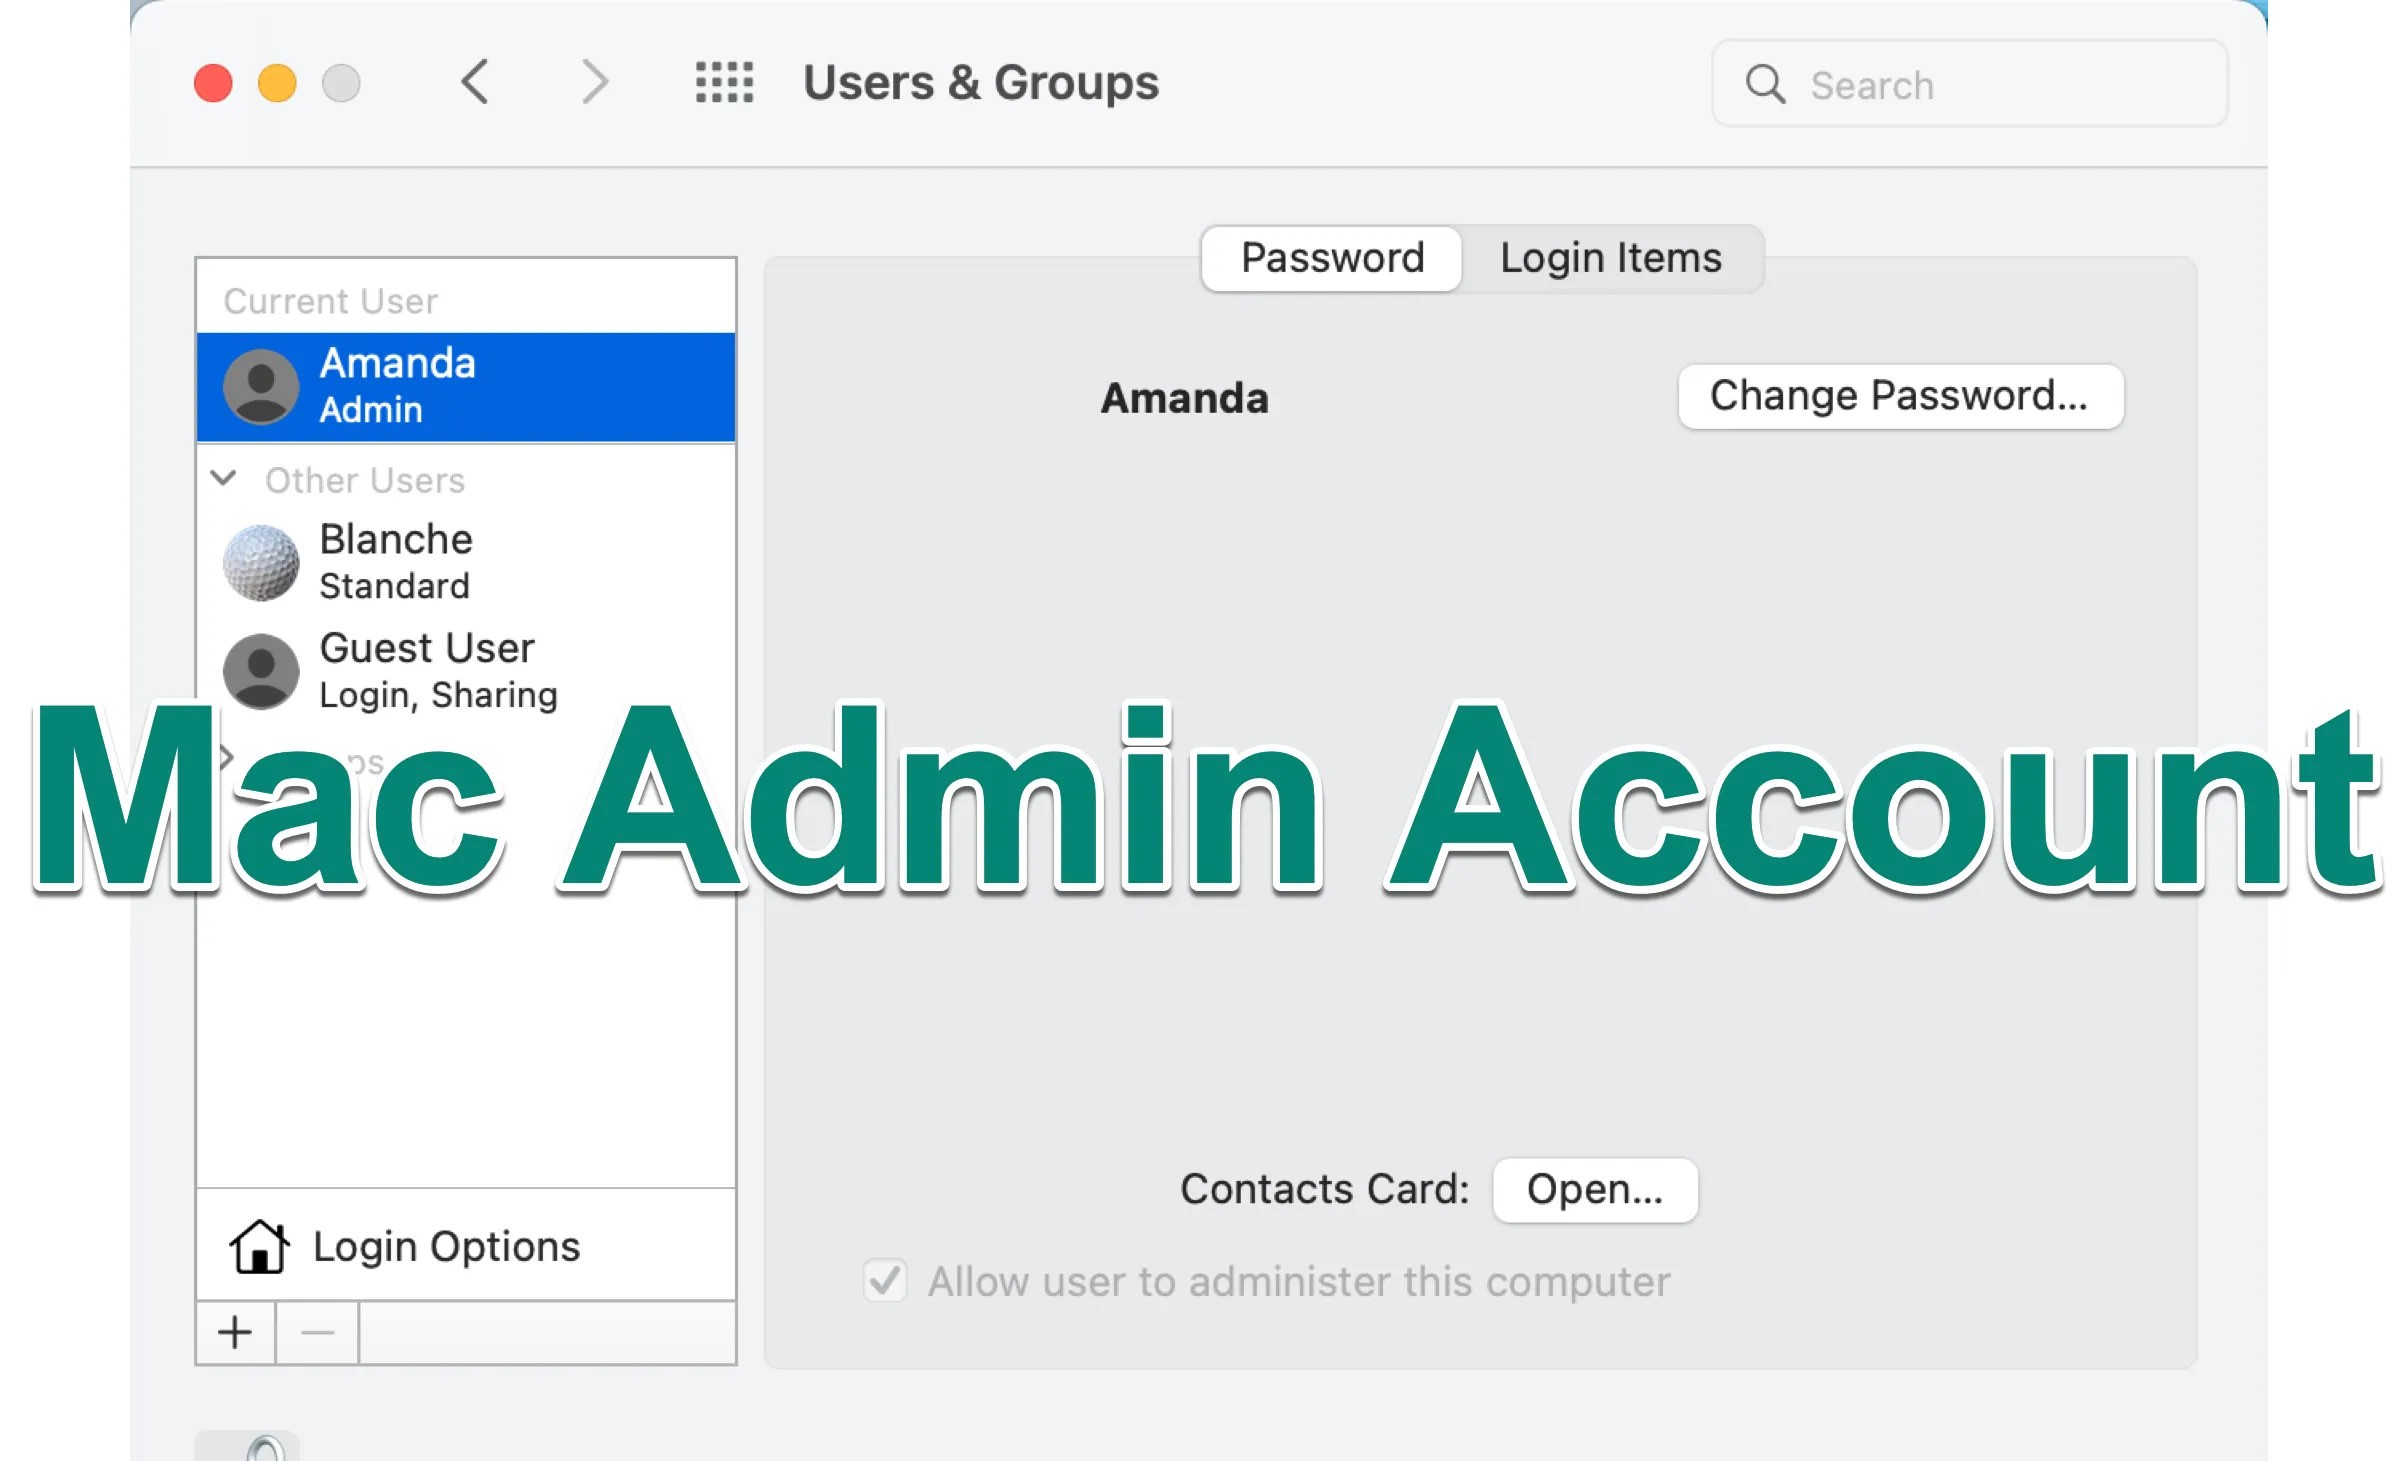
- Select “Users & Groups”: In the System Preferences window, click on the “Users & Groups” icon.
- Unlock the settings: If the settings are locked, click on the padlock icon at the bottom-left corner of the window and enter the password for the new administrator account to unlock the settings.
- Select the problematic user account: From the list of user accounts on the left side of the window, click on the problematic user account you want to delete.
- Click the “minus” button: At the bottom-left corner of the window, click on the “-” (minus) button. A confirmation dialog will appear.
- Confirm the deletion: In the confirmation dialog, click on the “Delete the home folder” option if you want to remove all associated files and data. If you want to keep the user’s files, select the “Don’t change the home folder” option. Note that selecting the latter option may result in some leftover files or permissions-related issues.
- Click “Delete User”: After selecting the desired option, click on the “Delete User” button to proceed with the deletion of the problematic user account.
By deleting the problematic user account, you remove any potential conflicts or corrupted settings that were preventing you from logging in. This will also free up space on your Mac by removing unnecessary user data.
Once the deletion process is complete, you can restart your Mac to apply the changes and ensure that the problematic user account is completely removed.
Note: Be cautious when deleting user accounts, as any associated files and data will also be permanently removed. Make sure to double-check that you have selected the correct account for deletion.
Restore Your Files and Settings
After successfully deleting the problematic user account, you may want to restore any important files, documents, or settings from the deleted account to your new administrator account. Restoring your files and settings ensures that you have access to all the necessary data and configurations. Here’s how you can restore your files and settings:
Restore Files:
- Open Finder: Click on the Finder icon located in the Dock to open a new Finder window.
- Go to the “Users” folder: In the sidebar of the Finder window, click on “Macintosh HD” and then navigate to the “Users” folder.
- Locate the deleted user account: In the “Users” folder, you should see a folder with the name of the deleted user account. Open that folder to access its contents.
- Copy the desired files: Select the files or folders you want to restore, right-click, and choose “Copy” from the context menu.
- Paste the files to your new account: Navigate to the “Users” folder again and open the folder for your new administrator account. Right-click inside the folder and choose “Paste” to copy the files into your new account.
Restore Settings:
In addition to restoring files, you may want to bring over specific settings or preferences from the deleted account to your new administrator account. Here are a few recommended steps:
- Application settings: Some applications allow you to export or backup settings. Check individual applications for options to import settings or preferences from the deleted account.
- Keychain Access: Keychain Access stores passwords and other secure information. Open Keychain Access from the Utilities folder, located within the Applications folder, and look for keychains associated with the deleted account. Export and import these keychains into your new account.
- Mail and other system preferences: Open the respective applications or System Preferences and configure your email accounts, network settings, display preferences, and other settings to match those from the deleted account.
By selectively restoring your files and settings, you can quickly bring back the essential data and configurations from the deleted user account to your new administrator account. This saves you the time and effort of setting up everything from scratch and ensures a smoother transition to the new account.
Now that you have successfully restored your files and settings, you can begin using your new administrator account with all your important data and customized configurations.