
Set up the Database Structure
Before you start creating an Excel database, it’s crucial to set up the structure to ensure efficient data organization and easy access. Follow these steps to establish a solid foundation for your database:
- Open a New Excel Workbook: Launch Excel and open a new workbook to begin building your database.
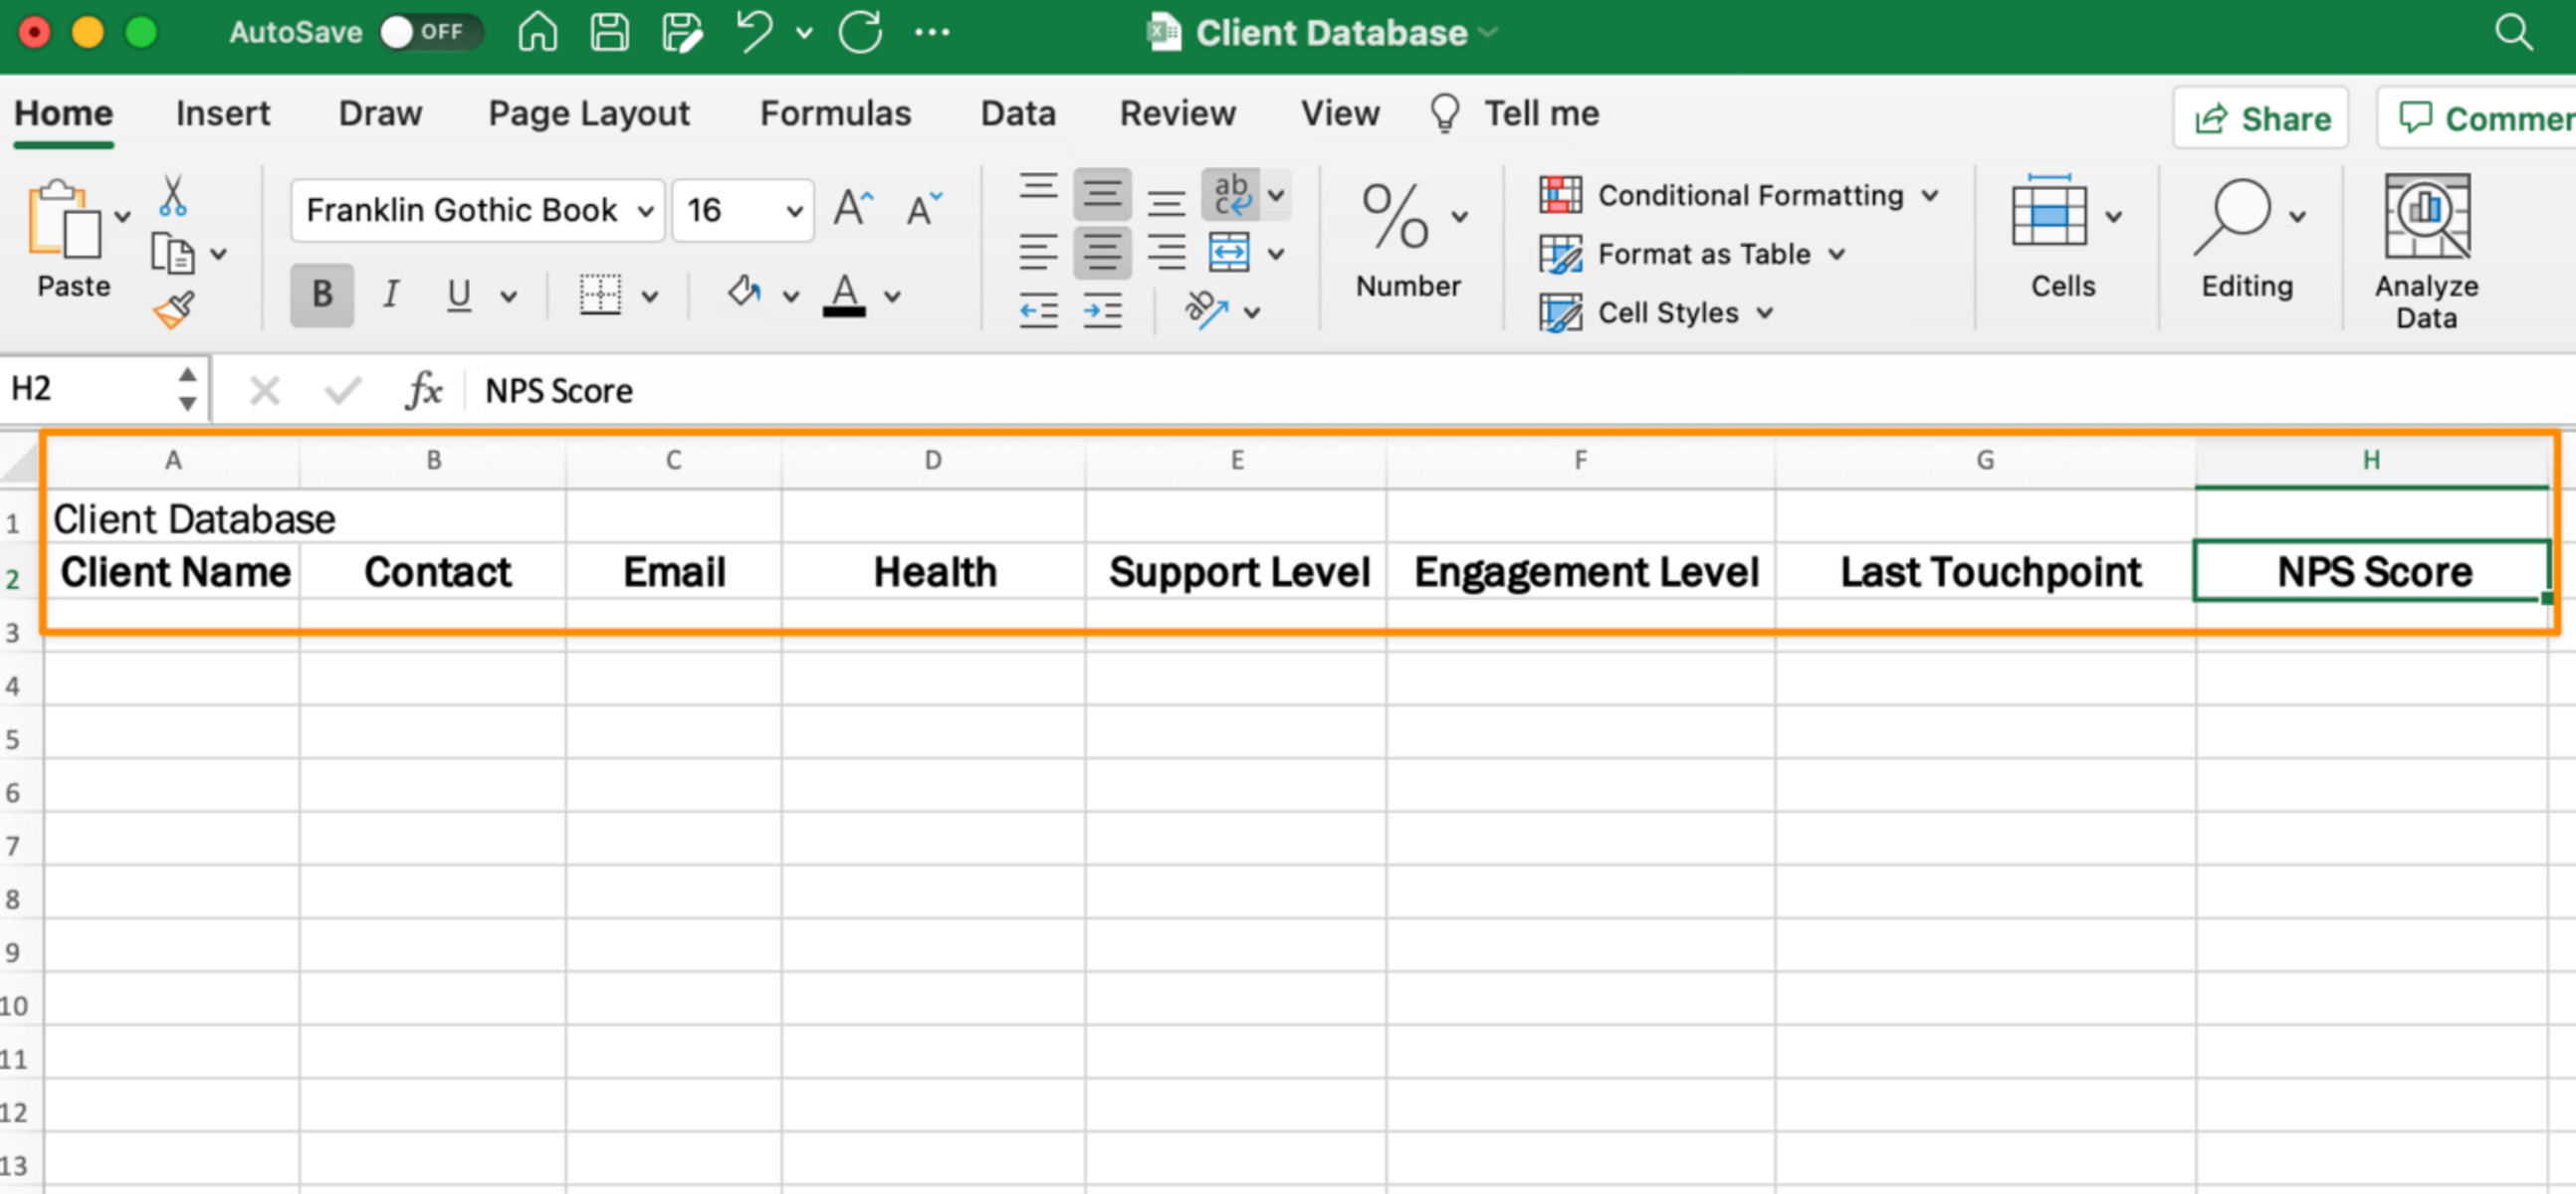
- Create the Column Headers: Identify the data fields you want to include in your database and create corresponding column headers. For example, if you’re creating a customer database, your headers may include “Name,” “Email,” “Phone Number,” and so on. Use the first row to list these headers.
- Enter the Data Into the Columns: After creating the column headers, start entering the data into the appropriate columns. Each row should represent a separate record or entry in the database. For instance, if you’re creating a product inventory database, each row can contain details about a specific product.
- Format the Data in the Database: Apply formatting styles to enhance the readability of your data. You can use features like bold, italic, or font color to differentiate headers or highlight important information. Additionally, consider adjusting column widths to accommodate the content adequately.
By following these initial steps, you’ll establish the basic structure of your Excel database. The next sections will delve into more advanced techniques to further enhance its functionality and usability.
Start by Opening a New Excel Workbook
When creating an Excel database, the first step is to open a new Excel workbook. This will serve as the foundation for your database. Here’s how to get started:
1. Launch Excel: Open Microsoft Excel on your computer. You can typically find it by searching for “Excel” in the Start menu or clicking on the Excel icon on your desktop.
2. Create a New Workbook: Once Excel is open, you will see a blank workbook. This is where you will build your database. If there is already a workbook open, you can click on “File” in the top-left corner of the Excel window and select “New” to create a new workbook.
3. Save the Workbook: It’s important to save your workbook before you start working on your database. Click on “File,” then select “Save As” to choose a location on your computer to save the file. Give your workbook a descriptive name that reflects the purpose of your database. Saving it as an Excel workbook (*.xlsx) is recommended for compatibility.
Opening a new Excel workbook provides a clean slate for you to begin building and organizing your database. It’s a good practice to save your workbook at this early stage to prevent any potential loss of data.
Remember, opening a new workbook in Excel is just the first step in creating your database. The following sections will guide you through setting up the structure, entering data, formatting, and utilizing advanced features to optimize your database’s functionality.
Create the Column Headers
When creating an Excel database, it’s essential to establish clear and descriptive column headers. These headers define the data fields that will be included in your database. Here’s how to create effective column headers:
- Identify Data Fields: Determine the specific information you want to track in your database. For example, if you’re building a customer database, you may need fields such as “Name,” “Email,” “Phone Number,” “Address,” and so on. Make a list of the data fields you require.
- Create Header Labels: In the first row of your Excel workbook, enter the header labels that correspond to each data field. Use clear and concise names that accurately represent the information you will be storing in the database. For instance, use “First Name” instead of simply “Name” to avoid ambiguity.
- Format the Header Row: To make your header row stand out, consider applying formatting options such as bold, font color, or background color. This will help distinguish the headers from the rest of the data and make them easily recognizable.
By creating meaningful and well-formatted column headers, you make it easier to navigate and understand your database. Clear labels eliminate confusion and allow for quick identification of data fields. Take the time to carefully consider the information you need to include and ensure that your headers accurately reflect these data fields.
Remember to save your workbook regularly to avoid any potential loss of data as you continue creating your Excel database. In the next section, we will discuss how to enter data into the corresponding columns and start populating your database.
Enter the Data into the Columns
After creating the column headers in your Excel database, the next step is to enter the relevant data into the corresponding columns. This process allows you to populate your database with the necessary information. Here’s how you can enter data into the columns:
- Identify the Data to Enter: Determine the specific details you want to include for each record in your database. For example, if you’re building a product inventory database, you might need to enter fields such as “Product Name,” “Category,” “Quantity,” “Price,” and so on. Make sure to have this information prepared.
- Enter Data in Each Row: Start from the second row, beneath the column headers, and enter the data for each record. Fill in the information based on the corresponding columns. For instance, fill in the product names in the “Product Name” column and the corresponding category, quantity, and price in the respective columns.
- Use Tabs or Arrows to Navigate: To move between columns, use the tab key or the right arrow key on your keyboard. This allows for easy navigation and ensures that data is correctly entered into each field.
- Inputting Numeric or Text Data: Depending on the nature of your data, you might need to consider whether it should be entered as text or numeric values. For example, if you’re entering phone numbers, it’s best to format them as text to preserve any leading zeros.
Remember to double-check the accuracy of the entered data. Mistakes or typographical errors can cause issues later on, so it’s important to ensure the data is correctly entered in their respective columns.
By entering the data into the columns, you are building the foundation of your Excel database. In the following sections, we will discuss how to format and customize your data for better readability and organization.
Format the Data in the Database
Once you have entered the data into the columns of your Excel database, it’s important to format it for better readability and organization. Formatting can make the data more visually appealing and easier to understand. Here are some tips on how to format the data in your database:
- Apply Number Formatting: If your data includes numeric values, you can apply number formatting to make it easier to read. For example, you can format currency values with the appropriate currency symbol and decimal places, or format dates in a specific date format.
- Use Conditional Formatting: Conditional formatting allows you to apply different formatting styles based on specific conditions. For instance, you can highlight cells that meet certain criteria, such as values that are above or below a certain threshold. This can help draw attention to important information in your database.
- Apply Font Formatting: Use font formatting options like bold, italic, or underline to emphasize specific data or headers. This can help make important details stand out and improve the overall readability of your database.
- Adjust Column Widths: If the data in your database is too wide to fit within a column, you can adjust the column width to make it fit. Simply click and drag the column separator line to increase or decrease the column width until the content is comfortably displayed.
Formatting your database not only enhances its visual appeal but also makes it easier to interpret and analyze the data. By applying number formatting, using conditional formatting, and adjusting column widths, you can customize the appearance of your database according to your specific needs.
In the next section, we will explore how to sort and filter the data in your Excel database to quickly find and analyze specific information.
Sort and Filter the Data
Sorting and filtering are essential techniques to organize and analyze data effectively in your Excel database. These functionalities allow you to arrange the data in a specific order and selectively display only the records that meet certain criteria. Here’s how you can sort and filter the data in your database:
- Sorting Data: Sorting enables you to arrange the data in ascending or descending order based on one or more columns. To sort your data, select the entire range you want to sort, click on the “Sort Ascending” or “Sort Descending” button in the Excel toolbar, and choose the column(s) to sort by. This helps in bringing similar records together or organizing the data based on specific criteria.
- Filtering Data: Filtering allows you to display only the records that meet certain conditions. In Excel, you can use the AutoFilter feature to apply filters to your data. Select your entire data range, click on the “Filter” button in the Excel toolbar, and you’ll see drop-down arrows appear in the header row. Click on the arrow for a specific column and choose the filter options you want to apply, such as text filters, number filters, or date filters. This allows you to focus on specific subsets of your data easily.
Sorting and filtering are powerful tools that help you quickly analyze and extract valuable insights from your Excel database. You can sort data based on various criteria, such as alphabetical order, numeric values, or dates, and filter data to display specific records that match your requirements. Utilize these features to streamline data analysis and make informed decisions.
In the next section, we will explore how to use formulas to analyze and manipulate the data in your Excel database.
Use Formulas to Analyze the Data
Excel provides a wide range of powerful formulas that can be used to analyze and manipulate data in your Excel database. These formulas allow you to perform calculations, extract specific information, and create calculated fields. Here’s how you can use formulas to analyze the data in your Excel database:
- Basic Formulas: Excel offers a variety of basic formulas to perform arithmetic calculations on your data. For example, you can use the SUM formula to calculate the total of a range of values, or the AVERAGE formula to find the average value of a set of numbers.
- Conditional Formulas: Conditional formulas allow you to apply calculations based on specific conditions. The IF formula, for instance, allows you to create a logical test and specify what value to return based on whether the condition is true or false. This can be useful for creating calculated fields or performing conditional calculations.
- Lookup Formulas: Lookup formulas, such as VLOOKUP or INDEX-MATCH, enable you to search for specific values in your database and retrieve related information. These formulas are particularly useful when working with larger databases or when you need to cross-reference data from multiple tables.
- Aggregation Formulas: Aggregation formulas, like COUNT, COUNTIF, SUMIF, or AVERAGEIF, allow you to count, sum, or average values based on certain criteria. These formulas help you gain insights into your data by aggregating information based on specific conditions.
By utilizing these formulas, you can perform complex calculations, extract specific information, and create dynamic reports and summaries. Formulas provide an efficient way to analyze and manipulate data within your Excel database, allowing you to gain valuable insights without the need for manual calculations.
In the next section, we will discuss how to create pivot tables to further summarize and analyze your data in a customizable and dynamic format.
Create Pivot Tables to Summarize the Data
Pivot tables are a powerful feature in Excel that allow you to summarize and analyze large amounts of data from your database. They provide a flexible and interactive way to organize and extract insights from your data. Here’s how you can create pivot tables to summarize the data in your Excel database:
- Select Your Data: Before creating a pivot table, ensure your data is in a tabular format with headers. Select the entire range of data, including the headers, that you want to summarize.
- Create the Pivot Table: With your data selected, go to the “Insert” tab in the Excel toolbar and click on the “PivotTable” button. Excel will prompt you to select the range of data for your pivot table. Choose whether to place the pivot table in a new worksheet or in an existing worksheet.
- Configure the Pivot Table: Once the pivot table is created, a new “PivotTable Field List” sidebar will appear. Use this sidebar to drag and drop the desired fields into the “Rows,” “Columns,” and “Values” areas. You can also apply functions like sum, count, average, or custom calculations to the values in the pivot table.
- Refine and Customize: You can further refine and customize your pivot table by rearranging, filtering, or grouping the fields. Pivot tables provide various options to organize and display your data in a meaningful way, allowing you to drill down into specific subsets of information.
Pivot tables offer a dynamic and interactive way to summarize and analyze data in your Excel database. They provide a clear visual representation, making it easier to understand patterns, trends, and relationships within the data. You can dynamically adjust the layout and summary calculations of your pivot table to gain deeper insights without altering your original data.
In the next section, we will explore how to add fields and records to your Excel database, expanding its capabilities and scope.
Add Fields and Records to the Database
As your database evolves, you may find the need to add new fields and records to accommodate additional information or expand the scope of your Excel database. Adding fields and records allows you to enhance the functionality and flexibility of your database. Here’s how you can add fields and records to your Excel database:
- Add Fields: To add a new field to your database, insert a new column to the right of the existing columns. Update the column header with the name of the new field. This could be a new data category, attribute, or any other information you want to track. Ensure that the new field is relevant to the purpose of your database.
- Add Records: To add a new record to your database, insert a new row below the existing rows. Enter the relevant data into the corresponding columns for the new record. Make sure to include all the necessary information for the new record based on the fields you have defined.
- Extend Formulas and Formatting: If you have any formulas or conditional formatting applied to your existing data, make sure to extend them to cover the newly added fields and records. This ensures that the calculations and formatting are accurately applied to the expanded database.
Adding fields and records allows your Excel database to grow and adapt to changing requirements. It enables you to capture additional information or expand the scope of your data analysis. Whether it’s a new attribute you want to track or a new entry you need to include, adding fields and records ensures your database remains comprehensive and up-to-date with the information you need.
In the next section, we will explore how to use Excel’s data validation feature to ensure data accuracy and consistency within your database.
Use Excel’s Data Validation Feature
Excel’s data validation feature allows you to set rules and restrictions on the data entered into your Excel database. It helps ensure data accuracy, consistency, and integrity by validating user inputs. Here’s how you can utilize Excel’s data validation feature:
- Select the Data Range: First, select the range of cells in which you want to apply data validation. This can be a specific column, row, or the entire database. You can select the range by clicking and dragging over the desired cells.
- Open the Data Validation Dialog Box: With the range selected, go to the “Data” tab in the Excel toolbar and click on the “Data Validation” button. This will open the data validation dialog box.
- Specify the Validation Criteria: In the data validation dialog box, choose the validation criteria you want to apply. Excel offers various options such as whole number, decimal, date, time, text length, or custom formulas. Set the criteria that align with the data requirements for each field in your database.
- Input Error Alert: You can also customize an error alert message to display when users enter invalid data. This helps provide immediate feedback and guidance on the data entry requirements.
- Apply and Test the Data Validation: Once you have configured the validation criteria and input error alert, click on the “OK” button to apply the data validation to the selected range. Now, when users attempt to input data that violates the defined criteria, an error message will appear, preventing inconsistent or incorrect data from being entered.
Excel’s data validation feature is a valuable tool to ensure the integrity and reliability of your Excel database. By setting validation criteria, you can minimize errors and enforce consistency in data entry. This feature helps maintain data accuracy and saves time by preventing the need for manual spotting and correcting of incorrect data.
In the next section, we will explore how to protect and secure your Excel database to prevent unauthorized access or accidental modifications.
Protect and Secure the Database
Protecting and securing your Excel database is essential to safeguard the integrity and confidentiality of your data. By implementing security measures, you can prevent unauthorized access and accidental modifications. Here are some steps to protect and secure your Excel database:
- Password Protect the Workbook: To restrict access to your database, you can password protect the workbook. Go to the “File” tab in the Excel toolbar, click on “Protect Workbook,” and select “Encrypt with Password.” Choose a strong password and ensure to remember it or store it in a safe place.
- Restrict Editing: You can further control access and modifications by restricting specific actions within the workbook. Go to the “Review” tab in the Excel toolbar, click on “Protect Sheet” or “Protect Workbook,” and customize the settings to allow only authorized users to make changes or edit specific areas.
- Hide Sensitive Data: If your database contains sensitive information that doesn’t need to be visible at all times, you can hide the corresponding columns or rows. Select the columns or rows you want to hide, right-click, and choose “Hide.” This ensures that sensitive data remains hidden unless specifically unhidden by authorized users.
- Regularly Backup Your Database: It’s crucial to regularly back up your Excel database to protect against data loss or corruption. Create backup copies of your workbook and store them in a secure location, either offline or on a separate storage device.
Implementing these protection and security measures helps maintain the confidentiality, integrity, and availability of your Excel database. By restricting access, controlling editing permissions, hiding sensitive data, and regularly backing up your database, you can mitigate the risk of unauthorized access, accidental modifications, and data loss.
In the next section, we will explore how to import and export data from other sources to enhance the functionality and versatility of your Excel database.
Import and Export Data from Other Sources
Excel offers the flexibility to import and export data from various external sources, allowing you to expand the capabilities of your database and integrate information from different sources. Here’s how you can import and export data in Excel:
- Import Data: To import data from external sources, such as a text file, CSV file, or database, go to the “Data” tab in the Excel toolbar and click on “Get External Data.” Choose the appropriate option based on the source you want to import from, and follow the prompts to import the data into your Excel database.
- Export Data: To export data from your Excel database, go to the “File” tab in the Excel toolbar, click on “Save As,” and choose the desired file format. Excel provides options to save your database as an Excel workbook, CSV file, PDF, or other compatible formats. Select the appropriate format and save the file to the desired location.
- Link External Data: Rather than importing data, you can also create a link to external data sources. This allows you to establish a connection and retrieve updated information automatically. Go to the “Data” tab, click on “From Other Sources,” and choose the appropriate option to establish a link to an external source.
- Data Refresh and Update: If you have linked external data, you can refresh and update it to ensure you have the most recent information. Use the “Refresh All” button in the “Data” tab to refresh linked data sources and retrieve any changes or updates.
Importing and exporting data to and from external sources provides an opportunity to integrate and complement your existing Excel database. By importing data, you can incorporate information from different sources, and by exporting data, you can share or utilize your database in other applications or platforms.
In the next section, we will discuss the importance of maintaining and updating your Excel database to ensure its accuracy and relevance over time.
Maintain and Update the Database
Maintaining and updating your Excel database is crucial to ensure its accuracy, relevance, and effectiveness over time. By regularly reviewing and updating your database, you can keep it current, fix errors, and adapt to changes in your data or business needs. Here are some key practices to maintain and update your Excel database:
- Regular Review: Set a schedule to review your database periodically. This allows you to identify any outdated or incorrect information, missing records, or inconsistencies. Regular review ensures that your database remains reliable and up-to-date.
- Data Cleansing: Perform data cleansing activities to clean up any inconsistencies, errors, or duplicates in your database. This may involve removing unnecessary characters, standardizing formats, or combining duplicate records. Data cleansing enhances the accuracy and quality of your database.
- Update Data: When new information becomes available, update your database accordingly. This may involve adding new records, modifying existing data, or deleting outdated information. Keeping your database current ensures it reflects the most recent data and maintains its relevance.
- Backup and Recovery: Regularly back up your Excel database to prevent data loss or corruption. This includes creating copies of your workbook and storing them in separate locations or using backup software. Having a reliable backup ensures you can restore your database in case of accidental deletion or data corruption.
- Train and Educate Users: If your database is shared among multiple users, provide training and education on proper data entry, formatting, and usage. This helps maintain consistency and ensures that all users follow established guidelines and best practices when interacting with the database.
- Document Changes: Keep track of any changes made to the database, including updates, modifications, or additions. Documenting changes helps maintain transparency, assists with troubleshooting, and ensures accountability.
By implementing these practices, you can maintain the quality, accuracy, and reliability of your Excel database over time. Regularly reviewing, updating, and cleaning your database avoids outdated information and ensures it remains an effective tool for data analysis and decision-making.
In the next section, we will explore how to define relationships between multiple tables in Excel to establish connections and perform more complex data analysis tasks.
Define Relationships Between Multiple Tables
When dealing with complex databases in Excel, it can be beneficial to split your data into multiple tables. Defining relationships between these tables helps establish connections and enables more sophisticated data analysis. Here’s how you can define relationships between multiple tables in Excel:
- Create Multiple Tables: Identify the distinct data entities in your database and organize them into separate tables. For example, if you have a customer database, you may have separate tables for “Customers,” “Orders,” and “Products.” Each table should have a primary key and a related foreign key column to establish relationships.
- Identify Relationship Types: Determine the type of relationship between the tables. Common relationship types include one-to-one, one-to-many, and many-to-many. Analyze the nature of your data to understand how tables are linked and which relationship type is appropriate.
- Define Relationships: To define a relationship, go to the “Data” tab in the Excel toolbar and click on “Relationships.” This will open the Relationship dialog box. From there, select the tables you want to establish a relationship between and specify the corresponding primary key and foreign key columns.
- Enforce Referential Integrity: Consider enabling referential integrity to maintain data consistency and accuracy. Enforcing referential integrity ensures that when data is modified or deleted, related data in other tables is also appropriately updated or deleted. This feature prevents orphaned or inconsistent data.
- Use Related Data in Formulas: Once relationships are defined, you can leverage related data in formulas. By using functions like VLOOKUP or INDEX-MATCH, you can retrieve data from related tables based on matching keys. This allows for more comprehensive and interconnected analysis.
Defining relationships between multiple tables in Excel allows you to organize your data more effectively and perform complex data analysis tasks. It enables you to leverage the power of related data, establish data integrity, and extract valuable insights from your interconnected database.
In the final section, we will explore advanced features like macros and VBA (Visual Basic for Applications) that can further enhance the functionality and automation of your Excel database.
Use Advanced Features like Macros and VBA
Excel offers advanced features like macros and VBA (Visual Basic for Applications) that can greatly enhance the functionality and automation of your Excel database. These features allow you to automate repetitive tasks, create custom functions, and build interactive user interfaces. Here’s how you can leverage macros and VBA to take your Excel database to the next level:
- Record Macros: Macros enable you to record a series of actions and play them back later as a single command. This is useful for automating repetitive tasks, such as formatting, data entry, or generating reports. To record a macro, go to the “View” tab in the Excel toolbar, click on “Macros,” and select “Record Macro.”
- Write VBA Code: VBA is a programming language that allows you to create custom functions and automate complex tasks. With VBA, you can manipulate data, perform calculations, create custom forms, and interact with other applications. To access the VBA editor, press “Alt + F11” or go to the “Developer” tab in the toolbar and click on “Visual Basic.”
- Create Custom Functions: With VBA, you can write your own custom functions to perform calculations or data manipulations that aren’t available as built-in Excel functions. Custom functions allow you to extend the functionality of your Excel database and tailor it to your specific needs.
- Build User Forms: User forms provide a user-friendly interface for interacting with your database. With VBA, you can create custom user forms that allow users to input data, perform calculations, and generate reports. User forms improve the user experience and streamline data entry and analysis.
- Automate Data Updates: By using macros and VBA, you can automate data imports or updates from external sources. This ensures that your database remains up-to-date without manual intervention. You can schedule tasks to run at specified times or trigger updates based on specific events.
By leveraging macros and VBA, you can unleash the full potential of your Excel database. Automating repetitive tasks, creating custom functions, and developing user-friendly interfaces through macros and VBA helps save time, increase efficiency, and expand the capabilities of your Excel database.
Congratulations! You have now explored various techniques to create, organize, format, analyze, maintain, and enhance Excel databases. With these skills, you’ll be able to build robust and efficient databases that empower you to effectively manage and analyze your data.
Troubleshoot Common Issues in Excel Databases
While working with Excel databases, you may encounter various issues that can impact the functionality and accuracy of your database. Understanding common issues and troubleshooting them promptly is essential to ensure the integrity of your data. Here are some common issues you might face with Excel databases and some troubleshooting tips:
- Data Entry Errors: Incorrect data entry is a common issue that can lead to inaccurate results. Double-check the data you enter, ensure it aligns with the formatting requirements, and use data validation to prevent errors.
- Inconsistent Formatting: Inconsistent formatting can make it challenging to analyze and interpret data. Regularly review formatting across your database and apply consistent styles using cell formatting features.
- Formula Errors: Errors in formulas can result in incorrect calculations or unexpected results. Check the formula syntax, ensure correct cell references, and verify that the formula logic aligns with your desired outcome.
- Missing or Deleted Data: Accidentally deleting or losing data can disrupt the functionality of your database. Regularly back up your database to avoid data loss and use Excel’s “Undo” feature for quick data recovery.
- Slow Performance: Large databases or inefficient formulas can lead to slow performance. Optimize your database by removing unnecessary calculations, using proper indexing, and considering using pivot tables to summarize large datasets.
- Data Inconsistencies: Inconsistencies in data can lead to inaccurate analysis. Implement data validation rules, enforce referential integrity, and regularly clean and validate your data to ensure consistency.
- Compatibility Issues: When importing or exporting data from external sources, compatibility issues may arise. Double-check file formats, ensure compatibility between different versions of Excel, and consider using XML or CSV format for better compatibility.
When troubleshooting issues in your Excel database, it’s essential to carefully review the steps taken, check for inconsistencies or errors, and follow best practices for data entry and management. Utilize Excel’s built-in features and tools to assist with troubleshooting, and seek further assistance from online forums, Microsoft documentation, or professional assistance if needed.
By being aware of these common issues and their potential solutions, you can effectively troubleshoot and resolve problems that arise in your Excel database.