
Check Compatibility
Before connecting your Philips Hue Bridge to Wi-Fi, it is important to ensure that your devices are compatible. The Philips Hue Bridge is compatible with a wide range of devices, including smartphones, tablets, and smart home assistants. To check compatibility, follow these steps:
- Check the compatibility list: Visit the official Philips Hue website and look for the compatibility list. This list will provide information about the supported operating systems and devices. Make sure your device matches the requirements.
- Check device specifications: If you already have a device and are unsure about its compatibility, check the specifications. Look for compatibility with the Philips Hue Bridge or compatibility with ZigBee, which is the communication protocol used by the bridge.
- Download the app: If you have a compatible device, download the Philips Hue app from the App Store or Google Play. The app will guide you through the setup process and ensure a seamless connection.
Ensuring compatibility is crucial to avoid any incompatibility issues or disruptions during the connection process. By checking compatibility beforehand, you’ll have a smoother experience when connecting your Philips Hue Bridge to Wi-Fi.
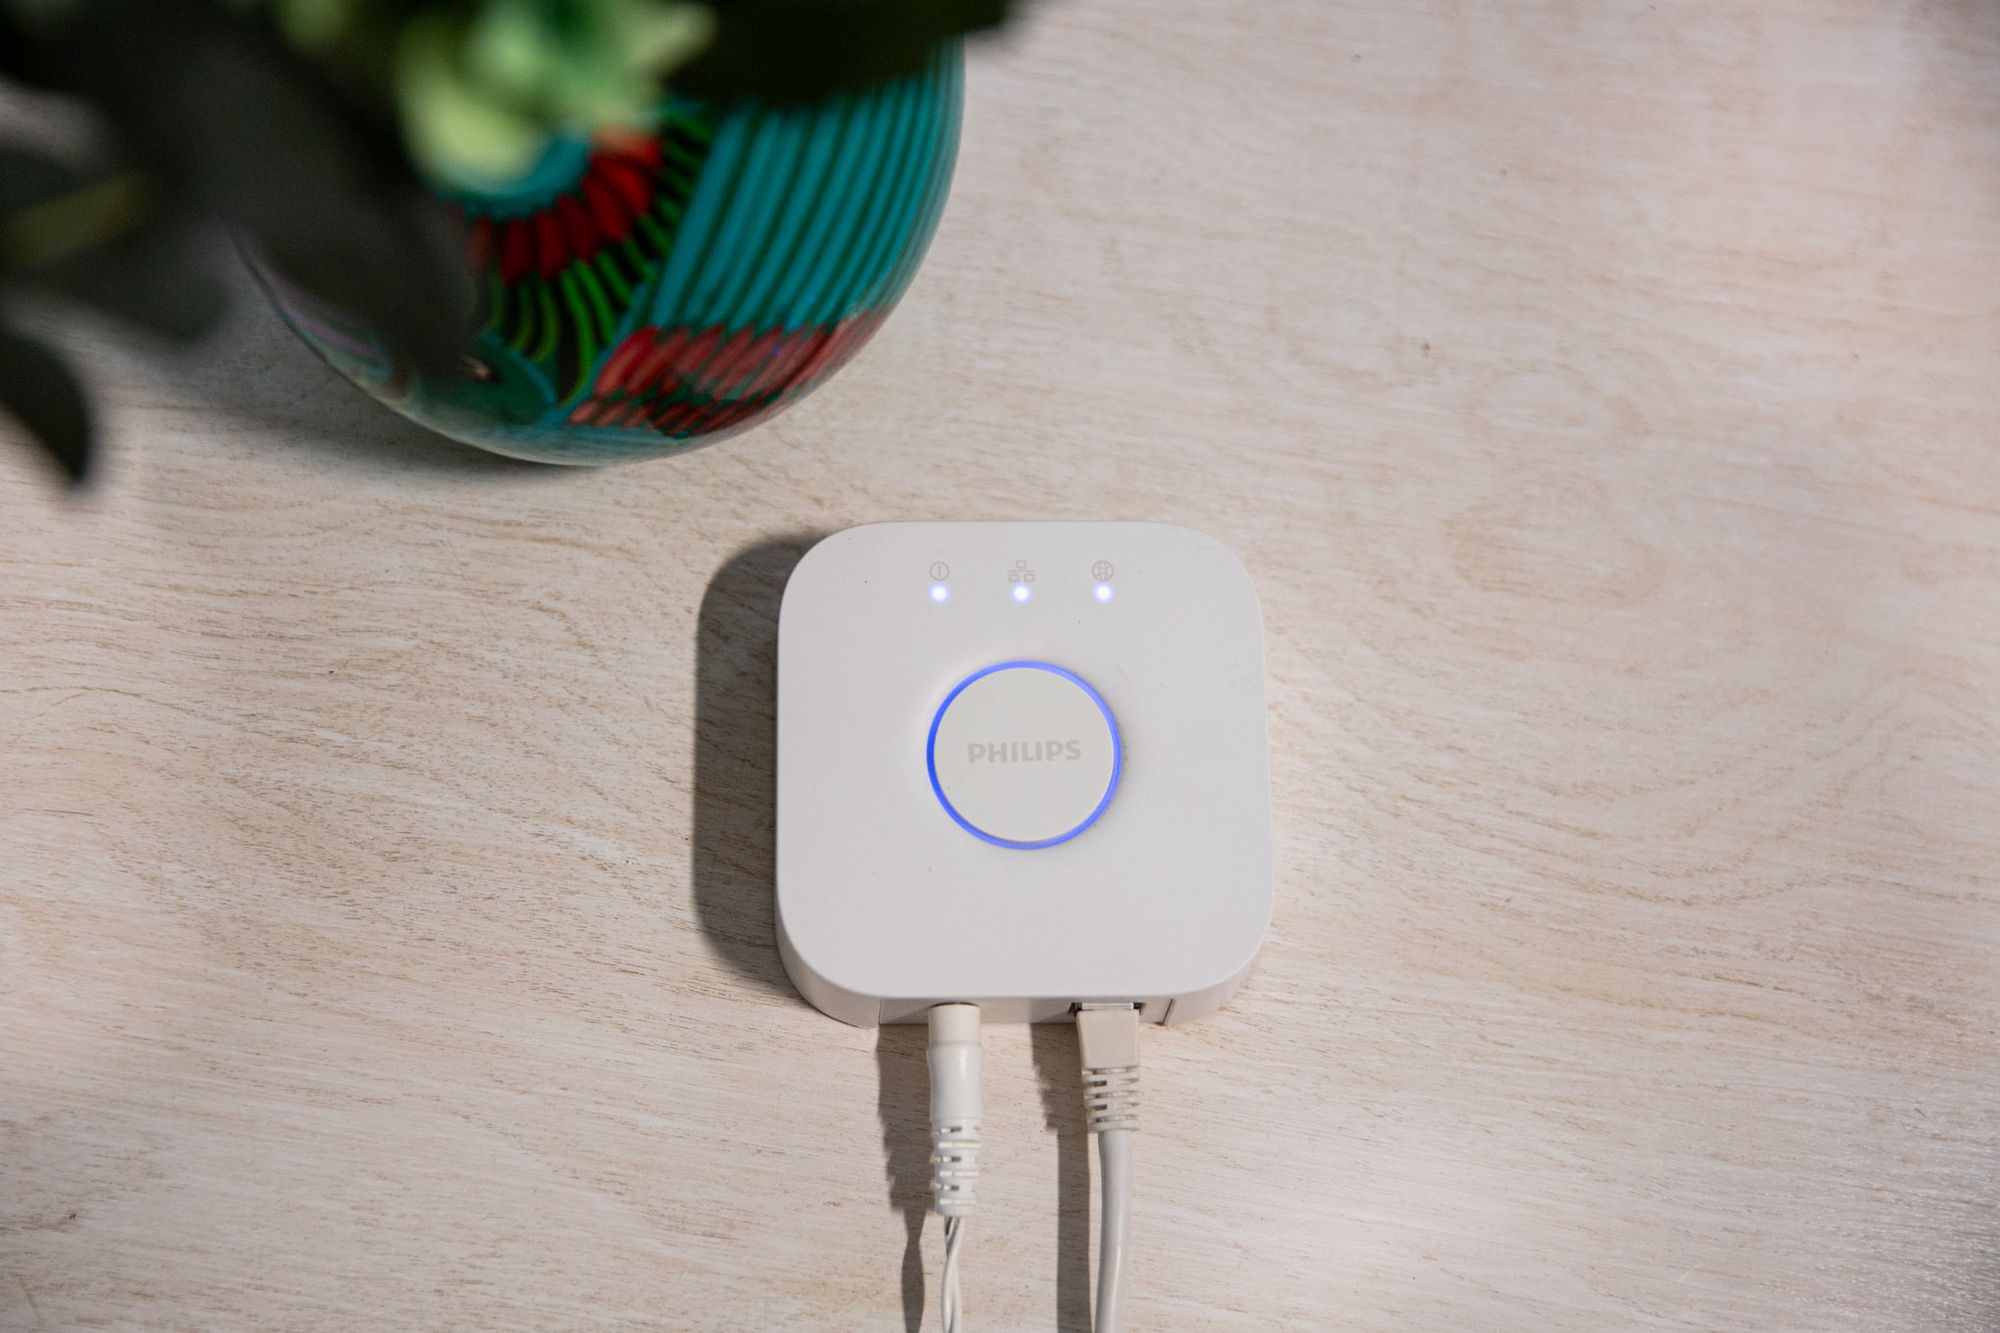
Power On The Philips Hue Bridge
To begin the process of connecting your Philips Hue Bridge to Wi-Fi, you need to power on the bridge. Follow these steps:
- Locate the power port: On the back of the Philips Hue Bridge, you will find a power port.
- Plug in the power adapter: Take the power adapter that came with the bridge and plug it into an electrical outlet.
- Connect the power adapter: Connect the other end of the power adapter to the power port on the back of the bridge.
- Power on the bridge: Once the power adapter is connected, the bridge will automatically power on. You may see lights blinking on the bridge, indicating that it is initializing.
Ensuring that your Philips Hue Bridge is powered on is crucial for the successful connection to Wi-Fi. Make sure that the power adapter is securely connected and that the bridge receives power. Once the bridge is powered on, you can proceed to the next steps of the setup process.
Connect The Ethernet Cable
After powering on the Philips Hue Bridge, the next step is to connect the Ethernet cable. Here’s how to do it:
- Locate the Ethernet port: On the back of the Philips Hue Bridge, you will find an Ethernet port.
- Connect one end of the Ethernet cable: Take one end of the Ethernet cable and insert it into the Ethernet port of the bridge.
- Connect the other end of the Ethernet cable: Insert the other end of the Ethernet cable into an available Ethernet port on your Wi-Fi router or modem.
- Ensure a secure connection: Make sure the Ethernet cable is securely connected on both ends to avoid any disruptions during the setup process. Check that the connectors are fully inserted into the ports.
Connecting the Ethernet cable is essential as it enables communication between the Philips Hue Bridge and your Wi-Fi network. Ensure that you have a stable and reliable Ethernet connection to ensure a smooth setup process and uninterrupted performance.
Connect The Power Adapter
Once you have powered on the Philips Hue Bridge and connected the Ethernet cable, the next step is to connect the power adapter. Follow these steps to connect the power adapter:
- Locate a power outlet: Find a suitable power outlet near your Philips Hue Bridge.
- Plug in the power adapter: Take the power adapter that came with the Philips Hue Bridge and plug it into the power outlet.
- Connect the power adapter: Connect the other end of the power adapter to the power port on the back of the bridge.
- Ensure a secure connection: Make sure the power adapter is securely plugged into the power outlet and the power port on the bridge. Ensure that the connectors are fully inserted without any loose connections.
Connecting the power adapter is essential as it provides the necessary power to the Philips Hue Bridge. This allows the bridge to function properly and communicate with your Wi-Fi network. Ensure that you have a stable power supply to avoid any disruptions during the setup process and to ensure optimal performance of your Philips Hue lighting system.
Wait For The Bridge To Initialize
After connecting the power adapter to the Philips Hue Bridge, it is important to allow the bridge some time to initialize. During this process, the bridge is setting up its connection to the network and preparing to connect to Wi-Fi. Here’s what you need to do:
- Give it time: Once the power adapter is connected, be patient and allow the bridge a few moments to initialize. This may take a minute or two.
- Observe the lights: As the bridge initializes, you may notice lights blinking on the bridge. These lights indicate that the bridge is in the process of connecting to the network.
- Avoid any interference: While the bridge is initializing, avoid causing any interference or disruption to the setup process. Ensure that the power connection and Ethernet cable are secure and undisturbed.
It is important to allow the Philips Hue Bridge enough time to initialize properly. Rushing the process or interrupting it may result in connectivity issues or a failed setup. By patiently waiting for the bridge to finish initializing, you can ensure a smooth and successful connection to Wi-Fi.
Download The Philips Hue App
To connect your Philips Hue Bridge to Wi-Fi, you will need to download the Philips Hue app. This app will serve as your control hub for managing and customizing your Hue lighting system. Here’s how to download the app:
- Open App Store or Google Play: Depending on your device, open either the App Store (for iOS) or Google Play Store (for Android).
- Search for the Philips Hue app: In the search bar, type “Philips Hue” and search for the official app developed by Signify.
- Select and install the app: Once you find the Philips Hue app, tap on it to select and install it on your device.
- Wait for the installation to complete: Allow the app to download and install fully. This may take a few moments depending on your internet connection speed.
Downloading the Philips Hue app is a crucial step in connecting your bridge to Wi-Fi. The app provides a user-friendly interface that allows you to control and customize your lighting system with ease. Once the app is downloaded and installed on your device, you can move on to the next steps of the setup process.
Launch The App
After downloading the Philips Hue app, it’s time to launch the app on your device. Launching the app will allow you to begin the setup process and connect your Philips Hue Bridge to Wi-Fi. Here’s how to do it:
- Locate the Philips Hue app icon: Look for the Philips Hue app icon on your device’s home screen or app drawer.
- Tap on the app icon: Tap on the Philips Hue app icon to launch the app.
- Wait for the app to load: Give the app a few moments to load and initialize. Depending on your device’s performance and internet connection, it may take a few seconds.
Launching the Philips Hue app is the gateway to setting up and controlling your lighting system. Once the app is launched successfully, you can proceed to the next steps of the setup process and seamlessly connect your Philips Hue Bridge to Wi-Fi.
Tap ‘Setup New Device’
Once you have launched the Philips Hue app on your device, the next step is to tap on the ‘Setup New Device’ option. This will initiate the setup process for connecting your Philips Hue Bridge to Wi-Fi. Follow these steps:
- Open the Philips Hue app: Ensure that the app is already launched on your device.
- Look for the ‘Setup New Device’ option: Navigate through the app’s interface and search for the ‘Setup New Device’ option. It is usually located in the main menu or a prominent area on the screen.
- Tap on ‘Setup New Device’: Once you have located the ‘Setup New Device’ option, tap on it to begin the setup process.
Tapping on the ‘Setup New Device’ option is a crucial step in connecting your Philips Hue Bridge to your Wi-Fi network. It allows the app to guide you through the necessary steps and prompts for a successful connection. After tapping on this option, you will be ready to proceed further and set up your bridge for a seamless Wi-Fi connection.
Tap ‘Add Serial Number Manually’
After selecting the ‘Setup New Device’ option in the Philips Hue app, the next step is to tap on ‘Add Serial Number Manually’. This will allow you to manually enter the serial number of your Philips Hue Bridge. Follow these steps to proceed:
- Open the Philips Hue app: Make sure the app is already open and you have selected the ‘Setup New Device’ option.
- Look for ‘Add Serial Number Manually’: Navigate through the app’s interface and locate the ‘Add Serial Number Manually’ option. It is usually found within the setup process or in the section related to bridge setup.
- Tap on ‘Add Serial Number Manually’: Once you have found the option, tap on it to proceed.
Tapping on ‘Add Serial Number Manually’ is an important step in the setup process as it allows you to input the unique serial number of your Philips Hue Bridge. This number ensures that the app can recognize and establish a connection with your specific bridge. After tapping on this option, you will be ready to enter the serial number and continue with the setup process.
Enter The Serial Number
Once you have tapped on ‘Add Serial Number Manually’ in the Philips Hue app, you will be prompted to enter the serial number of your Philips Hue Bridge. The serial number is a unique identifier that ensures proper recognition and connection with your specific bridge. Follow these steps to enter the serial number:
- Retrieve the serial number: Locate the serial number of your Philips Hue Bridge. It can usually be found on the underside or back of the bridge. It may also be included in the packaging or documentation that came with your bridge.
- Enter the serial number: Using the on-screen keyboard, input the serial number into the designated field within the Philips Hue app. Take care to enter the number accurately to avoid any setup errors.
- Verify the serial number: After entering the serial number, double-check to make sure it is correct. This will ensure the app recognizes your specific bridge for a successful connection.
- Tap ‘Connect’: Once you have entered the serial number and double-checked its accuracy, tap on the ‘Connect’ button or similar prompt in the app. This will initiate the connection process between the app and your Philips Hue Bridge.
Entering the correct serial number is vital to establish a proper connection between the app and your Philips Hue Bridge. Take your time to ensure accuracy and avoid any typos or mistakes. Once you have successfully entered the serial number and tapped ‘Connect’, you are one step closer to connecting your bridge to Wi-Fi.
Tap ‘Connect’
After entering the serial number of your Philips Hue Bridge in the app, the next step is to tap on the ‘Connect’ button. This action will initiate the connection process between the app and your bridge. Follow these steps to proceed:
- Ensure the serial number is entered correctly: Double-check the serial number you entered to make sure it’s accurate. This will ensure a proper connection between the app and your Philips Hue Bridge.
- Locate the ‘Connect’ button: Look for the ‘Connect’ button or a similar prompt within the app’s interface. It is typically located near the serial number input field or in the bridge setup section.
- Tap on ‘Connect’: Once you have located the ‘Connect’ button, tap on it to initiate the connection process between the app and your Philips Hue Bridge.
Tapping on the ‘Connect’ button is a crucial step in establishing a connection between the app and your Philips Hue Bridge. It allows the app to communicate with the bridge and begin the Wi-Fi setup process. After tapping ‘Connect’, the app will work to connect your bridge to your Wi-Fi network, ensuring seamless control and accessibility of your Philips Hue lighting system.
Connect The Bridge To Wi-Fi
Once you have tapped on ‘Connect’ in the Philips Hue app, the app will guide you through the process of connecting your Philips Hue Bridge to your Wi-Fi network. This step is crucial for enabling remote control and interaction with your Philips Hue lighting system. Follow these steps to connect the bridge to Wi-Fi:
- Follow the on-screen prompts: The Philips Hue app will provide on-screen prompts to guide you through the Wi-Fi connection process. Read and follow the instructions carefully.
- Select your Wi-Fi network: When prompted, select your Wi-Fi network from the list of available networks displayed in the app. Ensure you choose the correct network that you want to connect your bridge to.
- Enter the Wi-Fi network password: If required, you will be prompted to enter the password for your Wi-Fi network. Input the password using the on-screen keyboard and ensure its accuracy.
- Tap ‘Connect’: Once you have selected the Wi-Fi network and entered its password, tap on the ‘Connect’ button or similar prompt in the app.
- Wait for the connection to establish: The app will now work to establish a connection between your Philips Hue Bridge and your Wi-Fi network. This process may take a few moments. Be patient and avoid interrupting the connection process.
Connecting your bridge to Wi-Fi is a crucial step in gaining complete control over your Philips Hue lighting system. By following the app’s instructions and ensuring you have entered the correct network information, you will successfully connect your bridge to your Wi-Fi network. Once the connection is established, you can enjoy the convenience and flexibility of controlling your lights from anywhere through the app or compatible smart home assistants.
Follow The On-Screen Prompts
As you proceed with connecting your Philips Hue Bridge to Wi-Fi, it is important to carefully follow the on-screen prompts provided by the Philips Hue app. These prompts are designed to guide you through the setup process and ensure a successful connection. Here’s what you need to do:
- Read the instructions: Take the time to read and understand the instructions presented on the screen. These instructions will provide you with important information and steps to follow.
- Perform the required actions: The on-screen prompts may require you to perform specific actions, such as pressing buttons on the bridge or restarting your devices. Follow these instructions precisely to proceed with the setup process.
- Provide accurate information: If the prompts ask for any information, such as your Wi-Fi network name or password, make sure to enter the correct details. Accurate information is essential for a successful connection.
- Stay patient: The on-screen prompts may take some time to load or process. Avoid rushing the process and give the app time to complete each step. Patience is key to ensuring a smooth setup of your Philips Hue Bridge.
Following the on-screen prompts is crucial in ensuring a successful setup of your Philips Hue Bridge. By carefully reading and performing the instructions provided, you can connect your bridge to Wi-Fi with ease. Remember to be attentive and patient throughout the process to avoid any unnecessary setbacks or issues.
Test The Connection
After successfully connecting your Philips Hue Bridge to Wi-Fi, it is important to test the connection to ensure everything is working properly. This will allow you to confirm that your bridge is successfully connected to your Wi-Fi network and that you can control your Philips Hue lights seamlessly. Here’s what you need to do:
- Open the Philips Hue app: Launch the Philips Hue app on your device and make sure it is connected to the same Wi-Fi network as your bridge.
- Check bridge connectivity: Within the app, verify that the app is detecting and connected to your Philips Hue Bridge. This is usually indicated by a status or connectivity icon.
- Control your lights: Use the app to test the control of your Philips Hue lights. Turn them on, off, and adjust their brightness or colors to ensure that the app is successfully communicating with your lights via the bridge.
- Check remote access: If you plan to control your lights remotely, away from home, ensure that remote access is enabled in the app settings. Test controlling your lights while connected to a different Wi-Fi network or using cellular data.
- Confirm overall functionality: Test various features of the Philips Hue app, such as creating scenes or setting schedules. Ensure that these advanced functions are working as expected.
By testing the connection and confirming the functionality of your Philips Hue Bridge and app, you can ensure a smooth and reliable experience with your Philips Hue lighting system. If you encounter any issues during the testing process, refer to the troubleshooting steps provided in the app or consult the Philips Hue support resources for assistance.