
Hardware Requirements
Before you can start enjoying the incredible virtual reality experience offered by the HTC Vive headset, you need to ensure that your computer meets the necessary hardware requirements. Here are the key specifications you should consider:
- Processor: A powerful multi-core processor, preferably an Intel i5 or i7, or an equivalent AMD processor.
- Memory: At least 8GB of RAM to ensure smooth performance.
- Graphics Card: An NVIDIA GeForce GTX 1060 or higher, or an AMD Radeon RX 480 or higher, for optimal rendering and visual quality.
- Video Output: Your graphics card should have at least one HDMI 1.4 or DisplayPort 1.2 output.
- USB Ports: You will need an available USB 2.0 port for connecting the link box.
- Operating System: The Vive is compatible with Windows 7 SP1 or later, Windows 8.1, or Windows 10.
- Additional Requirements: Make sure you have enough space in your room to set up the Vive base stations and move around comfortably.
It’s important to note that meeting these minimum requirements will allow you to run the HTC Vive headset, but for the best performance and to fully enjoy the immersive experience, it’s recommended to have a more powerful computer that exceeds the minimum specifications.
By ensuring your computer meets these hardware requirements, you’re well on your way to unlocking the incredible potential of the HTC Vive headset and diving into a world of virtual reality like never before.
Install Steam and SteamVR
To start your HTC Vive virtual reality journey, you’ll need to install Steam and SteamVR on your computer. Follow these steps to get started:
- Visit the Steam website (https://store.steampowered.com) and download the Steam client.
- Once the download is complete, run the installer and follow the on-screen instructions to install Steam on your computer.
- Once Steam is installed, open the Steam client and log in to your Steam account. If you don’t have an account, you can create one for free.
- In the Steam client, go to the Library tab and click on the VR button located at the top right corner of the screen.
- A pop-up window will appear. Click on the “Install SteamVR” button to begin the SteamVR installation process.
- Follow the prompts to complete the installation of SteamVR on your computer.
- Once SteamVR is installed, connect your HTC Vive headset to your computer using the provided HDMI and USB cables.
- Now, turn on your HTC Vive headset by pressing the power button located on the side.
- SteamVR should automatically detect your headset. Follow any on-screen prompts to complete the setup process.
- Congratulations! You have successfully installed Steam and SteamVR. You’re now ready to explore the vast library of virtual reality games and experiences available on Steam.
Keep in mind that it’s important to regularly update both Steam and SteamVR to ensure optimal performance and compatibility with your HTC Vive headset. You can check for updates by accessing the Steam client and going to the “Library” tab and then clicking on “Downloads” in the left-hand sidebar.
Connect the HTC Vive Headset to Your Computer
Now that you have Steam and SteamVR installed on your computer, it’s time to connect your HTC Vive headset and get it ready for use. Follow these steps to successfully connect your headset:
- Ensure that your computer is powered on and that Steam is running.
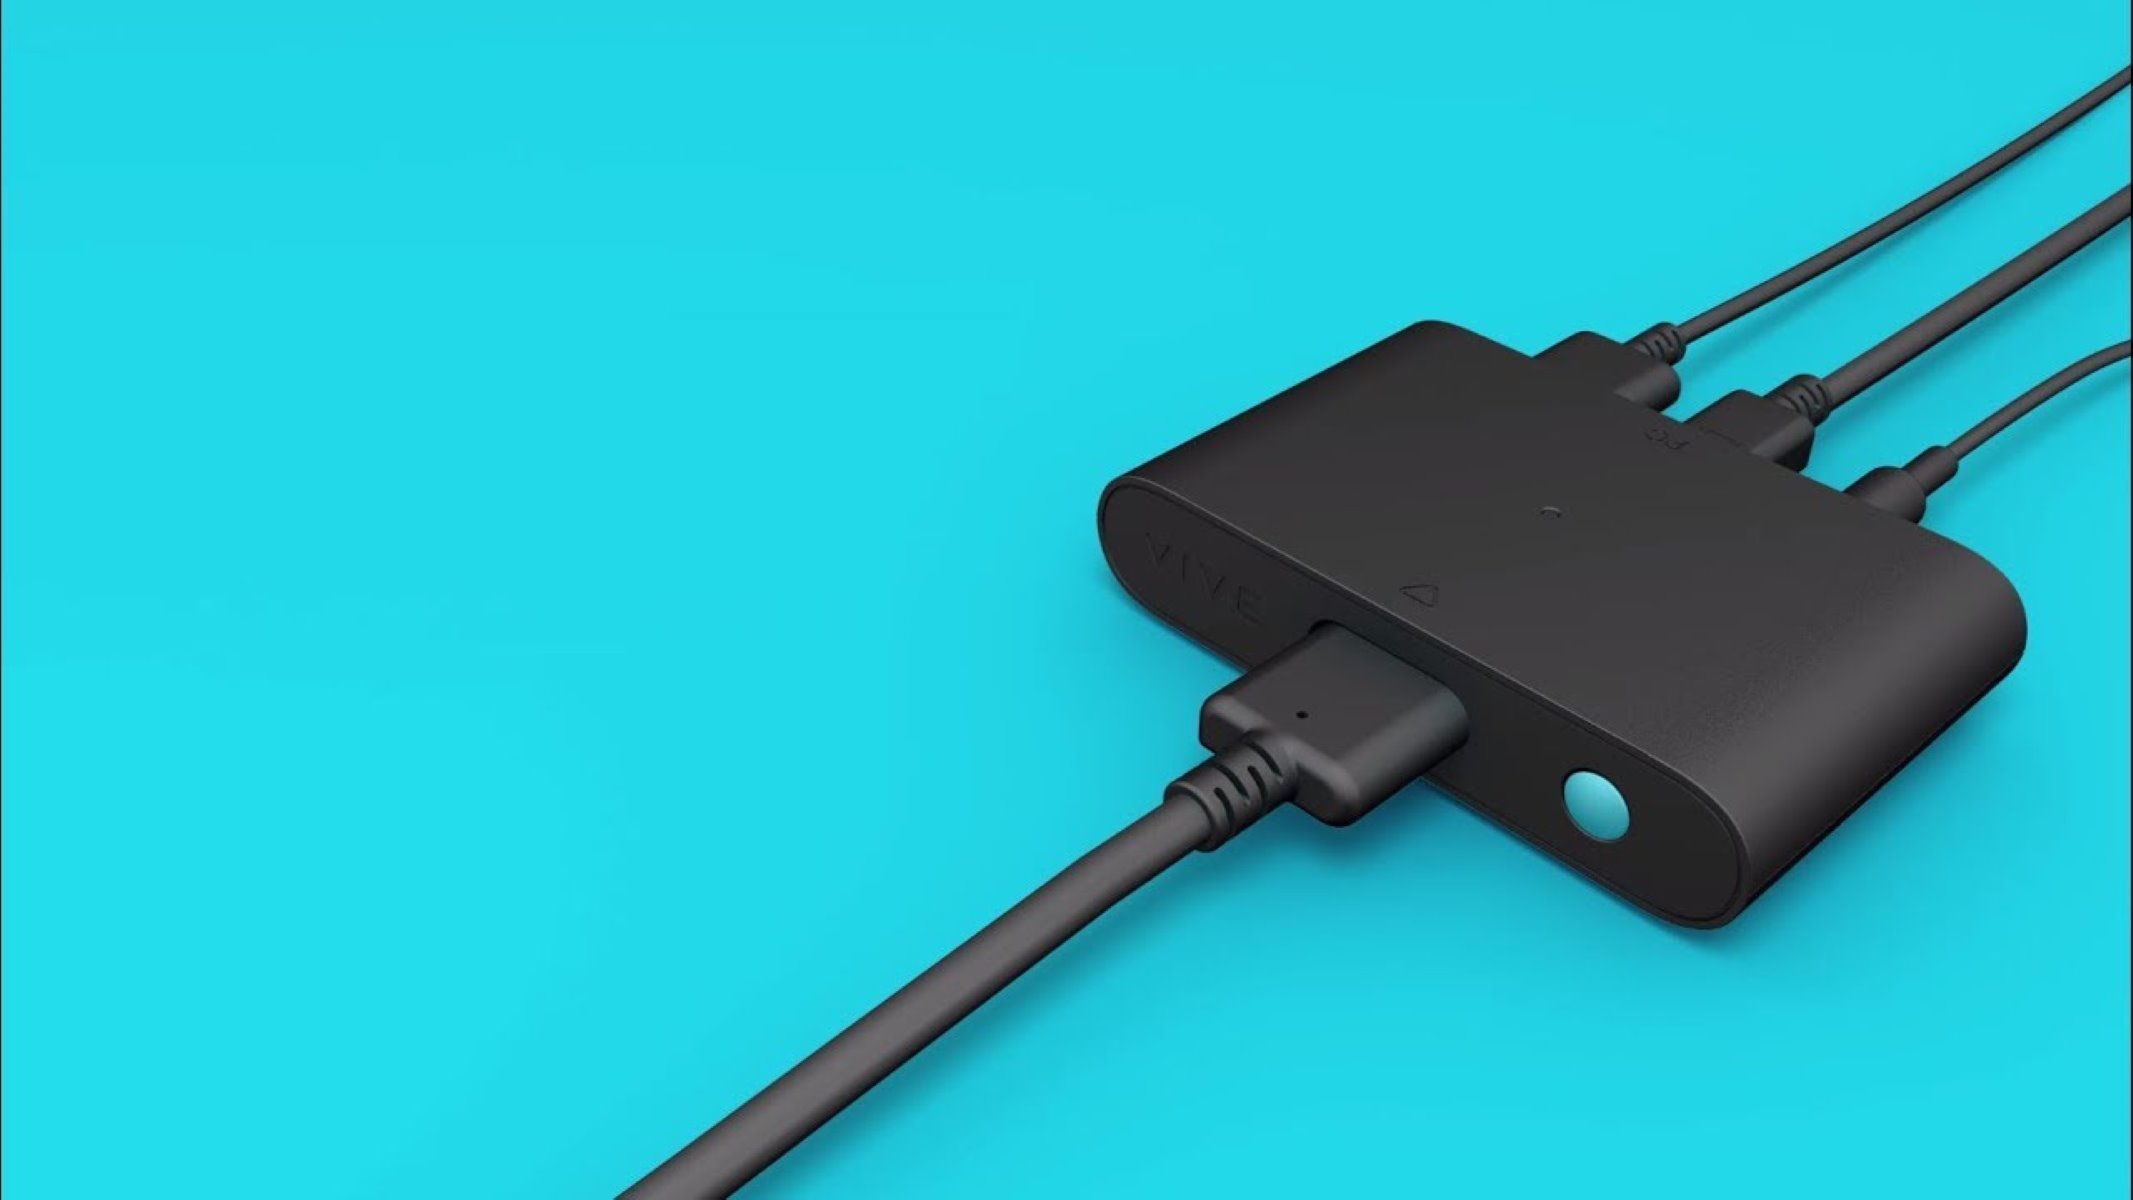
- Locate the connectors on the link box that came with your HTC Vive.
- Connect the HDMI cable from the link box to the HDMI output on your graphics card.
- Connect the USB cable from the link box to an available USB 2.0 port on your computer.
- Plug the power adapter into the link box, and then connect it to a power outlet.
- Put on the HTC Vive headset and adjust it for a comfortable fit.
- Ensure that the cables are not twisted or tangled and that they allow you to move freely.
- Turn on the Vive controllers by pressing the system button on each controller.
- Wait for your computer to detect the HTC Vive headset. It may take a few moments for the headset to establish a connection.
- Once the connection is established, you will see a notification on your computer screen indicating that the HTC Vive is ready to use.
It’s important to note that the HTC Vive headset requires a direct connection to your computer. Ensure that you do not use any extension cables or adapters, as they can cause signal loss and affect the performance of the headset.
Now that your HTC Vive headset is successfully connected to your computer, you’re one step closer to immersing yourself in a virtual reality experience like no other. Get ready to explore worlds, interact with objects, and embark on thrilling adventures.
Set up the Base Stations
The base stations are an essential component of the HTC Vive setup. They track the position of your headset and controllers in the virtual space, allowing for accurate and immersive gameplay. Properly setting up the base stations is crucial for optimal tracking performance. Here’s how you can do it:
- Identify an area in your room where you can mount the base stations. Ideally, they should be positioned in opposite corners and above head height for the best coverage.
- Ensure that the base stations have a clear line of sight with each other and the headset. Avoid obstacles or reflective surfaces that may interfere with the tracking.
- Use the included mounting brackets to securely attach the base stations to the wall or alternatively, you can use light stands or tripods as well.
- Position the base stations at a slight downward angle, tilted towards the center of the play area.
- Once the base stations are securely mounted, plug them into a power outlet using the provided power adapters.
- Wait for the base stations to power up and synchronize with each other. This process usually takes a few seconds.
- Check the LED indicators on the base stations. If they’re displaying a solid green light, it means they’re successfully set up and ready for use.
- Launch SteamVR on your computer and go to the Devices tab. Make sure that the base stations are detected and tracking properly.
- Perform a quick test by moving around the play area and checking if the virtual environment accurately reflects your movements.
- If you notice any tracking issues, ensure that there are no obstructions blocking the base station’s line of sight, adjust their position or angle if needed, and repeat the tracking test.
By properly setting up the base stations, you’ll ensure that the HTC Vive accurately tracks your movements and provides an immersive virtual reality experience. Take your time to position and fine-tune the base stations to maximize the tracking performance and enjoy a seamless VR gaming session.
Calibrate the Room
Calibrating the room for your HTC Vive headset is an important step to ensure accurate tracking and a smooth virtual reality experience. By calibrating the room, you establish the boundaries of your play area and set up a safe and immersive environment. Here’s how you can calibrate your room:
- Launch SteamVR on your computer and put on the HTC Vive headset.
- Hold one of the Vive controllers in your hand and press the system button to bring up the SteamVR menu.
- Select “Settings” from the menu and then click on the “Developer” tab.
- Find the “Room Overview” option and click on it to start the room calibration process.
- Follow the on-screen instructions to trace the boundaries of your play area by moving the controller around the edges.
- Ensure that you leave enough space for free movement and avoid any obstacles within the designated play area.
- Once you’ve completed tracing the boundaries, SteamVR will confirm the calibration and save the settings.
- Test the room calibration by moving around the play area and confirming that you stay within the boundaries and the virtual environment accurately reflects your movements.
- Make any necessary adjustments to the calibration or play area as needed until you’re satisfied with the setup.
It’s important to regularly recalibrate the room, especially if you make significant changes to the play area or if you experience any tracking issues. By recalibrating, you ensure that the HTC Vive accurately tracks your movements and provides a seamless and immersive VR experience.
Remember, safety is paramount when using the HTC Vive. Be aware of your surroundings, remove any objects that may pose a risk, and always follow the recommended guidelines for play area dimensions and clearances. With proper calibration and room setup, you’ll be ready to enjoy the exciting world of virtual reality with your HTC Vive headset.
Install Vive Software
In order to optimize your HTC Vive headset and unlock its full potential, you’ll need to install the Vive software provided by HTC. This software includes essential drivers, tools, and applications that enhance your virtual reality experience. Here’s how you can install the Vive software:
- Visit the official HTC Vive website (https://www.vive.com) and navigate to the “Support” or “Downloads” section.
- Select your specific Vive model and locate the software section.
- Download the Vive software package compatible with your operating system.
- Once the download is complete, double-click on the installer file to launch the installation wizard.
- Follow the on-screen instructions to install the Vive software on your computer.
- During the installation process, make sure to select any additional software or applications you want to include.
- After the installation is complete, you may be prompted to restart your computer. Make sure to save any unsaved work before proceeding.
- Once your computer has restarted, launch the Vive software from your desktop or the Start menu.
- Sign in to your HTC account or create a new one if you don’t have an account already.
- Connect your HTC Vive headset to your computer and ensure that it’s powered on.
- The Vive software will automatically detect your headset and guide you through any necessary setup or configuration steps.
By installing the Vive software, you gain access to a variety of applications and tools that enhance your VR experience. These can include the Viveport marketplace, where you can discover and download a wide range of VR content, as well as customization options for your headset and advanced settings for fine-tuning the experience.
Make sure to regularly check for software updates through the Vive software to ensure you have the latest features, improvements, and bug fixes. Keeping your Vive software up to date helps maintain the optimal performance and compatibility of your HTC Vive headset.
Now that you’ve installed the Vive software, you’re ready to explore the exciting virtual reality world that awaits you with your HTC Vive headset.
Adjust Headset Fit and Comfort
Ensuring a comfortable and secure fit of the HTC Vive headset is essential for prolonged and enjoyable virtual reality sessions. Properly adjusting the headset guarantees a clear display, optimal tracking, and minimizes discomfort. Here’s how you can adjust the fit and comfort of your HTC Vive headset:
- Put on the HTC Vive headset and adjust the top strap, located at the back, to ensure a snug fit on your head.
- Adjust the side straps, situated on the headset’s sides, to achieve a balanced and secure fit. Avoid tension that is too tight or too loose.
- Position the display in front of your eyes by moving the headset up or down on your face. The goal is to have a clear view without experiencing excessive pressure or gaps.
- Adjust the interpupillary distance (IPD) to match the distance between your eyes. This can be done by moving the IPD knob located on the underside of the headset.
- Ensure that the lenses are clean and free from any smudges or debris, as this can affect the visual clarity.
- If you wear glasses, consider using the included glasses spacer to create additional room for your frames. Adjust the headset accordingly for a comfortable fit.
- Take a moment to test the fit by moving your head in different directions and performing a few quick movements. Ensure that the headset remains secure and doesn’t wobble or shift excessively.
- If you experience discomfort or pressure points on your face, try adjusting the straps or using additional padding to alleviate the pressure.
- Remember to take regular breaks during extended VR sessions to give your eyes and face a rest.
- Experiment with different adjustment options until you find the most comfortable and secure fit for your head shape and size.
By taking the time to properly adjust the fit and comfort of your HTC Vive headset, you can enhance your overall virtual reality experience. A well-fitted headset ensures immersive visuals, accurate tracking, and a more enjoyable time exploring the virtual worlds.
If you continue to experience discomfort or issues with the fit of your headset, it may be helpful to consult the user manual or reach out to the HTC Vive support team for further assistance.
Connect the Controllers
The HTC Vive controllers are integral to your virtual reality experience, allowing you to interact with the virtual environment and control your movements. To get started, follow these steps to connect the controllers to your HTC Vive headset:
- Ensure that your HTC Vive headset is turned on and properly connected to your computer.
- Press and hold the system button (located below the trackpad) on each controller to power them on.
- Wait for a moment as the controllers establish a wireless connection with the HTC Vive headset.
- If the controllers are successfully connected, their LED indicators will illuminate, indicating their status.
- Hold the controllers in your hands, and familiarize yourself with the buttons and trackpad.
- Check the battery level of the controllers by pressing the system button. The LED indicator will display the battery level.
- If the battery is low, use the provided Micro-USB cables to connect the controllers to your computer and charge them.
- Make sure to fully charge the controllers before your virtual reality session for optimal performance.
- If you encounter any connection issues with the controllers, try rebooting your HTC Vive headset and the SteamVR software.
- If the problem persists, refer to the HTC Vive support documentation or consult the troubleshooting resources available.
Once the HTC Vive controllers are connected and powered on, you are ready to fully immerse yourself in the virtual reality experience. Use the controllers as natural extensions of your hands to interact with the virtual world, grab objects, and navigate through the VR environment.
Remember to keep your controllers in a safe place when not in use and be mindful of any obstacles or fragile objects in your play area. Enjoy the freedom of movement and the exciting possibilities that the HTC Vive controllers bring to your virtual reality adventures.
Pair the Headset with the Controllers
In order to have full control and interaction in your virtual reality experience, it’s important to pair your HTC Vive headset with the controllers. By pairing them, you establish a wireless connection that allows for seamless communication between the headset and controllers. Follow these steps to pair the headset with the controllers:
- Ensure that your HTC Vive headset and controllers are powered on and connected to your computer.
- Hold the controllers in your hands and bring them close to the headset.
- Press and hold the system button (located below the trackpad) on each controller simultaneously.
- Continue holding the buttons until the LED indicators on the controllers start blinking.
- While the controllers are blinking, press and hold the system button on the headset to enter pairing mode.
- Keep the controllers within the range of the headset and wait for a few moments as they pair with the headset.
- Once the pairing is complete, the LED indicators on the controllers will stop blinking and remain lit.
- Move the controllers around to ensure that they are properly detected and recognized by the headset.
- If the pairing process fails or the controllers do not function correctly, try repeating the steps and ensuring that the headset and controllers are fully charged.
- If you continue to experience issues, refer to the HTC Vive support documentation or reach out to their support team for further assistance.
Once the headset and controllers are successfully paired, you can fully immerse yourself in the virtual reality environment. The controllers will accurately track your movements, allowing you to interact with virtual objects, navigate menus, and engage in thrilling virtual experiences.
Remember to keep the controllers within the range of the headset to maintain a consistent connection. Also, make sure to periodically check the batteries and charge them when necessary to avoid any interruption during your VR sessions.
With your headset and controllers paired, you’re now ready to embark on exciting virtual adventures and explore the immersive world that awaits you with the HTC Vive.
Launch SteamVR and Start Virtual Reality Experience
With everything set up and your HTC Vive headset and controllers paired and ready, it’s time to launch SteamVR and dive into the immersive world of virtual reality. Follow these steps to begin your virtual reality experience:
- Ensure that your HTC Vive headset and controllers are turned on and properly connected to your computer.
- Launch the Steam application on your computer and log in to your Steam account.
- Once you’re logged in, locate the SteamVR icon in your library or on the Steam dashboard.
- Click on the SteamVR icon to launch the SteamVR software.
- Put on your HTC Vive headset and adjust it for a comfortable fit.
- Hold the controllers in your hands and ensure that they are within the range of the headset.
- Wait for a few moments as SteamVR detects your headset and controllers.
- Once the headset and controllers are detected, you will see the VR environment in your headset’s display.
- Use the controllers to navigate through menus, select games or applications, and interact with the virtual world.
- Choose from a wide range of VR experiences, games, and applications available on SteamVR and start exploring.
- When you’re finished with your VR session, use the system button on the controllers to exit SteamVR.
Once you start SteamVR, you’ll be transported to a whole new world of immersive experiences. Explore fantastical landscapes, engage in thrilling games, and interact with virtual objects like never before. The possibilities are endless.
Make sure to take regular breaks during your VR sessions, stay hydrated, and be mindful of your surroundings. Clear any obstacles in your play area and remember to have fun as you embark on your virtual reality adventures with the HTC Vive.