
Checking Compatibility
Before attempting to connect your Amazon Echo to your laptop, it is crucial to ensure that your devices are compatible. The compatibility requirements may vary depending on the model of your Echo and your laptop’s specifications.
To begin, check if your laptop has Bluetooth capabilities. Most modern laptops have built-in Bluetooth, but if yours doesn’t, you may need to purchase a Bluetooth adapter. Additionally, ensure that your laptop is running an operating system that supports Bluetooth connectivity.
Next, check the compatibility of your Amazon Echo device. The majority of Echo devices, including Echo Dot, Echo Show, and Echo Plus, have Bluetooth capabilities. However, it’s always a good idea to consult the specific product page or user manual to confirm that your Echo model supports Bluetooth connections.
Furthermore, check if your Echo device is up-to-date with the latest software. Amazon regularly releases software updates that introduce new features and improve device performance. To update your Echo, open the Alexa app on your smartphone or tablet and navigate to the settings menu. From there, select your Echo device and tap the “Update” option if available.
Lastly, ensure that both your laptop and Echo device are within range of each other. Bluetooth connections typically have a range of around 30 feet, but obstacles such as walls or interference from other devices can affect the signal strength. It’s best to position your Echo device and laptop in close proximity to facilitate a stable connection.
By checking the compatibility of your devices beforehand, you can ensure a smoother setup process when connecting your Amazon Echo to your laptop. Once you have confirmed compatibility, you can proceed with the next steps to establish the Bluetooth connection.
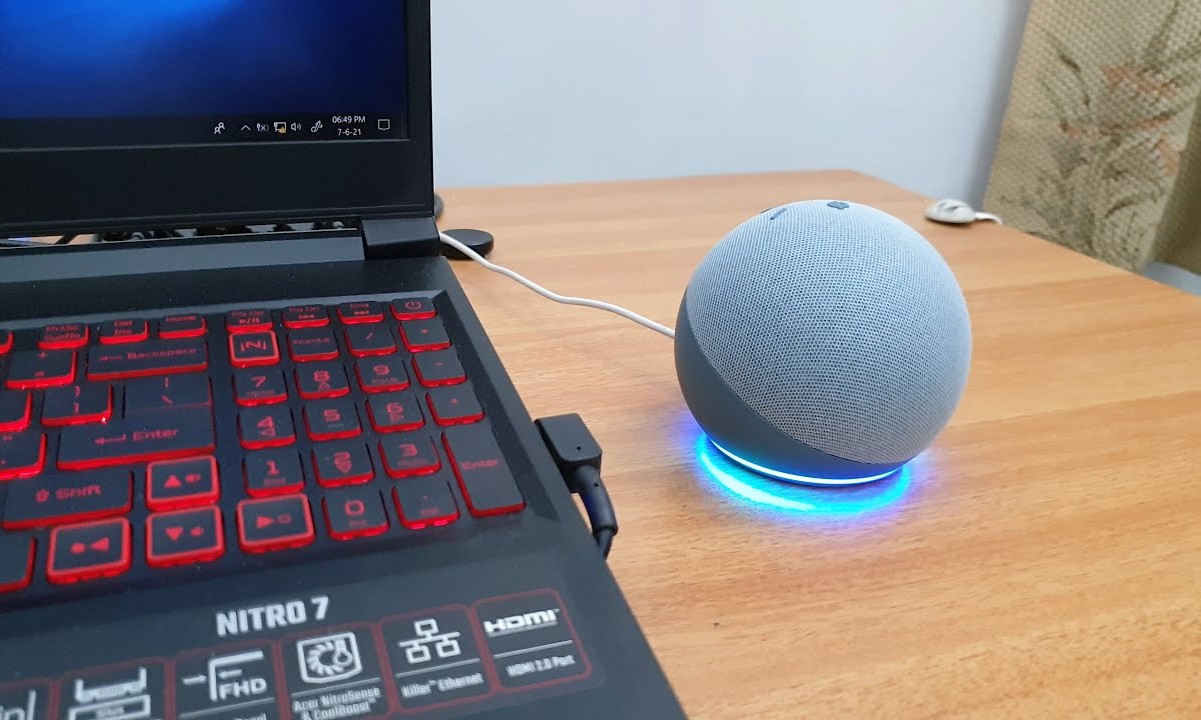
Connecting Echo to Laptop via Bluetooth
Now that you have confirmed the compatibility of your devices, you can proceed with connecting your Amazon Echo to your laptop via Bluetooth. Follow the steps below to establish the connection:
- Turn on your Amazon Echo device and make sure it is in pairing mode. To do this, say “Alexa, pair” or navigate to the Bluetooth settings in the Alexa app and select “Pair a New Device.”
- On your laptop, enable Bluetooth if it is not already turned on. You can usually do this by clicking on the Bluetooth icon in the system tray or accessing the Bluetooth settings in the Control Panel or System Preferences.
- In the Bluetooth settings on your laptop, search for available devices. Your Echo device should appear in the list of available devices. Select it to begin the pairing process.
- If prompted, enter the pairing code or PIN displayed on your Echo device or laptop. This step ensures a secure connection between the two devices.
- Wait for the pairing process to complete. Once the connection is established, you will see a confirmation message on both your Echo device and laptop.
After the successful pairing, your Echo device is now connected to your laptop via Bluetooth. This means you can stream audio from your laptop directly to your Echo device and use it as a speaker for your laptop’s sound output.
It’s important to note that the steps above are general guidelines, and the exact process may vary slightly depending on your laptop’s operating system and your specific Echo model. To ensure a seamless connection, always refer to the user manual or support documentation provided by Amazon for your Echo device.
Now that you have successfully connected your Amazon Echo to your laptop via Bluetooth, you can move on to the next section to set up your Echo with the Alexa app.
Setting up Echo with Alexa App
After connecting your Amazon Echo to your laptop via Bluetooth, the next step is to set up your Echo device with the Alexa app. The Alexa app acts as a control center for your Echo, allowing you to customize settings, access additional features, and connect to various services. Here’s how to set up your Echo with the Alexa app:
- Download and install the Alexa app on your smartphone or tablet from the App Store or Google Play Store. If you already have the app installed, make sure it is up-to-date.
- Open the Alexa app and sign in with your Amazon account. If you don’t have an account, you can create one within the app.
- In the app, tap on the menu icon located in the upper-left corner and select “Settings” from the side menu.
- Tap on “Setup a new device” and choose the kind of device you want to set up. Select your Echo device from the list.
- Follow the on-screen instructions to connect your Echo device to your Wi-Fi network. The app will guide you through the process, and you will need to enter your Wi-Fi network credentials.
- Once your Echo is connected to Wi-Fi, you can customize settings such as the device name, language, and location. You can also enable additional features like voice profiles and drop-in.
- When the setup is complete, your Echo device will be ready to use with the Alexa app.
The Alexa app provides a wide range of features and settings to enhance your Echo experience. From managing smart home devices to setting up routines and reminders, the app allows you to personalize your Echo device according to your preferences. Take some time to explore the app and discover all the capabilities it offers.
With your Echo device set up with the Alexa app, you can now activate the hands-free mode and start using your Echo to perform various tasks without having to use your laptop.
Enabling Hands-Free Mode
Once you have successfully set up your Amazon Echo with the Alexa app, you can enable the hands-free mode to interact with your Echo device using just your voice. Enabling hands-free mode allows you to access Alexa’s voice assistant capabilities without having to manually trigger the device.
Follow these steps to enable hands-free mode on your Amazon Echo:
- Launch the Alexa app on your smartphone or tablet.
- Navigate to the settings menu by tapping on the menu icon in the upper-left corner of the app.
- Select your Echo device from the list of available devices.
- Scroll down to the “General” section and locate the “Hands-Free” option.
- Toggle the switch next to “Hands-Free” to enable this feature.
- Once enabled, you can use the wake word “Alexa” to activate your Echo device and issue voice commands.
With hands-free mode activated, you can now use your Echo device to perform a variety of tasks without needing to physically interact with it. Simply say “Alexa” followed by your command, and your Echo device will respond accordingly.
Be mindful of your surroundings when using hands-free mode, as your Echo device will be listening for the wake word at all times. It’s important to know that your interactions with Alexa are being recorded and stored by Amazon. You can review and delete your voice recordings through the Alexa app settings if privacy is a concern.
Hands-free mode opens up a world of convenience and accessibility, allowing you to control your Echo device effortlessly. From playing music and setting timers to checking the weather and controlling smart home devices, the possibilities are endless.
Now that you have enabled hands-free mode on your Amazon Echo, you are ready to explore its full potential and enjoy a truly hands-free experience.
Troubleshooting Connection Issues
While connecting your Amazon Echo to your laptop via Bluetooth is usually a straightforward process, you may encounter some connection issues along the way. If you are experiencing difficulties with the connection, try the troubleshooting steps below to resolve the issue:
- Ensure that both your Echo device and laptop are within close range of each other. Move them closer together to improve the signal strength and reduce potential interference.
- Restart both your Echo device and laptop. Sometimes, a simple reboot can resolve temporary connectivity issues.
- Check if the Bluetooth on your laptop is turned on. Ensure that it is enabled and in discoverable mode.
- For Echo devices with a physical button for pairing, press and hold the Bluetooth button until the Bluetooth pairing mode is activated.
- Verify that your laptop’s Bluetooth driver is up-to-date. Visit the manufacturer’s website to download and install the latest driver version if needed.
- If you have previously paired other devices with your laptop, make sure they are disconnected. Sometimes, conflicts can arise when multiple devices are connected simultaneously.
- Reset the Bluetooth connection on both your Echo device and laptop. Unpair the devices and go through the pairing process again from the beginning.
- If possible, try connecting your Echo device to a different laptop or device to see if the issue persists. This will help determine if the problem lies with the Echo device or your specific laptop.
- If all else fails, contact Amazon Support for further assistance. They can provide specific troubleshooting steps tailored to your Echo device model and laptop.
By following these troubleshooting steps, you should be able to resolve common connection issues between your Amazon Echo and laptop. Remember to consult the user manuals and support resources provided by Amazon and your laptop manufacturer for specific guidance.
Enjoy the seamless connection between your Amazon Echo and laptop, and make the most of the features and capabilities they offer together!