
What is Required to Connect a Computer to the Internet?
In the digital age, staying connected to the internet is essential for most computer users. Whether it’s for browsing the web, downloading files, sending emails, or streaming media, a reliable internet connection is crucial. Before you can begin connecting your computer to the internet, there are a few essential requirements you need to fulfill:
1. Internet Service Provider (ISP): First and foremost, you need to have an internet service provider. An ISP is a company that provides you with access to the internet. There are various ISPs available, and you can choose one based on your location, budget, and required internet speed.
2. Modem: A modem is a device that connects your computer to the internet service provided by your ISP. It modulates a digital signal from your computer into an analog signal that can be transmitted over the telephone or cable lines. Modems can be either internal or external, depending on your computer’s configuration.
3. Router: A router is a device that allows multiple computers or devices to connect to the internet through a single modem. It acts as a central hub that manages the incoming and outgoing internet traffic. Routers are equipped with Ethernet ports to connect computers via wired connections and wireless antennas for Wi-Fi connectivity.
4. Network Cable or Wi-Fi Adapter: To establish a connection between your computer and the router, you will need either a network cable for wired connections or a Wi-Fi adapter for wireless connections. Network cables, commonly known as Ethernet cables, use RJ-45 connectors to plug into the Ethernet ports on your computer and router. Wi-Fi adapters, on the other hand, allow your computer to connect to the internet wirelessly through Wi-Fi signals.
Once you have these requirements in place, you will be ready to set up your computer and connect it to the internet. The process may vary depending on whether you are opting for a wired or wireless connection. Both methods have their pros and cons, so choose the one that suits your needs and preferences.
Wired Connection
A wired connection is a reliable and secure way to connect your computer to the internet. It involves using an Ethernet cable to establish a direct physical connection between your computer and the router. This method eliminates the interference and signal loss that can occur with wireless connections, resulting in faster and more stable internet speeds.
To establish a wired connection, follow these steps:
1. Connect the Ethernet cable: Take one end of the Ethernet cable and plug it into the Ethernet port on the back of your computer. The Ethernet port is usually labeled with an Ethernet symbol or the word “Ethernet.” Plug the other end of the cable into one of the Ethernet ports on the back of the router.
2. Power on your devices: Turn on your computer and router. Allow them a few moments to boot up and establish a connection.
3. Check the connection status: Look for a network icon on your computer’s taskbar. It should indicate that you are connected to the network via Ethernet. If not, you may need to check the cable connections or consult your computer’s network settings.
4. Test your connection: Open a web browser on your computer and visit a website to test your internet connection. If the website loads successfully, congratulations! You have successfully connected your computer to the internet through a wired connection.
Wired connections are ideal for tasks that require a stable and fast connection, such as gaming, streaming high-definition content, or downloading large files. Additionally, they provide enhanced security since the physical connection limits the risk of unauthorized access.
However, wired connections have their limitations. You are restricted to the length of the Ethernet cable, which may limit where you can set up your computer. Additionally, the cables can be unsightly, especially if you have multiple devices connected to the router. Nonetheless, if reliability and speed are your top priorities, a wired connection is the way to go.
Wireless Connection
A wireless connection allows you to connect your computer to the internet without the need for physical cables. It provides flexibility and convenience, allowing you to connect to the internet from anywhere within the range of your Wi-Fi network. Here’s how you can set up a wireless connection:
1. Enable Wi-Fi: Make sure that your computer has a built-in Wi-Fi adapter or an external Wi-Fi adapter connected. Most modern computers come with built-in Wi-Fi capabilities. To turn on Wi-Fi, locate the Wi-Fi icon on your computer’s taskbar and click on it to enable it.
2. Identify your Wi-Fi network: Look for the available Wi-Fi networks in your area. You should see a list of networks, including your own. Select your network from the list. If your network is not visible, you may need to check your router’s settings or consult your ISP for assistance.
3. Enter the network password: If your Wi-Fi network is password-protected, you will be prompted to enter the password. Type in the correct password and click “Connect.” Make sure to enter the password correctly, as it is case-sensitive.
4. Establish a connection: Once you have entered the correct password, your computer will attempt to establish a connection to the Wi-Fi network. It may take a few moments to establish a connection, so be patient.
5. Test your connection: After the connection is established, open a web browser and visit a website to check if your internet is working. If the website loads successfully, congratulations! You have successfully connected your computer to the internet using Wi-Fi.
Wireless connections offer the advantage of mobility, allowing you to connect multiple devices to the internet without the constraints of cables. They are convenient for tasks such as web browsing, checking emails, and light streaming.
However, wireless connections can be affected by factors such as distance from the router, obstacles like walls or furniture, and interference from other electronic devices. These factors can impact the signal strength and result in slower internet speeds or intermittent connection.
If you encounter any connection issues, try moving closer to the router, removing obstructions, or restarting your router. Additionally, you can consider using Wi-Fi range extenders or mesh systems to improve coverage in larger areas.
Connecting via Ethernet Cable
Connecting your computer to the internet via an Ethernet cable, also known as a wired connection, offers a reliable and high-speed connection. This method is ideal for situations where a stable and fast internet connection is essential, such as gaming, streaming, or downloading large files. Here are the steps to connect via an Ethernet cable:
1. Check for available Ethernet ports: Locate the Ethernet port on the back of your computer. It is usually labeled with the word “Ethernet” or an Ethernet symbol. Additionally, check if your router has available Ethernet ports.
2. Connect the Ethernet cable: Take one end of the Ethernet cable and insert it into the Ethernet port on the back of your computer. Ensure that the connector clicks into place. Then, insert the other end of the cable into an available Ethernet port on the router.
3. Power on your devices: Turn on your computer and router. Wait for them to boot up and establish a connection.
4. Check the connection status: Look for the network icon on your computer’s taskbar. It should display that you are connected to the network via Ethernet. If not, you may need to inspect the cable connections or consult your computer’s network settings.
5. Test your connection: Open a web browser and visit a website to ensure your internet connection is working. If the website loads successfully, you have successfully connected your computer to the internet via an Ethernet cable.
Connecting via an Ethernet cable offers several advantages. It provides a stable and reliable connection, free from the interference and signal loss that can occur with wireless connections. Additionally, the wired connection offers higher speeds, making it suitable for bandwidth-intensive activities like online gaming or streaming 4K video content.
Despite its benefits, keep in mind that a wired connection restricts your mobility, as you need to be physically connected to the router via the Ethernet cable. If you require the flexibility to move around your space without being tethered to a cable, you may want to consider connecting via Wi-Fi instead.
Overall, connecting via an Ethernet cable is an excellent choice when speed, stability, and reliability are paramount. It provides an optimal internet connection for tasks that demand a consistent and fast connection, ensuring a seamless online experience.
Setting up a Modem and Router
Setting up a modem and router is an essential step in connecting your computer to the internet. The modem is responsible for connecting your computer to the internet service provided by your ISP, while the router enables multiple devices to connect to the internet through a single network. Follow these steps to set up your modem and router:
1. Check your equipment: Ensure that you have the necessary equipment, including a modem provided by your ISP and a router. Check that all cables and power adapters are included.
2. Choose a central location: Find a central location for your router, preferably near the area where you anticipate using your devices the most. This will help ensure optimal Wi-Fi coverage throughout your home.
3. Connect the modem: Use an Ethernet cable to connect one end to the modem’s Ethernet port and the other end to the WAN or internet port on the router. This step establishes a connection between the modem and router.
4. Power on the modem and router: Plug in the power adapter for both the modem and the router. Allow them a few minutes to boot up and establish a connection. The indicator lights on the front of each device should indicate a successful connection.
5. Choose a network name (SSID) and password: Access the router’s settings through a web browser on your connected computer. Look for the router’s default IP address (such as 192.168.1.1) and enter it in the browser’s address bar. Once logged in, set a network name (SSID) for your Wi-Fi network and create a strong password to secure the network.
6. Connect to the Wi-Fi network: On your computer or device, search for available Wi-Fi networks and select the one with the SSID you created. Enter the password you set in the previous step, and your device should successfully connect to the Wi-Fi network.
Setting up a modem and router may require following specific instructions provided by your ISP or the manufacturer of your devices. Remember to consult the user manuals or reach out to customer support if you encounter any issues during the setup process.
Once you have successfully set up your modem and router, you can connect multiple devices, including your computer, to the internet through a wired or wireless connection. This allows you to enjoy a reliable and seamless internet experience in the comfort of your home or office.
Connecting via Wi-Fi
Connecting your computer to the internet via Wi-Fi provides the flexibility to access the internet from anywhere within the range of your Wi-Fi network. Whether you’re using a laptop, tablet, or smartphone, connecting to Wi-Fi allows for convenient browsing, streaming, and communication. To connect via Wi-Fi, follow these steps:
1. Enable Wi-Fi: Ensure that your computer has a built-in Wi-Fi adapter or an external Wi-Fi adapter attached. Most modern computers come with built-in Wi-Fi capabilities. Activate Wi-Fi by locating the Wi-Fi icon on your computer’s taskbar and clicking on it to enable it.
2. Identify available networks: Look for the available Wi-Fi networks in your vicinity. You should see a list of networks, including your own. Select your network from the list. If your network is not visible, you may need to check your router’s settings or contact your internet service provider for assistance.
3. Enter the network password: If your Wi-Fi network is password-protected, you will be prompted to enter the password. Input the correct password and click “Connect.” Make sure to enter the password accurately, as it is case-sensitive.
4. Establish a connection: Once you have entered the correct password, your computer will attempt to establish a connection to the Wi-Fi network. It may take a few moments to establish a connection, so be patient.
5. Test your connection: After the connection is established, open a web browser and visit a website to check if your internet connection is working. If the website loads successfully, congratulations! You have successfully connected your computer to the internet using Wi-Fi.
Connecting via Wi-Fi offers several advantages. It provides the convenience of connecting multiple devices to the internet without the need for physical cables. This means you can freely move around your home or office while staying connected. Additionally, Wi-Fi connections are suitable for general internet usage such as web browsing, email, video streaming, and social media interaction.
However, it’s important to note that Wi-Fi connections may be affected by factors such as distance from the router, physical obstacles like walls and furniture, and interference from other electronic devices. These factors can weaken the Wi-Fi signal and result in slower internet speeds or intermittent connection. To ensure a strong and stable Wi-Fi connection, consider positioning your computer closer to the router or utilizing Wi-Fi range extenders or mesh systems to enhance coverage in larger areas.
By following these steps, you can easily connect your computer to the internet via Wi-Fi, enjoying the freedom and convenience of wireless connectivity.
Troubleshooting Connection Issues
While setting up a computer to connect to the internet is relatively straightforward, connection issues can occasionally arise. If you’re experiencing problems with your internet connection, here are some troubleshooting steps you can take:
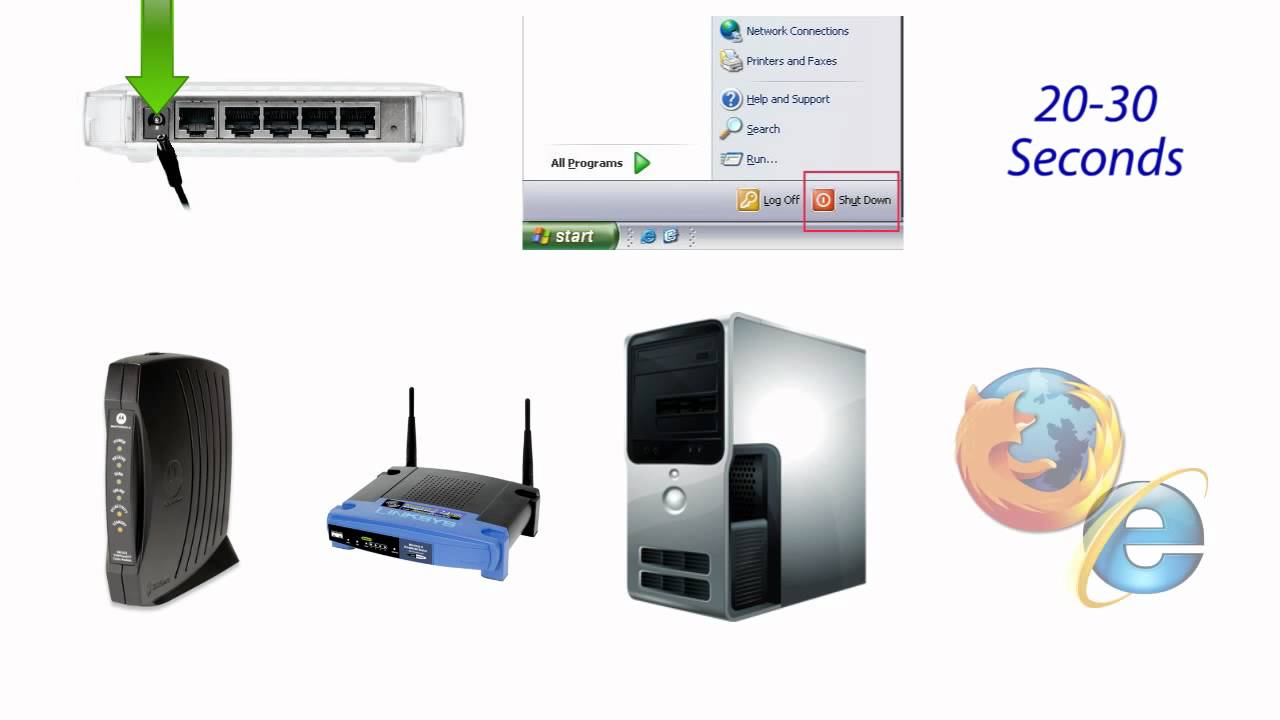
1. Restart your devices: Begin by restarting your computer, modem, and router. Power cycling these devices can help resolve temporary connectivity issues.
2. Check cable connections: If you’re using a wired connection, ensure that the Ethernet cable is securely plugged into both your computer and the router. If you’re using Wi-Fi, ensure that your computer’s Wi-Fi adapter is turned on, and double-check the network name (SSID) and password.
3. Reset your modem and router: If the issue persists, try resetting your modem and router to their default settings. Use a small pin or paperclip to press the reset button on the back of the devices for a few seconds. This will reset them to their factory settings and may resolve any configuration-related issues.
4. Check for signal interference: If you’re experiencing slow or inconsistent Wi-Fi speeds, check for potential sources of signal interference. These can include other electronic devices, household appliances, or neighboring Wi-Fi networks. Move your router away from these sources or try changing the Wi-Fi channel within your router’s settings to minimize interference.
5. Update your router’s firmware: Outdated router firmware can cause connectivity issues. Check the manufacturer’s website for firmware updates and follow the instructions to update your router’s firmware accordingly.
6. Disable security software: In some cases, overzealous security software or firewalls can block your computer’s internet connection. Temporarily disable these programs to see if they are causing the issue. If the connection works after disabling them, consider adjusting the settings to allow internet access, or consult the software’s documentation for further guidance.
7. Contact your ISP: If you’ve exhausted all troubleshooting steps and are still experiencing issues, it may be worthwhile to contact your internet service provider. They can verify if there are any network outages, perform diagnostics on your connection, or provide further assistance specific to your ISP’s services.
Remember, troubleshooting steps can vary depending on your specific setup and equipment. If you continue to experience problems, always consult the documentation provided by your ISP or reach out to their support for personalized assistance.
By following these troubleshooting steps, you can identify and resolve many common connection issues, ensuring a smooth and uninterrupted internet experience on your computer.