
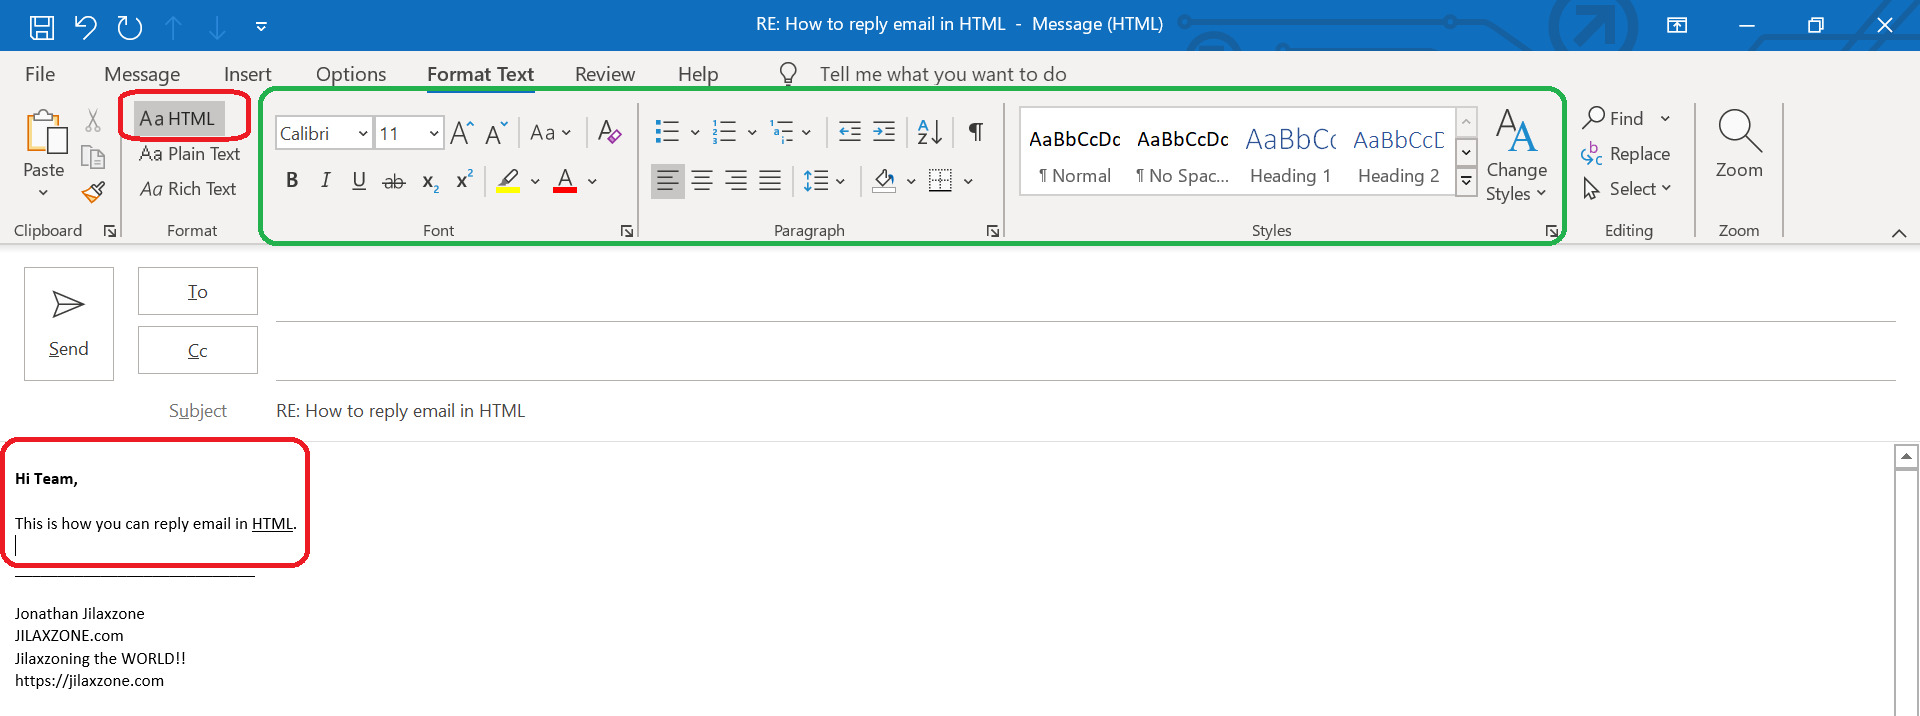
Choosing Between HTML and Plain Text
When composing email messages, one of the key decisions you need to make is whether to use HTML or plain text format. Both options have their own advantages and considerations, so it’s important to assess your needs and audience before making a choice.
HTML Messages:
If you want to create visually appealing and interactive emails, HTML format is the way to go. HTML allows for the use of formatting styles, images, links, and even tables, providing a rich and engaging user experience. With HTML, you have the flexibility to showcase your brand’s identity and enhance your message with eye-catching designs.
HTML messages are particularly ideal for marketing emails, newsletters, and promotional campaigns that require visual elements and call-to-action buttons. They enable you to create compelling layouts that capture attention and drive conversions.
Plain Text Messages:
On the other hand, plain text messages are simple, lightweight, and easily readable. They consist of plain, unformatted text and do not support advanced styling or multimedia elements. Plain text emails often have a more personal and informal feel, resembling a plain, typed letter.
Plain text messages are ideal for conveying simple information or personal communication. They are more widely supported across different email clients and platforms, ensuring that your message reaches a larger audience. Additionally, these emails are less likely to be flagged as spam, making them a reliable option for important notifications or sensitive content.
Choosing the Right Format:
When deciding between HTML and plain text, consider your target audience and the purpose of your message. If you’re targeting a tech-savvy audience or need to create visually appealing content, HTML format would be best. If you prioritize compatibility, simplicity, or want to ensure a personal touch, plain text format is the way to go.
It’s worth noting that some email marketing platforms provide the option to send hybrid messages that include both HTML and plain text versions. This ensures that recipients who prefer plain text can still read your message without missing any essential information.
Understanding the Differences Between HTML and Plain Text Messages
HTML and plain text messages are two common formats used in email communication. Understanding their key differences can help you determine which format is most suitable for your needs.
Formatting and Styling:
One of the main differences between HTML and plain text messages lies in their formatting capabilities. HTML messages allow for rich formatting options, such as bold and italic text, font colors, and varying font sizes. On the other hand, plain text messages are limited to plain, unformatted text without any styling options.
Images and Multimedia:
HTML messages support the inclusion of images and multimedia elements, such as videos or audio files. This provides an opportunity to visually enhance your message and engage recipients with dynamic content. Plain text messages, however, cannot display images or other multimedia elements, focusing solely on the text.
Interactivity and Links:
HTML messages offer the ability to include clickable links that direct recipients to external websites or specific sections within the email itself. This interactivity is not possible in plain text messages, where URLs are displayed as plain text and cannot be clicked.
Compatibility:
Plain text messages have the advantage of being compatible with a wide range of email clients and devices. They are less likely to encounter rendering issues or be filtered as spam. HTML messages, on the other hand, can sometimes have compatibility issues, as certain email clients may not fully support all HTML features or may render them differently.
Accessibility:
Plain text messages are considered more accessible, especially for individuals with visual impairments or those using assistive technologies. Since plain text messages do not rely on visual elements or complex formatting, they can be easily read by screen readers or displayed in Braille.
File Size and Load Time:
HTML messages tend to have a larger file size due to the inclusion of images, multimedia, and styling. This can result in longer load times, especially for recipients with slower internet connections. Plain text messages, being lightweight and text-based, load quickly and consume less bandwidth.
Privacy and Security:
Plain text messages are considered more secure, as they do not support scripts or embedded content that could potentially pose a security risk. HTML messages, on the other hand, may include code or scripts that could be exploited by malicious individuals.
Understanding these differences between HTML and plain text messages can help you make an informed decision on which format best suits your specific needs and communication goals.
Composing Messages in HTML
Composing email messages in HTML format allows you to create visually appealing and interactive content. Here are some key considerations and steps to follow when composing HTML messages:
1. Use an HTML Editor:
To create HTML emails, it’s recommended to use an HTML editor or specialized email marketing software. These tools provide a user-friendly interface and templates that simplify the process of designing and coding your email.
2. Structure Your Email:
Start by structuring your email with HTML tags. Use the <html> tag to define the beginning of the HTML document and the <body> tag to enclose the content of your email.
3. Formatting Text:
To apply formatting to your text, use HTML tags such as <strong> for bold, <em> for italic, and <u> for underlining. You can also adjust the font size and color using the <font> tag.
4. Insert Links:
Add clickable links in your email by using the <a> tag. Specify the URL within the href attribute to define the destination of the link. Optionally, you can add a target attribute to open the link in a new window.
5. Embed Images:
To include images in your HTML email, use the <img> tag. Specify the image source using the src attribute and provide an alternative text using the alt attribute. This ensures that recipients can understand the image even if it fails to load.
6. Create Tables:
If you need to display tabular data, use the <table>, <tr>, and <td> tags to create a table structure. Adjust the layout, borders, and alignment using additional attributes and CSS styling.
7. Use CSS Styles:
To further enhance the visual appearance and layout of your HTML email, apply CSS styles. You can either include inline styles within HTML tags or link an external CSS file.
8. Preview and Test:
Before sending your HTML email, preview it in various email clients and devices to ensure that it displays correctly. Send test emails to different accounts to check if any formatting or rendering issues occur.
Following these steps will help you compose visually appealing and engaging HTML messages that effectively communicate your content and brand message to your recipients.
Formatting Text in HTML Messages
When composing email messages in HTML format, there are various ways to format and style your text to make it more visually appealing and engaging. Here are some key techniques to consider when formatting text in HTML messages:
1. Headings:
Use the <h1> to <h6> tags to create headings of different levels. Headings provide hierarchy and structure to your content, making it easier for readers to scan and understand the information in your email.
2. Paragraphs:
Use the <p> tag to separate your content into paragraphs. This improves readability by breaking up the text and creating visual spacing between paragraphs.
3. Bold and Italic:
Emphasize certain words or phrases by using the <strong> tag for bold text and the <em> tag for italic text. This can help draw attention to important points or add emphasis to your message.
4. Underline:
If you wish to underline text, you can use the <u> tag. However, it’s important to use it sparingly, as underlining is commonly associated with hyperlinks.
5. Lists:
Organize your information into ordered (numbered) or unordered (bulleted) lists using the <ol> and <ul> tags, respectively. This helps to present information in a structured and easily scannable manner.
6. Blockquotes:
If you want to set off a quote or highlight a specific passage, use the <blockquote> tag. This visually separates the quoted text from the rest of your content and helps to draw attention to it.
7. Preformatted Text:
If you need to display code snippets or preformatted text, use the <pre> tag. This preserves the formatting and spacing of the text, ensuring that it is displayed exactly as intended.
8. Font Styles:
You can change the font style of your text by using the <font> tag. Specify the desired font family, size, color, or other attributes within the tag to achieve the desired effect. However, it’s generally recommended to use CSS styles rather than inline font tags for better flexibility and consistency.
9. CSS Styles:
For more advanced and consistent text formatting, apply CSS styles to your HTML email. This allows you to define font styles, sizes, colors, and other formatting properties in a separate CSS file or within the <style> tag.
By utilizing these techniques, you can enhance the readability and visual appeal of your HTML email messages, ensuring that your content is presented in a way that captivates and engages your audience.
Inserting Links in HTML Messages
When composing email messages in HTML format, it’s important to include clickable links that direct recipients to external websites, specific sections within the email, or even to prompt actions. Here are some key considerations and steps to follow when inserting links in HTML messages:
1. Using the Anchor Tag:
In HTML, links are created using the <a> (anchor) tag. This tag allows you to define a hyperlink and specify the destination using the href attribute. For example, to create a link to a website, use <a href="https://www.example.com">Click here</a>.
2. Linking to External URLs:
To link to an external website, include the full URL within the href attribute. It’s a best practice to include the full protocol (e.g., http:// or https://) to ensure the link works properly on all devices and email clients.
3. Linking to Email Addresses:
If you want to create a link that opens the recipient’s default email client with a pre-filled email address, use the mailto: protocol. For example, <a href="mailto:info@example.com">Send an email</a>.
4. Linking to Anchor Points in the Email:
You can create anchor points within an email and link to specific sections of the email itself. To do this, assign an id attribute to the target section and use it as the value for the href attribute in the anchor tag. For example, <a href="#section1">Jump to Section 1</a>.
5. Linking to Files:
If you want to link to a file, such as a PDF or a document, upload the file to a web server or hosting service and use the file’s URL as the value for the href attribute.
6. Opening Links in a New Window:
If you want to open a link in a new browser window or tab, add the target="_blank" attribute to the anchor tag. This ensures that the recipient’s email remains open, and the linked content is loaded in a separate tab or window.
7. Styling Links:
You can apply CSS styles to the <a> tag to change the appearance of your links. This includes changing the font color, underlining, or adding hover effects to make the links more visually distinct.
8. Testing Links:
Before sending your HTML email, it’s crucial to test all the links to ensure they work correctly. Click on each link within the drafted email to confirm that it leads to the intended destination and opens in the correct manner.
By following these steps, you can effectively insert clickable links into your HTML email messages, allowing recipients to easily navigate to external websites, specific sections within your email, or take desired actions.
Adding Images to HTML Messages
Adding images to your HTML email messages can greatly enhance their visual appeal and engagement. Here are some key considerations and steps to follow when adding images to HTML messages:
1. Host the Images:
Before adding images to your HTML email, you need to host them on a web server or use an image hosting service. This ensures that the images are accessible to recipients when they open your email.
2. Use the <img> Tag:
In HTML, images are inserted using the <img> tag. Include the src attribute with the URL of the hosted image as its value. For example, <img src="https://www.example.com/image.jpg">.
3. Alternative Text:
Always provide alternative text using the alt attribute. This text is displayed when the image fails to load and is also read by screen readers for accessibility purposes. The alternative text should provide a concise description or a contextual explanation of the image.
4. Specify Image Dimensions:
It’s good practice to specify the width and height of your images using the width and height attributes. This allows email clients to reserve the necessary space for the image, reducing layout shifts during loading.
5. Image Compression:
Optimize your images by compressing them without compromising quality. Large file sizes can slow down email loading times and may even cause compatibility issues in some email clients. Use image editing tools or online compression services to reduce file sizes before adding them to your email.
6. Maintain Compatibility:
To ensure compatibility across different email clients, use widely supported image formats such as JPEG, PNG, or GIF. Avoid using SVG or other advanced image formats, as they may not be supported by all email clients.
7. Linking Images:
If you want to make an image clickable in your email, wrap it with an <a> tag and specify the destination URL within the href attribute. This allows recipients to click on the image and be redirected to the desired destination.
8. Test Images:
Before sending your HTML email, make sure to test all the images to ensure they are displayed correctly. Open your email in different email clients, devices, and screen sizes to ensure optimal rendering and functionality.
By following these steps, you can effectively add images to your HTML email messages, enhancing their visual impact and creating a more engaging experience for your recipients.
Creating Tables in HTML Messages
Tables are a useful tool when it comes to organizing and presenting data in HTML email messages. They provide structure and allow for better readability and presentation. Here are some key considerations and steps to follow when creating tables in HTML messages:
1. Starting the Table:
To create a table in HTML, use the <table> tag as the outer container. This tag defines the beginning and end of the table.
2. Adding Table Rows:
Within the <table> tags, use the <tr> tags to define each row of the table. Place the content for each row within these tags.
3. Defining Table Cells:
Inside each <tr> tag, use the <td> tags to define each cell of the table. Place the content for each cell within these tags.
4. Table Headers:
If you have a header row in your table, use the <th> tags instead of <td> tags to define the cells. This provides visual differentiation and helps identify the header cells.
5. Spanning Table Cells:
If a cell needs to span multiple columns, use the colspan attribute within the <td> or <th> tag. This allows you to merge cells and create larger columns.
6. Styling the Table:
You can apply CSS styles to the table and its elements to customize its appearance. Use inline styles or link an external CSS file to define styles such as font, background color, spacing, and border properties.
7. Adding Borders:
To add borders to your table, specify the desired border properties using CSS styles. You can add borders to the table as a whole or to specific rows, cells, or headers.
8. Adding Padding and Spacing:
Adjust the padding and spacing between cells by using the padding and cellspacing attributes. This helps to improve the visual spacing and organization of your table.
9. Testing the Table:
Before sending your HTML email, test the table’s appearance in various email clients and devices. Ensure that the table maintains its structure, alignment, and visual styling across different platforms.
By following these steps, you can effectively create tables in your HTML email messages, providing structure and clarity for presenting data or organizing content in a visually appealing way.
Using CSS Styles in HTML Messages
CSS (Cascading Style Sheets) allows you to apply styles and enhance the visual appearance of your HTML email messages. By leveraging CSS, you can create cohesive designs and ensure consistency across different elements of your email. Here are some key considerations and steps to follow when using CSS styles in HTML messages:
1. Inline Styles:
The most widely supported method for applying CSS styles in HTML emails is using inline styles. Inline styles are applied directly to HTML elements using the style attribute. For example, <p style="color: #333; font-size: 16px;">This is a paragraph</p>.
2. Style Blocks:
To simplify the coding and maintenance of CSS styles, you can use the <style> tag to define styles within the HTML document itself. This method is useful when applying styles to multiple elements or creating complex designs within your email.
3. Selectors:
Use CSS selectors to target specific elements within your HTML email. You can apply styles to elements by selecting their element type, class name, or ID. This allows you to style individual elements or groups of elements as needed.
4. Typography:
Set the font family, size, color, and other typography properties using CSS. This allows you to customize the appearance of your text and create a consistent and visually appealing typography throughout your email.
5. Colors and Background:
Apply colors to text, backgrounds, borders, and other elements using CSS. Use color values such as hexadecimal codes, named colors, or RGB values to achieve the desired visual effect.
6. Layout and Positioning:
Use CSS to control the layout, positioning, and spacing of elements within your HTML email. You can apply properties like margins, paddings, positioning (e.g., relative or absolute), and floating to create visually appealing designs and organized content.
7. Responsive Design:
Utilize CSS media queries to create responsive designs that adapt to different screen sizes and devices. This ensures that your HTML emails are easily readable and visually pleasing across desktop, mobile, and tablet devices.
8. Testing and Compatibility:
Test your HTML email in different email clients and devices to ensure that the CSS styles are rendering correctly. Not all email clients fully support CSS, so it’s crucial to test and make adjustments as needed to maintain a consistent design across different platforms.
By using CSS styles effectively in your HTML email messages, you can create visually appealing designs, ensure consistency, and enhance the overall user experience for your recipients.
Composing Messages in Plain Text
While HTML messages offer visual appeal and rich formatting options, there are situations where composing messages in plain text format is more appropriate. Plain text messages are simple, lightweight, and easily readable across different email clients and devices. Here are some key considerations when composing messages in plain text:
1. Keep it Simple:
Plain text messages consist of unformatted text without any styling or multimedia elements. This simplicity allows for quick and easy consumption of the message, making it suitable for conveying straightforward information or having a casual conversation.
2. Prioritize Compatibility:
While HTML messages may encounter rendering issues across different email clients or devices, plain text messages offer broad compatibility. They are less likely to be filtered as spam and can be accessed and read by recipients using various email applications.
3. Personal and Informal:
Plain text messages have a more personal and informal feel, resembling a plain, typed letter. This can create a sense of authenticity and connection with the recipient, especially in one-on-one communications or when conveying a more casual tone.
4. Empathy and Inclusion:
By opting for plain text, you ensure that recipients with visual impairments or those using assistive technologies can access and understand the content without any barriers. Plain text messages are more inclusive and demonstrate empathy towards diverse audiences.
5. Privacy and Security:
Since plain text messages do not support scripts or embedded content, they are considered more secure. There’s no risk of malicious code or external resources being executed, making plain text messages a reliable choice for sensitive information or important notifications.
6. Formatting Limitations:
Keep in mind that plain text messages lack advanced formatting, such as bold or italic text, headings, or bulleted lists. However, you can still use simple formatting techniques like spacing, line breaks, and indentations to enhance readability and emphasize certain parts of the message.
7. Attachments:
If you need to send files or include additional materials, you can attach them to the email separately when using plain text. This ensures that the main message remains clean and accessible without overwhelming the recipient.
8. Proofread and Preview:
Prior to sending the plain text email, proofread the message to ensure clarity and accuracy. Preview it in different email clients to see how it appears and ensure there are no formatting or legibility issues.
By understanding the unique benefits and considerations of composing messages in plain text, you can effectively communicate information while maintaining compatibility and simplicity for your recipients.
Formatting Text in Plain Text Messages
Although plain text messages lack the visual appeal and formatting options of HTML messages, there are still some techniques you can use to structure and format your text for better readability. Here are some key considerations when formatting text in plain text messages:
1. Use Line Breaks:
To separate paragraphs or sections of your message, use line breaks. Inserting a blank line between paragraphs makes it easier for readers to distinguish between ideas and improves the overall readability of the message.
2. Emphasize Text with Capitalization:
In plain text messages, you can emphasize specific words or phrases by using capitalization. For example, you can write “IMPORTANT” or “URGENT” in all caps to draw attention to essential information.
3. Utilize Whitespace:
Whitespace, such as spaces and indents, can be used to visually separate sections or create a hierarchy within your message. Whitespace helps prevent the message from appearing dense and improves the overall readability.
4. Utilize Asterisks or Dashes:
You can use asterisks (*) or dashes (-) to create lists or bullet points in plain text messages. For example, you can write:
* First item
* Second item
* Third item
5. Capitalize or Italicize Text:
In plain text messages, you can use capitalization or italics to emphasize specific words or phrases. For example, you can write “Please note” or “_Important_.” However, it’s important to use these formatting techniques sparingly to maintain readability.
6. Use Character Limitations Creatively:
Plain text messages often have character limitations, such as those imposed by SMS or certain email clients. Get creative with abbreviations, acronyms, or truncation to convey your message effectively within these limitations.
7. Consistent Paragraph Lengths:
Avoid extremely long paragraphs in plain text messages, as they can be overwhelming for readers. Break your text into shorter paragraphs to make the content more digestible, ensuring that each paragraph focuses on a specific point or idea.
8. Proofread and Edit:
Prior to sending your plain text message, proofread and edit it carefully. Check for spelling errors, grammatical mistakes, and ensure that the formatting is consistent and enhances the readability of the message.
While plain text messages lack the visual enhancements of HTML messages, applying these formatting techniques can help structure and present your text in a more organized and readable manner for your recipients.
Adding Links in Plain Text Messages
While plain text messages may lack the visual appeal of HTML messages, you can still include clickable links to direct recipients to external websites, email addresses, or specific resources. Here are some key considerations when adding links in plain text messages:
1. Inserting Web Links:
To include a web link in a plain text message, simply type or paste the full URL within the text. For example, “To learn more about our services, visit www.example.com”. Recipients can copy and paste the URL into their web browser to access the linked page.
2. Email Links:
If you want to include an email address that recipients can use to send you an email directly, type or paste the email address as regular text. For example, contact@example.com. Recipients can then manually enter the email address into their email client.
3. Clear Link Labels:
When inserting links in plain text messages, it’s important to provide clear and descriptive link labels. Instead of using the full URL, use text that describes the destination of the link. For instance, “Check out our latest newsletter” can be linked to the URL of the newsletter.
4. Format Email Addresses:
To differentiate email addresses from regular text, format them as plain text. For example, you can enclose the email address within angle brackets (<>) or use parentheses to set them apart. For instance, contact@example.com or (contact@example.com).
5. Long URLs:
If you need to include a long URL in your message, consider using hyperlink shortening services like Bitly or TinyURL. These services allow you to transform long links into shorter, more manageable versions without losing the functionality.
6. Link Descriptions:
In plain text messages, it’s helpful to provide a brief description of the linked content within brackets or parentheses. For example, “Visit our website [www.example.com] to explore our services.” This provides additional context to the recipient before accessing the link.
7. Test and Verify Links:
Prior to sending your plain text message, verify that all links are accurate and working correctly. Test each link by manually copying and pasting it into a web browser or email client to ensure it leads to the intended destination.
8. Encourage Action:
Include a clear call-to-action in your plain text message to prompt recipients to click on the provided links. For example, use phrases like “Learn More,” “Get Started,” or “Contact Us” to entice recipients to engage with the linked content.
By following these considerations, you can effectively include clickable links within your plain text messages, providing recipients with the ability to access external websites or contact you directly via email.
Attaching Images to Plain Text Messages
Unlike HTML messages, plain text messages do not support the direct embedding or display of images. However, you can still include images as attachments in your plain text emails to provide additional visual content. Here are some key considerations when attaching images to plain text messages:
1. Choose the Right Image Format:
Prior to attaching images, it’s important to select the appropriate image format. JPEG and PNG are commonly used image formats that are widely supported across email clients and devices.
2. Compress the Image:
To maintain smaller file sizes, compress your images before attaching them to the plain text message. Compression ensures quicker email delivery and reduces the risk of exceeding attachment size limits imposed by email providers.
3. Mention Image Attachments:
In your plain text message, provide a clear and concise description of the attached image or indicate the image name. For example, you can write “Please find attached: ‘image.jpg’.” This informs the recipient about the presence of an attached image.
4. File Format and Compatibility:
Ensure that the image attachment is in a format compatible with common image-viewing software. Stick to widely supported formats such as JPEG and PNG to maximize compatibility with various operating systems and email clients.
5. Image Size Considerations:
When attaching images to plain text messages, be mindful of the image dimensions. Very large images may be difficult for recipients to view or download on certain devices or slower internet connections. Consider resizing the image to an appropriate size without compromising its clarity.
6. Set Expectations:
Inform the recipient in the plain text message that an image is attached. For example, you can say “See the attached image for reference” or “Please refer to the image attachment for better understanding.”
7. Anticipate Delivery Challenges:
Keep in mind that some email clients or service providers may block or strip attachments from plain text messages due to security measures or limited support. Therefore, it’s essential to be aware that not all recipients may be able to view the attached images.
8. Verify and Test:
Prior to sending the plain text email, ensure that the image attachment is properly included. Test the email by sending it to yourself or a colleague to verify that the image attachment is viewable and accessible on various devices and email clients.
By following these considerations when attaching images to plain text messages, you can provide additional visual content that enhances the recipient’s understanding or experience, even within the limitations of plain text emails.
Composing Rich Text Messages in Plain Text
While plain text messages are typically devoid of formatting options, you can still add some level of richness to your plain text emails by utilizing certain textual techniques. These techniques allow you to create more expressive and visually appealing plain text messages. Here are some key considerations when composing rich text messages in plain text:
1. Typography:
Make use of ASCII characters to enhance your text. For example, you can use asterisks (*) to emphasize words or phrases, underscores (_) to underline text, or tilde (~) to strike through words. These techniques can add emphasis and structure to your plain text message.
2. Indentations:
Use spaces or tabs to create indentations and visually structure your plain text message. Indenting paragraphs or sections can help distinguish different parts of your message and improve readability.
3. Horizontal Rules:
Create horizontal lines using a row of characters, such as hyphens (-), equal signs (=), or asterisks (*). These horizontal rules can be used to separate sections or provide visual breaks within your plain text message.
4. ASCII Art:
Showcase your creativity by utilizing ASCII art to create images or visual representations using text characters. ASCII art allows you to express concepts and ideas visually, even within the constraints of plain text emails.
5. Tables and Columns:
You can create simple tables or columns using space or tab characters to align content neatly. While basic, this technique can help organize information and improve readability in your plain text messages.
6. Line Length:
It’s important to keep your lines of text within a reasonable length to ensure optimal readability across different devices and email clients. Generally, limiting your lines to around 60-80 characters is considered ideal.
7. Usage of Emoticons:
Add emoticons or emojis to convey emotions or tone in your plain text message.
For example, 🙂 to indicate a smile or 🙁 to indicate a frown. These characters can add a personal touch and help convey the intended sentiment.
8. Proofread and Edit:
Before sending your rich text plain text message, proofread and edit it carefully. Ensure that the formatting techniques you’ve applied enhance the message and do not hinder readability. Correct any errors or inconsistencies to ensure clarity in your communication.
By employing these techniques, you can compose rich text messages in plain text formats that express your ideas creatively and effectively, even without the use of HTML formatting.