
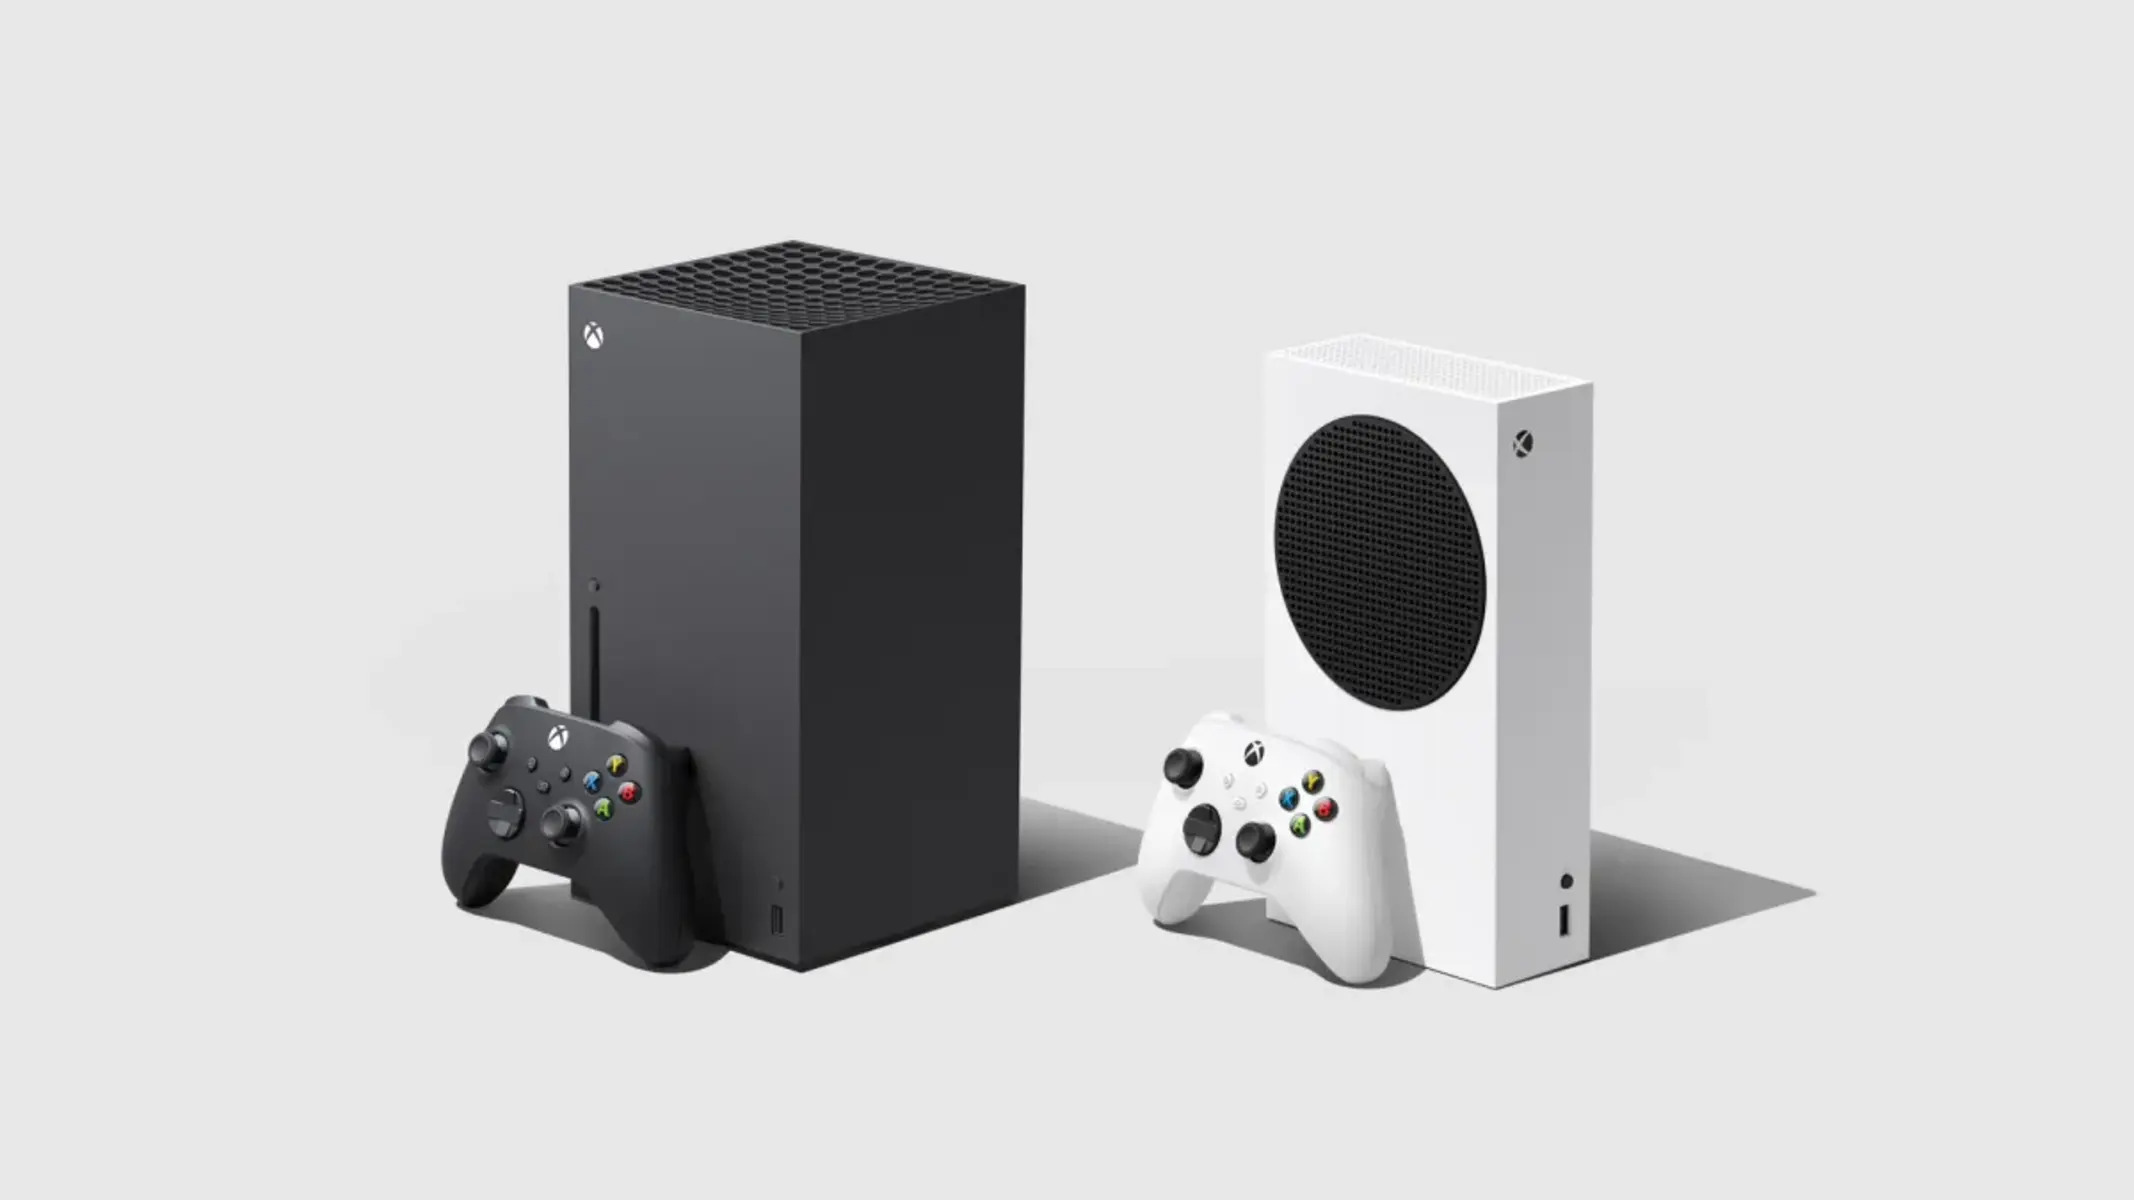
Why Clear the Cache on Xbox Series X or S Consoles
Clearing the cache on your Xbox Series X or S consoles can be a crucial troubleshooting step to resolve various performance issues. The cache is a temporary storage area that holds data for quicker access. Over time, the cache can accumulate unnecessary data or become corrupted, leading to sluggish performance, freezing, or other software-related problems.
Clearing the cache helps to refresh your console and improve its overall performance. It can resolve issues like games not starting, frequent crashes, slow loading times, or UI glitches. Additionally, clearing the cache can also fix audio or visual errors that might occur while playing games or using apps on your Xbox.
By clearing the cache, you essentially remove temporary files that are no longer needed, allowing your Xbox Series X or S console to run more smoothly. It’s similar to clearing out the clutter in your physical space to create a clean and organized environment. With a cleared cache, your console can operate efficiently and provide optimal gaming experiences.
Moreover, clearing the cache can also help resolve network-related issues. Cached data can sometimes interfere with network connections, causing problems like slow download speeds or connectivity drops. By clearing the cache, you can ensure a fresh start for your console’s network settings, potentially improving your online gaming experience.
However, it’s important to note that clearing the cache will not delete your saved games, achievements, or other personal data. These are stored separately and will not be affected by the cache-clearing process.
Method 1: Clearing the Cache from the Settings Menu
Clearing the cache from the settings menu is a straightforward method to refresh your Xbox Series X or S console. Here’s how you can do it:
- On your Xbox Series X or S controller, press the Xbox button to open the Guide.
- Navigate to the “Profile & system” tab using the D-pad.
- Select “Settings” and press the A button.
- In the settings menu, scroll down and choose “System”.
- Under the System menu, select “Storage”.
- Choose the storage device where the cache you want to clear is located.
- Select “Clear local saved games” to clear the cached data.
- Confirm your selection by choosing “Yes” when prompted.
This process will clear the cache stored on your Xbox Series X or S console. It might take a few moments to complete, depending on the size of the cache. Once cleared, you should notice improved performance and reduced issues.
Keep in mind that clearing the cache only affects the temporary data and does not delete any essential files or game saves. Therefore, you won’t lose any progress or data by performing this method.
If you continue to experience problems with your Xbox Series X or S console, you can try other methods to clear the cache, such as power cycling or using a USB drive. These alternative methods can provide a more comprehensive cache clearance and resolve persistent issues.
Method 2: Power Cycling Your Xbox Console
Power cycling your Xbox console is another effective way to clear the cache and resolve various issues. This method involves completely shutting down your console and disconnecting it from power to allow the cache to fully clear. Here’s how you can power cycle your Xbox Series X or S console:
- Press and hold the Xbox button on the front of your console for about 10 seconds. This will force the console to shut down.
- Once the console is completely off, unplug the power cord from the back of the console.
- Leave the console unplugged for at least 10 seconds to ensure the cache is fully cleared.
- After the designated time, plug the power cord back into the console.
- Press the Xbox button on the front of the console to turn it back on.
When your console powers back on, you will notice that the cache has been effectively cleared. This method is particularly helpful in resolving performance issues, freezing, or any other software-related problems that might be caused by a corrupted cache.
Power cycling not only clears the cache but also refreshes the console’s hardware components, providing a clean start for better performance. It’s like giving your console a quick restart to ensure everything is functioning optimally.
Remember, power cycling your Xbox console will not delete any of your saved games, achievements, or personal data. It’s a safe and recommended method to address cache-related issues and should be one of the first steps you take when troubleshooting problems on your Xbox Series X or S console.
Method 3: Clearing the Cache by Unplugging the Power Cord
Clearing the cache by unplugging the power cord is another simple yet effective method to resolve cache-related issues on your Xbox Series X or S console. This method involves fully disconnecting the console from power to ensure a complete cache clearance. Here’s how you can do it:
- On your Xbox Series X or S console, make sure it is turned on.
- Locate the power cord at the back of the console.
- Unplug the power cord from the console, as well as from the power outlet.
- Leave the console unplugged for at least 10 seconds to ensure the cache is fully cleared.
- After the designated time, plug the power cord back into the console and the power outlet.
- Press the power button on the front of the console to turn it back on.
By unplugging the power cord, you are giving your console a complete power reset, which effectively clears the cache. This method is beneficial in resolving issues such as slow loading times, freezing, or other performance-related problems that may be caused by a bloated or corrupted cache.
Clearing the cache through power cord unplugging is a quick and simple solution that can provide significant improvements in the performance of your Xbox Series X or S console. It allows the console to start fresh without any cached data that may be causing issues.
Remember, this method does not delete your saved games, achievements, or any personal data. It simply clears out temporary files and resets the console’s cache. If you continue to experience persistent issues, you may need to explore other troubleshooting methods or contact Xbox support for further assistance.
Method 4: Clearing the Cache using a USB Drive
If you’re looking for a more thorough cache clearance method for your Xbox Series X or S console, you can try clearing the cache using a USB drive. This method allows you to remove all cached data, including game updates and system files stored on your console. Here’s how you can do it:
- Prepare a USB drive with at least 4GB of storage space.
- Connect the USB drive to a computer or laptop.
- Format the USB drive as NTFS or exFAT.
- Create a folder on the USB drive called “Xbox” (without the quotes).
- Inside the “Xbox” folder, create another folder called “SystemCache” (without the quotes).
- Eject the USB drive from the computer or laptop.
- Turn off your Xbox Series X or S console.
- Locate the USB port on the back of the console and insert the USB drive.
- Turn on the console.
- Once the console is on, press the Xbox button on the controller to open the guide.
- Navigate to the “Profile & system” tab.
- Go to “Settings” and select “System”.
- Choose “Storage” and select the storage device where the cache you want to clear is located.
- Highlight “Clear local Xbox 360 storage” and press the A button.
- Choose “Yes” to confirm and clear the cache from the USB drive.
By following these steps, you will effectively clear the cache on your Xbox Series X or S console using a USB drive. It allows for a more comprehensive cache clearance compared to other methods, ensuring improved performance and resolving persistent issues.
Remember to only use a USB drive that you don’t mind formatting, as the process will erase all data stored on the drive. Additionally, it’s important to disconnect the USB drive from the console after the cache clearance process is complete.
If you continue to experience issues after clearing the cache using this method, you may need to explore other troubleshooting options or contact Xbox support for further assistance.
Method 5: Clearing the Cache for Specific Games
If you’re experiencing issues with specific games on your Xbox Series X or S console, you can try clearing the cache for those games individually. Clearing the cache for specific games can help resolve game-specific issues, such as crashing, freezing, or slow loading times. Here’s how you can do it:
- On your Xbox Series X or S controller, press the Xbox button to open the Guide.
- Navigate to the “My games & apps” tab using the D-pad.
- Select “See all” to view a list of all your installed games and apps.
- Scroll through the list and highlight the game you want to clear the cache for.
- Press the Options button (the button with three horizontal lines) on the controller.
- Choose “Manage game & add-ons” from the menu that appears.
- Select “Saved data” from the left-hand side menu.
- Highlight the “Reserved space” option and press the A button.
- Choose “Clear reserved space” and confirm your selection when prompted.
By following these steps, you will clear the cache specifically for the selected game. This will remove any temporary data or cached files associated with that game, potentially resolving issues and improving its performance.
It’s important to note that clearing the cache for specific games will not delete your save data or achievements. These are stored separately and will not be affected by the cache clearance process.
If you continue to experience issues with the game after clearing its cache, you may want to consider other troubleshooting methods, such as reinstalling the game or contacting the game’s developer or Xbox support for further assistance.
Method 6: Clearing the Cache by Reinstalling the Game
If you’re still experiencing persistent issues with a specific game on your Xbox Series X or S console, you can try clearing the cache by reinstalling the game. This method involves removing the game from your console and then reinstalling it, effectively clearing any cached data or corrupted files that may be causing the issues. Here’s how you can do it:
- On your Xbox Series X or S controller, press the Xbox button to open the Guide.
- Navigate to the “My games & apps” tab using the D-pad.
- Select “See all” to view a list of all your installed games and apps.
- Scroll through the list and highlight the game you want to reinstall.
- Press the Options button (the button with three horizontal lines) on the controller.
- Choose “Manage game & add-ons” from the menu that appears.
- Select the game and press the Menu button (the button with three horizontal lines) again.
- Choose “Uninstall” and confirm the uninstallation when prompted.
- Once the game is uninstalled, go to the Microsoft Store.
- Search for the game and select it to reinstall.
- Follow the on-screen prompts to complete the game installation.
By reinstalling the game, you are essentially starting fresh with a clean installation. This removes any corrupted files or cached data that may be causing issues with the game. After the game is reinstalled, you should notice improved performance and a resolution of any persistent issues.
Keep in mind that reinstalling the game will not delete your save data or achievements, as those are stored separately. However, if the game relies on online servers for progress or game data, you may want to ensure that your game data is synced with the server before uninstalling.
If you continue to experience issues with the game even after reinstalling it, you may need to explore other troubleshooting options, such as contacting the game’s developer for support or reaching out to Xbox support for further assistance.
Method 7: Clearing the Cache for Xbox Series X or S Apps
If you’re encountering issues with apps on your Xbox Series X or S console, clearing the app cache can help resolve these problems. Apps can accumulate cached data over time, which can impact their performance. Clearing the app cache allows for a fresh start and may resolve issues such as freezing, crashing, or slow loading times. Here’s how you can clear the cache for apps on your console:
- On your Xbox Series X or S controller, press the Xbox button to open the Guide.
- Navigate to the “Profile & system” tab using the D-pad.
- Select “Settings” and press the A button.
- In the settings menu, scroll down and choose “System”.
- Under the System menu, select “Storage”.
- Choose the storage device where the app cache you want to clear is located.
- Select “Reserved space” to access the apps that have reserved storage on your console.
- Highlight the app you want to clear the cache for and press the Options button (the button with three horizontal lines) on the controller.
- Choose “Clear reserved space” and confirm your selection when prompted.
Following these steps will clear the cache for the selected app on your Xbox Series X or S console. This helps to remove temporary files and data that may be causing issues with the app’s performance.
It’s important to note that clearing the app cache will not delete any personal data or save files associated with the app. It only removes temporary files, allowing for a fresh start and potential resolution of issues.
If you continue to experience problems with a specific app, you may want to try uninstalling and reinstalling the app to further troubleshoot the issue. Additionally, keeping your console and apps up to date with the latest software updates can help prevent future cache-related issues.
Method 8: Clearing the Cache for Xbox Series X or S Saved Data
If you’re encountering issues with your saved data on your Xbox Series X or S console, clearing the cache for saved data can help resolve these problems. Sometimes, cached saved data can become corrupted or fragmented, leading to issues like game crashes or data inconsistencies. Clearing the cache for saved data allows for a fresh start and may resolve these issues. Here’s how you can do it:
- On your Xbox Series X or S controller, press the Xbox button to open the Guide.
- Navigate to the “My games & apps” tab using the D-pad.
- Select “See all” to view a list of all your installed games and apps.
- Scroll through the list and highlight the game you want to clear the saved data cache for.
- Press the Options button (the button with three horizontal lines) on the controller.
- Choose “Manage game & add-ons” from the menu that appears.
- Select “Saved data” from the left-hand side menu.
- Highlight the specific saved data you want to clear the cache for and press the A button.
- Choose “Delete” and confirm your selection when prompted.
By following these steps, you will clear the cache for the selected saved data on your Xbox Series X or S console. This helps to remove any cached data that may be causing issues with the game or app’s saved data.
It’s important to note that clearing the saved data cache will not delete your actual saved data or achievements. It only removes temporary files and data related to the saved data cache, allowing for a fresh start and potential resolution of issues.
If you continue to experience problems with your saved data, you may want to consider reinstalling the game or app to further troubleshoot the issue. Additionally, regularly backing up your saved data to the cloud or an external storage device can help prevent any permanent loss of data in case of future cache-related issues.
Method 9: Clearing the Cache when Experiencing Performance Issues
If you’re experiencing overall performance issues with your Xbox Series X or S console, clearing the cache can often help improve performance and resolve various issues. This method involves clearing the system cache, which consists of temporary files and data that can accumulate and impact the console’s performance. Here’s how you can clear the cache when experiencing performance issues:
- On your Xbox Series X or S console, press and hold the power button on the front of the console for about 10 seconds. This will force the console to shut down completely.
- Once the console is powered off, unplug the power cord from the back of the console and wait for at least 10 seconds.
- While the console is unplugged, press and hold the power button on the front of the console for a few seconds to discharge any remaining power.
- After the designated time has passed, plug the power cord back into the console and turn it on.
By following these steps, you will effectively clear the system cache on your Xbox Series X or S console. This helps remove temporary files and data that may be causing performance issues, such as slow loading times, UI glitches, or software-related problems.
Clearing the system cache provides a fresh start for your console, allowing it to operate more efficiently and improving overall performance. It also helps resolve issues like frequent crashes or freezing that may be caused by corrupted cache files.
Remember that clearing the cache does not delete your saved games, achievements, or other personal data. These are stored separately and will not be affected by the cache-clearing process.
If you continue to experience performance issues after clearing the cache, you may need to explore other troubleshooting options, such as updating your console software, checking for game updates, or contacting Xbox support for further assistance.