
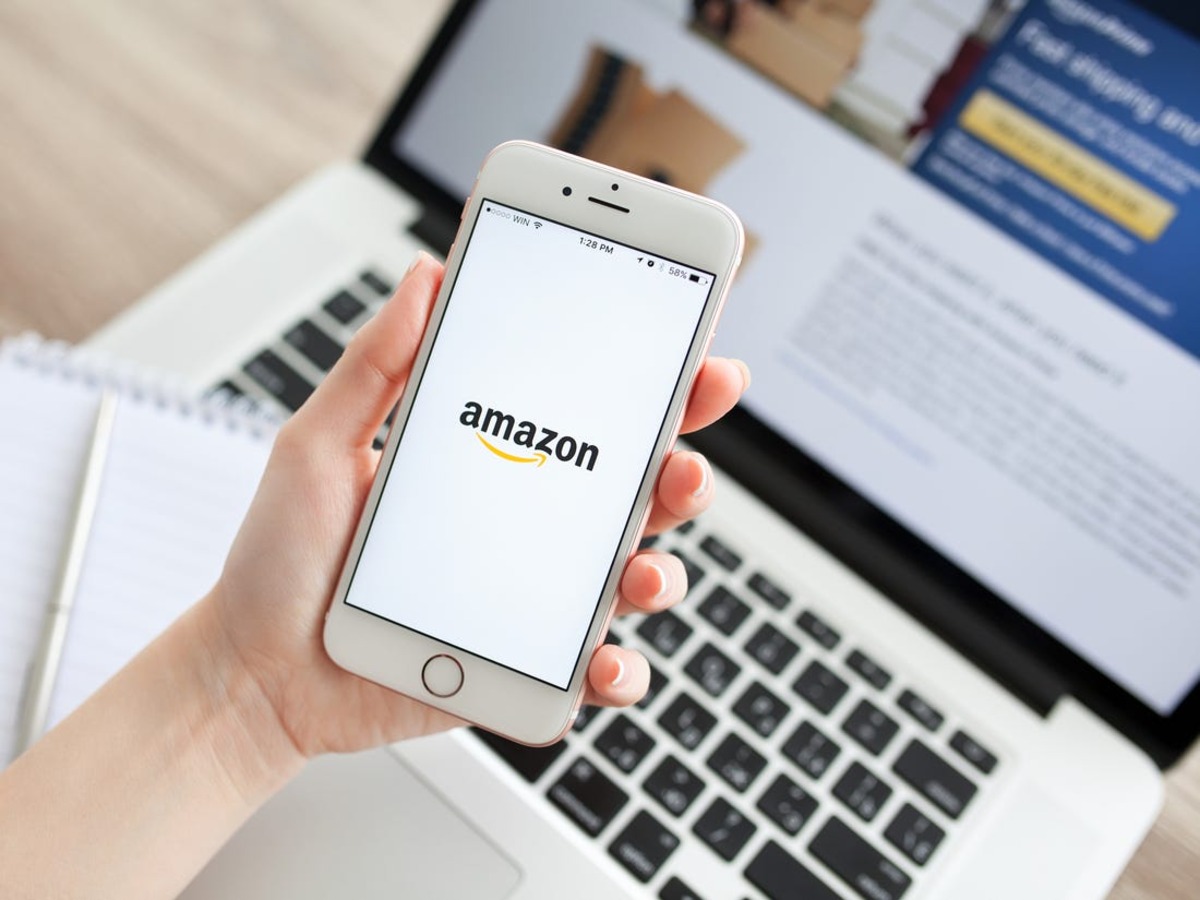
Reasons to Change Your Amazon Email
Changing your Amazon email address can be a crucial step in managing your online identity and ensuring the security of your Amazon account. Below, we will explore some of the key reasons why you may consider changing your Amazon email:
- Compromised Account: If you suspect that your Amazon account has been compromised or if you have experienced unauthorized access, changing your email address is essential. By doing so, you can safeguard your personal information and prevent further unauthorized activities.
- Security and Privacy: Enhancing your account’s security and privacy is another vital reason to change your Amazon email. As cyber threats continue to evolve, updating your email address adds an extra layer of protection against potential hacking attempts or phishing scams.
- Receiving Important Notifications: Your Amazon email address is the primary means through which the company communicates with you. If you no longer have access to the existing email, changing it ensures that you receive important notifications, such as order updates, account alerts, and promotional offers.
- Personal Preference: Sometimes, changing your email address on Amazon is simply a matter of personal preference or convenience. Whether you want to switch to an email provider with better features or consolidate all your online accounts to a single email, Amazon allows you to easily update your contact information.
Changing your Amazon email address is a relatively straightforward process that can help protect your account and improve your overall online experience. Now that you understand the reasons behind changing your email, let’s review the step-by-step process to update it.
Steps to Change Your Amazon Email
If you need to change your Amazon email address for any reason, follow these simple steps:
- Step 1: Log in to Your Amazon Account
- Step 2: Go to “Settings”
- Step 3: Click on “Login & Security”
- Step 4: Click on “Edit” Next to Your Email Address
- Step 5: Enter Your New Email Address
- Step 6: Click on “Save Changes”
- Step 7: Verify Your New Email Address
- Step 8: Update Your Email Address for All Amazon Services
Visit the Amazon website and log in to your account using your current email address and password. Once successfully logged in, you will be directed to your account homepage.
On the top-right corner of the page, you will find a drop-down menu with your account name. Click on it and select “Your Account” from the options.
On the next page, scroll down to the “Settings” section, located on the left-hand side of the screen, and click on it.
In the “Settings” menu, find the “Login & Security” option and click on it. This will open a page with various options related to your account security and login preferences.
Under the “Login & Security” section, you will see your current email address listed. Click on the “Edit” button next to it.
A pop-up window will appear prompting you to enter your new email address. Carefully type your new email address in the provided field.
After entering your new email address, click on the “Save Changes” button. Amazon will then verify your new email address.
Amazon will send a verification email to your new address. Access your email account and open the verification email from Amazon. Follow the instructions in the email to confirm and verify your new email address.
Once your new email address is verified, make sure to update it for all Amazon services you use, such as Kindle, Music, and Audible. This will ensure that all your Amazon accounts are linked to your new email address.
By following these steps, you can easily change your Amazon email address and enjoy a more secure and personalized online shopping experience. If you encounter any issues or have trouble changing your email, reach out to Amazon’s customer support for further assistance.
Step 1: Log in to Your Amazon Account
In order to change your Amazon email address, the first step is to log in to your Amazon account using your current email address and password. Follow these steps:
- Visit the Amazon Website
- Click on “Sign In”
- Enter Your Account Information
- Click on “Sign In” to Access Your Account
- Verify Your Account, if Necessary
- Welcome to Your Amazon Account
Open a web browser and navigate to the Amazon website (www.amazon.com).
On the top-right corner of the Amazon homepage, you will find the “Sign In” button. Click on it to proceed.
On the Amazon sign-in page, enter your current email address or mobile number associated with your Amazon account in the provided field. Then, enter your password in the next field. Make sure to double-check the information you entered for accuracy.
Once you have entered your account information, click on the “Sign In” button to log in to your Amazon account.
If you have enabled two-step verification for your Amazon account, you may be required to enter a verification code sent to your registered mobile device or email address. Follow the prompts to complete the verification process.
Upon successful login, you will be directed to your Amazon account homepage. Here, you can access various options and settings to manage your account.
By logging in to your Amazon account, you gain access to the necessary tools and settings to change your email address. After completing this step, you can proceed to the next step and update your email in the Amazon account settings.
Step 2: Go to “Settings”
Once you have successfully logged in to your Amazon account, the next step in changing your email address is to go to the “Settings” section. Follow these steps:
- Locate the Dropdown Menu
- Select “Your Account”
- Find the “Settings” Section
- Click on “Settings”
On the top-right corner of the Amazon homepage, you will see a dropdown menu with your account name. Click on it to open the menu.
From the dropdown menu, choose the option that says “Your Account.” This will redirect you to your Amazon account page.
Scroll down the page until you reach the “Settings” section. It is typically located on the left-hand side of the screen.
Click on the “Settings” link to access the settings page. This page contains various options and preferences related to your Amazon account.
By going to the “Settings” section, you are one step closer to changing your email address. This section provides you with the necessary options and controls to manage your account settings. Proceed to the next step to access the specific settings related to your account email address.
Step 3: Click on “Login & Security”
After accessing your Amazon account settings, the next step in changing your email address is to navigate to the “Login & Security” section. Follow these steps:
- Find the Navigation Menu
- Look for “Login & Security”
- Access “Login & Security” Settings
Within the settings page, locate the navigation menu on the left-hand side. This menu contains different options related to your account settings.
Scroll down the navigation menu until you find the option labeled “Login & Security.” Click on it to proceed.
Clicking on “Login & Security” will take you to a new page where you can manage various security settings and preferences related to your Amazon account.
By clicking on “Login & Security,” you are now on the page that contains the specific settings related to your account login and security. This is where you will find the option to update your email address. Proceed to the next step to continue the process of changing your Amazon email.
Step 4: Click on “Edit” Next to Your Email Address
Once you have accessed the “Login & Security” section in your Amazon account settings, the next step is to locate and click on the “Edit” button next to your current email address. Here’s what you need to do:
- Find Your Email Address
- Click on “Edit”
- Enter Your New Email Address
- Proceed to the Next Step
On the “Login & Security” page, you will see your current email address listed. It is usually displayed under the “Login Information” or “Account Information” section.
Next to your current email address, there should be an “Edit” button or link. Click on it to initiate the process of changing your email address.
A popup or a new page will appear, prompting you to enter your new email address. Carefully type your new email in the provided field. You may be asked to confirm the new email address by entering it a second time.
After entering your new email address, click on the appropriate button to proceed. This button may be labeled “Save Changes,” “Apply,” or something similar.
By clicking on “Edit” next to your current email address, you are initiating the process of changing your email on Amazon. Make sure to enter your new email address accurately in the provided field. Proceed to the next step to complete the process of updating your email.
Step 5: Enter Your New Email Address
After clicking on “Edit” next to your current email address, you will be prompted to enter your new email address. Follow these steps to enter your new email:
- Access the Email Field
- Type Your New Email Address
- Confirm Your New Email Address, if Required
- Proceed to the Next Step
A pop-up window or a new page will appear, providing a field where you can enter your new email address. This field is specifically labeled for entering your new email.
Carefully type your new email address in the provided field. Make sure to double-check the spelling and accuracy of your new email to ensure there are no errors.
In some cases, you may be required to confirm your new email address by entering it a second time. If prompted, re-enter your new email address in the confirmation field provided.
After entering and confirming your new email address, click on the appropriate button to proceed. This button may be labeled “Save Changes,” “Apply,” or something similar.
Entering your new email address accurately is crucial to ensure that your Amazon account is linked to the correct email. Take your time and double-check the information before proceeding to the next step. The process is not yet complete, as you still need to save your changes and verify your new email address.
Step 6: Click on “Save Changes”
After entering your new email address, the next step in changing your Amazon email is to click on the “Save Changes” button. Here’s what you need to do:
- Locate the “Save Changes” Button
- Click on “Save Changes”
- Wait for Confirmation
- Confirmation Message
On the page where you entered your new email address, look for the button labeled “Save Changes.” This button is typically located below the email field or at the bottom of the page.
Once you have found the “Save Changes” button, click on it to save the updates you made to your Amazon email address.
After clicking on “Save Changes,” your new email address should be saved within the Amazon system. Depending on the server load and internet connection, it may take a few moments to process your request.
Once the changes have been saved successfully, you may see a confirmation message indicating that your email address has been updated. This message serves as confirmation that your new email is now associated with your Amazon account.
By clicking on “Save Changes,” you have completed the process of updating your Amazon email address. However, you still need to verify your new email address to ensure its validity and further secure your account.
Step 7: Verify Your New Email Address
After saving your changes, the next step in changing your Amazon email address is to verify the new email. This verification process helps ensure that the email address associated with your account is valid. Follow these steps to verify your new email address:
- Access Your Email Account
- Check Your Inbox
- Click on the Verification Link
- Follow the Verification Instructions
- Confirmation Message
Log in to the email account that you used to enter your new email address on Amazon.
Look for an email from Amazon with the subject line containing the verification message. Open this email to proceed with the verification process.
Inside the verification email, locate the link provided by Amazon to verify your new email address. Click on this link to confirm the authenticity and ownership of your new email.
Once you click on the verification link, you will be directed to a web page where you may need to follow additional instructions to complete the email verification process. These instructions may include entering a verification code or confirming your account details.
After successfully verifying your new email address, you should receive a confirmation message. This message typically indicates that the verification process is complete and that your new email address is now officially associated with your Amazon account.
By verifying your new email address, you ensure that it is linked to your Amazon account and can be used for future communication and account-related notifications. Now that your new email is confirmed, you should update your email address for all Amazon services to ensure seamless access and communication.
Step 8: Update Your Email Address for All Amazon Services
After successfully changing your email address on Amazon and verifying it, it is important to update your email address for all Amazon services you use. This ensures that all your Amazon accounts and subscriptions are linked to your new email. Follow these steps to update your email address for all Amazon services:
- Identify the Amazon Services You Use
- Visit Each Service’s Settings
- Locate and Update the Email Address
- Save your Changes
- Confirm the Email Update
- Repeat for All Amazon Services
Make a list of all the Amazon services and subscriptions you have, such as Kindle, Prime, Music, Audible, and more. This will help you keep track of the services that need the email address update.
For each identified Amazon service, log in to your account and navigate to the settings or account information section specific to that service.
Within each service’s settings, find the option to update your email address. Click on it and enter your new email in the provided field.
After entering your new email address for each service, save your changes to ensure that the email update is applied to that particular Amazon service.
Some services may require you to confirm the email update by following verification steps similar to the ones you completed earlier. Check your email for any verification prompts and complete them as necessary.
Continue updating your email address for each Amazon service on your list until you have covered all the services you use.
Updating your email address for all Amazon services ensures that you receive notifications, access your subscriptions, and manage your accounts seamlessly with your new email. By following these steps, you can ensure a smooth transition to your updated email address for all your Amazon-related activities.
What to Do If You Can’t Change Your Amazon Email
If you encounter difficulties or are unable to change your email address on Amazon, there are a few steps you can take to troubleshoot the issue:
- Check the Account Settings
- Contact Amazon Support
- Provide Necessary Information
- Familiarize Yourself with Amazon Policies
- Consider Security Concerns
- Be Patient
Double-check your account settings to ensure that you are following the correct steps for changing your email address. Make sure you are logged in to the correct account and have proper access to modify account information.
If you are unable to locate the option to change your email address or experiencing technical issues, reach out to Amazon’s customer support for assistance. They have a dedicated team of professionals who can guide you through the process or address any concerns you may have.
When contacting customer support, be prepared to provide specific information related to your account, such as your account ID, order history, and any other relevant details. This will help expedite the support process and ensure a more efficient resolution.
Take the time to review Amazon’s policies regarding changing email addresses. There may be specific requirements or restrictions that you need to comply with, such as providing additional verification or following certain procedures.
In certain cases, Amazon may have restrictions in place to protect users’ accounts and prevent unauthorized changes. If you have recently experienced any security issues or your account has been compromised, Amazon may impose limitations on changing your email address as a security measure.
Sometimes, technical issues or specific account circumstances may require additional time to resolve. Stay in contact with Amazon’s customer support and follow their guidance. Patience and persistence will help ensure that your email address is successfully updated.
If you are still unable to change your email address on Amazon or resolve the issue, Amazon’s customer support should be your primary resource for finding a solution. They will have the knowledge and tools to address your specific situation and guide you through the process of changing your email.