
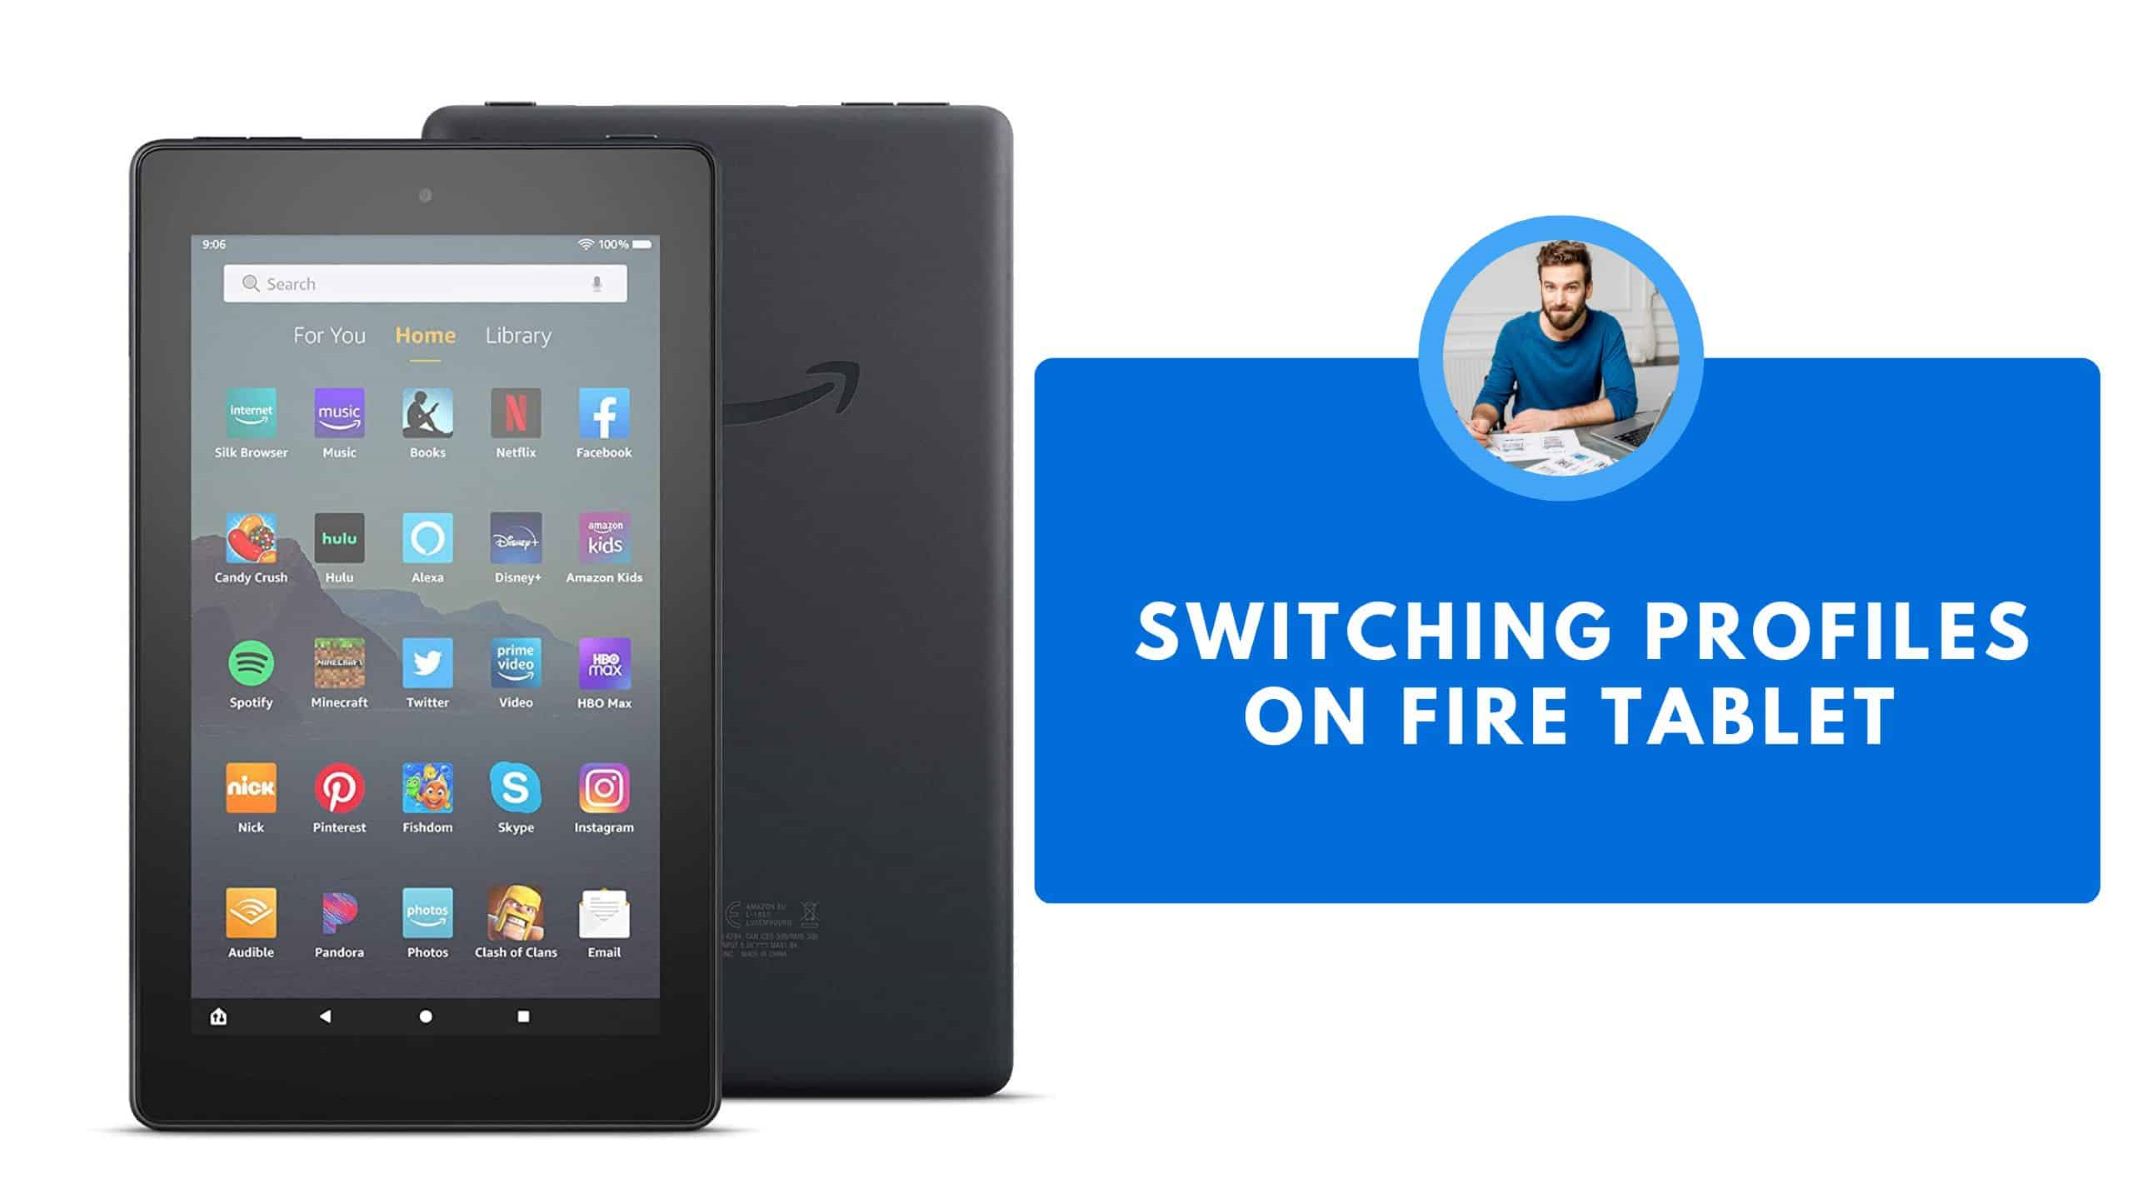
Reasons to Change Profiles on Kindle Fire
Changing profiles on your Kindle Fire can bring a range of benefits and enhance your overall experience. Whether you share your device with family members, coworkers, or friends, or you simply want to personalize your Kindle Fire for different purposes, here are a few compelling reasons to consider changing profiles:
- Personalized Content: Creating different profiles allows each user to have their own personalized content, including books, apps, and media. This ensures that everyone’s preferences are catered to, and each person can enjoy a tailored experience on the Kindle Fire.
- Privacy: By setting up individual profiles, you can keep your personal information and digital library separate from others who may use the device. This is particularly useful if you have sensitive documents, personal emails, or confidential work files on your Kindle Fire.
- Parental Controls: If you have children who use the Kindle Fire, you can set up a separate profile with parental controls to ensure they have access only to appropriate content. This feature enables you to regulate their screen time, filter content, and provide a safe environment for them to explore.
- Work-Life Balance: For those using their Kindle Fire for both work and personal purposes, having separate profiles can help maintain a clear distinction between the two. You can keep work-related files, apps, and email accounts separate from your personal ones, promoting a better work-life balance.
- Customized Settings: Each profile allows for personalized settings, such as language preferences, wallpaper, and display options. By changing profiles, you can ensure that the Kindle Fire is set up exactly the way you want it, creating a more tailored and enjoyable experience.
These are just a few reasons why changing profiles on your Kindle Fire can be beneficial. Whether you want to maintain privacy, cater to different users, or optimize the device for multiple purposes, taking advantage of this feature allows for a more personalized and secure experience on your Kindle Fire.
How to Create a New Profile on Kindle Fire
Creating a new profile on your Kindle Fire is a straightforward process that can be done in just a few simple steps. Follow the instructions below to set up a new profile:
- Unlock your Kindle Fire and swipe down from the top of the screen to access the Quick Settings menu.
- Tap on the “Settings” gear icon to open the device settings.
- In the settings menu, scroll down and select “Profiles & Family Library.”
- Tap on “Add a Child” or “Add an Adult” to create a new profile based on the intended user.
- Follow the on-screen prompts to enter the necessary information, such as name, age (for child profiles), and password (if required).
- Choose the desired profile picture or avatar to personalize the new profile.
- Once you have entered all the required information, tap on “Save” or “Create Profile” to complete the process.
- Upon creating the new profile, you can customize the settings, including parental controls, by tapping on the profile and selecting “Edit Profile.”
That’s it! You have successfully created a new profile on your Kindle Fire. Now, each user can have their own unique profile with personalized settings and content.
It’s worth mentioning that depending on your Kindle Fire model and software version, the steps may slightly vary. However, the general process remains the same across most devices.
How to Switch Between Profiles on Kindle Fire
Switching between profiles on your Kindle Fire is a simple process that can be done in just a few taps. Whether you want to switch to your own profile or switch to a different user’s profile, follow the steps below:
- Unlock your Kindle Fire and swipe down from the top of the screen to access the Quick Settings menu.
- Tap on the profile icon located in the top-right corner of the screen. The icon may vary depending on the version of the Kindle Fire you are using.
- A drop-down menu will appear with a list of available profiles. Tap on the profile that you want to switch to.
- Your Kindle Fire will now switch to the selected profile. The device will load the personalized settings and content associated with that profile.
That’s it! You have successfully switched to a different profile on your Kindle Fire. Each user can enjoy a customized experience with their own settings, content, and preferences.
If you want to switch back to your own profile after using a different one, simply follow the same steps and select your profile from the drop-down menu.
Please note that if you have set up a lock screen password or PIN for your profile, you will be prompted to enter it when switching between profiles for security purposes.
Additionally, if you are using a child profile with parental controls enabled, you may need to enter the parental controls password to switch to a different profile.
It’s important to mention that the ability to switch profiles may vary depending on the Kindle Fire model and the version of the software. Older models may have different methods for switching profiles, so be sure to consult the device’s user manual or the manufacturer’s website for specific instructions.
How to Customize Profiles on Kindle Fire
Customizing profiles on your Kindle Fire allows you to personalize the settings and appearance for each user. Here’s how you can customize profiles to suit your preferences:
- Select the profile that you want to customize by tapping on the profile icon located in the top-right corner of the screen.
- In the drop-down menu, tap on “Edit Profile” next to the desired profile.
- Here are some customization options you can explore:
- Name: Change the name associated with the profile by tapping on the current name and entering a new one.
- Profile Picture or Avatar: Tap on the profile picture/avatar to change it. You can select a preloaded image or upload your own.
- Background Wallpaper: Customize the background wallpaper by selecting a different image or using a solid color.
- Language and Region: Adjust the language and region settings to match your preferences.
- Parental Controls: If the profile is for a child, enable or modify the parental controls to restrict access to specific content and set time limits.
- Accessibility: Customize accessibility features such as font size, color inversion, or screen reader options.
- Once you have made the desired changes, tap on “Save” or “Apply” to save the customized profile settings.
That’s it! You have successfully customized the profile on your Kindle Fire. Repeat these steps for each profile you want to personalize.
Please note that the available customization options may vary depending on the Kindle Fire model and the version of the software. Newer models may offer additional features and options to further customize profiles.
By customizing profiles, you can tailor each user’s experience on the Kindle Fire, making it more personalized and enjoyable for everyone who uses the device.
How to Delete Profiles on Kindle Fire
If you no longer need a profile on your Kindle Fire, you can easily delete it to free up space and simplify your device. Follow these steps to delete a profile:
- Unlock your Kindle Fire and swipe down from the top of the screen to access the Quick Settings menu.
- Tap on the profile icon located in the top-right corner of the screen.
- In the drop-down menu, select “Manage Profiles.”
- A list of profiles on your Kindle Fire will appear. Locate the profile you want to delete.
- Tap on the three-dot menu icon or the “Edit” button next to the selected profile.
- From the options that appear, choose “Remove Profile” or “Delete Profile.”
- A confirmation message will appear, asking if you want to delete the profile. Confirm the deletion by tapping on “Delete” or “Yes.”
- The profile will be permanently deleted from your Kindle Fire.
- Repeat the process for any other profiles you wish to remove.
It’s important to note that when you delete a profile, all associated content, settings, and preferences will be permanently removed. Make sure to back up any important data before deleting a profile.
Please exercise caution when deleting profiles, as this action cannot be undone. Once a profile is deleted, all of its information is lost.
Deleting unnecessary profiles will not only streamline your device but also free up storage space, allowing you to have a more organized and optimized experience on your Kindle Fire.
Troubleshooting: Common Issues When Changing Profiles on Kindle Fire
While changing profiles on your Kindle Fire is typically a straightforward process, you may encounter some common issues along the way. Here are a few troubleshooting tips for resolving these issues:
- Profile Switching Error: If you’re unable to switch between profiles, try restarting your Kindle Fire. Press and hold the power button, select “Restart,” and then attempt to switch profiles again.
- Profile Not Showing: If a newly created profile is not showing in the drop-down menu, go to the “Settings” menu, select “Profiles & Family Library,” and ensure that the profile is enabled. If it is disabled, toggle the switch to enable the profile.
- Syncing Issues: If you’re facing synchronization problems, such as content not appearing in the correct profile, make sure that your Kindle Fire is connected to the internet and try initiating a manual sync. Swipe down from the top of the screen, tap on the “Sync” icon, and wait for the process to complete.
- Parental Controls Not Working: If the parental controls set for a child profile are not working as expected or if the child profile is able to access restricted content, double-check the settings. Ensure that the appropriate content filters and time limits are properly enabled and configured.
- Profile Errors: If you encounter any profile-related errors, such as login failures or missing content, try signing out of the affected profile and signing back in. This can help refresh the profile settings and resolve any temporary issues.
- Device Update: If you’re experiencing persistent issues when changing profiles, ensure that your Kindle Fire is running the latest software version. Go to the “Settings” menu, select “Device Options” or “Device Information,” and check for any available system updates. Install any pending updates and reboot the device.
If you continue to experience difficulties when changing profiles or encounter any other issues, it may be helpful to consult the device’s user manual or contact Kindle support for further assistance. They can provide tailored troubleshooting steps based on your specific device model and situation.
Remember that understanding common troubleshooting techniques can help you overcome challenges and make the most of the profile feature on your Kindle Fire.