
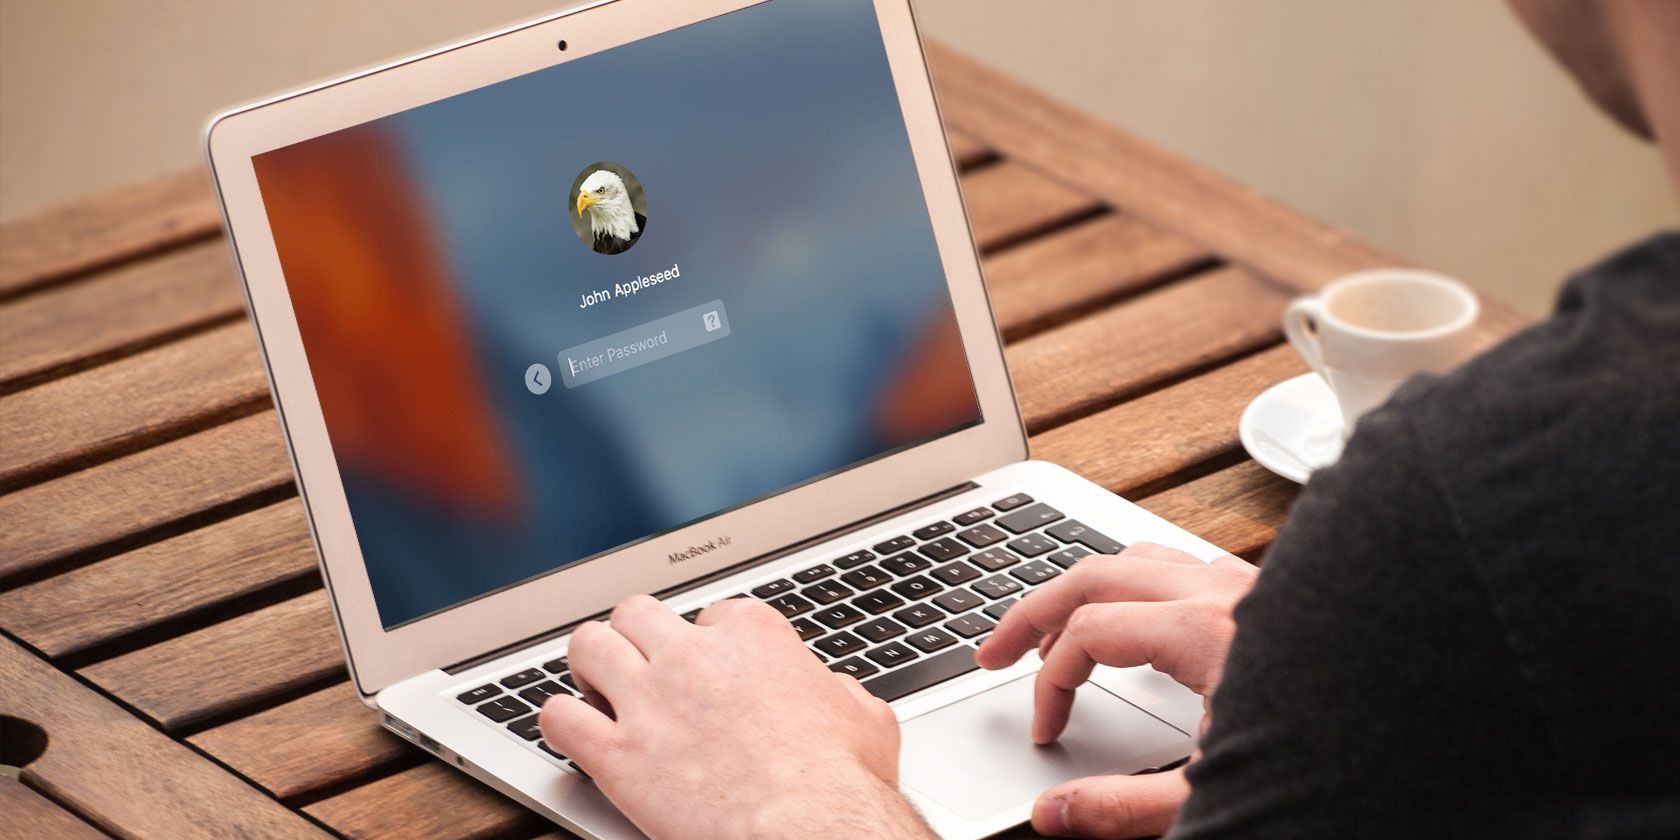
Why Change Your Login Picture?
Your login picture on a Mac is the image that appears on the login screen and in the upper-right corner of the menu bar when you’re logged in. While you may be accustomed to using the default picture that came with your Mac, changing your login picture can help personalize your device and make it feel more like your own.
Changing your login picture allows you to express your personality, showcase a favorite photo, or display a symbol or logo that represents something meaningful to you. It can also help differentiate between user accounts, especially on shared Macs.
Additionally, changing your login picture can be a fun and creative way to refresh your Mac’s appearance. Whether you prefer a professional headshot, a picture of your pet, or a vibrant landscape, changing your login picture can bring a touch of customization and uniqueness to your Mac experience.
Furthermore, if you use multiple Mac devices, changing your login picture can help you quickly identify which device you are logging into, saving you time and confusion.
Step 1: Go to System Preferences
The first step to changing your login picture on a Mac is to open the System Preferences. To do this, click on the Apple menu icon at the top left corner of your screen and select “System Preferences” from the dropdown menu.
Alternatively, you can click on the System Preferences icon in your Dock, which is a silver gear symbol. If you don’t see it in your Dock, you can also locate it in the Applications folder on your Mac’s hard drive.
Once you open System Preferences, a new window will appear with various settings and options for customizing your Mac. The System Preferences window is divided into multiple sections, each containing related settings. Look for the section titled “Personal” or “System” and locate the “Users & Groups” icon.
Note that the exact organization and layout of the System Preferences window may vary slightly depending on the version of macOS you’re running, but the overall process of accessing the Users & Groups section remains the same.
By following this step, you’ve successfully opened the System Preferences window where you can access the necessary settings to change your login picture.
Step 2: Click on Users & Groups
Once you have the System Preferences window open, the next step is to locate and click on the “Users & Groups” icon. This icon usually features two figures, representing the user accounts on your Mac.
Clicking on the Users & Groups icon will open a new window dedicated to managing user accounts, passwords, and other related settings. This window provides access to various options for customizing your user profile, including the ability to change your login picture.
Within the Users & Groups window, you will see a list of user accounts on the left side of the window, including your own account and, potentially, other accounts if your Mac is shared with other users. Your account will usually have a house icon next to it to distinguish it as the primary user account.
To proceed with changing your login picture, make sure your account is selected in the left-hand column. You can do this by clicking once on your account name. When selected, your account details will be displayed in the right-hand section of the Users & Groups window.
By completing this step, you have successfully accessed the Users & Groups section of the System Preferences window, and you are now ready to proceed with changing your login picture.
Step 3: Unlock the Settings
Before you can make any changes to your login picture in the Users & Groups section, you may need to unlock the settings. This is to ensure that only authorized users can modify important account settings.
To unlock the settings, you will need to authenticate yourself as the account owner or as an administrator. Follow the steps below to proceed:
- Click on the padlock icon located at the bottom left corner of the Users & Groups window. This will allow you to make changes to the account settings.
- You will be prompted to enter your password. Type in your account password and click “Unlock” or press Enter.
- If you are an administrator, you may be asked to verify your account by entering your name and password again. This is an extra security measure to prevent unauthorized access.
- Once you have successfully authenticated yourself, the padlock icon will become unlocked, indicating that you are now able to make changes to the account settings.
It’s worth noting that if you are already logged in as an administrator, you may not need to unlock the settings as you inherently have the necessary permissions to modify account settings.
By completing this step, you have successfully unlocked the settings in the Users & Groups section, and you are now ready to proceed with changing your login picture.
Step 4: Choose Your Account
After unlocking the settings, the next step is to select your account in the Users & Groups section to change your login picture. Follow the steps below to proceed:
- In the left-hand column of the Users & Groups window, locate your account name. This should be the primary user account you want to change the login picture for.
- Click once on your account name to select it. Your account details will then appear in the right-hand section of the window.
- If you have more than one account on your Mac and want to change a different account’s login picture, repeat the process and select the desired account from the list.
It’s important to choose the correct account as changing the login picture for one account does not affect the pictures of other user accounts on the same Mac.
If you are the only user of your Mac, your account will usually be the only one shown in the Users & Groups window. However, if your Mac is shared with other users, make sure to select the account for which you want to change the login picture.
By completing this step, you have successfully chosen your account in the Users & Groups section, and you are now ready to proceed with changing your login picture.
Step 5: Click on the Picture
Once you have selected your account in the Users & Groups section, you can now proceed to change the login picture. Follow the steps below:
- In the right-hand section of the Users & Groups window, you will see an area with your account details and a small thumbnail picture. This is your current login picture.
- To change the picture, click once on the existing login picture. Alternatively, you can click on the camera icon that appears when you hover your cursor over the picture.
By clicking on the picture or camera icon, a menu of options will appear, allowing you to choose a new image for your login picture.
It’s worth noting that the options available in the menu may vary depending on the version of macOS you’re using. However, common choices include using a photo from your photo library, taking a new photo with your Mac’s built-in camera, or selecting a preloaded image or icon.
By completing this step, you have successfully clicked on the picture in the Users & Groups section, and you are now ready to proceed with choosing a new login picture.
Step 6: Choose a New Picture
Once you have clicked on the login picture in the Users & Groups section, a menu of options will appear. This menu allows you to choose a new image for your login picture. Follow the steps below to proceed:
- From the menu that appears, select the option that best suits your preference. This could be “Choose a Photo”, “Take Photo”, or “Default Picture”, depending on the available options on your Mac.
- If you choose the “Choose a Photo” option, a file browser window will open. Navigate to the location where your desired picture is stored. Select the picture file and click “Choose” to set it as your new login picture.
- If you prefer to take a new photo using your Mac’s built-in camera, select the “Take Photo” option. A camera viewfinder will open, allowing you to capture a new picture. Once you are satisfied with the photo, click the capture button to set it as your new login picture.
- If you prefer to use a default picture or icon, select the “Default Picture” or similar option. This will display a collection of preloaded images or icons that you can choose from. Simply click on the desired picture to set it as your new login picture.
By completing this step, you have successfully chosen a new picture for your login picture. The selected image will now replace your old login picture, providing a fresh look and personal touch to your Mac.
Step 7: Adjust the Picture
After choosing a new picture for your login picture, you may have the option to adjust or position the picture to your liking. This step allows you to make any necessary adjustments to ensure the picture looks just right. Follow the steps below to proceed:
- If there are options to adjust the picture, such as zooming in or cropping, a preview of the selected image will be displayed in the Users & Groups section.
- Use the provided tools or controls to make any desired adjustments. This may include resizing or repositioning the picture within the frame.
- Take your time to experiment with different adjustments until you are satisfied with the result.
- Keep in mind that not all versions of macOS offer the ability to adjust the picture. If you don’t see any options to modify the image, it means that the selected picture will be used as-is without any further adjustments.
By completing this step, you have successfully adjusted your new login picture to your liking. The picture will now be displayed as your login picture, customized and positioned according to your preferences.
Step 8: Confirm the Changes
Once you have chosen and adjusted your new login picture, the next step is to confirm the changes. This ensures that the newly selected image will be applied as your login picture. Follow the steps below to proceed:
- Review the preview of your new login picture in the Users & Groups section. Make sure that it appears as you intended, with any adjustments you made.
- If you are satisfied with the changes, look for a button or option that says “Apply” or “OK”. Click on it to confirm the changes.
- In some cases, you may need to enter your account password or provide authentication to apply the changes. This is to ensure that unauthorized users cannot modify your login picture without your permission.
- Once the changes are confirmed, the Users & Groups window may close automatically, and your new login picture will be in effect for your account.
It’s important to note that the changes made to your login picture are specific to your user account and do not affect the login pictures of other user accounts on the same Mac.
By completing this step, you have successfully confirmed the changes to your new login picture. Your selected image will now be displayed as your login picture, adding a personalized touch to your Mac login experience.
Step 9: Lock the Settings
Once you have made and confirmed the changes to your login picture, it is essential to lock the settings to prevent any unauthorized modifications. Locking the settings ensures that your selected login picture remains in place and that your account remains secure. Follow the steps below to proceed:
- Locate the padlock icon at the bottom left corner of the Users & Groups window. This padlock icon should now be unlocked, indicating that the settings are currently editable.
- Click on the padlock icon to lock the settings. This will prevent any further changes from being made to your account settings without proper authorization.
- You may be prompted to enter your account password to confirm the action. Type in your password and click “Lock” or press Enter to finalize the locking of the settings.
- Once the settings are locked, the padlock icon will become locked, indicating that the settings are now secured.
It’s important to lock the settings to maintain the integrity of your account and to prevent unauthorized access or changes.
By completing this step, you have successfully locked the settings in the Users & Groups section. Your selected login picture will now remain in place, providing a personalized touch to your Mac’s login process, while ensuring the security of your account.