
Checking the current screen resolution setting
Before adjusting the screen resolution setting in Windows, it is crucial to first check the current resolution to understand the current display configuration. This information will help you choose the most appropriate resolution for your needs.
To check the current screen resolution setting, follow these steps:
- Right-click on the desktop and select “Display settings” from the context menu. This will open the Display settings window.
- Scroll down to the “Display resolution” section. Here, you will find a dropdown menu displaying the current resolution.
- The current screen resolution will be indicated with numbers in the format of width x height. For example, 1920 x 1080.
By checking the screen resolution, you can determine the current level of detail and clarity displayed on your monitor. Lower resolutions may appear pixelated or blurry, while higher resolutions provide sharper and more detailed visuals.
It is important to note that some monitors or graphics cards may not support certain resolutions. If you encounter any issues when adjusting the resolution, ensure that your hardware supports the desired resolution.
Once you have checked the current screen resolution, you can proceed to adjust it according to your preferences or the requirements of specific applications or tasks.
Accessing the Display settings
To adjust the screen resolution in Windows, you need to access the Display settings. These settings allow you to modify various display configurations, including the screen resolution, orientation, and scaling.
Here’s how you can access the Display settings:
- Right-click on the desktop and select “Display settings” from the context menu. This will open the Display settings window.
- Alternatively, you can access the Display settings through the Windows Start menu. Click on the Start button, then select the “Settings” gear icon. In the Settings window, click on “System” and then choose “Display” from the left-hand menu.
- Both methods will open the Display settings window, where you can customize various display options.
Once you have accessed the Display settings, you will have the ability to adjust the screen resolution and make other modifications to optimize your display experience.
It’s worth mentioning that the process of accessing the Display settings may vary slightly depending on the version of Windows you are using. However, the general steps provided above should work for most Windows versions, including Windows 10, Windows 8, and Windows 7.
Now that you have accessed the Display settings, let’s proceed to the next section to learn how to adjust the screen resolution manually.
Adjusting the screen resolution manually
Windows allows you to manually adjust the screen resolution to meet your preferences or accommodate specific display requirements. Whether you want to increase the clarity and detail or scale down to fit more content on the screen, you can easily modify the resolution settings.
Follow these steps to adjust the screen resolution manually:
- Access the Display settings by right-clicking on the desktop and selecting “Display settings” or through the Windows Start menu as mentioned in the previous section.
- In the Display settings window, scroll down to the “Display resolution” section.
- Drag the slider to the left or right to decrease or increase the screen resolution accordingly. As you move the slider, the resolution values will be displayed and updated in real-time.
- Preview the changes in the “Preview” window. This allows you to see how the new resolution will affect the display before applying the settings.
It is important to note that selecting a higher resolution will generally provide a sharper and more detailed display, while lower resolutions may result in larger items and decreased detail.
Once you have adjusted the screen resolution to your preference, you can proceed to the next section to learn how to select the desired resolution from the available options.
Selecting the desired resolution from the available options
After accessing the Display settings and understanding how to manually adjust the screen resolution, you can now explore and select the desired resolution from the available options in Windows.
Follow these steps to select the desired resolution:
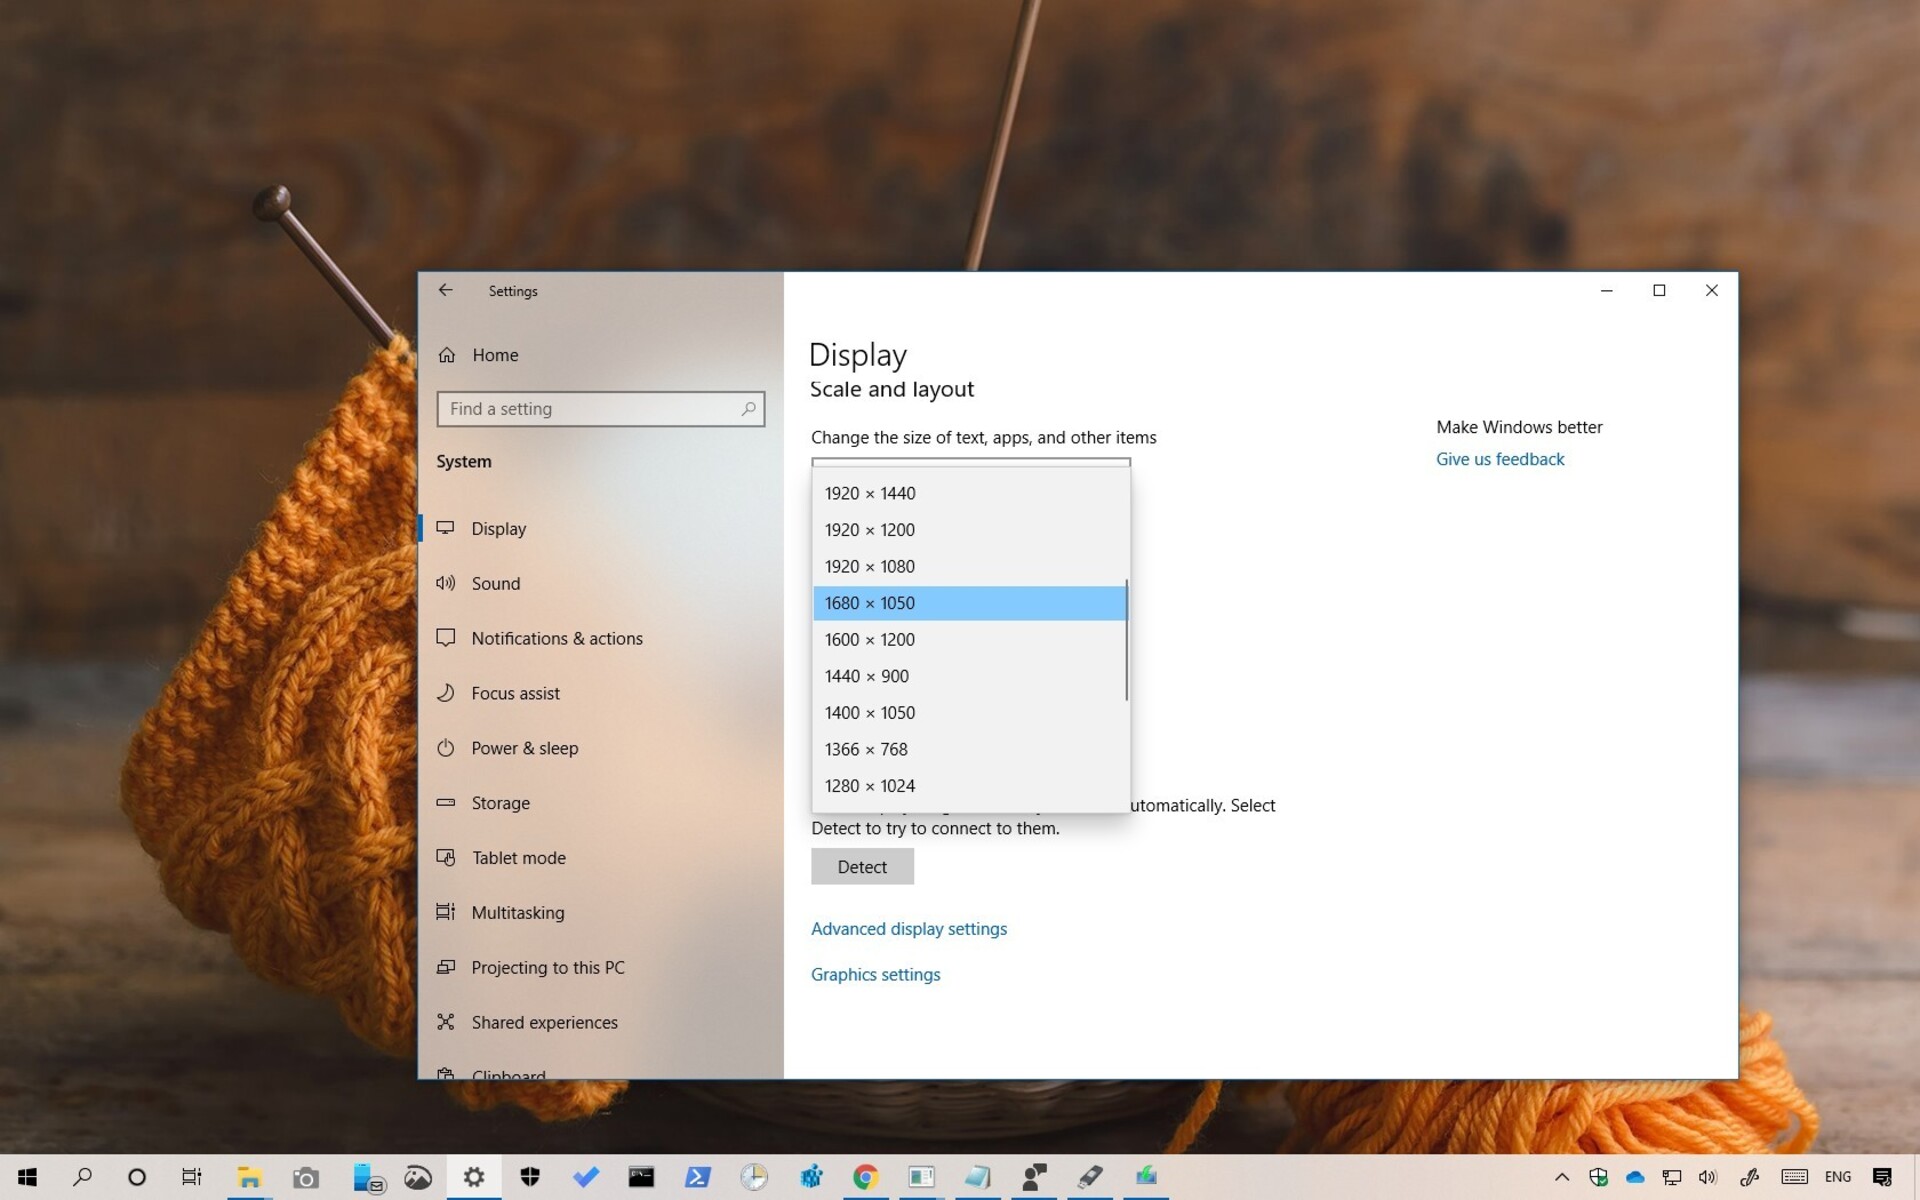
- In the Display settings window, locate the “Display resolution” section.
- Click on the dropdown menu to view the list of available resolutions.
- Scroll through the options and select the resolution that best suits your needs.
The list of available resolutions will vary depending on your monitor and graphics card capabilities. It is essential to choose a resolution that is supported by your hardware for optimal display performance.
When selecting a resolution, consider factors such as your visual preferences, the size of your screen, and the applications or tasks you frequently engage in. Higher resolutions offer greater detail and clarity, but they may also make content appear smaller. On the other hand, lower resolutions can make content larger but may sacrifice some detail and sharpness.
Once you have selected the desired resolution, proceed to the next section to learn how to apply the new settings and test the display.
Applying the new settings and testing the display
After selecting the desired screen resolution in the Display settings, it’s time to apply the new settings and test how the display appears with the updated resolution.
Follow these steps to apply the new settings and test the display:
- In the Display settings window, click on the “Apply” button. Windows will apply the new resolution settings to your display.
- Once the new settings are applied, take a moment to closely examine the display. Pay attention to the clarity, sharpness, and overall visual experience.
- If the new resolution meets your expectations and enhances your display experience, click on the “Keep changes” button to save the settings.
- If the new resolution is not satisfactory, or if the display appears distorted or unreadable, Windows will revert back to the previous settings after a short countdown. This allows you to revert to the original resolution if needed.
It is crucial to test the display after applying the new settings to ensure that the chosen resolution delivers the desired visual experience. If you are not satisfied with the changes, you can follow the steps mentioned in the previous sections to adjust the resolution again.
Now that you have successfully applied and tested the new settings, you can choose to use the recommended display settings for optimal visual performance, as discussed in the next section.
Using the recommended settings for optimal display
Windows provides recommended settings for your display that are optimized for optimal visual performance. These settings take into account various factors such as your monitor’s capabilities, the graphics card, and the screen size to deliver an optimal display experience.
To use the recommended settings, follow these steps:
- In the Display settings window, scroll down to the “Display resolution” section.
- Click on the “Recommended” option found next to the resolution dropdown menu.
By selecting the recommended settings, Windows will automatically adjust the screen resolution based on your hardware and display specifications. This ensures that you can enjoy the best possible visual experience without having to manually configure the settings.
It is worth noting that the recommended settings may not always be the highest resolution available. Windows takes into account factors such as pixel density and the capabilities of your display to provide the most suitable resolution for your setup.
If you are not satisfied with the recommended settings and prefer to use a different resolution, you can always follow the steps mentioned in the previous sections to manually adjust the screen resolution according to your preferences.
In the next section, we will discuss how to change the screen resolution for multiple monitors in case you have a multi-monitor setup.
Changing the screen resolution for multiple monitors
If you have a multi-monitor setup, Windows allows you to individually adjust the screen resolution for each display. This flexibility ensures that you can optimize the resolution settings for each monitor according to your preferences or specific usage scenarios.
Follow these steps to change the screen resolution for multiple monitors:
- Access the Display settings by right-clicking on the desktop and selecting “Display settings” or through the Windows Start menu as mentioned in the earlier sections.
- In the Display settings window, you will see multiple display thumbnails labeled as “1,” “2,” etc., representing each monitor connected to your computer.
- Select the monitor for which you want to change the screen resolution.
- Scroll down to the “Display resolution” section and adjust the resolution using the slider or by selecting from the available options. Note that the resolution settings will only apply to the selected monitor.
- Repeat the process for any additional monitors, selecting each one individually and configuring their screen resolution settings accordingly.
Changing the screen resolution for multiple monitors provides the flexibility to customize the display settings according to the specific needs of each monitor. It allows you to maintain consistency or adjust settings individually based on factors such as monitor size, resolution capabilities, and personal preference.
Now that you have learned how to change the screen resolution for multiple monitors, in the next section, we will discuss troubleshooting common issues that may arise during the screen resolution adjustment process.
Troubleshooting common issues with screen resolution adjustments
While adjusting the screen resolution in Windows is usually a straightforward process, you may encounter some common issues that can affect the visual output or prevent you from applying the desired settings. Here are a few troubleshooting steps to help you overcome these issues:
1. Blurred or fuzzy display: If the display appears blurry or fuzzy after adjusting the screen resolution, it may be due to an incompatible resolution setting. Try selecting a different resolution from the available options to see if it improves the clarity. If the issue persists, ensure that the monitor’s native resolution is set, or update the graphics drivers.
2. Black bars on screen: When changing the screen resolution, you may encounter black bars appearing on the display. This occurs when the selected resolution does not match the aspect ratio of the monitor. To resolve this, choose a resolution that maintains the correct aspect ratio or look for an option to scale the display to fit the screen.
3. Unsupported resolution: If you are unable to select a specific resolution from the available options, it could be because your graphics card or monitor does not support it. In such cases, try selecting a resolution that is closest to your desired settings or consider upgrading your hardware if necessary.
4. Resolution reset after restart: Sometimes, the screen resolution may revert to the default setting after restarting your computer. This can be caused by outdated or incompatible graphics drivers. Ensure that you have the latest drivers installed for your graphics card, and consider updating them if needed.
5. Unresponsive or frozen display: In rare cases, adjusting the screen resolution may cause the display to become unresponsive or freeze. If this happens, try restarting your computer or perform a forced restart if necessary. If the issue persists, seek assistance from technical support or consider contacting the manufacturer of your hardware.
Remember, troubleshooting screen resolution issues may require some trial and error, and the steps to resolve them can vary depending on your hardware and software configuration. If you encounter persistent problems or need additional support, don’t hesitate to seek assistance from professionals.
In the next section, we will discuss how to restore the default screen resolution settings if needed.
Restoring default screen resolution settings
If you ever need to revert to the original or default screen resolution settings in Windows, you can easily restore them with a few simple steps. This can be helpful if you are not satisfied with the changes you made or are experiencing issues with the current resolution.
To restore the default screen resolution settings, follow these steps:
- Access the Display settings by right-clicking on the desktop and selecting “Display settings” or through the Windows Start menu as mentioned earlier.
- In the Display settings window, locate the “Display resolution” section.
- Click on the dropdown menu to view the list of available resolutions.
- Scroll to the bottom of the list where you will find an option labeled “Recommended.” This option represents the default screen resolution settings.
- Select the “Recommended” option to restore the original screen resolution settings.
By choosing the “Recommended” option, Windows will automatically set the resolution to the default settings that are optimized for your display and hardware configuration.
Restoring the default screen resolution can be useful if you have made changes that negatively impact the display quality or if you simply want to start fresh with the original settings.
It’s important to note that restoring the default resolution settings will override any manual adjustments you have made, so make sure to back up any preferred settings if needed.
In this article, we have covered various aspects of adjusting the screen resolution settings in Windows. By understanding how to check the current resolution, access the Display settings, adjust the resolution manually, select desired resolutions, and troubleshoot common issues, you can customize your display experience to meet your preferences and requirements.