
Overview
Changing the display resolution on a second monitor can greatly improve the visual experience and ensure optimal performance. Whether you want to increase the resolution for sharper and clearer images, or decrease it for larger text and icons, adjusting the display resolution can be done easily on both Windows and Mac operating systems. By choosing the appropriate display resolution, you can enhance productivity, enjoy high-quality multimedia, and avoid eye strain.
Before diving into the process of changing the display resolution on a second monitor, it’s essential to check and understand the current resolution settings. This will help you identify the desired changes and ensure compatibility with your monitor. Additionally, troubleshooting common display resolution issues can help address any problems that may arise during the adjustment process.
In this article, we will guide you through the steps to check the current display resolution, select a new resolution, and make the necessary adjustments on both Windows and Mac systems. We will also provide useful tips and troubleshooting methods to resolve any display issues that may occur along the way. Whether you are a professional designer, a gamer, or a casual user, learning how to change the display resolution on your second monitor can significantly enhance your overall computing experience.
Checking the Current Display Resolution
Before you can make any adjustments to the display resolution on your second monitor, it’s important to determine the current resolution settings. This will help you understand the current state of your display and make informed decisions when selecting a new resolution.
Windows:
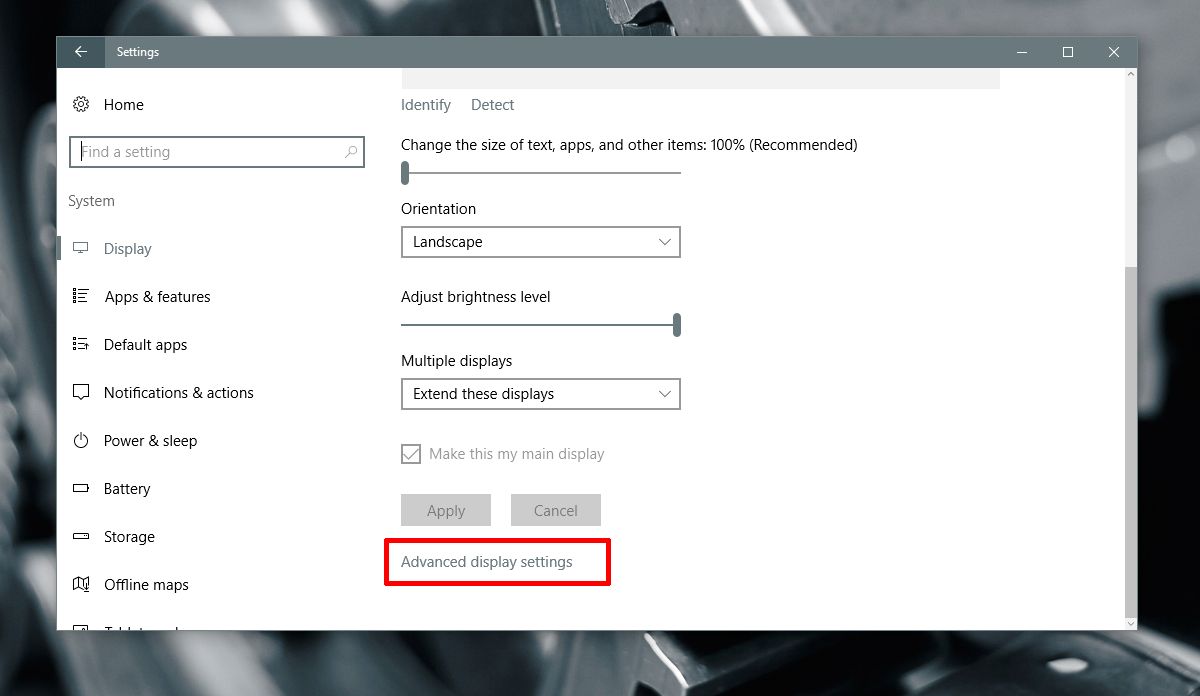
To check the display resolution on Windows, follow these steps:
- Right-click anywhere on the desktop and select “Display settings” from the context menu.
- In the “Display” settings window, scroll down to the “Scale and layout” section.
- Under the “Resolution” dropdown menu, you will see the current display resolution for your second monitor.
Mac OS:
On Mac computers, you can easily find the current display resolution by following these steps:
- Click on the Apple menu in the top-left corner of the screen and select “System Preferences” from the dropdown menu.
- In the “System Preferences” window, click on “Displays.”
- In the “Display” tab, you will see the current resolution listed for your second monitor.
By checking the current display resolution, you can ensure that any changes you make are aligned with your preferences and the capabilities of your monitor. Take note of the current resolution or consider taking a screenshot for future reference. Now that you know how to check the display resolution, let’s move on to the next step of selecting a new resolution.
Selecting the New Display Resolution
Once you have determined the current display resolution on your second monitor, it’s time to select a new resolution that meets your specific requirements. The right resolution will depend on factors such as your monitor’s capabilities, the desired level of detail, and your personal preferences.
Choosing the Resolution on Windows:
To select a new display resolution on Windows, follow these steps:
- Open the “Display settings” window as described in the previous section.
- Scroll down to the “Scale and layout” section.
- Under the “Resolution” dropdown menu, you will see a list of available resolutions for your second monitor.
- Select the desired resolution by clicking on it. Windows will apply the changes automatically.
Choosing the Resolution on Mac OS:
To select a new display resolution on Mac OS, follow these steps:
- Open the “System Preferences” window and click on “Displays” as explained earlier.
- In the “Display” tab, you will see a list of available resolutions for your second monitor.
- Select the desired resolution by clicking on it. Mac OS will apply the changes immediately.
When selecting the new display resolution, consider the trade-offs between resolution and performance. Higher resolutions provide sharper and more detailed visuals, but they may require more processing power and may not be supported by older or lower-end monitors. Lower resolutions, on the other hand, can make text and icons appear larger, but they may sacrifice clarity and sharpness.
It’s also worth noting that some monitors may have a recommended or native resolution, which is the optimal resolution that the monitor is designed to display. In such cases, it is generally recommended to choose the native resolution for the best visual experience.
Now that you know how to select a new display resolution, let’s move on to the next step and learn how to adjust the display resolution on Windows and Mac OS.
Adjusting Display Resolution in Windows
Windows provides a straightforward method to adjust the display resolution on your second monitor. By following these steps, you can easily modify the resolution settings to fit your preferences and needs.
- Right-click anywhere on the desktop and select “Display settings” from the context menu.
- In the “Display” settings window, scroll down to the “Scale and layout” section.
- Under the “Resolution” dropdown menu, you will see a list of available resolutions for your second monitor.
- Select the desired resolution by clicking on it. Windows will apply the changes automatically.
Once you’ve selected the new resolution, Windows will adjust the display settings accordingly. You may notice that the screen momentarily goes black while the changes are being applied. After a few seconds, the display will return with the new resolution.
If the new resolution doesn’t appear as expected or you encounter any issues, you can revert back to the previous resolution by following the same steps and selecting the original resolution from the dropdown menu. Additionally, if the list of available resolutions doesn’t meet your requirements, you can try adjusting the resolution using your graphics card’s control panel software for more advanced options.
It’s important to note that changing the display resolution may affect the arrangement of icons and windows on your desktop. You may need to rearrange your desktop elements to fit the new resolution properly. Furthermore, some programs and applications may not scale correctly with certain resolutions, resulting in blurry or improperly sized content. Adjusting the scaling settings in the “Display” settings window can help mitigate these issues in certain cases.
By following the above steps, you can easily adjust the display resolution on your second monitor in Windows. Now, let’s move on to the next section to learn about adjusting the display resolution in Mac OS.
Adjusting Display Resolution in Mac OS
Mac OS offers a simple and intuitive method to adjust the display resolution on your second monitor. By following these steps, you can easily modify the resolution settings to suit your preferences and requirements.
- Click on the Apple menu in the top-left corner of the screen and select “System Preferences” from the dropdown menu.
- In the “System Preferences” window, click on “Displays.”
- In the “Display” tab, you will see a list of available resolutions for your second monitor.
- Select the desired resolution by clicking on it. Mac OS will apply the changes immediately.
Once you’ve selected the new resolution, Mac OS will adjust the display settings accordingly. You may notice a brief flash or screen flicker as the system applies the changes. After a few seconds, the display will refresh with the newly selected resolution.
If the new resolution doesn’t appear correctly or you encounter any issues, you can revert back to the previous resolution by following the same steps and selecting the original resolution from the list. Alternatively, if the available resolutions do not meet your specific requirements, you can try using third-party software or advanced options provided by your graphics card manufacturer to access additional resolution settings.
It’s important to keep in mind that changing the display resolution may impact the arrangement of icons, windows, and overall desktop layout. You may need to readjust and rearrange your desktop elements to accommodate the new resolution. Additionally, some applications and programs may not scale properly with certain resolutions, leading to blurry or improperly sized content. In such cases, adjusting the display scaling settings within the “Displays” tab can help mitigate these issues.
By following the above steps, you can easily adjust the display resolution on your second monitor in Mac OS. Now that you know how to adjust the display resolution on both Windows and Mac systems, let’s proceed to the next section where we’ll address common troubleshooting issues related to display resolution.
Troubleshooting Display Resolution Issues
While adjusting the display resolution on your second monitor is generally a smooth process, you may encounter certain issues along the way. In this section, we’ll explore some common troubleshooting steps to resolve display resolution issues.
1. Compatibility:
Ensure that the selected resolution is supported by both your monitor and graphics card. Some older or lower-end monitors may have limitations on the maximum resolution they can display. Similarly, outdated or incompatible graphics drivers can also cause issues. Check for driver updates from the manufacturer’s website to ensure compatibility.
2. Incorrect Scaling:
If the content on your second monitor appears too small or too large after adjusting the resolution, it may be due to incorrect scaling settings. Go to the “Display” or “System Preferences” menu, depending on your operating system, and adjust the scaling settings to ensure that the content is properly sized.
3. Blurry or Distorted Display:
If the display appears blurry or distorted after changing the resolution, it may be because the new resolution is not native to your monitor. Revert to the original resolution or experiment with different resolutions to find the best visual quality.
4. Limited Resolution Options:
If you find that the list of available resolutions is limited or doesn’t match your preferences, it could be due to outdated graphics drivers. Try updating the drivers to access a wider range of resolution options.
5. Restarting the System:
In some cases, simply restarting your computer can help resolve display resolution issues. Restarting refreshes the system settings and can often fix minor glitches.
If these troubleshooting steps do not solve your display resolution issues, it may be beneficial to seek further assistance from technical support or consult relevant online forums for more specific solutions.
Remember that adjusting the display resolution can have a significant impact on your viewing experience. Take the time to experiment with different settings to find the resolution that suits your needs best. With the troubleshooting tips provided, you should be able to overcome common display resolution issues and enjoy a visually satisfying experience on your second monitor.