
Preparing for Installation
Before you start installing your Nest Thermostat and connecting it to your Apple Home, it’s important to make sure you have everything you need and that your home meets the requirements. Follow these steps to ensure a smooth installation process:
- Check your thermostat compatibility: Make sure your current thermostat is compatible with the Nest Thermostat. The Nest website provides a compatibility checker tool that you can use to verify if your system is supported.
- Gather the necessary tools: To install your Nest Thermostat, you will need a screwdriver, a level, and possibly a drill. Ensure you have these tools readily available before you begin.
- Disconnect the power: Before you remove your old thermostat, turn off the power supply to your HVAC system. This can usually be done by switching off the breaker connected to your heating and cooling system.
- Take a photo of your old wiring: Before disconnecting any wires, take a clear photo of the wiring configuration of your old thermostat. This will come in handy during the installation process, ensuring you connect the wires correctly to the Nest Thermostat.
- Label the wires: Using small stickers or pieces of tape, label each wire according to its terminal location on your old thermostat. This will help you remember where each wire needs to be connected when installing the Nest Thermostat.
- Consider additional accessories: If you have a multi-zone HVAC system or want to take full advantage of the Nest Thermostat’s capabilities, consider purchasing additional accessories such as temperature sensors or a Nest Temperature Sensor.
By following these steps, you will be well-prepared for the installation process and have a better understanding of what’s required. This will help ensure a successful setup of your Nest Thermostat and a seamless integration with Apple Home.
Connecting the Nest Thermostat to Wi-Fi
Once you have prepared your Nest Thermostat for installation, the next step is connecting it to your Wi-Fi network. The Nest Thermostat requires a stable internet connection to work effectively and communicate with your Apple Home. Follow these steps to connect your thermostat to Wi-Fi:
- Power on the Nest Thermostat: After installing the physical unit, power it on by turning on the circuit breaker or switching it on if it has a built-in power switch.
- Select your language: On the thermostat display, select your preferred language using the touchpad. Follow the on-screen instructions to confirm your selection.
- Connect to Wi-Fi: The Nest Thermostat will prompt you to connect it to Wi-Fi. Navigate to the “Settings” menu and select “Network.” Choose your Wi-Fi network from the available options and enter the password if prompted. The thermostat will then attempt to connect to your network.
- Optimize Wi-Fi signal strength: If you encounter any issues with the Wi-Fi connection, ensure that the thermostat is within range of your router. Additionally, you can try repositioning your router or installing a Wi-Fi extender to improve signal strength in the thermostat’s location.
- Verify the connection: Once the thermostat is successfully connected to your Wi-Fi network, it will display a confirmation message on the screen. You can also check the Nest app on your Apple device to ensure that the thermostat is detected and connected.
Connecting your Nest Thermostat to Wi-Fi is a vital step in enabling remote control functionality and integrating it with your Apple Home. With a stable internet connection, you can conveniently monitor and control your thermostat from anywhere using your Apple device.
Installing the Nest App on your Apple device
In order to control your Nest Thermostat and integrate it with your Apple Home, you’ll need to install the Nest app on your Apple device. The Nest app allows you to monitor and control your thermostat from anywhere, providing you with convenient access to temperature adjustments and scheduling options. Follow these steps to install the Nest app:
- Go to the App Store: Open the App Store on your Apple device, which can be found on the home screen.
- Search for the Nest app: In the search bar at the top of the App Store, type “Nest” and search for the Nest app.
- Select and install the app: Once you find the Nest app in the search results, tap on it to access the app’s page. Then, tap the “Get” or “Install” button to download and install the app onto your device.
- Sign in or create a Nest account: Open the installed Nest app and either sign in with your existing Nest account credentials or create a new account if you don’t have one already. This is necessary to link your Nest Thermostat to the app.
- Follow the app setup process: The Nest app will guide you through the setup process, including connecting your thermostat to the app and configuring your preferences. Follow the on-screen instructions to complete the setup.
Once you have successfully installed the Nest app on your Apple device, you can now easily control and monitor your Nest Thermostat from the convenience of your smartphone or tablet. The app provides a user-friendly interface that allows you to adjust temperature settings, set schedules, and access additional features and settings to optimize your home’s heating and cooling.
Creating a Nest Account
In order to fully utilize the features and functionalities of your Nest Thermostat and integrate it with your Apple Home, you’ll need to create a Nest account. A Nest account is essential for managing and controlling your thermostat through the Nest app. Follow these steps to create a Nest account:
- Open the Nest app: Launch the Nest app on your Apple device.
- Tap “Sign Up”: On the app’s login screen, tap the “Sign Up” button to start the account creation process.
- Enter your email: Provide your email address in the designated field. Make sure to use an email address that you have access to as you’ll need to verify it.
- Create a password: Choose a strong password for your Nest account to ensure the security of your account. Make sure to follow any password requirements, such as including a mix of uppercase and lowercase letters, numbers, and special characters.
- Agree to the terms and conditions: Read through the terms of service and privacy policy, and if you agree, tick the checkbox to indicate your acceptance.
- Verify your email: Nest will send a verification email to the address you provided during account creation. Open your email and click the verification link to confirm your account.
Once you have successfully created your Nest account, you will have access to the full range of features and settings available within the Nest app. This includes controlling your Nest Thermostat, creating custom schedules, setting up automation routines, and integrating it with your Apple Home ecosystem. With a Nest account, you can also access advanced features such as energy usage reports, Home/Away Assist, and compatibility with other Nest-compatible smart devices.
Setting up your Nest Thermostat on the App
Once you have installed the Nest app on your Apple device and created a Nest account, you can proceed with setting up your Nest Thermostat on the app. This allows you to customize your thermostat preferences, create schedules, and access advanced features. Follow these steps to set up your Nest Thermostat on the app:
- Open the Nest app: Launch the Nest app on your Apple device. If you are not already logged in, enter your Nest account credentials to sign in.
- Add a new device: Navigate to the app’s main screen and tap the “+” or “Add” button to add a new device.
- Select “Nest Thermostat”: From the list of available devices, select “Nest Thermostat.” If prompted, confirm that you want to add a new thermostat.
- Follow the on-screen instructions: The Nest app will guide you through the setup process step by step. This usually includes providing your thermostat’s serial number, connecting it to Wi-Fi, and naming the thermostat for easy identification.
- Customize your settings: Once your Nest Thermostat is connected and registered on the app, you can begin customizing its settings. This includes setting your desired temperature preferences, configuring heating and cooling schedules, and enabling features like Eco mode or Home/Away Assist.
Throughout the setup process, the Nest app will provide clear instructions and prompts to help you navigate each step. Take your time to personalize your thermostat settings according to your preferences and lifestyle. By setting up your Nest Thermostat on the app, you gain full control over your home’s heating and cooling, allowing for increased comfort and energy efficiency.
Adding the Nest Thermostat to Apple Home
One of the advantages of having a Nest Thermostat is the ability to integrate it with your Apple Home ecosystem. This allows you to control your thermostat using Siri voice commands, create automation routines, and include your Nest Thermostat in scenes alongside other smart home devices. Follow these steps to add your Nest Thermostat to Apple Home:
- Open the Apple Home app: Launch the Apple Home app on your Apple device. If you haven’t set up Apple Home yet, you may need to follow the initial setup process.
- Tap the “+” icon: Look for the “+” button or the option to “Add Accessory” in the Home app. Tap on it to start adding a new device.
- Scan the Nest Thermostat’s QR code: The Home app will prompt you to scan the QR code provided with your Nest Thermostat. Use your device’s camera to scan the code, or manually enter the setup code if necessary.
- Follow the on-screen instructions: The Home app will guide you through the process of adding the Nest Thermostat to your home. This usually involves confirming the thermostat’s connection to Wi-Fi and assigning it to a room in your home.
- Assign the Nest Thermostat to a room: Select the room where your Nest Thermostat is located or create a new room if needed. This will help you easily identify and control the thermostat within the Home app.
- Customize the thermostat’s behavior: Once added to Apple Home, you can further customize the behavior of your Nest Thermostat. This includes adjusting temperature setpoints, creating automation routines based on certain triggers or schedules, and integrating the thermostat with other compatible smart devices in your home.
By adding your Nest Thermostat to Apple Home, you gain seamless control of your heating and cooling system alongside your other smart home devices. Through the Home app or Siri voice commands, you can easily monitor and adjust the temperature, create custom scenes, and enjoy the convenience of a fully connected smart home ecosystem.
Customizing your Nest Thermostat settings
When it comes to your Nest Thermostat, customization is key to maximizing its efficiency and tailoring it to suit your lifestyle. The Nest app offers a wide range of settings and features that allow you to personalize your thermostat’s behavior and take full advantage of its capabilities. Here are some ways you can customize your Nest Thermostat settings:
- Temperature preferences: Adjust your preferred temperature settings to ensure your home is comfortable at all times. You can set different temperatures for different times of the day or create custom schedules to match your daily routine.
- Sensor settings: If you have a multi-zone HVAC system or a Nest Temperature Sensor, you can customize the settings to prioritize certain areas of your home or use specific sensors to control the thermostat’s behavior.
- Energy-saving features: Take advantage of energy-saving features like Eco mode, which automatically adjusts the temperature to save energy when you’re away from home. You can customize the duration and temperature range of the Eco mode to fit your preferences.
- Integration with other devices: Connect your Nest Thermostat to other compatible smart devices in your home, such as smart lights or smart locks, to create automation routines or scenes. For example, you can set the thermostat to adjust the temperature when you leave or arrive home.
- Weather-based adjustments: Enable Nest’s Weather Intelligence feature, which uses local weather data to make adjustments to your thermostat’s settings. It can account for factors like humidity or extreme temperature conditions to provide optimal comfort.
- Remote access: Take advantage of the Nest app’s remote control capabilities to adjust your thermostat’s settings from anywhere using your Apple device. This allows you to ensure your home is comfortable when you arrive or make changes if your plans change unexpectedly.
- Integration with voice assistants: Connect your Nest Thermostat with voice assistants like Siri, Google Assistant, or Amazon Alexa for convenient voice control. This allows you to adjust temperatures or change settings with simple voice commands.
By customizing your Nest Thermostat settings, you can create a personalized and efficient heating and cooling experience in your home. Explore the various options and features available in the Nest app to tailor your thermostat to your preferences and optimize energy savings.
Troubleshooting common issues
While the Nest Thermostat is known for its reliability, there may be times when you encounter some common issues. Understanding how to troubleshoot these problems can help you quickly resolve them and ensure your thermostat is functioning properly. Here are some troubleshooting tips for common Nest Thermostat issues:
- Wi-Fi connectivity issues: If your thermostat is having trouble connecting to your Wi-Fi network, make sure your Wi-Fi network is working properly and within range. Restart your Wi-Fi router, check for any firmware updates, and ensure the Nest Thermostat is not too far from the router.
- Power-related issues: If your thermostat appears to be unresponsive or not powering on, check the circuit breaker connected to your HVAC system and ensure it hasn’t tripped. Additionally, make sure the Nest Thermostat is properly seated on the base and the wires are securely connected.
- Incorrect temperature readings: If you notice that the temperature readings on your Nest Thermostat are inaccurate, check the placement of the thermostat and ensure it is not exposed to direct sunlight, drafts, or other sources that may affect temperature readings. You can also adjust temperature calibration settings in the Nest app if needed.
- Unresponsive touchpad or display: If the touchpad or display on your Nest Thermostat is unresponsive, try performing a reset by pressing and holding the thermostat display for 10 seconds until the screen turns off and then release. This will restart the thermostat and may resolve the issue.
- Inconsistent heating or cooling: If your thermostat is not providing consistent heating or cooling, check the settings and ensure they are correctly configured. Verify that the HVAC system is operating correctly and there are no issues with the airflow or ductwork. It’s also helpful to clean or replace the air filter regularly to improve system performance.
- Software or firmware updates: Ensure that your Nest Thermostat and the Nest app are running the latest software or firmware versions. Regularly check for updates and install them to benefit from bug fixes, performance improvements, and new features.
If you encounter any issues with your Nest Thermostat that you are unable to resolve, consult the official Nest support resources, such as their website or customer support line. They can provide specific troubleshooting guidance and help resolve any persistent problems you may be experiencing.
Expanding your smart home with Nest-compatible devices
The Nest Thermostat is just one piece of the puzzle when it comes to creating a fully-connected and intuitive smart home. Nest offers a range of compatible devices that can further enhance your home automation capabilities and provide a seamless integrated experience. Here are some Nest-compatible devices that you can consider to expand your smart home:
- Nest Protect: The Nest Protect is a smart smoke and carbon monoxide detector that can work in conjunction with your Nest Thermostat. It can communicate with the thermostat to automatically shut off your HVAC system if it detects smoke or carbon monoxide, providing enhanced safety and peace of mind.
- Nest Cam: The Nest Cam is a range of indoor and outdoor security cameras that allow you to keep an eye on your home from anywhere. Integrated with the Nest app, you can view live streams, receive alerts, and even use the cameras to trigger actions with your Nest Thermostat, such as adjusting the temperature when you leave or arrive.
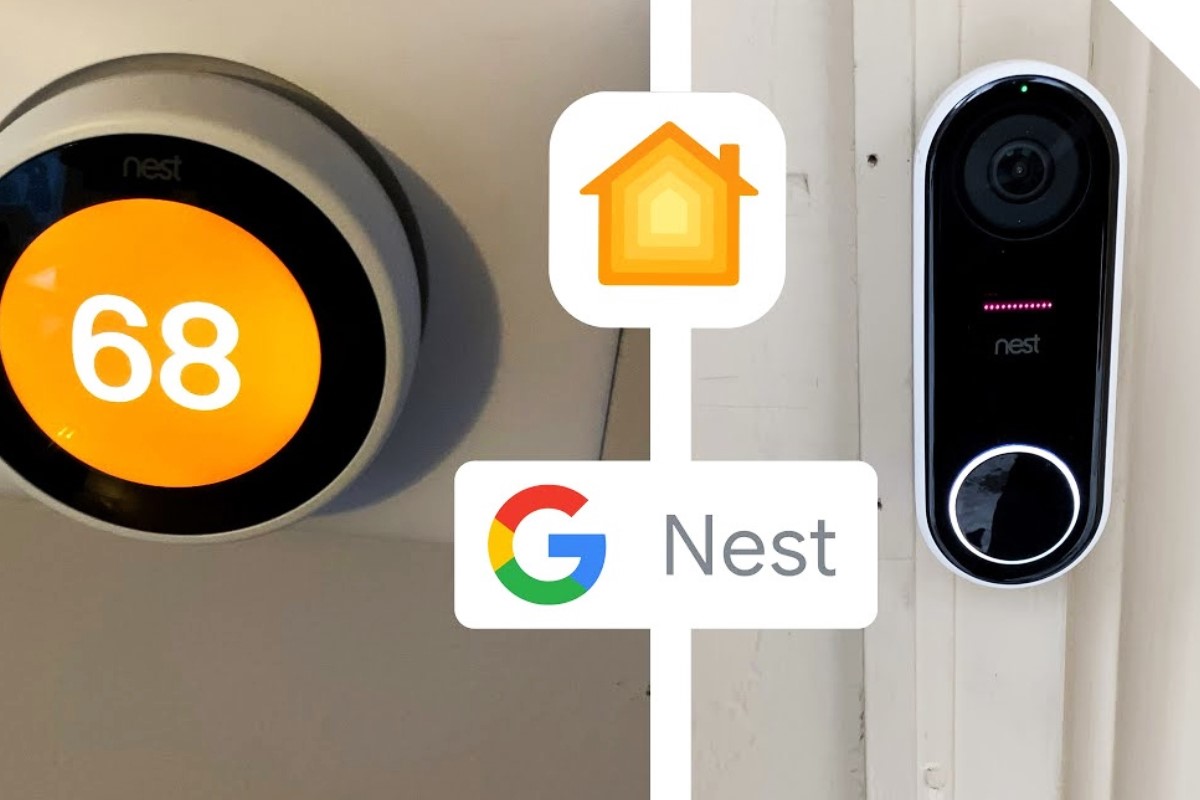
- Nest Hello Doorbell: The Nest Hello Doorbell is a smart video doorbell that allows you to see and communicate with visitors at your doorstep, even when you’re away from home. It can work in tandem with your Nest Thermostat to adjust the temperature based on whether someone is at the door or not.
- Nest Yale Lock: The Nest Yale Lock is a smart lock that enables keyless entry into your home. It can be integrated with your Nest ecosystem to conveniently control the lock through the Nest app, allowing you to lock or unlock your door, provide temporary access to guests, and even use it to trigger other actions like adjusting the thermostat.
- Nest Temperature Sensor: The Nest Temperature Sensor is a wireless device that allows you to monitor and control the temperature in specific rooms of your home. You can place sensors in different rooms and have the thermostat adjust settings based on the temperature readings from those sensors.
- Nest Hub, Nest Mini, or Nest Max: These smart speakers with built-in Google Assistant can be used to control your Nest devices through voice commands. They allow you to adjust the thermostat, play music, answer questions, and control other compatible smart home devices, all with just your voice.
By expanding your smart home with Nest-compatible devices, you can create a more integrated and intuitive home automation system. These devices work together seamlessly, allowing you to control and monitor multiple aspects of your home through the Nest app or voice commands. Explore the various Nest-compatible devices available and choose the ones that best suit your needs and lifestyle.