
Check your permissions
Before you can add members to a distribution list in Outlook, it’s important to ensure that you have the necessary permissions. Depending on your role and the settings configured by your organization’s IT department, you may need to have specific permissions granted to perform this action.
To check your permissions, follow these steps:
- Open Outlook and navigate to the “People” tab.
- From the list of contacts and distribution lists, right-click on the distribution list you want to add members to.
- Click on “Properties” from the context menu.
- In the distribution list properties window, click on the “Permissions” tab.
- Review the list of permissions and ensure that you have the required permissions to edit and modify the distribution list.
If you find that you do not have the necessary permissions, you will need to reach out to your organization’s IT department or the person responsible for managing these permissions. They can assist you in gaining the required access or making any necessary changes to your user account.
It’s important to note that the steps to check permissions may vary slightly depending on the version of Outlook you are using and the configuration of your organization’s email system. If you encounter any difficulties, refer to your organization’s IT support documentation or contact your IT helpdesk for assistance.
By verifying your permissions before proceeding, you can ensure a smooth and uninterrupted process when adding members to a distribution list in Outlook.
Open Outlook
The first step to adding members to a distribution list in Outlook is to open the Outlook application on your computer. Outlook is a popular email client and personal information manager developed by Microsoft. It is widely used in professional settings for managing emails, contacts, calendars, and more.
To open Outlook, follow these simple steps:
- Locate the Outlook icon on your desktop or in your taskbar. It is usually represented by an envelope icon with an “O” on it.
- Double-click on the Outlook icon to launch the application.
- If prompted, enter your email address and password to sign in to your Outlook account. If you have already signed in, you will be taken directly to your Outlook inbox.
Once you have successfully opened Outlook, you will have access to all its features and functionalities, including the ability to manage your contacts and distribution lists.
It’s important to note that Outlook may be installed on different devices, such as computers, laptops, tablets, and smartphones. The steps to open Outlook may vary slightly depending on the device and operating system you are using. Be sure to consult the documentation or support resources specific to your device if you encounter any difficulties in opening Outlook.
With Outlook now open, you are ready to proceed to the next step of adding members to your desired distribution list.
Navigate to the “People” tab
Once you have opened Outlook, the next step is to navigate to the “People” tab. This tab is where you can manage your contacts, including distribution lists. By accessing the “People” tab, you’ll be able to find and edit the distribution list to which you want to add members.
To navigate to the “People” tab, follow these steps:
- In the Outlook application window, locate the navigation pane on the left side. It usually contains different sections like Mail, Calendar, Tasks, and more.
- Click on the “People” tab or on the specific icon resembling a person or a group of people. This will take you to the contacts and distribution lists section of Outlook.
Upon reaching the “People” tab, you will have access to a list of all your contacts and distribution lists. You can organize, search, and manage your contacts and distribution lists from this tab.
It’s important to note that the appearance and location of the “People” tab may vary slightly depending on the version of Outlook you are using. However, most versions of Outlook have a dedicated tab or section specifically for managing contacts and distribution lists.
If you are having trouble locating the “People” tab, refer to the help documentation or support resources provided by Microsoft or your organization’s IT department. They can guide you through the specific steps to find and access the “People” tab in your version of Outlook.
Now that you have successfully navigated to the “People” tab in Outlook, you are ready to proceed to the next step of selecting the distribution list to add members to.
Select the distribution list you want to add members to
After navigating to the “People” tab in Outlook, the next step is to select the specific distribution list to which you want to add members. The distribution list contains a group of contacts that you can easily send messages to without individually selecting each recipient.
To select the distribution list, follow these steps:
- Within the “People” tab, locate the list of contacts and distribution lists. This can be displayed as a list view or may be organized in folders depending on your Outlook settings.
- Scroll through the contacts and folders or use the search function to find the specific distribution list you want to add members to.
- Once you have identified the correct distribution list, click on its name to select it.
By selecting the distribution list, you will have it highlighted or opened, ready for further actions such as editing or adding members.
Note that the process of selecting a distribution list may vary slightly depending on the version of Outlook you are using. The options available in the interface and the visual appearance of the contacts and distribution list area could differ. However, the fundamental concept remains the same – you need to locate and choose the desired distribution list.
If you are having difficulty finding or selecting the distribution list, refer to the help documentation provided by Microsoft or contact your organization’s IT support for further assistance.
With the distribution list selected, you’re now prepared to proceed to the next step of editing the list to add members.
Click on “Edit”
Once you have selected the distribution list you want to add members to in Outlook, the next step is to access the editing options for the list. By clicking on the “Edit” button or option, you’ll be able to modify the distribution list, including adding or removing members as needed.
To click on “Edit,” follow these steps:
- Ensure that the distribution list you want to edit is selected or opened in the “People” tab of Outlook.
- Look for an option or button labeled “Edit” in the toolbar or ribbon menu at the top of the Outlook window.
- Click on the “Edit” button or select the “Edit” option from the drop-down menu. This will open the distribution list in an editable mode.
When you click on “Edit,” you will be granted access to modify the existing members of the distribution list or add new members to it.
It’s important to note that the appearance and location of the “Edit” button may vary slightly depending on the version of Outlook you are using. However, in most versions, you should be able to find an option to edit the distribution list within the toolbar or menu at the top of the Outlook window.
If you are unable to locate the “Edit” option or button, refer to the help documentation provided by Microsoft or consult with your organization’s IT support for guidance specific to your version of Outlook.
With the “Edit” function accessed, you are now ready to proceed to the next step of adding members to the distribution list.
Add members to the distribution list
After clicking on “Edit” to open the distribution list in Outlook, you can now begin adding members to the list. Adding members to the distribution list allows you to include multiple contacts who will receive messages sent to the group without the need to add each recipient individually. Follow these steps to add members:
- Within the editing mode of the distribution list, you will typically see a list of existing members already included in the list.
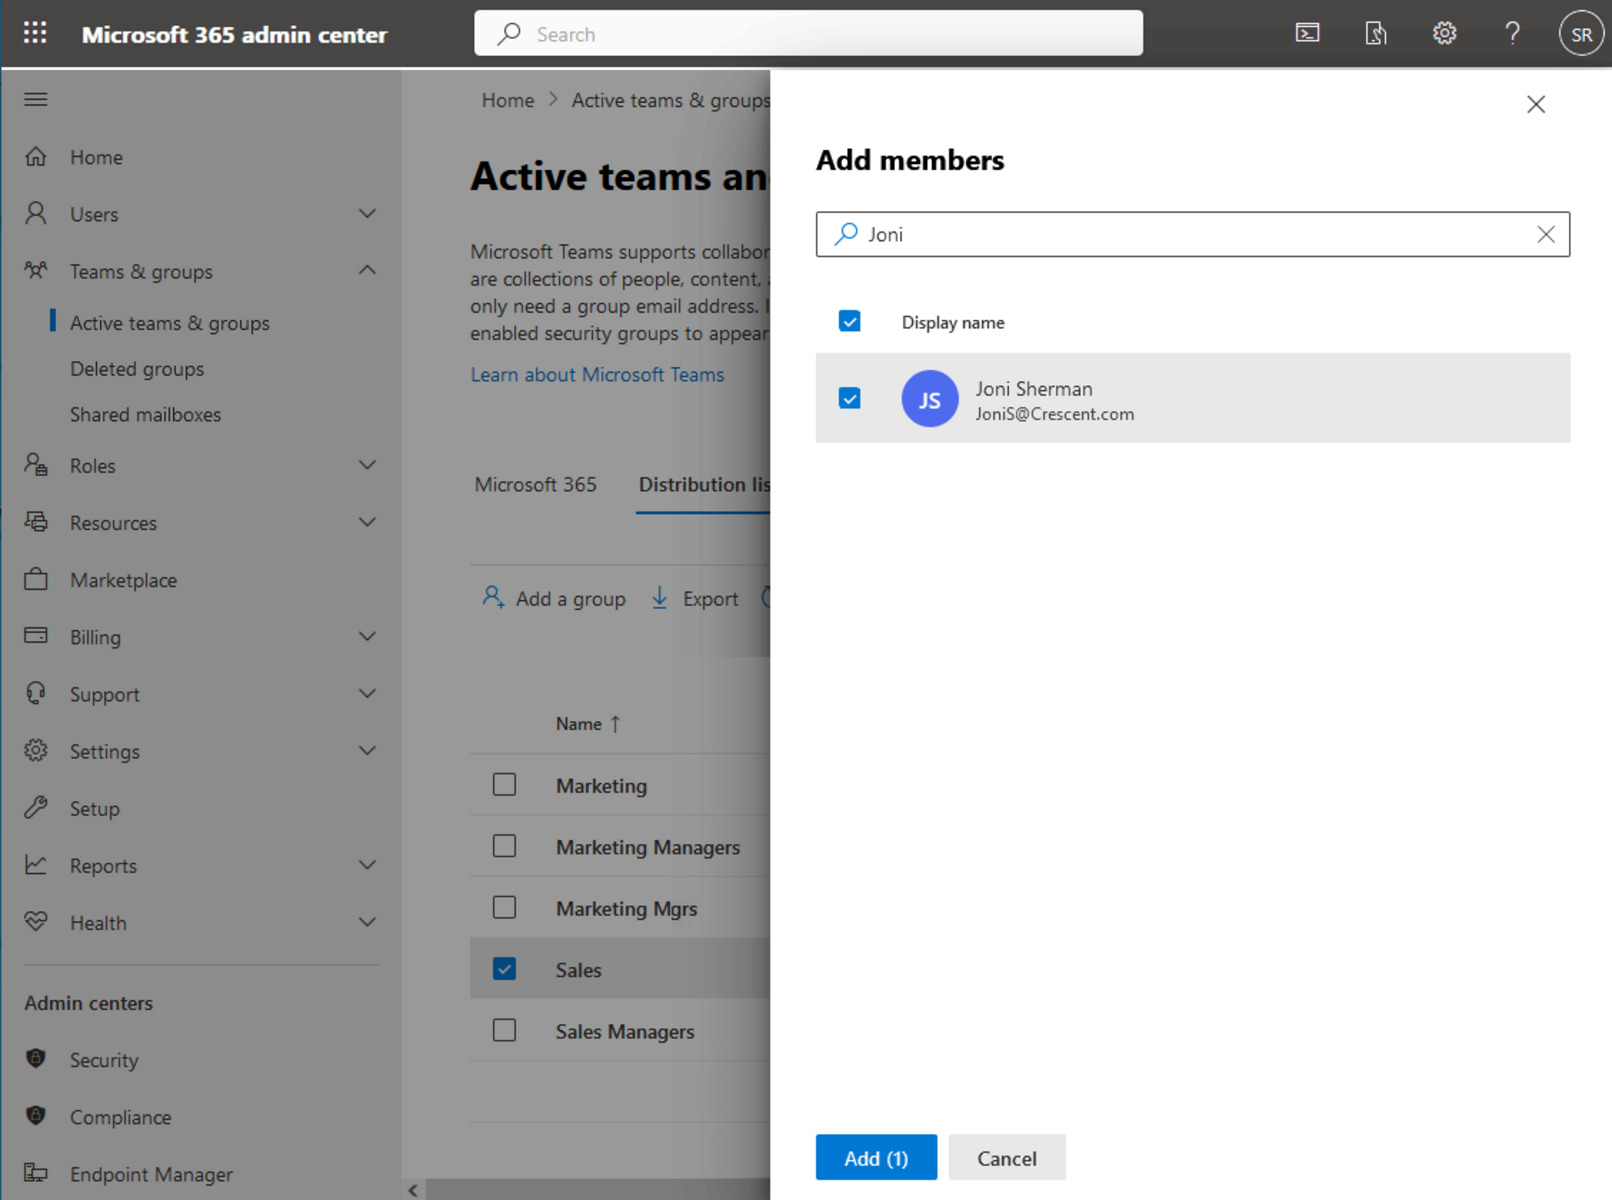
- To add a new member, click on the “Add” button or the “+” icon. This will open a dialog box or a search field where you can search for and select the contact(s) you want to add.
- Start typing the name or email address of the contact you want to add in the search field. As you type, Outlook will suggest matching contacts based on your input.
- Choose the desired contact from the suggestions or search results by clicking on their name or selecting them from the list.
- If you need to add multiple contacts, repeat this process for each contact you wish to include.
- After selecting all the desired contacts, click on the “Add” or “OK” button to add them to the distribution list.
Once you have added members to the distribution list, they will appear in the list of “Members” or “Contacts” within the editing mode. You can review the list to ensure all the intended members are included.
It’s important to note that the process of adding members may vary slightly depending on the version of Outlook you are using. However, the basic concept is to access the “Add” function, search for and select the contacts you want to include, and then confirm the addition.
If you encounter any difficulties while adding members to the distribution list, refer to the help documentation provided by Microsoft or reach out to your organization’s IT support for further assistance specific to your Outlook version.
With members successfully added to the distribution list, you are now ready to proceed to the final step of saving the changes.
Save changes
After adding members to the distribution list in Outlook, it is crucial to save the changes to ensure that the updated list reflects the newly added members. By saving the changes, you can ensure that the distribution list is up to date and ready for use in future communications.
To save the changes made to the distribution list, follow these steps:
- In the editing mode of the distribution list, review the list to ensure that all the desired members have been successfully added.
- Look for a “Save” button or an option to save the changes. This button can often be found in the toolbar or ribbon menu at the top of the Outlook window.
- Click on the “Save” button or select the “Save” option from the drop-down menu. This will save the changes and update the distribution list.
By saving the changes, Outlook will update the distribution list with the newly added members. It is always recommended to save any modifications made to the list to avoid any loss of data.
It’s important to note that the location and appearance of the “Save” button may vary slightly depending on the version of Outlook you are using. However, in most versions, you should be able to find an option to save the changes within the toolbar or menu at the top of the Outlook window.
If you are unable to locate the “Save” option or button, refer to the help documentation provided by Microsoft or consult with your organization’s IT support for guidance specific to your version of Outlook.
With the changes saved, you have successfully added members to the distribution list and ensured that the list is updated and ready to use for future communications.
Notify members of the distribution list update
After making changes to the distribution list in Outlook and saving the updates, it is essential to notify the members of the list about the recent changes. Informing the members ensures that they are aware of any modifications and are informed about the updated list for future communications.
To notify the members of the distribution list update, follow these steps:
- Compose a new email in Outlook.
- In the “To” field, type the name of the distribution list to which you made the changes. Outlook will automatically suggest the distribution list as you type.
- Enter a subject for the email, such as “Updated Distribution List” or something similar that indicates the purpose of the email.
- In the body of the email, briefly explain the purpose of the email and mention that the distribution list has been updated with new members.
- You can provide additional context or instructions if necessary, depending on the nature of the distribution list and the reason for the update.
- Click on the “Send” button to send the email to all the members of the distribution list.
By notifying the members, you ensure that they are aware of the recent modifications to the distribution list and can use the updated list for their communication needs.
It’s important to note that the above steps assume that your Outlook settings and distribution list have the necessary permissions to send emails to all the members of the list. If there are any limitations or restrictions in place, consult with your organization’s IT support or review the permissions associated with the distribution list.
Remember to craft your notification email in a clear and concise manner, focusing on the key points and any important details. Keeping the members informed and up to date eliminates any confusion or miscommunication.
With the members of the distribution list notified about the update, you have successfully completed the process of adding members to the distribution list in Outlook.