
What is Philips Hue Hub?
The Philips Hue Hub is the central control unit for the Philips Hue smart lighting system. It acts as a bridge between your smart devices, such as smartphones or voice assistants, and the Philips Hue lights in your home. With the Hue Hub, you can easily control and automate your lighting, create schedules, and enjoy a range of dynamic lighting options.
Compatible with a wide range of smart home platforms, including Apple HomeKit, Amazon Alexa, and Google Assistant, the Hue Hub allows you to integrate your lighting system with other devices and create a seamless connected home experience.
The Hue Hub uses Zigbee wireless technology to communicate with your Philips Hue lights. This enables a reliable and secure connection, free from interference, giving you full control over your lighting from anywhere in your home.
One of the key benefits of the Hue Hub is its ability to support up to 50 Philips Hue lights simultaneously. Whether you have a single bulb or an entire network of lights, you can control them all through the Hue Hub.
Additionally, the Hue Hub unlocks a world of possibilities with its vast assortment of lighting options. You can choose from millions of colors and shades of white, create personalized scenes, sync your lights to music or movies, and even simulate sunrise and sunset to enhance your daily routines.
By setting up the Philips Hue Hub, you gain greater control, convenience, and flexibility over your lighting, transforming your living space into a smart and dynamic environment that suits your mood, preferences, and lifestyle.
What Do You Need to Set Up Philips Hue Hub?
Before setting up your Philips Hue Hub, ensure that you have the following:
- A stable Wi-Fi network: The Hue Hub requires a reliable Wi-Fi connection to connect to your smart devices and control your Philips Hue lights. Make sure that your Wi-Fi network is up and running.
- An available power outlet: The Hue Hub needs to be plugged into a power source to work. Ensure that there is an accessible power outlet near your router or preferred setup location.
- A smartphone or tablet: To install and configure the Philips Hue Hub, you will need a compatible smartphone or tablet with internet connectivity. The Hue app is available for both iOS and Android devices.
- Philips Hue lights: The Hue Hub is designed to work with various Philips Hue lights, including bulbs, light strips, and fixtures. You will need at least one Hue light to start, but you can add more lights to your setup later.
Once you have gathered these essentials, you are ready to proceed with setting up your Philips Hue Hub and enjoying the benefits of a smart lighting system.
Note that the specific requirements and compatibility may vary depending on the version of the Philips Hue Hub you are using. It is always recommended to consult the official Philips Hue documentation or customer support for the most accurate and up-to-date information.
Step 1: Download the Philips Hue App
The first step to set up your Philips Hue Hub is to download the Philips Hue app on your smartphone or tablet. The app is available for free on both iOS and Android platforms.
To download the app, follow these simple steps:
- Open the App Store (iOS) or Google Play Store (Android) on your device.
- Search for “Philips Hue” in the search bar.
- Locate the official Philips Hue app and tap on it.
- Tap the “Download” or “Install” button to begin the installation process.
- Wait for the app to download and install on your device.
Once the Philips Hue app is successfully installed, you are ready to move on to the next step of setting up your Hue Hub.
The Philips Hue app is your central control hub for managing your lights, creating scenes, setting schedules, and exploring additional features. It offers a user-friendly interface that guides you through the setup process, making it easy to connect and configure your Hue Hub and lights.
Make sure to grant the necessary permissions requested by the app to ensure seamless control over your Philips Hue system. These permissions may include access to your device’s location, allowing the app to use geofencing and other location-based features to enhance your lighting experience.
If you encounter any issues during the downloading or installation process, refer to the app store or the Philips Hue support website for troubleshooting tips or contact their customer support for further assistance.
Step 2: Connect the Hue Hub to Power
After downloading the Philips Hue app, the next step in setting up your Hue Hub is to connect it to a power source. Follow these instructions to ensure a successful power connection:
- Locate a convenient power outlet near your router or in a central location in your home.
- Take the power adapter that came with your Hue Hub and plug one end into the hub’s power port.
- Insert the other end of the power adapter into the power outlet.
- Ensure that the power outlet you are using is switched on.
- Wait for a few moments until the Hue Hub’s LED indicator lights up, indicating that it is receiving power.
It is important to note that the Hue Hub should be connected to a stable power source at all times to maintain proper functionality. Avoid using extension cords or power strips that can potentially cause power fluctuations or interruptions.
If you experience any issues with the power connection, try using a different power outlet or check the power adapter and cable for any damages. If the problem persists, contact the Philips Hue support team for further assistance.
Once the Hue Hub is connected to power, you are ready to proceed to the next step of connecting it to your Wi-Fi network and preparing it for setup with the Philips Hue app.
Step 3: Connect the Hue Hub to Your Router
Connecting your Philips Hue Hub to your home router is an essential step in the setup process. Here’s how you can establish a connection:
- Ensure that your Wi-Fi network is up and running.
- Locate an available Ethernet port on your home router.
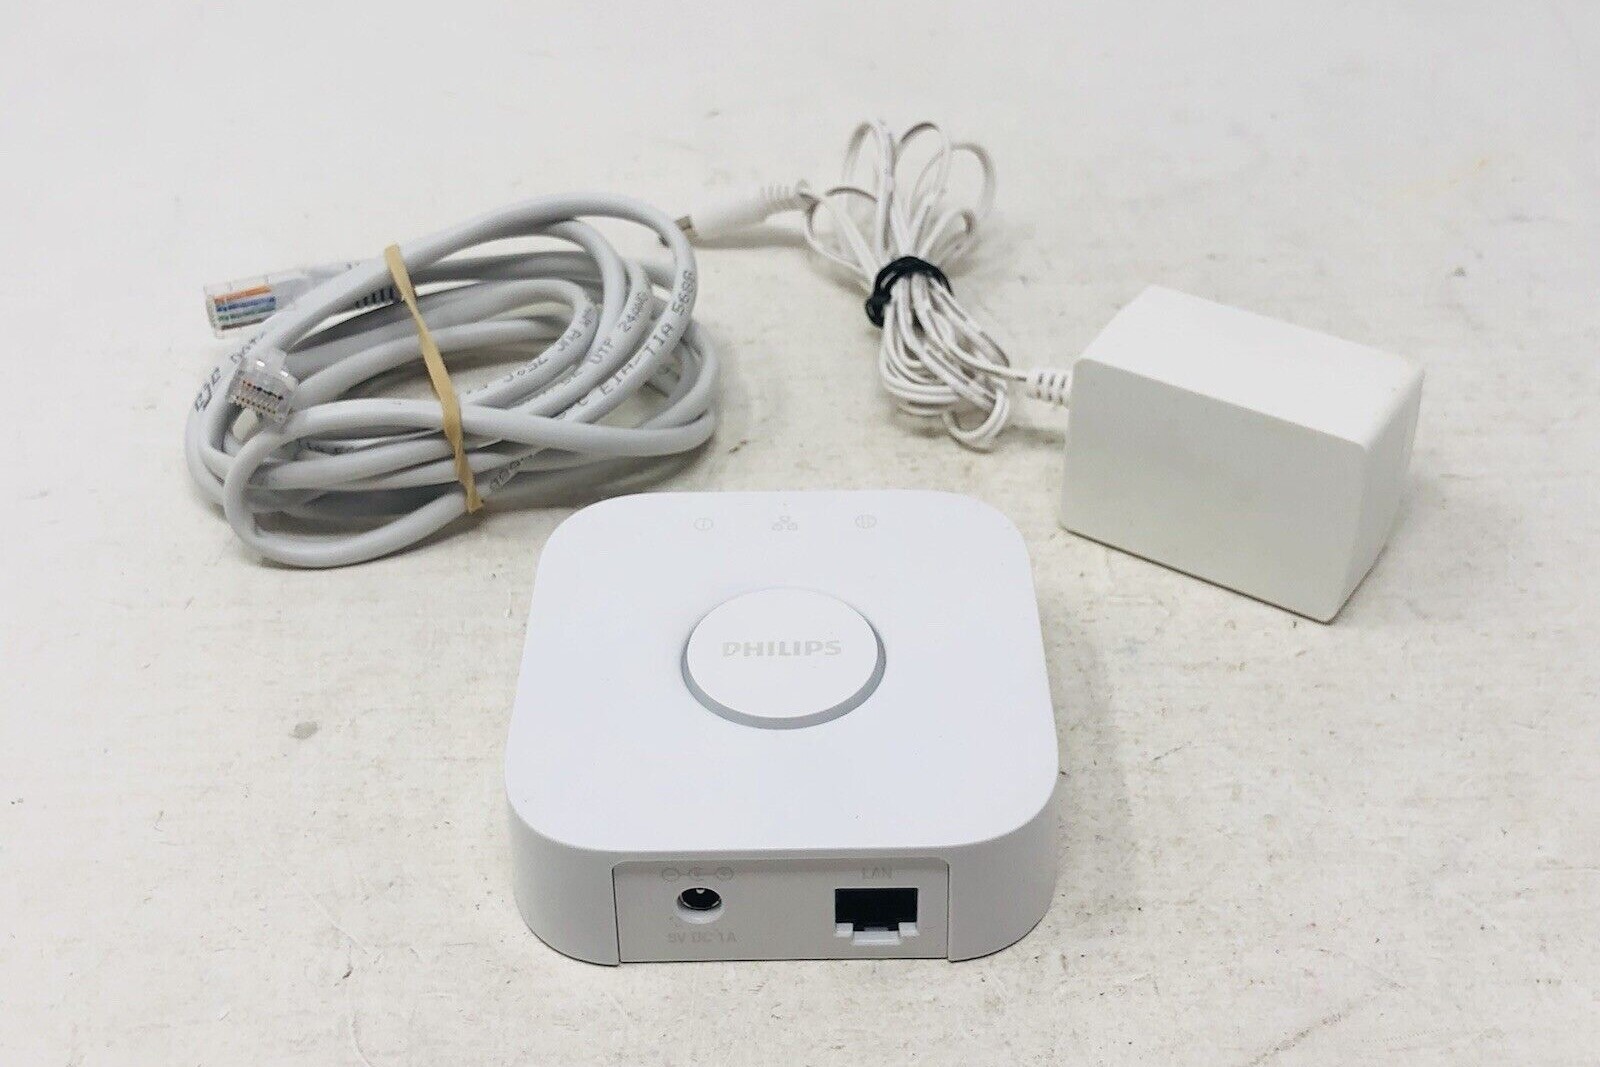
- Take the Ethernet cable provided with your Hue Hub and connect one end to the Ethernet port on the back of the hub.
- Insert the other end of the Ethernet cable into an available Ethernet port on your router.
- Make sure the cables are securely connected.
- Wait for a few moments and observe the LED indicators on the Hue Hub. The lights should begin to blink, indicating that it is successfully connected to the router.
It is important to note that the Hue Hub requires a wired connection to your router via an Ethernet cable. Avoid using Wi-Fi extenders or other networking devices for this connection, as they can cause issues with the stability and performance of the Hue system.
If you encounter any difficulties establishing a connection, double-check the Ethernet cable for any damage or try using a different port on your router. Additionally, ensure that your router settings are properly configured to allow the connection.
Once the Hue Hub is successfully connected to your router, it will be able to communicate with your smart devices and control your Philips Hue lights. You are now ready to add lights to the Hue Hub and start customizing your lighting experience.
Step 4: Add Lights to the Hue Hub
With the Philips Hue Hub successfully connected to your router, it’s time to add your lights to the system. Follow these steps to add lights to the Hue Hub:
- Launch the Philips Hue app on your smartphone or tablet.
- Tap on the “Set Up” or “Add New Lights” option in the app’s menu.
- The app will search for nearby lights. Ensure that your lights are powered on and within range of the Hue Hub.
- Once the app discovers your lights, select the lights you want to add to the system.
- Follow the on-screen instructions to complete the pairing process between the Hue Hub and the selected lights.
- After successful pairing, you will be prompted to assign the lights to specific rooms or areas in your home. This step helps you organize and control your lights more efficiently.
During the pairing process, it is important to remain within close proximity to the lights you are adding to ensure a stable connection. If you have multiple lights, you can add them individually or in groups, depending on your preference.
If you have existing Hue lights that are already connected to another Hue Hub, you will need to reset them before adding them to the new Hue Hub. Consult the official Philips Hue documentation or support for instructions on how to reset your lights.
Once the lights are successfully added to the Hue Hub, you can start exploring the various features of the Philips Hue app to customize your lighting experience. You can control individual lights, group them together, set up scenes, adjust brightness, and even schedule lighting changes based on your daily routines.
By adding lights to the Hue Hub, you are one step closer to transforming your home into a personalized and smart lighting haven.
Step 5: Set Up Philips Hue Hub with Voice Assistants
One of the great benefits of the Philips Hue Hub is its compatibility with popular voice assistants like Amazon Alexa, Google Assistant, and Apple Siri. By integrating your Hue Hub with a voice assistant, you can control your lights using simple voice commands. Here’s how you can set up your Philips Hue Hub with voice assistants:
- Open the voice assistant app on your device or set up your voice assistant-enabled device, such as an Amazon Echo or Google Nest speaker.
- Follow the instructions provided by the voice assistant to connect and set up the device.
- In the voice assistant app or device settings, search for the Philips Hue skill or integration and enable it.
- Link your Philips Hue account with the voice assistant by signing in with your Hue account credentials. If you don’t have an account, you will be prompted to create one.
- Once the connection is established, the voice assistant will search for available Hue devices. Make sure your Hue Hub and lights are powered on and connected to the same Wi-Fi network.
- After successfully discovering your Hue devices, you can assign them to specific rooms or areas within the voice assistant app or device settings.
Once the setup is complete, you can start controlling your Philips Hue lights using voice commands. Simply wake up your voice assistant and say the desired command, such as “Turn on the living room lights” or “Set the bedroom lights to blue.”
With voice control, you can easily adjust the lights, set scenes, dim or brighten the lighting, or even schedule lighting changes with just your voice. It offers a convenient and hands-free way to interact with your Hue Hub and create the desired atmosphere in your home.
Remember to refer to the specific voice assistant’s documentation or support for detailed instructions and troubleshooting guidance, as the setup process may vary slightly between different voice assistants and devices.
By setting up your Philips Hue Hub with voice assistants, you can truly experience the convenience and simplicity of controlling your lights with just your voice.
Troubleshooting Tips for Setting Up Philips Hue Hub
While setting up your Philips Hue Hub is generally a straightforward process, you may encounter some challenges along the way. Here are some troubleshooting tips to help you overcome common issues:
- Check your internet connection: Ensure that your Wi-Fi network is stable and working properly. If you experience connectivity issues, consider restarting your router and reconnecting the Hue Hub to your network.
- Verify power connection: Double-check that the Hue Hub is securely connected to a power source. Make sure the power outlet is functioning properly and try using a different outlet if necessary.
- Reset the Hue Hub: If you’re unable to connect to the Hue Hub or experiencing persistent issues, try resetting the hub. You can find instructions on how to reset the Hue Hub in the official Philips Hue documentation.
- Ensure proper proximity: When adding lights to the Hue Hub, make sure they are within range and in close proximity to the hub. This helps establish a stable connection between the devices.
- Update firmware: Check for firmware updates for both the Hue Hub and your Philips Hue lights. Keeping the software up to date can resolve compatibility issues and improve overall performance.
- Disable firewall or security settings: In some cases, strict firewall or security settings on your router may interfere with the connection between the Hue Hub and your devices. Temporarily disable these settings and try connecting again.
- Restart devices: If you’re experiencing connectivity problems or inconsistencies, try restarting both the Hue Hub and your smart devices. This can often resolve temporary glitches and restore proper functionality.
- Contact support: If you’ve exhausted all troubleshooting options and are still facing issues, don’t hesitate to reach out to the Philips Hue support team. They have dedicated resources to assist you and can provide personalized guidance.
Remember, setting up the Philips Hue Hub may require patience and troubleshooting, but the benefits of a smart lighting system are worth it. By following these tips and seeking assistance when needed, you can ensure a seamless and enjoyable experience with your Philips Hue Hub.