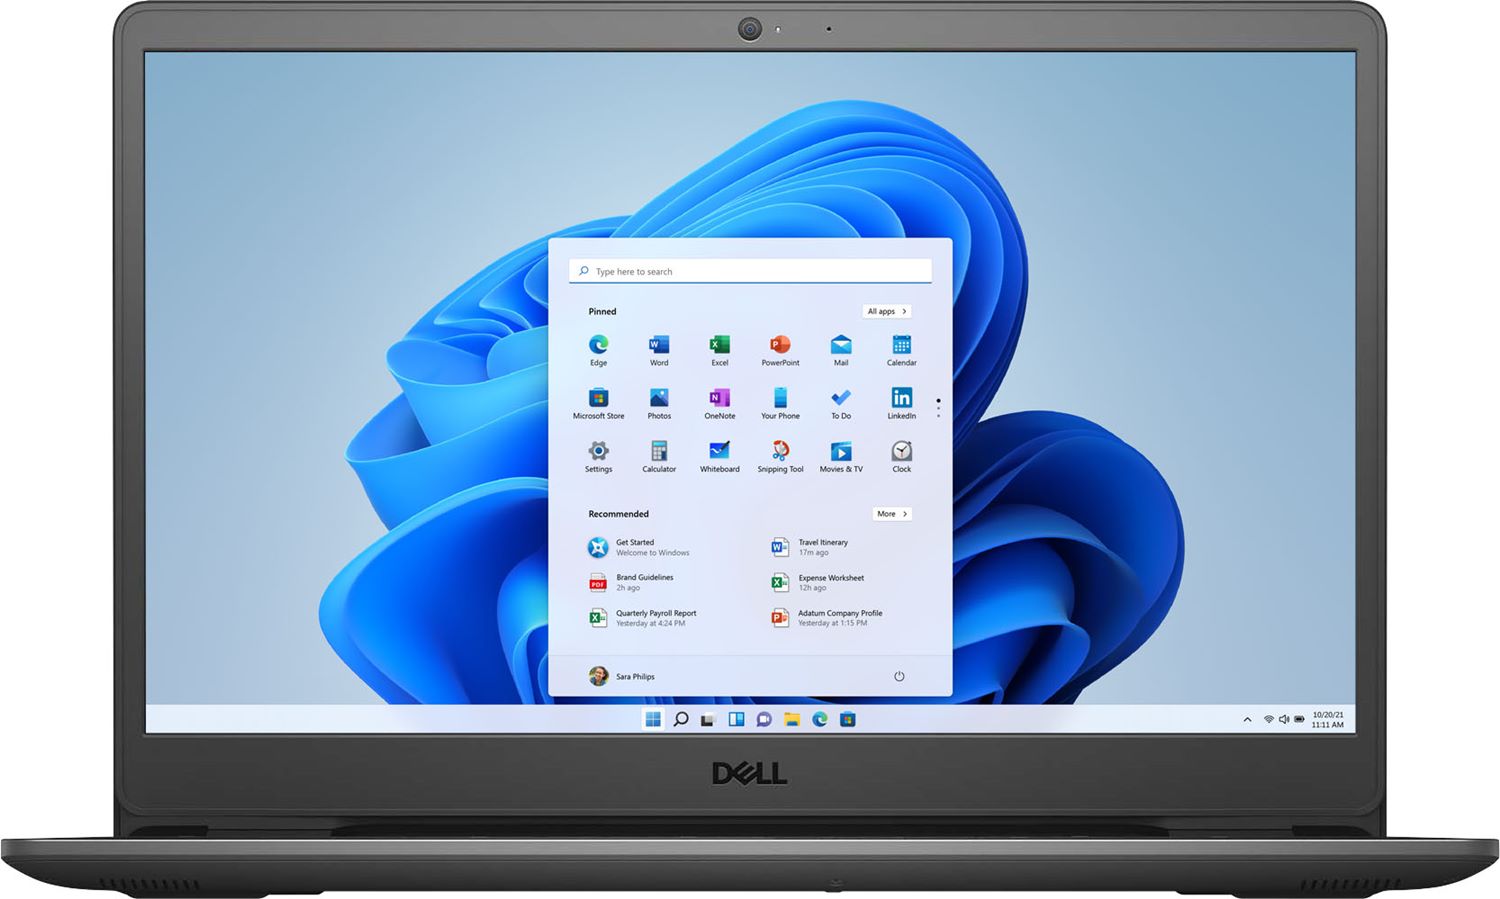
Different Ways to Take a Screenshot on a Dell Laptop
Taking screenshots is a convenient way to capture and save important information or share interesting content with others. If you own a Dell laptop and are wondering how to take screenshots, you’re in luck! There are several methods and tools available to help you capture screenshots effortlessly. In this article, we’ll explore various ways to take screenshots on a Dell laptop.
Method 1: The PrtScn Key
One of the simplest and most common methods is to use the “Print Screen” (PrtScn) key on your Dell laptop’s keyboard. Pressing this key captures the entire screen and saves it to your clipboard. To save the screenshot as an image, open an image editor (such as Paint or Photoshop) and paste the copied screenshot (Ctrl + V). You can then save the image as desired.
Method 2: Alt + PrtScn
If you want to capture only the active window rather than the whole screen, you can use the “Alt + PrtScn” shortcut. Pressing these keys together captures the active window and stores it in your clipboard. You can then paste the screenshot into an image editing software and save it for later use.
Method 3: Windows + PrtScn
Another handy shortcut is “Windows + PrtScn.” This combination captures the entire screen and automatically saves the screenshot in the “Screenshots” folder, located within the “Pictures” directory on your Dell laptop’s hard drive. This method is particularly convenient if you want to quickly save your screenshots without the need for additional editing.
Method 4: Snipping Tool
If you prefer a more precise control over your screenshots, you can use the pre-installed “Snipping Tool” on your Dell laptop. This tool allows you to capture specific regions, full screens, or even freehand shapes. After capturing the screenshot, you can use the Snipping Tool’s editing features to add annotations or highlight specific areas before saving or sharing the image.
Method 5: Using the Windows Game Bar
If you’re using a Dell laptop with Windows 10, you can utilize the built-in Windows Game Bar to capture screenshots. Simply press “Windows + G” to open the Game Bar overlay, then click on the “Capture” button to capture a screenshot. You can find your captured screenshot in the “Captures” folder within your “Videos” directory.
Method 6: Using Third-Party Screenshot Software
If you prefer more advanced features and customization options, you can opt for third-party screenshot software such as Snagit or Greenshot. These applications offer additional functionalities like capturing scrolling web pages, delay timers, editing tools, and cloud integration.
Method 7: Using the Dell SupportAssist Application
Dell laptops often come with the Dell SupportAssist software pre-installed. This application provides various tools to enhance your Dell laptop’s performance, including a built-in screenshot feature. You can access the Dell SupportAssist application from your system tray or start menu, locate the screenshot feature, and capture screenshots with ease.
Method 8: Using the Dell Capture Tool
Some Dell laptops may have a dedicated Dell Capture Tool installed. This tool allows you to capture screenshots and video recordings with different modes, such as full screen, active window, or customized regions. Check for this tool in your Dell laptop’s program list or search for it in the Windows start menu.
Tips for Taking Screenshots on a Dell Laptop
To improve your screenshot-taking experience on a Dell laptop, keep these tips in mind:
- Make use of keyboard shortcuts to save time.
- Experiment with different methods to find the one that suits your preferences.
- Use image editing software to add annotations or highlight important areas.
- Organize your screenshots in dedicated folders for easy access.
- Regularly delete unwanted screenshots to free up storage space.
With these various methods and tips at your disposal, capturing screenshots on your Dell laptop is a breeze. Choose the method that best suits your needs and start capturing and sharing screenshots effortlessly!
Method 1: The PrtScn Key
One of the simplest and most commonly used methods to take a screenshot on a Dell laptop is by using the “Print Screen” (PrtScn) key on your keyboard. This key captures the entire screen and saves it to your clipboard. It’s a quick and straightforward way to take screenshots without the need for additional software.
To capture a screenshot using the PrtScn key, follow these steps:
- Make sure the content you want to capture is displayed on your laptop screen.
- Locate the PrtScn key on your keyboard. On most Dell laptops, it is usually located in the top row of keys and may be labeled as “PrtScn” or “Print Screen”.
- Press the PrtScn key. You won’t see any visual confirmation that the screenshot has been captured, but it is now saved to your clipboard.
- Open an image editing software, such as MS Paint or Adobe Photoshop.
- Create a new image file or open an existing one where you want to paste the screenshot.
- Paste the screenshot by pressing Ctrl + V or right-clicking and selecting “Paste” from the menu. The screenshot will be inserted into the image file.
- Save the image file to your desired location on your laptop.
The PrtScn key captures the entire screen, including any open windows or applications. If you have multiple monitors connected to your Dell laptop, the PrtScn key will capture the screen displaying the content you want to screenshot across all connected monitors.
It’s important to note that the PrtScn key captures the screenshot as an image file, but it does not provide any additional editing features. After capturing the screenshot, you can use image editing software to make adjustments, add annotations, crop the image, or save it in a different format.
The PrtScn key is a versatile tool that allows you to capture screenshots of web pages, documents, images, or anything else displayed on your Dell laptop screen. It’s a useful option for taking quick and simple screenshots, especially if you don’t require any advanced editing features.
Method 2: Alt + PrtScn
If you want to capture only the active window on your Dell laptop, you can use the “Alt + PrtScn” keyboard shortcut. This method is helpful when you don’t want to capture the entire screen, but instead focus on a specific window or application.
Follow these steps to capture a screenshot using the Alt + PrtScn shortcut:
- Ensure that the window you want to capture is active and displayed on your Dell laptop screen.
- Click on the window or application to bring it into focus.
- Press the Alt key and keep it held down.
- While holding down the Alt key, press the PrtScn key on your keyboard. The screenshot will be captured, but unlike the standard PrtScn method, it will only capture the active window.
- Open an image editing software of your choice, such as MS Paint or Adobe Photoshop.
- Create a new image file or open an existing one to paste the captured screenshot.
- Press Ctrl + V or right-click and select “Paste” to insert the screenshot into the image file.
- Save the image file to your desired location on your Dell laptop.
The Alt + PrtScn shortcut allows you to capture the specific window on your Dell laptop that you have selected. This is useful when you want to exclude any unnecessary content or focus on a specific program or application.
Keep in mind that the Alt + PrtScn method saves the screenshot to your clipboard, and from there, you can paste it into an image editing software to make any necessary adjustments or annotations before saving it as an image file.
This method can be particularly helpful if you’re working with multiple windows or applications simultaneously and want to quickly capture a screenshot of a specific program without including the rest of the screen content.
Experiment with the Alt + PrtScn shortcut to capture screenshots of individual windows on your Dell laptop and streamline your workflow when sharing or saving specific content.
Method 3: Windows + PrtScn
Another convenient method to take screenshots on your Dell laptop is by using the “Windows + PrtScn” keyboard shortcut. This method captures the entire screen and automatically saves the screenshot to a specific location on your laptop without the need for additional steps.
Follow these steps to take a screenshot using the Windows + PrtScn shortcut:
- Make sure the content you want to capture is displayed on your Dell laptop screen.
- Press the Windows key and the PrtScn key simultaneously. You may need to press the Windows key before pressing the PrtScn key, or vice versa, depending on your laptop’s configuration.
- You won’t see any visual confirmation that the screenshot has been captured, but it is automatically saved to your laptop’s hard drive.
- Go to the “Pictures” directory on your laptop’s hard drive. You can access this by opening the File Explorer and selecting “Pictures” from the left-hand pane.
- Open the “Screenshots” folder within the “Pictures” directory. Here, you will find all the screenshots saved using the Windows + PrtScn shortcut.
- Select and open the screenshot you just captured.
- You can now view, edit, or share the screenshot as needed.
Using the Windows + PrtScn shortcut offers the advantage of automatically saving your screenshots to a dedicated “Screenshots” folder within your “Pictures” directory. This eliminates the need to open an image editing software and paste the screenshot like in the previous methods.
It’s important to note that capturing a screenshot using Windows + PrtScn captures the entire screen at the time of the keystroke. If you have multiple monitors connected to your Dell laptop, the screenshot will capture the content across all connected displays.
This method is particularly useful when you want to quickly save your screenshots without any additional editing or customization. However, if you prefer to make adjustments or annotations to your screenshots, you can still open them in an image editing software after accessing the “Screenshots” folder.
Make the most of the Windows + PrtScn shortcut on your Dell laptop to effortlessly capture and save screenshots for later use or sharing.
Method 4: Snipping Tool
For more precise screenshot capture and editing options, Dell laptops often come pre-installed with the Snipping Tool application. The Snipping Tool allows you to capture specific regions, full screens, or even freehand shapes, giving you greater flexibility and control over your screenshots.
To use the Snipping Tool on your Dell laptop, follow these steps:
- Open the Snipping Tool application. You can find it by typing “Snipping Tool” into the Windows search bar and selecting the application from the search results.
- With the Snipping Tool open, click on the “New” button to initiate the screenshot capture process.
- Your screen will fade, and your cursor will turn into a crosshair.
- Click and drag the crosshair to select the desired region or object you want to capture. You can also choose “Full-screen Snip” or “Window Snip” from the “New” drop-down menu for different screenshot options.
- Once you release the mouse button, the selected region will be captured and displayed in the Snipping Tool window.
- The Snipping Tool provides various editing options such as highlighting, adding text, drawing shapes, or cropping. Use these tools to enhance or annotate your captured screenshot as desired.
- Click on the “File” menu in the Snipping Tool window, and select “Save As” to save the screenshot as an image file. Choose the desired file format and save it to the location of your choice.
The Snipping Tool is a valuable tool for capturing and editing screenshots on your Dell laptop. It allows you to select specific regions, providing more flexibility in capturing relevant information without including unnecessary content.
Not only does the Snipping Tool capture screenshots, but it also offers basic editing capabilities to enhance your screenshots before saving them. This includes adding annotations, highlights, or text to emphasize important details.
Utilize the Snipping Tool on your Dell laptop to capture precise screenshots and create visually enhanced images for seamless sharing or documentation purposes.
Method 5: Using the Windows Game Bar
If you’re using a Dell laptop with Windows 10, you have access to a built-in tool called the Windows Game Bar, which can be used to capture screenshots. Originally designed for gamers to capture game footage, the Windows Game Bar offers a convenient way to capture screenshots of any content on your Dell laptop.
To use the Windows Game Bar for screenshot capture, follow these steps:
- Ensure that the content you want to capture is on your Dell laptop’s screen.
- Press the “Windows” key and the “G” key simultaneously to open the Windows Game Bar.
- The Windows Game Bar overlay will appear on your screen. Click on the “Capture” button, represented by a camera icon.
- The Windows Game Bar will capture the entire screen and save the screenshot to the “Captures” folder.
- Open the “Captures” folder, located within the “Videos” directory on your Dell laptop, to access your captured screenshots.
- Select and view the screenshot that you just captured.
- If you want to make further edits or adjustments, you can open the screenshot in an image editing software of your choice.
- Saving the image file is optional, but if desired, you can do so by right-clicking on the image and selecting “Save As,” then choosing the desired location and file format.
The Windows Game Bar provides a simple and accessible way to capture screenshots on your Dell laptop, even if you don’t intend to use it for gaming purposes. It eliminates the need for third-party software and offers a straightforward process to capture and save your screenshots.
Remember to check the “Captures” folder within the “Videos” directory to locate your captured screenshots. From there, you can view, edit, or save them for future use.
Utilize the Windows Game Bar on your Dell laptop to conveniently capture screenshots of any content you want to save or share with others.
Method 6: Using Third-Party Screenshot Software
If you’re looking for more advanced features and customization options for your screenshot needs, using third-party screenshot software on your Dell laptop is a great option. These applications offer additional functionality beyond the built-in methods, providing a range of features to enhance your screenshot-taking experience.
There are various third-party screenshot software options available for your Dell laptop, such as Snagit and Greenshot. These applications offer features like capturing scrolling web pages, delay timers, editing tools, and cloud integration.
To use third-party screenshot software, follow these general steps:
- Select the third-party screenshot software of your choice and install it on your Dell laptop.
- Open the software and familiarize yourself with the available features and options.
- Depending on the software, you may have different methods for capturing screenshots, such as keyboard shortcuts or a dedicated capture button within the software interface.
- Choose the appropriate capture option for your needs (e.g., full screen, region, active window).
- After capturing the screenshot, the software may offer additional editing tools to enhance and customize it.
- Save the screenshot to your desired location and format.
Third-party screenshot software allows you to take screenshots with more flexibility and advanced editing capabilities. Features like scrolling capture enable you to capture an entire webpage or document that goes beyond the visible screen area. The ability to add annotations, highlights, or text directly within the software saves you time and effort in post-capture editing.
Additionally, some third-party screenshot software integrates with cloud storage services, enabling you to save and share your screenshots effortlessly. This feature proves useful when you need to collaborate with others or access your captures across different devices.
Explore different third-party screenshot software options available for your Dell laptop and choose the one that best fits your preferences and requirements. With their advanced features and customization options, these tools can greatly enhance your screenshot-taking workflow.
Method 7: Using the Dell SupportAssist Application
Dell laptops often come with the pre-installed Dell SupportAssist application, which offers a range of tools to enhance your laptop’s performance and troubleshoot any issues. Along with its diagnostic capabilities, the Dell SupportAssist application also includes a built-in screenshot feature, making it convenient to capture screenshots on your Dell laptop.
To utilize the screenshot feature within the Dell SupportAssist application, follow these steps:
- Locate the Dell SupportAssist application on your Dell laptop. You can usually access it from the system tray or via the Windows start menu.
- Open the Dell SupportAssist application and navigate to the available tools or features.
- Locate and select the screenshot or capture feature within the Dell SupportAssist application.
- A screenshot interface or window will appear, allowing you to choose the desired capture option (e.g., full screen, selected region).
- After capturing the screenshot, the Dell SupportAssist application may offer basic editing options, such as cropping or adding annotations.
- Save the screenshot to your desired location and file format.
The Dell SupportAssist application provides an integrated and convenient solution for capturing and managing screenshots on your Dell laptop. It eliminates the need for external software or complex methods, as the feature is readily available within the application itself.
With the Dell SupportAssist screenshot feature, you can easily capture the content you need and quickly troubleshoot or seek assistance for any technical issues you may encounter with your Dell laptop. The application provides a seamless workflow for capturing, editing, and saving your screenshots.
Take advantage of the Dell SupportAssist application on your Dell laptop to streamline your screenshot-taking process and efficiently manage your captures.
Method 8: Using the Dell Capture Tool
Some Dell laptops may come with a dedicated Dell Capture Tool installed, providing you with an alternative method for capturing screenshots. This tool is specifically designed to streamline the screenshot-taking process and offer additional functionalities tailored to Dell laptops.
To use the Dell Capture Tool for capturing screenshots on your Dell laptop, follow these steps:
- Locate the Dell Capture Tool on your Dell laptop. It may be found in the list of installed programs or by searching for it in the Windows start menu.
- Open the Dell Capture Tool application to access its screenshot features.
- Depending on the tool, you may have various capture options available, such as capturing the full screen, an active window, or a specific region.
- Select the desired capture option that best suits your needs.
- After capturing the screenshot, the Dell Capture Tool may provide basic editing options, such as cropping, adding annotations, or applying filters.
- Save the screenshot to your preferred location and format.
The Dell Capture Tool is specifically designed to work seamlessly with Dell laptops, providing a straightforward and efficient way to capture screenshots tailored to your device. It offers a user-friendly interface and may have additional features intended to enhance your screenshot-taking experience.
Make sure to explore the functionalities and features of the Dell Capture Tool specific to your Dell laptop model. This tool may provide added convenience and customization for your screenshot needs compared to generic screenshot methods or third-party software.
Leverage the Dell Capture Tool on your Dell laptop to streamline your screenshot capturing process and take advantage of any unique features and functionalities it offers.
Tips for Taking Screenshots on a Dell Laptop
Taking screenshots on your Dell laptop can be a useful and efficient way to capture and save important information. To enhance your screenshot-taking experience and ensure optimal results, consider the following tips:
- Use keyboard shortcuts: Familiarize yourself with the various keyboard shortcuts available for taking screenshots on your Dell laptop. These shortcuts can save you time and make the process more efficient.
- Experiment with different methods: Explore different methods, such as using the PrtScn key, Alt + PrtScn, or the Windows + PrtScn shortcut, to find the method that suits your preferences and requirements.
- Utilize image editing software: After capturing a screenshot, consider using image editing software to make adjustments, add annotations, or crop the image. This will allow you to highlight important areas or provide additional context to your screenshots.
- Organize your screenshots: Create dedicated folders on your Dell laptop to keep your screenshots organized. This will make it easier to locate and access specific screenshots when needed.
- Delete unwanted screenshots: Regularly review and delete any unwanted or unnecessary screenshots. This will help keep your storage space free and prevent clutter.
These tips will assist you in capturing high-quality screenshots on your Dell laptop. They will also contribute to a more efficient screenshot-taking process and help you locate and utilize your screenshots effectively.
Remember to adjust and apply these tips according to your specific needs and preferences. Experiment with different methods and tools to find the best approach that suits your workflow and requirements.
By applying these tips, you can make the most out of screenshotting on your Dell laptop and enhance your ability to capture and utilize valuable visual information.