
System Requirements
To run the HTC Vive on your Mac, it’s crucial to ensure that your system meets the necessary requirements. Here are the key specifications you need to check:
- Mac Model: You must have a Mac that supports virtual reality. The HTC Vive is compatible with specific models, including iMac, MacBook Pro, and Mac Pro. Make sure to check the official HTC Vive website for the latest compatibility information.
- Operating System: Your Mac should be running macOS High Sierra (10.13) or later. Updating your operating system to the latest version is highly recommended to ensure optimal performance and compatibility.
- Processor: Look for a powerful processor to handle the demanding VR experience. Intel Core i5 or higher is generally recommended, but a faster processor such as Core i7 will provide even better performance.
- Graphics Card: VR requires a capable graphics card to deliver smooth visuals. Check if your Mac has a compatible graphics card, such as NVIDIA GeForce GTX 970 or AMD Radeon R9 290 or better.
- Memory: VR applications consume significant memory. Aim for at least 8GB RAM to ensure a seamless experience while running VR games and apps.
- Storage: VR content takes up considerable space on your hard drive. Ensure you have enough free storage available to accommodate VR games and applications. A solid-state drive (SSD) is recommended for faster loading times.
- Ports: The HTC Vive requires a free USB 3.0 port and an HDMI 1.4 or DisplayPort 1.2 output. Make sure your Mac has these ports available for connecting the VR headset.
Meeting these system requirements will ensure smooth operation and compatibility with the HTC Vive on your Mac. Keep in mind that the specific requirements may vary depending on the software and games you intend to use with the VR headset. It’s always a good idea to check the system requirements specified by the software developers to ensure optimal performance.
Step 1: Check if your Mac is compatible
The first step towards getting your HTC Vive to run on your Mac is to confirm if your system meets the necessary compatibility requirements. Follow these steps to check if your Mac is compatible:
- Visit the official HTC Vive website or consult the user manual to find the specific Mac models that are supported. Not all Mac models are compatible with VR, so it’s crucial to ensure that your Mac is on the list of supported devices.
- Check the operating system requirements. Ensure that your Mac is running macOS High Sierra (10.13) or a later version. If you have an older operating system, update it to the latest version before proceeding.
- Verify the hardware specifications of your Mac. Look for a powerful processor, such as an Intel Core i5 or higher, to handle the demanding requirements of virtual reality. Make sure your Mac has a compatible graphics card, such as NVIDIA GeForce GTX 970 or AMD Radeon R9 290 or better, to deliver smooth and immersive visuals.
- Check the available memory on your Mac. Ensure that you have at least 8GB of RAM to provide sufficient resources for VR applications and games.
- Confirm that your Mac has enough storage space to accommodate VR content. VR games and applications can take up a substantial amount of space, so ensure that you have free storage available. Consider using a solid-state drive (SSD) for faster loading times.
- Verify the availability of the necessary ports on your Mac. The HTC Vive requires a free USB 3.0 port and an HDMI 1.4 or DisplayPort 1.2 output. Ensure that your Mac has these ports available for connecting the VR headset.
By checking these compatibility factors, you can determine whether your Mac meets the requirements to run the HTC Vive. If your Mac falls short in any aspect, you may need to consider upgrading certain components or using a different computer that meets the compatibility criteria.
Step 2: Update your operating system
Before diving into the world of virtual reality with your HTC Vive on your Mac, it’s crucial to ensure that your operating system is up to date. Follow these steps to update your Mac’s operating system:
- Click on the Apple menu in the top-left corner of your screen and select “System Preferences.”
- In the System Preferences window, click on “Software Update.”
- Your Mac will check for available updates. If any updates are available, click on the “Update Now” button to begin the installation process.
- Wait for the updates to download and install. This process may take some time, depending on the size of the updates and your internet connection speed.
- Once the updates are installed, your Mac will restart if required.
- After the restart, go back to the Apple menu and click on “About This Mac” to verify that your Mac is now running the latest version of macOS.
Updating your operating system is essential as it ensures that your Mac is equipped with the latest performance improvements, bug fixes, and security updates. It also helps in maximizing compatibility with various software and hardware, including the HTC Vive.
Please note that the update process may differ slightly depending on the version of macOS you are currently using. It’s always recommended to refer to official Apple documentation or support resources for specific instructions based on your operating system version.
Once you have successfully updated your operating system, you are one step closer to enjoying the immersive virtual reality experience offered by the HTC Vive on your Mac.
Step 3: Install Steam
In order to access the wide range of virtual reality games and applications available for the HTC Vive on your Mac, you need to install Steam. Steam is a digital distribution platform that provides a vast library of VR-compatible content. Follow these steps to install Steam on your Mac:
- Open your preferred web browser and visit the official Steam website at store.steampowered.com.
- Click on the “Install Steam” button located at the top right corner of the website.
- Follow the on-screen instructions to download the Steam installation package.
- Once the download is complete, locate the installation file in your Mac’s Downloads folder and double-click on it to start the installation process.
- Follow the prompts displayed on your screen to complete the installation. You may be required to enter your login credentials or create a new Steam account if you don’t have one already.
- After the installation is complete, launch Steam by locating it in your Applications folder or by clicking on the Steam icon in the Dock.
Now that you have successfully installed Steam on your Mac, you have gained access to a vast collection of VR games and applications. You can explore the Steam Store to discover VR titles specifically designed to unleash the full potential of the HTC Vive headset.
Before moving on to the next step, it’s crucial to ensure that you have a stable internet connection as some games and updates may require significant data downloads. Also, ensure that your Steam client is always up to date by keeping it set to auto-update to access the latest features and improvements.
With Steam installed, you’re ready to take the next step towards setting up your HTC Vive and immersing yourself in the exciting world of virtual reality on your Mac.
Step 4: Set up SteamVR
After successfully installing Steam on your Mac, the next step is to set up SteamVR to use your HTC Vive. SteamVR is a virtual reality platform that allows you to launch and manage VR content on your Mac. Follow these steps to set up SteamVR:
- Launch the Steam application on your Mac.
- In the top menu bar, click on “Steam” and then select “VR” from the drop-down menu.
- A window will appear prompting you to install SteamVR. Click on the “Install SteamVR” button to begin the installation process.
- Follow the on-screen instructions to complete the installation. This may involve downloading additional files required for SteamVR.
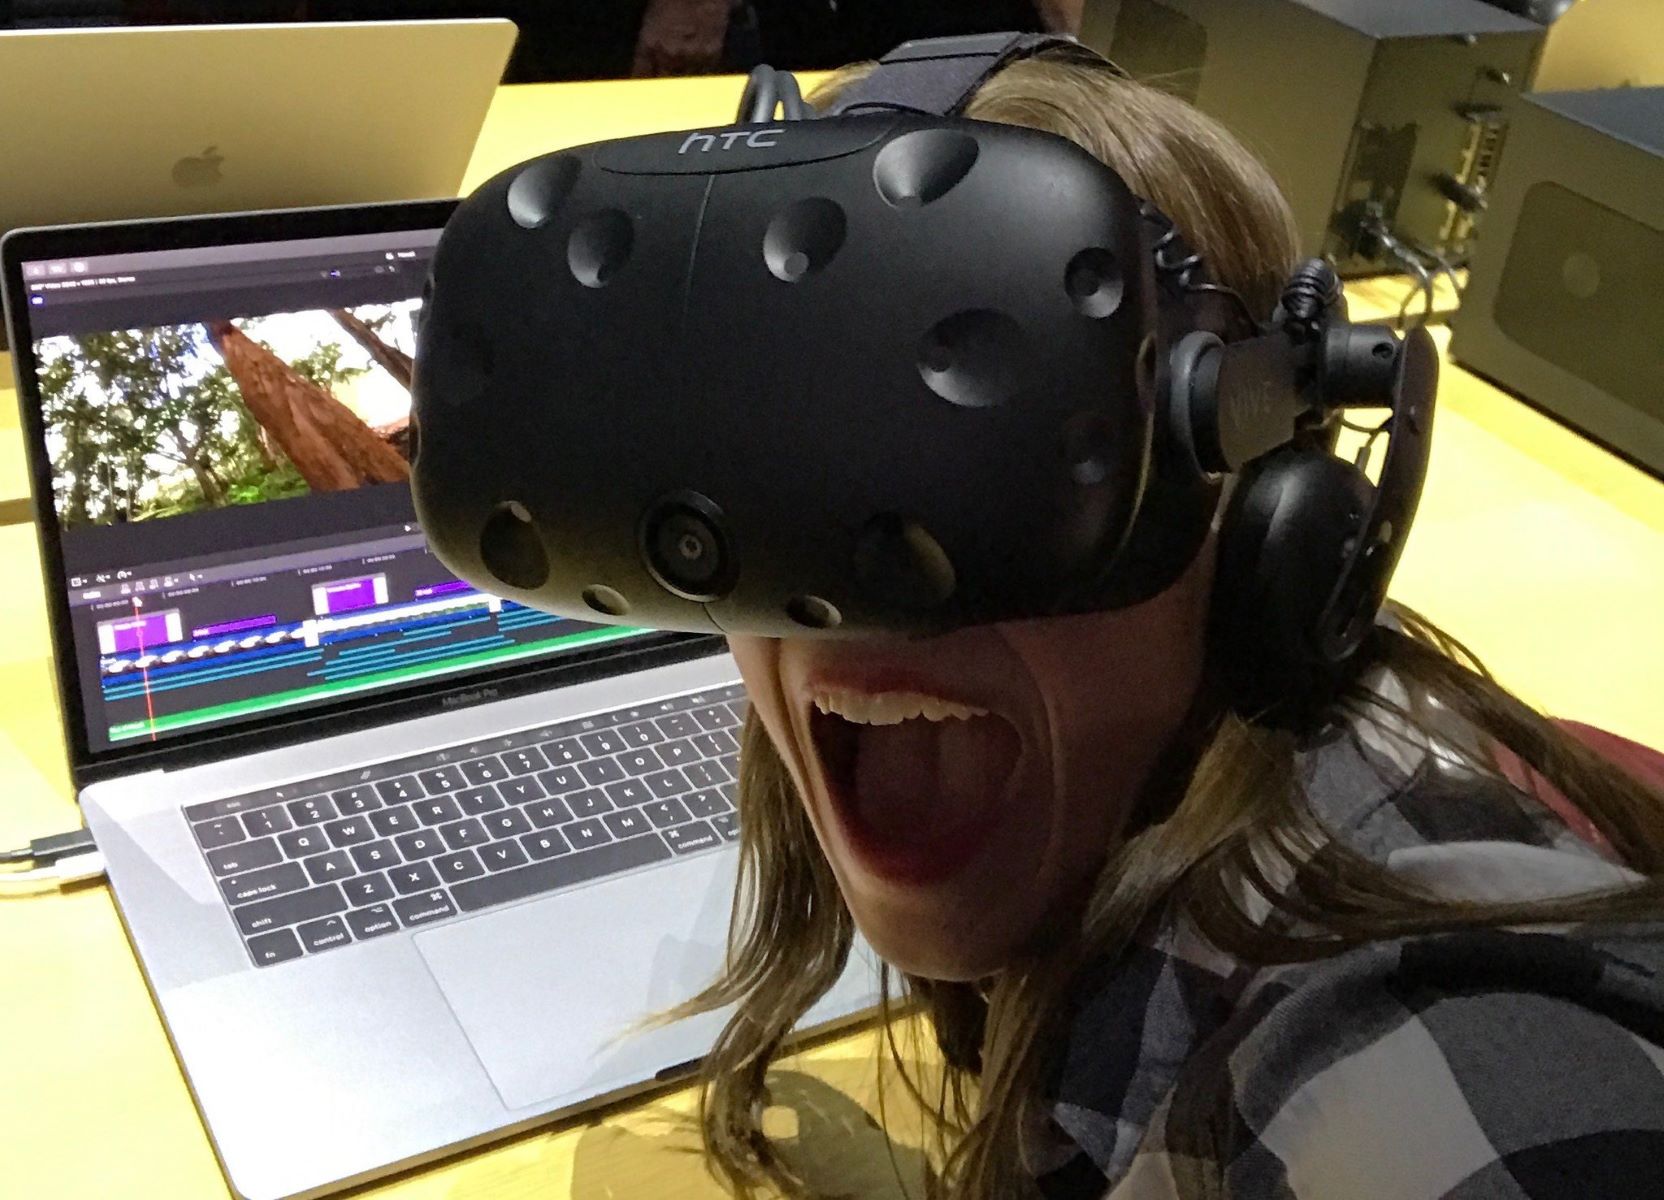
- Once the installation is complete, connect your HTC Vive headset to your Mac using the provided USB and HDMI cables.
- Put on the HTC Vive headset and plug in the necessary power cables.
- Click on the SteamVR icon that appears in your Dock to launch SteamVR.
- Wait for SteamVR to complete the initialization process and calibrate your HTC Vive headset.
Once SteamVR is set up and your HTC Vive is connected, you will see the SteamVR dashboard within your headset. This dashboard allows you to access your VR library, adjust settings, and launch VR experiences.
It is important to note that a well-lit room and clear play area without any obstacles are necessary for optimal HTC Vive tracking and gameplay. Ensure that the sensors on the headset and controllers have an unobstructed view for accurate motion tracking.
With SteamVR successfully set up, you are now ready to explore the world of virtual reality on your Mac using the HTC Vive. Let the immersive experience begin!
Step 5: Connect and set up the HTC Vive
With SteamVR installed and configured on your Mac, it’s time to connect and set up your HTC Vive headset. Follow these steps to ensure a proper and smooth setup:
- Place the base stations in diagonally opposite corners of your designated play area. Ensure that they are mounted securely and at least 6.5 feet or 2 meters above the ground. The base stations should have a clear line of sight with each other.
- Connect the base stations to a power source using the included power adapters.
- Locate the room setup tutorial in your SteamVR dashboard and follow the on-screen instructions. This will guide you through the process of defining your play area, including floor height calibration.
- Connect one end of the link box to your Mac using the provided USB and HDMI cables.
- Connect the other end of the link box to the HTC Vive headset.
- Put on the HTC Vive headset and ensure a comfortable fit on your head. Adjust the straps and lenses if needed.
- Insert the controllers’ batteries and turn them on by pressing the system button.
- Follow the on-screen instructions to calibrate and pair the controllers with the headset.
- Once the headset and controllers are successfully connected, SteamVR will detect them, and you will see a virtual representation of the controllers in your VR space.
It’s essential to keep in mind that setting up the HTC Vive requires careful attention to detail. Make sure to follow the instructions provided by HTC Vive and SteamVR during the setup process to ensure accurate tracking and an optimal VR experience.
Once your HTC Vive is successfully connected and set up, you’re ready to unleash the full potential of virtual reality on your Mac. Get ready to dive into immersive worlds, interact with virtual objects, and enjoy the incredible experiences offered by the HTC Vive and its wide range of compatible games and applications.
Step 6: Install VR-compatible Software and Games
Now that your HTC Vive and SteamVR are all set up and ready to go, it’s time to install VR-compatible software and games to fully immerse yourself in the virtual reality experience. Follow these steps to get started:
- Launch Steam on your Mac and ensure that you are logged in to your Steam account.
- Once in the Steam application, click on the “Store” tab at the top to access the Steam Store.
- In the search bar, type keywords like “VR games,” “VR experiences,” or specific titles that you are interested in.
- Browse through the search results and read game descriptions, reviews, and system requirements to find the VR-compatible software and games you want to install.
- Click on the game or software you wish to install to view its dedicated store page.
- On the store page, click on the “Add to Cart” or “Buy” button to purchase the software or game.
- Follow the on-screen instructions to complete the purchase. You may need to enter your payment information or use an existing payment method associated with your Steam account.
- Once the purchase is complete, the software or game will be added to your Steam library.
- Click on the “Library” tab at the top of the Steam application to access your installed software and games.
- Locate the VR-compatible software or game you purchased and click on the “Install” button to begin the installation process.
- Follow the on-screen instructions to complete the installation. The time it takes to install will depend on the size of the software or game and the speed of your internet connection.
After the installation is complete, you can launch the VR-compatible software or game from your Steam library. Put on your HTC Vive headset, grab the controllers, and step into a whole new world of immersive virtual reality experiences.
Remember to regularly check the Steam Store for new VR-compatible titles and software. Expand your VR library and explore various genres to find the experiences that captivate and engage you the most.
Enjoy the incredible adventures and limitless possibilities that virtual reality brings right to your Mac with the HTC Vive.
Troubleshooting Common Issues
While setting up and using the HTC Vive on your Mac, you may encounter some common issues. Here are a few troubleshooting tips to help you resolve these problems:
- No display in the headset: Check the connections between the HTC Vive headset and your Mac. Make sure all cables are securely plugged in. Restart your Mac and SteamVR to see if the issue persists.
- Poor tracking or controller issues: Ensure that the base stations are properly set up and positioned. Make sure there are no obstructions blocking the line of sight between the base stations and the headset/controllers. Check the firmware of the base stations and controllers and update them if necessary.
- Motion sickness or discomfort: If you feel motion sickness or discomfort while using the HTC Vive, take frequent breaks and limit your VR sessions. Experiment with different virtual reality content to find experiences that suit your comfort level. Adjust the IPD (Interpupillary Distance) setting on your headset to match your eyes’ width.
- Performance issues: If you notice lag or performance issues while using VR applications, ensure that your Mac meets the recommended system specifications. Close any unnecessary background processes or applications that may be hogging system resources. Adjust the graphical settings in games and applications to optimize performance.
- Audio concerns: If you experience audio problems, check the audio settings on your Mac and ensure that the HTC Vive headset is set as the default audio output device. Make sure that the audio cable is securely connected between the headset and the link box.
- Controller pairing issues: If the controllers are not pairing or connecting to your Mac, try resetting them by holding down the system button for a few seconds until the LED light flashes. Repair the controllers with the headset through the SteamVR settings menu.
- Software compatibility: Ensure that the software and games you install from the Steam Store are specifically marked as VR-compatible. Check the system requirements mentioned on each game’s store page to verify compatibility with your Mac.
If you continue to experience issues despite troubleshooting, it may be helpful to consult the official HTC Vive support documentation or reach out to their customer support for further assistance. Keep in mind that virtual reality technology is continuously evolving, and software updates may address many known issues over time.
By following the troubleshooting steps and reaching out for support when needed, you can overcome any hurdles and enjoy a smooth and immersive VR experience with your HTC Vive on your Mac.