
Checking System Requirements
Prior to installing drivers for the HTC Vive, it is crucial to ensure that your system meets the minimum requirements to run the device smoothly. Failing to do so may result in subpar performance or even compatibility issues. Here are the essential system requirements you need to check:
- Operating System: Your PC should be running Windows 7, 8.1, or 10. Unfortunately, the HTC Vive is not compatible with macOS or Linux.
- Processor: The recommended processor is an Intel Core i5-4590 or AMD FX™ 8350 equivalent or greater. With a powerful processor, your VR experience will be seamless and responsive.
- Memory: Make sure your system has at least 4GB of RAM. It is advisable to have a higher RAM capacity, such as 8GB or more, for a smoother VR experience.
- Graphics Card: A capable graphics card is essential for rendering high-quality VR content. The minimum requirement is an NVIDIA GeForce GTX 970 or AMD Radeon R9 290 equivalent or greater.
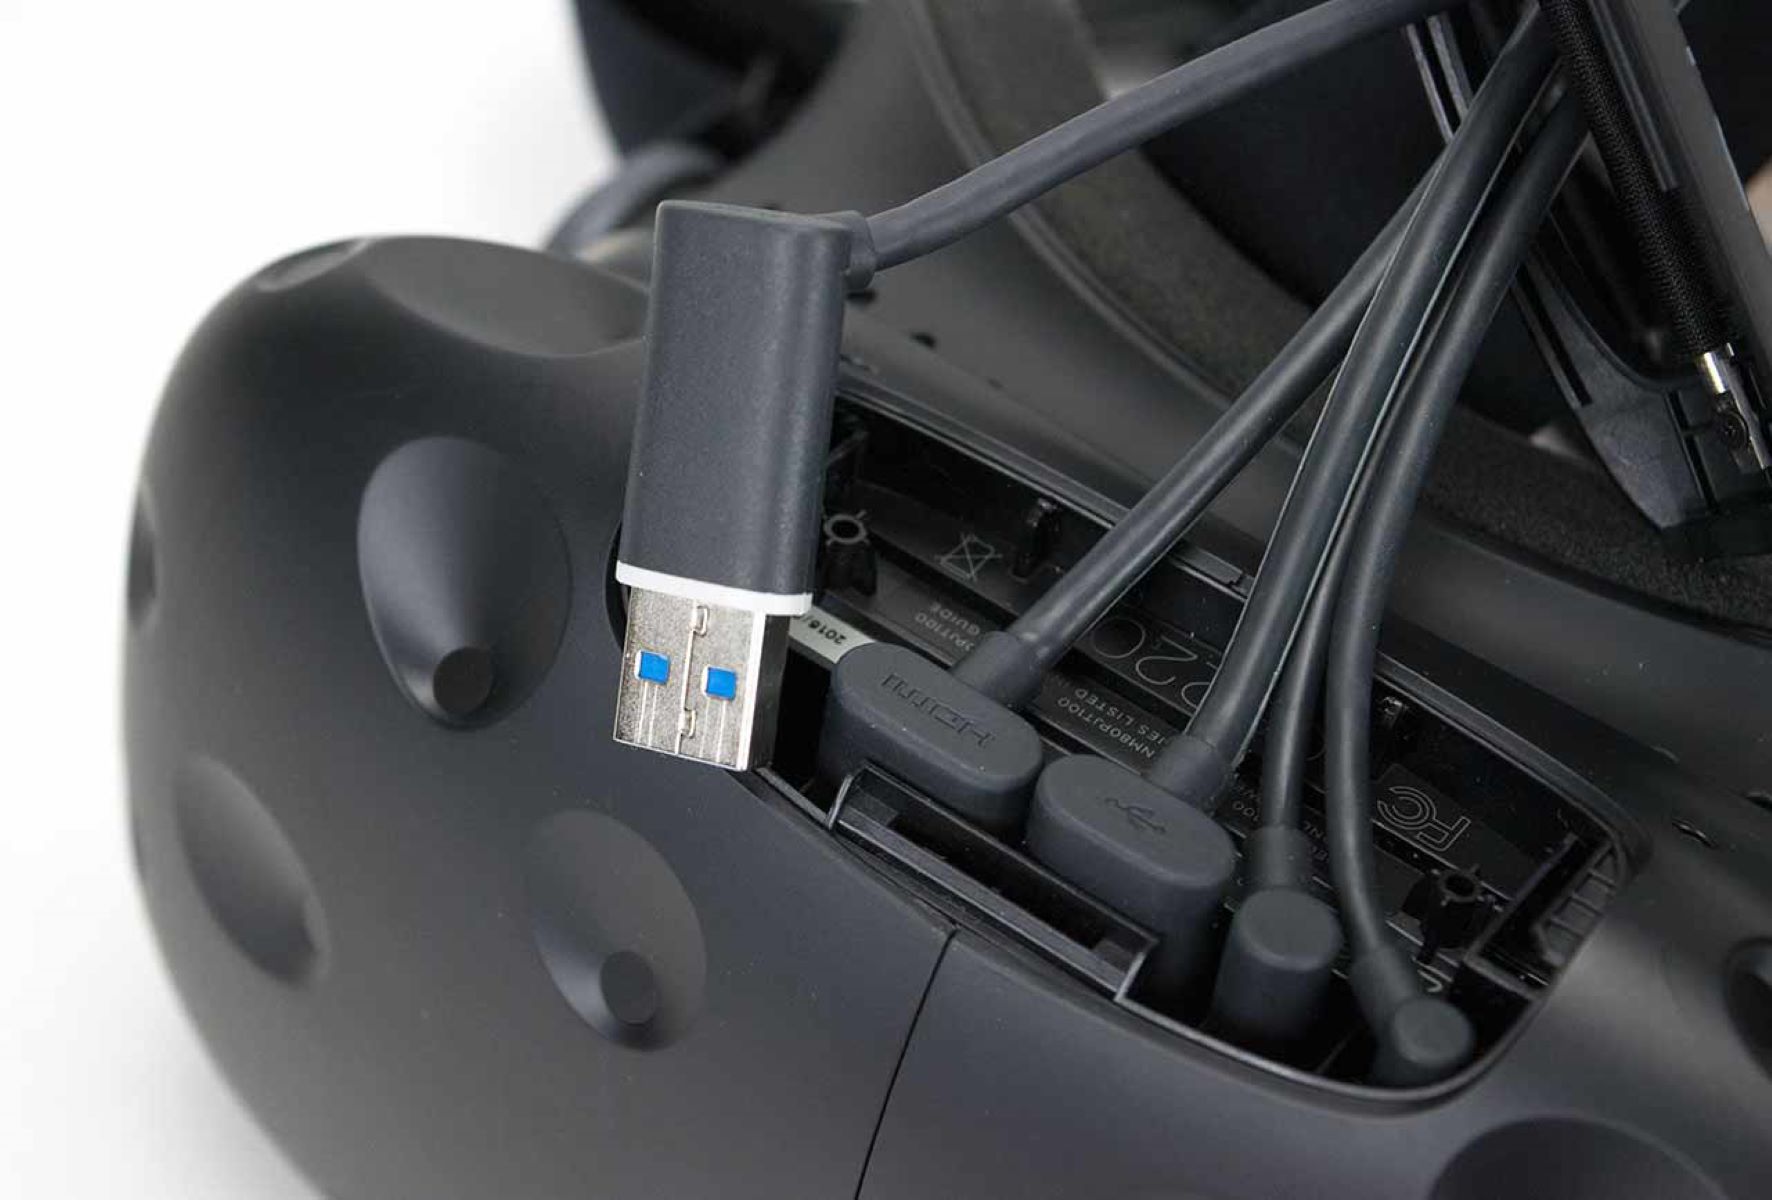
- USB Port: You will need to have an available USB 2.0 or higher port for the HTC Vive to connect to your PC.
- HDMI Port: Ensure that your PC has an HDMI 1.4 or DisplayPort 1.2 or newer output for video output to the HTC Vive headset.
By verifying these system requirements, you can ensure that your PC is capable of running the HTC Vive software and drivers effectively. In case your system falls short in any of these areas, consider upgrading the necessary components to provide an optimal VR experience.
Downloading the HTC Vive Software
Once you have confirmed that your system meets the necessary requirements, the next step is to download the HTC Vive software. Follow these steps to download the software:
- Visit the official HTC Vive website at https://www.vive.com.
- Navigate to the “Support” or “Downloads” section of the website.
- Locate the software specifically designed for the HTC Vive. It is usually labeled as “Vive Setup” or a similar name.
- Click on the download button to initiate the downloading process.
- Wait for the download to complete. The time may vary depending on your internet connection speed.
Once the software is downloaded, you are ready to proceed with the installation process. It is worth noting that the software file size might be quite large, so ensure that you have enough free space on your hard drive before initiating the download.
By following these steps, you can easily download the necessary software for the HTC Vive. Having the software ready on your system will allow you to move forward with the next stages of the installation process smoothly.
Installing the HTC Vive Software
After downloading the HTC Vive software, the next step is to install it on your computer. The installation process is straightforward and can be completed by following these steps:
- Locate the downloaded software file on your computer. It is usually saved in the default downloads folder, unless you specified a different location.
- Double-click on the software file to begin the installation process.
- Follow the on-screen instructions provided by the installer. These instructions will guide you through the installation process and may require you to accept license agreements or specify installation preferences.
- Choose the installation location for the software. You can either stick with the default location or select a different directory on your computer.
- Once the installation is complete, click on the “Finish” or “Exit” button to close the installer.
It is important to ensure that you have administrative privileges on your computer during the installation process. This will allow the software to make the necessary changes to your system without any restrictions.
Once the HTC Vive software is successfully installed, you are one step closer to experiencing the fascinating world of virtual reality. The software serves as the backbone for running VR applications on your HTC Vive headset.
Now that the software is installed, you can proceed to the next steps, which involve connecting the HTC Vive to your PC and configuring the settings for an optimal VR experience.
Connecting the HTC Vive to your PC
Once you have the HTC Vive software installed on your computer, the next step is to connect the HTC Vive headset to your PC. Follow these instructions to ensure a proper connection:
- Locate the link box that came with your HTC Vive. This link box connects the headset to your PC.
- Connect one end of the provided HDMI cable to the HDMI port on the link box.
- Connect the other end of the HDMI cable to the HDMI port on your PC’s graphics card.
- Next, connect the USB cable from the link box to an available USB port on your PC. Ensure that it is a USB 2.0 or higher port.
- Finally, connect the power cable to the link box and plug it into a power outlet.
- Make sure that all cables are securely connected and not tangled.
Once the HTC Vive headset is connected to your PC, the computer will automatically detect the device and install the necessary drivers. This process might take a few moments, so be patient as the drivers are being installed.
After the drivers are installed, you are ready to proceed with configuring the HTC Vive settings to ensure an optimal VR experience.
Remember to handle the HTC Vive headset with care and avoid pulling or twisting the cables excessively. Proper cable management will help prevent any unwanted damage and ensure a longer lifespan for your device.
Configuring the HTC Vive Settings
After connecting the HTC Vive headset to your PC, it’s time to configure the settings to customize your VR experience. Follow these steps to ensure optimal settings:
- Launch the HTC Vive software on your computer.
- In the software interface, navigate to the “Settings” or “Preferences” section. This is where you can adjust various settings for the headset.
- Adjust the IPD (inter-pupillary distance) setting to match your own eye distance. This will ensure a clearer and more comfortable viewing experience.
- Calibrate the room scale by following the software instructions. This step will help the HTC Vive accurately track your movements in a defined play area.
- Explore the different settings available, such as display resolution, refresh rate, and audio preferences. Customize these settings according to your personal preferences and hardware capabilities.
- Take advantage of the advanced settings, which allow you to fine-tune the VR experience even further. These options include supersampling, motion smoothing, and more.
It is recommended to take your time to experiment with different settings to find the perfect balance between performance and visual quality based on your hardware capabilities.
Additionally, the HTC Vive software may provide options to enable or disable specific features, such as notifications, chaperone boundaries, or VR overlays. Adjust these settings according to your preferences and the specific VR experiences you’ll be engaging in.
By configuring the settings to match your preferences and hardware capabilities, you can enhance your overall VR experience and optimize performance for a smoother and more immersive journey into virtual reality.
Updating the HTC Vive Drivers
It is crucial to keep your HTC Vive drivers up to date to ensure compatibility and take advantage of the latest features and improvements. Here’s how you can update the HTC Vive drivers:
- Launch the HTC Vive software on your computer.
- Navigate to the “Settings” or “Preferences” section within the software.
- Look for an option such as “Check for Updates” or “Update Drivers.”
- Click on the appropriate option and wait for the software to scan for available driver updates.
- If any updates are found, follow the prompts to download and install the latest drivers on your computer.
- During the installation process, ensure that you have a stable internet connection to successfully download the updated drivers.
- Wait for the installation to complete. This may require restarting your computer for the changes to take effect.
By regularly updating your HTC Vive drivers, you can ensure that your VR experience is optimized and you have access to the latest features and performance enhancements. The updated drivers often contain bug fixes and improvements that can enhance stability and overall functionality of your HTC Vive headset.
It’s important to note that driver updates may vary depending on the specific model of your HTC Vive headset. Always refer to the official HTC Vive website or consult the documentation that came with your headset for any specific instructions or recommendations regarding driver updates.
By keeping your HTC Vive drivers up to date, you can unlock the full potential of your VR experience and ensure a smooth and immersive journey into virtual reality.
Troubleshooting Driver Installation Issues
While installing drivers for the HTC Vive, you may encounter some common issues that can hinder the installation process. Here are a few troubleshooting steps you can take to resolve driver installation issues:
- Restart your computer: Sometimes, a simple restart can resolve minor issues and allow for a smoother installation process.
- Disable antivirus software: Antivirus programs can sometimes interfere with the driver installation process. Temporarily disable your antivirus software during the installation process, then re-enable it afterward.
- Check USB and HDMI connections: Ensure that all USB and HDMI connections are properly inserted and securely connected. Loose connections can cause installation issues.
- Update USB drivers: Outdated or incompatible USB drivers can cause problems during the installation process. Visit your computer manufacturer’s website or the USB controller manufacturer’s website to download and install the latest USB drivers.
- Try different USB ports: If the driver installation is still not successful, try connecting the HTC Vive to a different USB port on your PC. Sometimes, certain USB ports may not provide the necessary power or data transfer capabilities.
- Temporarily disable firewall or security software: Firewalls or security software can sometimes interfere with the driver installation process. Disable any firewall or security software temporarily and try reinstalling the drivers.
- Check for compatibility: Ensure that your system meets all the minimum requirements for running the HTC Vive. If your computer falls short on any of the requirements, consider upgrading the necessary components.
- Consult customer support: If you have tried the above steps and are still experiencing driver installation issues, reach out to the HTC Vive customer support team for further assistance. They will be able to provide specific troubleshooting steps based on your situation.
By following these troubleshooting steps, you can overcome common driver installation issues and ensure a successful installation of the HTC Vive drivers. Remember to refer to the official HTC Vive website or consult customer support for further assistance if needed.