
Upgrade Your Graphics Card
One of the most crucial components for optimal performance on the HTC Vive is your graphics card. The graphics card is responsible for rendering the highly detailed virtual reality environments. If you’re experiencing lag or poor visual quality, upgrading your graphics card can greatly improve your VR experience.
Before upgrading your graphics card, check the HTC Vive’s system requirements and recommended specifications. This will give you an idea of the minimum card specifications needed to run VR smoothly. Additionally, consider the VR games or applications you plan on using, as some may require more powerful graphics cards.
When choosing a new graphics card, look for a model that supports VR technology, such as NVIDIA’s GeForce series or AMD’s Radeon series. These cards are designed to handle the demands of virtual reality and will provide a noticeable performance boost.
Installing a graphics card can be a straightforward process, but it’s important to follow the manufacturer’s instructions carefully. Ensure that your computer’s power supply can support the new card’s energy requirements. Also, make sure there is enough physical space inside your computer case to accommodate the card’s dimensions.
After installing the new card, update your graphics card drivers to the latest version. This can usually be done through the manufacturer’s website or a software utility provided by the graphics card manufacturer. Updated drivers can significantly improve compatibility and performance with the HTC Vive.
Upgrading your graphics card is a worthwhile investment if you’re looking to enhance your HTC Vive experience. It can improve visual fidelity, reduce lag, and ensure smoother gameplay. Remember to research the compatibility and specifications of the graphics card before making a purchase, and always follow the installation instructions provided.
Optimize Your Computer’s Settings
To maximize the performance of your HTC Vive, it’s essential to optimize your computer’s settings. By making a few adjustments, you can ensure that your system is running at its peak capabilities for an immersive VR experience.
Firstly, check if your computer is running in high-performance mode. This can usually be done by accessing the power settings in your operating system. By selecting the high-performance option, your computer will prioritize performance over energy efficiency, providing a smoother VR experience.
Next, make sure that unnecessary background applications are closed. Background programs can consume valuable system resources, causing lag or stuttering in VR. You can use task manager or third-party software to identify and close these applications. Alternatively, consider disabling startup programs that automatically launch when you boot your computer.
Regularly updating your operating system is also crucial for optimal performance. Operating system updates often include bug fixes and performance improvements. By keeping your system up to date, you can minimize compatibility issues and enhance the overall stability of your VR setup.
Another important aspect to consider is your computer’s virtual memory or paging file settings. Virtual memory is used by the operating system to provide additional memory when your system’s physical RAM is fully utilized. Adjusting the virtual memory settings can improve performance, especially if you have limited physical RAM. You can find these settings in the advanced system settings of your operating system.
Furthermore, optimizing your computer’s graphics settings can significantly impact VR performance. In your graphics card control panel, make sure that the VR application, such as SteamVR, is configured to use the dedicated graphics card rather than the integrated one. Also, adjust the graphics settings within the VR games or applications to find the right balance between visual quality and performance.
Lastly, consider optimizing your computer’s startup and shutdown processes. By disabling unnecessary startup programs and services, you can reduce the time it takes for your computer to boot up. Similarly, configuring your computer to properly shut down instead of going into sleep or hibernation mode can ensure a clean start every time you use the HTC Vive.
By following these tips, you can optimize your computer’s settings to enhance the performance of your HTC Vive. Regularly check for updates, close unnecessary applications, and adjust power settings and graphics configurations. These adjustments will help deliver a smooth and immersive VR experience.
Close Unnecessary Background Applications
One common factor that can negatively impact the performance of your HTC Vive is the presence of unnecessary background applications running on your computer. When multiple programs are running simultaneously, they compete for system resources, causing potential lag and reduced VR performance. To optimize your HTC Vive experience, it is important to identify and close any unnecessary background applications.
Firstly, launch the Task Manager on your computer by pressing Ctrl + Shift + Esc or right-clicking on the taskbar and selecting Task Manager from the menu. The Task Manager provides you with an overview of all the running applications and processes on your system.
Take a closer look at the list of processes and applications and identify any programs that are not essential or related to your current VR experience. These might include unnecessary system utilities, communication software, cloud storage applications, or browser extensions running in the background.
To close these background applications, simply select them from the Task Manager and click on the “End Task” button. Be cautious to only close applications that are not critical for your system’s functionality or your ongoing tasks.
An alternative approach is to prevent unnecessary applications from launching at startup. You can do this by accessing the startup tab in the Task Manager or through the settings of the specific applications themselves. Disabling unnecessary startup programs will free up valuable system resources and ensure a smoother VR experience.
It is worth noting that some applications, such as antivirus software or system monitoring tools, are important for the overall security and stability of your system. It is not recommended to close or disable such applications, as they play a vital role in protecting your computer.
Regularly monitoring and closing unnecessary background applications can significantly improve the performance and responsiveness of your HTC Vive. By minimizing the competition for system resources, you allow your VR experience to run more smoothly, reducing the risk of lag and visual glitches.
By taking the time to identify and close unnecessary background applications, you can optimize your computer’s performance and ensure an optimal VR experience with your HTC Vive.
Keep Your Drivers Updated
Keeping your drivers up to date is essential for maintaining optimal performance on your HTC Vive. Drivers are software programs that allow your computer’s operating system to communicate with and control the hardware devices, including your graphics card, audio card, and VR headset. Outdated drivers can result in compatibility issues, poor performance, and even stability problems. By regularly updating your drivers, you can ensure a smoother and more enjoyable VR experience.
To update your drivers, start by identifying the specific hardware components related to your HTC Vive. The most crucial drivers to keep updated are the graphics card drivers. Graphics card manufacturers such as NVIDIA and AMD frequently release driver updates that provide performance optimizations and enhancements specifically for VR applications.
You can update your graphics card drivers by visiting the manufacturer’s website (NVIDIA or AMD) and downloading the latest drivers for your specific card model. Alternatively, you can also use driver update software, such as GeForce Experience (for NVIDIA cards) or Radeon Software (for AMD cards), which can automatically detect and install the latest drivers for your hardware.
Aside from graphics card drivers, it’s also essential to regularly update your other device drivers, such as your audio card and USB controllers. Outdated audio drivers can cause sound issues or latency in VR experiences, while outdated USB drivers can result in connection problems with your HTC Vive.
To update these drivers, you can visit the respective manufacturer’s website for your audio card or USB controllers and download the latest drivers from their support page. Alternatively, you can often find driver updates through the device manager in your operating system.
Some VR applications or platforms, such as SteamVR, may also have their own software updates that provide compatibility improvements and additional features. Make sure to regularly check for updates within these applications to ensure you have the latest version installed.
By keeping your drivers updated, you can maximize the compatibility, performance, and stability of your HTC Vive. Regularly checking for driver updates and installing them will help ensure that you are utilizing the full potential of your hardware and provide a more immersive VR experience.
Adjust SteamVR Settings
To optimize your HTC Vive experience, it is important to adjust the settings within the SteamVR platform. SteamVR provides a range of customizable options that allow you to fine-tune your virtual reality settings to achieve the best performance and visual quality.
Start by launching SteamVR on your computer and accessing the settings menu. You can do this by clicking on the drop-down menu at the top left corner of the SteamVR window and selecting “Settings”.
One of the essential settings to consider is the “Resolution” setting. This setting determines the pixel density of the virtual reality display. Increasing the resolution can result in sharper visuals but might impact performance. Experiment with different resolution settings to find the right balance between visual quality and performance based on your computer’s capabilities.
In the “Video” settings, you’ll find options to adjust the refresh rate of your HTC Vive display. The refresh rate determines how many frames per second are displayed, with a higher refresh rate providing a smoother experience. However, increasing the refresh rate can put additional strain on your system. Adjust this setting based on the capabilities of your computer and the VR application you’re using.
Another important setting is the “Supersampling” option, which renders the VR scene at a higher-resolution before downsampling it for the headset display. Supersampling can enhance image clarity but also requires more processing power. Experiment with different levels of supersampling to find the right balance between visual quality and performance.
The “Performance” settings allow you to adjust various parameters related to performance optimization. Options such as “Allow asynchronous reprojection” and “Motion Smoothing” can help reduce lag and improve frame rates if your system is struggling to maintain a smooth VR experience.
Additionally, consider enabling the “Advanced Supersample Filtering” option, which enhances the image filtering techniques used in VR, resulting in improved image quality.
Within the SteamVR settings, you can also access the “Developer” options, which provide further customization for advanced users. These options let you fine-tune settings like “Render Model Animation Quality” and “Force Interleaved Reprojection” to optimize the performance and visual quality specific to your system.
By adjusting the SteamVR settings to match the capabilities of your computer and personal preferences, you can optimize the performance and visual quality of your HTC Vive. Experiment with different settings and monitor the impact on performance to find the optimal configuration for your VR experience.
Optimize In-Game Settings
When it comes to optimizing your HTC Vive experience, adjusting the in-game settings is crucial. Each VR game or application comes with its own set of graphical options that can significantly impact performance and visual quality. By optimizing the in-game settings, you can ensure a smoother and more immersive virtual reality experience.
Start by launching the specific VR game or application you want to optimize and access its settings menu. Look for options such as “Graphics” or “Video Settings” that allow you to customize the visual and performance-related settings.
One of the most important settings to consider is the “Graphics Quality” or “Detail Level” option. This setting determines the overall level of visual fidelity in the game. Higher graphics quality settings offer more detailed textures, lighting effects, and object models, but can put a heavier strain on your system. Experiment with different graphics quality settings to find the right balance between visual quality and performance.
Next, consider adjusting options such as “Anti-Aliasing” and “Texture Quality”. Anti-aliasing helps smooth out jagged edges in the virtual environment, while texture quality affects the level of detail and clarity in textures. Finding the appropriate settings for these options can improve visual quality while maintaining good performance.
Other settings to consider include “Shadow Quality”, “Particle Effects”, and “Ambient Occlusion”. These settings can add depth and realism to the virtual environment but may impact performance. Adjusting these options based on your system’s capabilities is crucial for a smooth and immersive experience.
Some games also offer specific VR-related options, such as “Motion Sickness Reduction” or “Comfort Mode”. These settings can help reduce motion sickness symptoms by mitigating motion-related effects in the game.
It’s important to remember that every system is different, and what works well for one game may not work optimally for another. Take the time to experiment with the in-game settings, keeping an eye on both performance and visual quality, to find the right configuration for each specific VR game or application you play.
Additionally, consider browsing online forums or communities dedicated to the specific VR game you’re playing. Often, players share their own optimized settings and tips for achieving the best performance and quality in different VR games.
By optimizing the in-game settings, you can tailor the virtual reality experience to your liking while ensuring a smooth and immersive gameplay experience on your HTC Vive.
Clear Space in Your Room
Creating an optimal physical environment is just as important as optimizing the software settings for your HTC Vive. To ensure a safe and immersive virtual reality experience, it is essential to clear space in your room to accommodate the movement and tracking required by the VR system.
Start by assessing the available space in your room. Ideally, you should have a cleared area of at least 6.5 feet by 6.5 feet (2 meters by 2 meters) to move around comfortably. This will allow you to fully enjoy room-scale VR experiences that involve walking, crouching, and reaching out in various directions.
Remove any furniture, large objects, or obstacles that may obstruct your movement or pose a safety hazard. This includes chairs, tables, lamps, fragile items, and anything that could be knocked over or bumped into during gameplay.
Clearing the space from tripping hazards, such as loose cables or rugs, is also crucial. Make sure that cables connecting your HTC Vive headset and controllers are well-secured and not in the way of your movement. Consider using cable clips or cable management systems to keep the cables neatly organized and out of your path.
Additionally, if you have reflective surfaces like mirrors or glass in your play area, cover or eliminate their presence. Reflective surfaces can interfere with the tracking system and impact the accuracy of the VR experience. Ideally, you should have matte or non-reflective surfaces in the room.
One effective way to ensure you stay within the allocated play area is to mark the boundaries on the floor. You can use adhesive tape or play mats to create a visible border that serves as a reminder of the safe zone. This will help prevent accidental collisions with walls or objects and keep you focused on the virtual world.
Remember to also consider the height of your play area. Make sure there is ample clearance above your head and that no hanging objects or ceiling fans could interfere with your movements.
By clearing the physical space in your room, you can prevent accidents, ensure a more immersive experience, and freely navigate in the virtual environment. Taking the time to set up a safe and spacious playing area will contribute to your overall enjoyment and safety while using the HTC Vive.
Improve Your Wi-Fi Connection
A stable and reliable Wi-Fi connection is essential for a smooth and uninterrupted VR experience on your HTC Vive. Weak or unstable Wi-Fi can result in latency, lag, and even disconnections during gameplay. To optimize your Wi-Fi connection, consider the following tips:
1. Position Your Router: Ensure that your Wi-Fi router is placed in a central location within your home or gaming area. This will help distribute the signal evenly and minimize potential interference from walls, furniture, or other objects.
2. Reduce Interference: Keep your router away from electronic devices and appliances that can interfere with the Wi-Fi signal, such as cordless phones, microwave ovens, or Bluetooth devices. These devices can cause signal degradation and disrupt your connection.
3. Upgrade Your Router: If you have an older or entry-level router, consider upgrading to a newer model that supports faster Wi-Fi standards, such as 802.11ac. The improved capabilities of modern routers can provide a more stable and faster connection for your HTC Vive.
4. Use a Wired Connection: For optimal performance, consider connecting your computer directly to the router using an Ethernet cable. A wired connection ensures a more stable and reliable connection compared to a wireless connection, minimizing any potential Wi-Fi-related issues.
5. Optimize Router Settings: Access your router’s settings through its web interface and customize specific settings for better performance. Options such as “Quality of Service” (QoS) prioritize bandwidth for gaming or streaming, while changing the Wi-Fi channel can help reduce interference from neighboring networks.
6. Update Router Firmware: Regularly check for firmware updates for your router and apply them as they often include stability improvements and bug fixes. Consult your router manufacturer’s website or user manual for instructions on how to update the firmware.
7. Use Wi-Fi Extenders or Mesh Systems: If you have a large or multi-level home, Wi-Fi range extenders or mesh systems can help extend the coverage and improve signal strength throughout your gaming area. These devices can provide a more consistent Wi-Fi connection, especially in areas far from the router.
8. Check Network Congestion: If you experience frequent drops in your Wi-Fi connection during peak hours, it may be due to network congestion. Consider changing the Wi-Fi channel or contacting your internet service provider (ISP) to address any network issues in your area.
Optimizing your Wi-Fi connection is essential for a seamless and immersive VR experience on your HTC Vive. By following these tips, you can ensure a stable and fast connection, reducing latency and maximizing your enjoyment of virtual reality gaming.
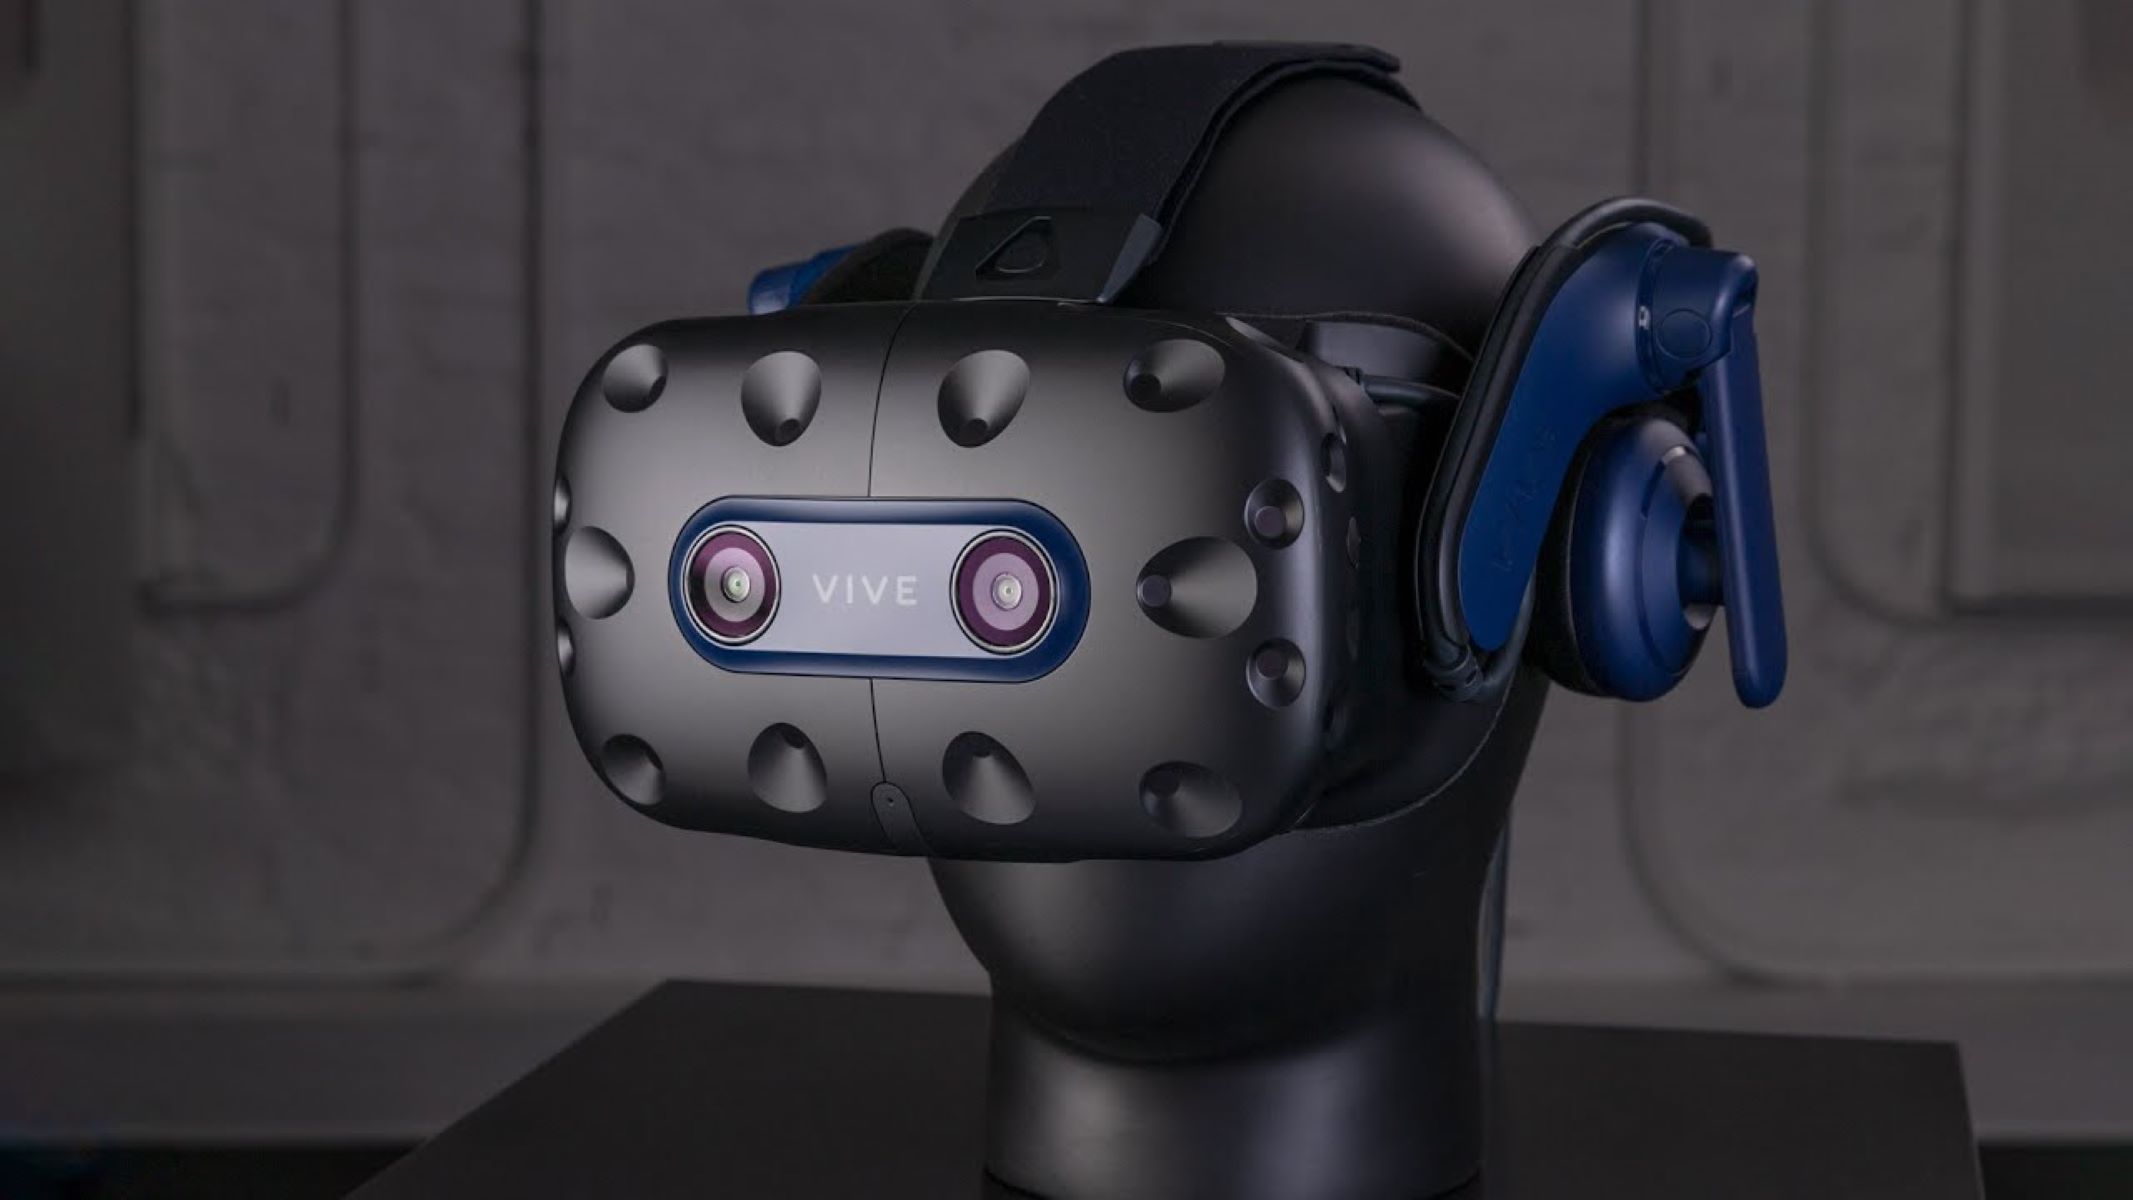
Clean Your Vive’s Front-Facing Sensors
The front-facing sensors on your HTC Vive play a crucial role in accurately tracking your headset’s movements in the virtual environment. Over time, these sensors can accumulate dust, smudges, or fingerprints, which can interfere with the tracking performance and affect the overall VR experience. To ensure optimal tracking, it is important to regularly clean the front-facing sensors of your Vive headset.
Before cleaning, ensure that your Vive headset is switched off and disconnected from any power sources. This will minimize the risk of accidental damage during the cleaning process.
To clean the front-facing sensors, start by using a microfiber cloth or lens cleaning cloth to gently wipe the external surfaces of the sensors. This will help remove any loose dust or debris that may have settled on the sensors.
If there are stubborn smudges or fingerprints on the sensors, lightly dampen the cloth with distilled water or a mild lens cleaner. Avoid using harsh chemicals, alcohol, or abrasive materials, as they can damage the sensor surfaces.
Gently wipe the sensors in a circular motion, being careful not to apply excessive pressure. Ensure that the cloth is not dripping wet, as excess moisture can seep into the headset and potentially cause damage.
For hard-to-reach areas or smaller crevices, you can use a small, soft-bristled brush or compressed air to dislodge any stubborn dust particles. Be cautious not to scratch or damage the sensors while using these tools.
Once you have thoroughly cleaned the front-facing sensors, allow them to fully dry before reconnecting and using your Vive headset. This will ensure that no moisture remains on the sensors, which could impact the tracking performance.
It’s a good practice to clean the front-facing sensors of your Vive headset regularly, especially if you notice a decrease in tracking accuracy or performance. By keeping the sensors clean and free from obstructions, you can enjoy a more immersive and seamless virtual reality experience.
Use the HTC Vive Link Box
The HTC Vive Link Box is an essential component of the HTC Vive setup that connects your VR headset to your computer. It not only serves as a gateway for transmitting audio and video signals but also provides additional functionalities to enhance your VR experience. Understanding how to properly use the HTC Vive Link Box can improve the performance and convenience of your HTC Vive system.
The first step in using the HTC Vive Link Box is to connect it to your computer. The box connects to your computer through a USB port and an HDMI port. Ensure that you have available ports on your computer that are compatible with the box’s connections. If your computer lacks these connections, you may need to use adapters or consider upgrading your hardware.
Once connected, the HTC Vive Link Box acts as a hub for all the necessary connections between your headset and computer. It provides power to the headset, connects the headset to the computer, and serves as a mediator between them.
One significant advantage of the Link Box is its ability to extend the range of your HTC Vive’s cables. When positioned close to your play area, it can act as a central point where you can connect the shorter cables from the headset, making it easier to move around freely without worrying about cable length limitations.
The Link Box also offers a convenient breakaway cable mechanism. In the event of accidental tugs or pulls on the headset’s cables during gameplay, the breakaway cable disconnects from the Link Box, preventing damage to the headset or the computer’s ports. This feature adds an extra layer of protection and ensures the longevity of your HTC Vive system.
Additionally, the HTC Vive Link Box features a status indicator light that provides important information about the connection status. A solid green light indicates that the headset and Link Box are properly connected and functioning, while a blinking light may indicate a connection issue or a software update requirement. Pay attention to the status light to troubleshoot any potential problems.
Remember to position the Link Box in a location that offers good ventilation to prevent overheating. Adequate airflow around the Link Box will help maintain its performance and prevent any hardware malfunctions.
Overall, the HTC Vive Link Box is a vital component for seamless and reliable connectivity between your VR headset and computer. By properly connecting and utilizing the Link Box, you can enjoy an enhanced VR experience with extended cable range, breakaway cable protection, and more convenient cable management.