
Different Types of Laptop and Monitor Connections
When it comes to connecting a monitor to your laptop, you need to ensure that the ports on both devices are compatible. Different laptops and monitors may come with different types of ports, so it’s essential to understand the various connection options available to you. Here are some of the most common types of laptop and monitor connections:
- HDMI: HDMI (High-Definition Multimedia Interface) is one of the most widely used and versatile options for connecting a laptop to a monitor. Most modern laptops have an HDMI output port, and many monitors have an HDMI input port. Simply connect one end of an HDMI cable to your laptop and the other end to the monitor, and you’ll be ready to go.
- VGA: VGA (Video Graphics Array) is an older connection method and is still used on some laptops and monitors. It uses an analog signal and requires a VGA cable with male connectors on both ends. To connect your laptop to a monitor using VGA, plug one end of the cable into your laptop’s VGA output port and the other end into the monitor’s VGA input port.
- DVI: DVI (Digital Visual Interface) is a digital video connection that offers high-quality video output. Some laptops and monitors may have DVI ports, which allow for a direct DVI-to-DVI connection using a DVI cable. If your laptop doesn’t have a DVI port, you can use a DVI-to-HDMI or DVI-to-VGA adapter to connect to a monitor.
- DisplayPort: DisplayPort is a digital video and audio connection that supports higher resolutions and refresh rates compared to HDMI and DVI. Newer laptops and monitors often feature DisplayPort ports, enabling a direct connection using a DisplayPort cable. If your laptop has a USB-C port, you can also use a USB-C to DisplayPort cable.
- Thunderbolt: Thunderbolt is a high-speed data and video connection that is commonly found on Mac laptops. Thunderbolt ports are compatible with DisplayPort, so you can use a Thunderbolt cable or a Thunderbolt-to-DisplayPort adapter to connect your laptop to a monitor.
It’s important to note that not all laptops and monitors will have the same type of ports. Before connecting your laptop to a monitor, make sure to check the ports on both devices and choose the appropriate connection method. Additionally, some laptops may have multiple types of ports, allowing you to choose the connection that best suits your needs.
Now that you are aware of the different types of laptop and monitor connections, you can select the appropriate method based on the available ports on your devices. Remember to choose a high-quality cable for the best video and audio performance. In the next section, we will guide you through the process of connecting your laptop to a monitor using these various methods.
Check Your Laptop’s Ports
Before connecting your laptop to a monitor, it’s important to check the ports on your laptop to determine what type of connection options are available to you. Different laptops may have different ports, so let’s take a look at some of the common ones:
- HDMI: Many modern laptops come equipped with an HDMI port, which allows for seamless connections to HDMI-compatible monitors. The HDMI port is typically rectangular in shape and labeled “HDMI”.
- VGA: Some laptops may still have a VGA port, especially older models. The VGA port has 15 pins and is trapezoidal in shape. If your laptop has a VGA port, you can connect it to a VGA-compatible monitor using a VGA cable.
- DVI: DVI ports are less common on laptops, but some higher-end models may feature them. DVI ports can be either DVI-D (digital only), DVI-A (analog only), or DVI-I (both digital and analog). If your laptop has a DVI port, you’ll need a DVI cable to connect it to a DVI-compatible monitor.
- DisplayPort: Newer laptops often come with DisplayPort ports, which provide high-quality video and audio output. DisplayPort ports are typically rectangular and have the DP symbol next to them. To connect your laptop to a DisplayPort-compatible monitor, you’ll need a DisplayPort cable.
- Thunderbolt: Thunderbolt ports are commonly found on Mac laptops, particularly Apple’s MacBook lineup. Thunderbolt ports are shaped like mini DisplayPort ports and offer fast data transfer speeds in addition to video output capabilities. If your laptop has a Thunderbolt port, you can use a Thunderbolt cable or a Thunderbolt-to-DisplayPort adapter to connect to a compatible monitor.
Make sure to examine your laptop thoroughly to identify the available ports. If you’re having trouble locating the ports, refer to your laptop’s user manual or visit the manufacturer’s website for accurate information.
It’s worth noting that some laptops may have multiple variants of the same port, such as USB-C ports that also support DisplayPort or Thunderbolt. In such cases, check your laptop’s specifications to ensure compatibility with the monitor you intend to connect.
Now that you have determined the available ports on your laptop, you can proceed to check the ports on your monitor in the next section.
Check Your Monitor’s Ports
When connecting your laptop to a monitor, it’s essential to check the ports on your monitor to ensure compatibility with your laptop’s available ports. Here are some common types of ports that monitors may have:
- HDMI: HDMI ports are widely supported on modern monitors. Look for a rectangular port labeled “HDMI” on the back or side of your monitor. If your monitor has an HDMI port, you can connect it directly to your laptop using an HDMI cable.
- VGA: VGA ports are older and less common on newer monitors. Look for a trapezoidal port with 15 pins labeled “VGA” on your monitor. If your monitor has a VGA port, you can connect it to your laptop using a VGA cable.
- DVI: DVI ports are still found on some monitors, although they are less common. There are three variants of DVI ports: DVI-D (digital only), DVI-A (analog only), and DVI-I (both digital and analog). If your monitor has a DVI port, ensure it matches the DVI output on your laptop, and use the appropriate DVI cable.
- DisplayPort: DisplayPort ports are becoming increasingly prevalent on newer monitors. Look for a rectangular port with the DP symbol next to it. If your monitor has a DisplayPort, you can connect it to your laptop using a DisplayPort cable.
- Thunderbolt: Thunderbolt ports, often found on Apple monitors, are compatible with DisplayPort connections. Look for a mini DisplayPort-shaped port labeled “Thunderbolt” on your monitor. If your monitor has a Thunderbolt port, you can use a Thunderbolt cable or a Thunderbolt-to-DisplayPort adapter to connect it to your laptop.
Thoroughly inspect your monitor’s ports to determine the available options. If you’re unsure about the ports or need more information, consult the monitor’s user manual or visit the manufacturer’s website for specifications.
Remember that the ports on your laptop and the ports on your monitor must be compatible for a successful connection. If both devices have the same type of port, you can connect them directly using the appropriate cable. Otherwise, you may need adapters or converters to ensure compatibility.
Now that you have checked both your laptop and monitor’s ports, you can proceed to connect them using the appropriate cable or adapter. The next sections will guide you through the steps of connecting your laptop to your monitor using various connection methods.
Connecting with an HDMI Cable
One of the most common and straightforward methods for connecting a laptop to a monitor is using an HDMI (High-Definition Multimedia Interface) cable. HDMI cables transmit both high-quality video and audio signals, making them a versatile choice. Follow these steps to connect your laptop to a monitor using an HDMI cable:
- First, ensure that both your laptop and monitor are turned off.
- Locate the HDMI port on your laptop. It is usually a rectangular port labeled “HDMI” on the side or back of the laptop.
- Take one end of the HDMI cable and insert it into the HDMI port on your laptop, making sure it fits securely.
- Next, locate the HDMI port on your monitor. It is typically located on the back or side of the monitor and labeled “HDMI”.
- Take the other end of the HDMI cable and insert it into the HDMI port on your monitor.
- Once both ends of the cable are securely connected, power on your monitor and then your laptop.
- Your laptop should automatically detect the monitor and configure the display settings. However, if the display does not appear on the monitor, you may need to adjust the settings manually.
- To adjust the display settings on your laptop, go to the “Display Settings” or “Graphics Settings” in your laptop’s control panel or system preferences.
- In the display settings, you can choose to extend the display, mirror the display, or set the external monitor as the primary display, depending on your preferences.
- Once you have selected the desired settings, the display should now appear on your monitor.
Using an HDMI cable provides a convenient and reliable connection between your laptop and monitor. It allows you to enjoy high-quality video and audio playback on a larger screen, making it ideal for presentations, gaming, or multimedia content.
Remember to use a high-quality HDMI cable for the best performance. If you encounter any issues with the display, such as resolution problems or no signal, ensure that both ends of the cable are securely connected and that the appropriate display settings are selected on your laptop.
Now that you have successfully connected your laptop to a monitor using an HDMI cable, you can enjoy a larger and more immersive visual experience. In the next section, we will explore another popular connection method using a VGA cable.
Connecting with a VGA Cable
If your laptop or monitor doesn’t have an HDMI port, or you simply prefer to use an alternative connection method, you can connect your laptop to a monitor using a VGA (Video Graphics Array) cable. VGA cables transmit analog video signals and are commonly found on older laptops and monitors. Follow these steps to connect your laptop to a monitor using a VGA cable:
- Ensure that both your laptop and monitor are turned off before starting the connection process.
- Locate the VGA port on your laptop. It is typically a trapezoidal-shaped port with 15 pins and labeled “VGA”. It may also have the letters “RGB” or “VIDEO” written next to it.
- Take the VGA cable with male connectors on both ends. Insert one end of the cable into the VGA port on your laptop, making sure it fits securely.
- Next, locate the VGA port on your monitor. It is usually located on the back or side and labeled “VGA”.
- Insert the other end of the VGA cable into the VGA port on your monitor.
- Once both ends of the cable are securely connected, power on your monitor and then your laptop.
- Your laptop should automatically detect the monitor and configure the display settings. However, if the display does not appear on the monitor, you may need to adjust the settings manually.
- To adjust the display settings on your laptop, go to the “Display Settings” or “Graphics Settings” in your laptop’s control panel or system preferences.
- In the display settings, you can choose to extend the display, mirror the display, or set the external monitor as the primary display, depending on your preferences.
- Once you have selected the desired settings, the display should now appear on your monitor.
Using a VGA cable allows you to connect your laptop to a monitor without the need for any additional converters or adapters. However, it’s important to note that VGA is an analog connection and may result in slightly lower image quality compared to digital connections like HDMI or DisplayPort.
Ensure that the VGA cable is securely connected at both ends to prevent any display issues. If you encounter problems such as a flickering screen or distorted image, try adjusting the cables or checking the connection points.
Now that you have successfully connected your laptop to a monitor using a VGA cable, you can enjoy an expanded workspace and larger display. In the next section, we will explore another popular connection method using a DVI cable.
Connecting with a DVI Cable
If your laptop or monitor supports DVI (Digital Visual Interface) connections, you can use a DVI cable to connect them. DVI cables transmit digital video signals and provide high-quality output. Follow these steps to connect your laptop to a monitor using a DVI cable:
- Before starting the connection process, make sure your laptop and monitor are both turned off.
- Locate the DVI port on your laptop. It can be either a DVI-D (digital only), DVI-A (analog only), or DVI-I (both digital and analog) port. The port is typically rectangular in shape and may be labeled “DVI”.
- Take the DVI cable and insert one end into the DVI port on your laptop, making sure it fits securely.
- Next, locate the DVI port on your monitor. It should match the DVI output on your laptop. Connect the other end of the DVI cable to the DVI port on your monitor.
- Once the cable is securely connected at both ends, power on your monitor and then your laptop.
- Your laptop should automatically detect the monitor and configure the display settings. However, if the display does not appear on the monitor, you may need to adjust the settings manually.
- Access the “Display Settings” or “Graphics Settings” in your laptop’s control panel or system preferences to adjust the display settings.
- In the display settings, select the desired display configuration, such as extending the display, mirroring the display, or setting the external monitor as the primary display.
- Save and apply the settings, and the display should now appear on your monitor.
Using a DVI cable provides a reliable and high-quality digital connection between your laptop and monitor. It is an excellent choice if your monitor supports DVI and your laptop does not have an HDMI or DisplayPort output.
It’s crucial to ensure that both ends of the DVI cable are securely connected to prevent any potential display issues. If you encounter problems such as a blank screen or incorrect resolution, double-check the cable connections and adjust the display settings accordingly.
Now that you have successfully connected your laptop to a monitor using a DVI cable, you can enjoy an expanded desktop workspace and high-quality video output. In the next section, we will discuss connecting with a DisplayPort cable, which offers advanced features and capabilities.
Connecting with a DisplayPort Cable
If you have a laptop and monitor that both support DisplayPort, using a DisplayPort cable is an excellent choice for connecting them. DisplayPort cables transmit high-quality audio and video signals, and they offer advanced features and capabilities. Follow these steps to connect your laptop to a monitor using a DisplayPort cable:
- Turn off your laptop and monitor before beginning the connection process.
- Locate the DisplayPort output on your laptop. It is typically a rectangular port with the DP symbol next to it. If you have a USB-C port on your laptop, it may also support DisplayPort connections using a compatible USB-C to DisplayPort cable.
- Take the DisplayPort cable and insert one end into the DisplayPort output on your laptop, ensuring a secure connection.
- Next, locate the DisplayPort input on your monitor. It should match the DisplayPort cable. Connect the other end of the DisplayPort cable to the DisplayPort input on your monitor.
- Ensure that the cable is securely connected at both ends, then power on your monitor and laptop.
- Your laptop should automatically detect the monitor and configure the display settings. If the display doesn’t appear on the monitor, you may need to adjust the settings manually.
- Access the “Display Settings” or “Graphics Settings” in your laptop’s control panel or system preferences
- Choose the desired display configuration, such as extending the display, mirroring the display, or setting the external monitor as the primary display.
- Save the settings, and you should now see the display on your monitor.
Connecting with a DisplayPort cable offers several advantages, including support for high resolutions, high refresh rates, and multi-streaming. It also allows for the transmission of both video and audio signals over a single cable.
Ensure that both ends of the DisplayPort cable are securely connected to avoid any display issues. If you encounter problems such as no signal or an incorrect resolution, check the cable connections and adjust the display settings as necessary.
Now that you have successfully connected your laptop to a monitor using a DisplayPort cable, you can enjoy a high-quality display and take advantage of advanced features. In the next section, we will explore connecting with a Thunderbolt cable, which offers additional functionalities for Mac users.
Connecting with a Thunderbolt Cable
If you have a Mac laptop or monitor with Thunderbolt ports, using a Thunderbolt cable is an excellent option for connecting them. Thunderbolt combines high-speed data transfer and video output capabilities in a single cable, making it a versatile choice. Follow these steps to connect your laptop to a monitor using a Thunderbolt cable:
- Turn off your Mac laptop and monitor before starting the connection process.
- Locate the Thunderbolt port on your Mac laptop. It is often a mini DisplayPort-shaped port with a lightning bolt symbol next to it.
- Take the Thunderbolt cable or a Thunderbolt-to-DisplayPort adapter and connect one end to the Thunderbolt port on your Mac laptop.
- Next, locate the Thunderbolt port on your monitor. It may have the same mini DisplayPort shape or resemble a USB-C port.
- Connect the other end of the Thunderbolt cable or the Thunderbolt-to-DisplayPort adapter to the Thunderbolt port on your monitor.
- Ensure that the cable is securely connected at both ends, then power on your monitor and Mac laptop.
- Your Mac laptop should automatically detect the monitor and configure the display settings. If not, you may need to adjust the settings manually.
- Go to the “Display Settings” or “Graphics Settings” in your Mac’s System Preferences.
- Choose the desired display configuration, such as extending the display, mirroring the display, or setting the external monitor as the primary display.
- Save the settings, and you should now see the display on your Thunderbolt-connected monitor.
Using a Thunderbolt cable provides you with a fast and reliable connection between your Mac laptop and Thunderbolt-compatible monitor. It offers high-speed data transfer, video output, and the ability to daisy-chain multiple devices.
Make sure that both ends of the Thunderbolt cable or adapter are securely connected to avoid any connection or display issues. If you experience problems, such as no signal or incorrect resolution, double-check the cable connections and adjust the display settings accordingly.
Now that you have successfully connected your Mac laptop to a Thunderbolt-compatible monitor, you can enjoy a seamless and high-performance display experience. In the next section, we will discuss how to adjust display settings on your laptop and monitor for an optimal viewing experience.
Adjusting Display Settings on your Laptop and Monitor
Once you have successfully connected your laptop to a monitor, it’s important to adjust the display settings to ensure an optimal viewing experience. Adjusting the display settings allows you to customize the resolution, orientation, and other visual aspects according to your preferences. Follow these steps to adjust the display settings on both your laptop and monitor:
- On your laptop, go to the “Display Settings” or “Graphics Settings”. The location may vary depending on your operating system, but it can usually be found in the control panel or system preferences.
- Within the display settings, you can choose to extend the display, mirror the display, or set the external monitor as the primary display. The options may be presented in a drop-down menu or a visual representation of the displays.
- Select the desired display configuration based on how you want to use your laptop and monitor. For example, if you want to extend your desktop across both screens, choose the “Extend” option. If you want the same content displayed on both screens, select the “Mirror” option.
- Adjust the resolution setting. In the display settings, you can choose the resolution for each display. Select the resolution that matches the native resolution of your monitor for the best picture quality. If you’re unsure, consult the monitor’s specifications or experiment with different resolutions.
- Experiment with other visual settings like brightness, contrast, and color calibration. These settings can be adjusted on your monitor itself using its built-in controls, or you may find additional options in the display settings on your laptop.
- Make sure to save your settings and apply the changes. Your laptop and monitor should now be properly configured.
Adjusting the display settings allows you to optimize the visual output on both your laptop and monitor, ensuring a comfortable viewing experience. It allows you to tailor the display to your specific needs, whether you’re working, gaming, or watching multimedia content.
Remember that different laptops and monitors may have slightly different options and settings. It’s recommended to refer to the user manuals or support documentation provided by your laptop and monitor manufacturers for more specific instructions.
Now that you have fine-tuned the display settings on your laptop and monitor, you are ready to fully enjoy the benefits and expanded workspace they offer. In the next section, we will address common connection issues and troubleshoot them to ensure a smooth experience.
Troubleshooting Common Connection Issues
While connecting a laptop to a monitor is usually a straightforward process, there can be occasional connection issues that may arise. Here are some common problems you may encounter and troubleshooting steps to help resolve them:
- No Signal: If your monitor displays a “No Signal” message or remains blank, check the cable connections to ensure they are secure at both ends. Also, verify that both the laptop and monitor are powered on.
- Incorrect Resolution: If the display on your monitor appears blurry or the resolution seems incorrect, access the display settings on your laptop and ensure that the resolution is set correctly. Choose the native resolution of your monitor for the best image quality.
- Blank or Flickering Screen: If you experience a blank or flickering screen, first check the cable connections. If they are secure, try using a different cable or port. You may also need to update your graphics drivers on your laptop to ensure compatibility with the monitor.
- Audio Issues: If you’re unable to hear audio from your monitor or experience audio glitches, check the audio settings on your laptop. Ensure that the correct audio output device is selected, and the volume is not muted or set too low.
- No External Display Option: Some laptops require you to enable the external display option manually. Access the display settings on your laptop and look for an option to extend or mirror the display. If the option is not available, check your laptop’s user manual or support documentation for instructions specific to your model.
- Compatibility Issues: In rare cases, you may encounter compatibility issues between your laptop and the monitor. Check the specifications of both devices to ensure they support the same connection type and resolution. If necessary, consider using an appropriate adapter or converter to bridge any compatibility gaps.
If you’ve tried the troubleshooting steps above and are still experiencing issues, consult the user manuals or support documentation provided by your laptop and monitor manufacturers. They may have additional troubleshooting steps specific to your devices.
Remember, patience and thoroughness are key when troubleshooting connection issues. It’s important to double-check all the necessary connections, settings, and compatibility requirements to ensure a successful connection between your laptop and monitor.
Now that you’re armed with troubleshooting knowledge, you can efficiently address any connection issues that may arise. In the next section, we will delve into using multiple monitors with your laptop and explore the benefits it offers.
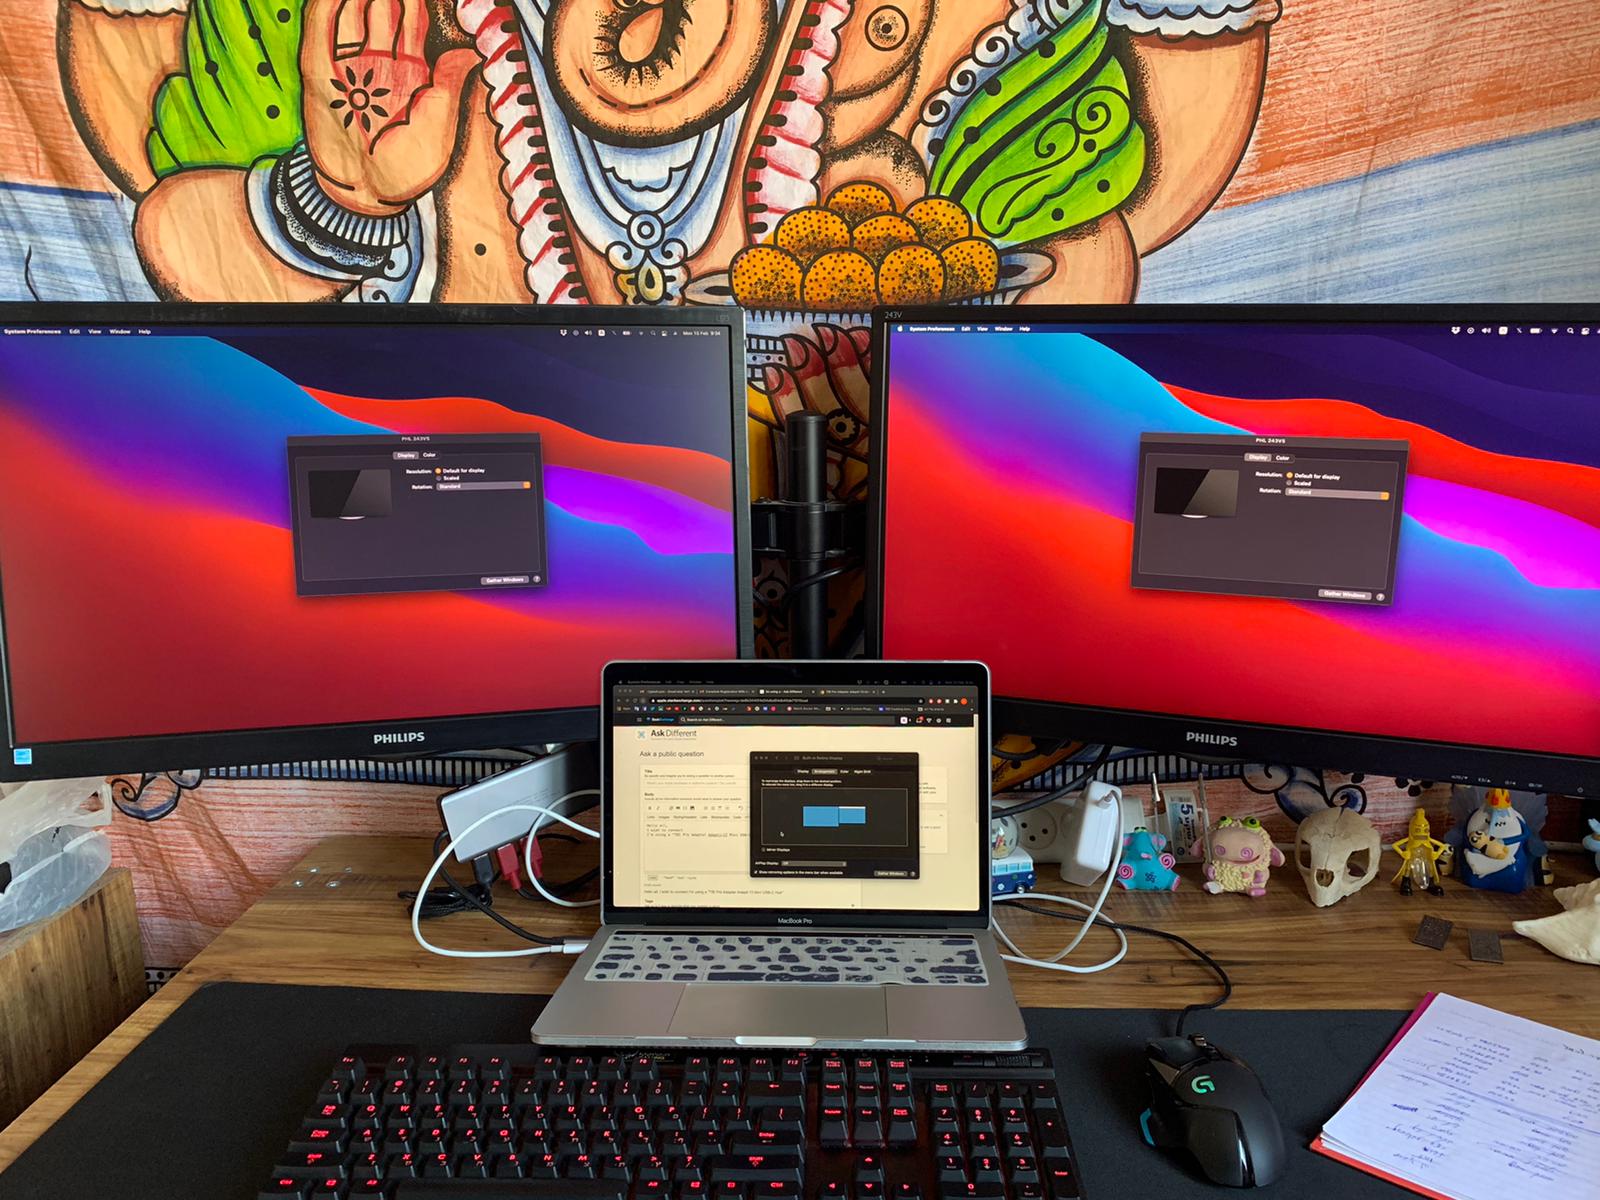
Using Multiple Monitors with your Laptop
If you require additional screen space or want to enhance your productivity, using multiple monitors with your laptop can be a game-changer. By extending your desktop across multiple screens, you can have more room for multitasking, managing multiple windows, and improving workflow efficiency. Here’s how to set up and use multiple monitors with your laptop:
- Check Graphics Card Capability: Ensure that your laptop’s graphics card supports multiple displays. Most modern laptops come with this capability, but it’s always a good idea to verify before proceeding.
- Check Available Ports: Determine the number and types of ports available on your laptop. Note the different connection options such as HDMI, VGA, DVI, DisplayPort, or Thunderbolt, as they will determine the type of cables or adapters you’ll need for connecting multiple monitors.
- Connect Additional Monitors: Connect one end of the cable to the respective port on your laptop and the other end to the corresponding port on the additional monitor. Repeat this step for each monitor you wish to connect.
- Access Display Settings: On your laptop, go to the “Display Settings” or “Graphics Settings” in the control panel or system preferences. Here, you can configure the layout and arrangement of your multiple monitors.
- Configure Display Settings: Choose to extend the desktop across all connected monitors. You can arrange the monitors in various configurations, such as side-by-side or vertical placement, depending on your preferences and physical setup.
- Adjust Resolution and Orientation: In the display settings, you can customize the resolution and orientation of each monitor. Ensure that the resolutions are set correctly for each monitor to prevent distortion or blurry displays.
- Experiment and Fine-Tune: Feel free to experiment with different layouts and settings to find the arrangement that best suits your workflow and personal preferences. You can also adjust the primary monitor if desired.
- Enjoy the Benefits: With multiple monitors set up, you can spread out your tasks across different screens, allowing for a more organized and efficient work environment. Enjoy the improved productivity, easy multitasking, and enhanced workflow that comes with the expanded desktop space.
Remember to make sure that the cables and connections between your laptop and the additional monitors are secure to avoid any intermittent signal loss or display issues. Adjusting the settings may require patience and experimentation, but you’ll soon reap the rewards of increased productivity and seamless multitasking.
Now that you know how to set up and use multiple monitors with your laptop, you can create a versatile and immersive workstation that caters to your specific needs. In the next section, let’s explore the benefits of connecting a monitor to your laptop.
Benefits of Connecting a Monitor to your Laptop
Connecting a monitor to your laptop can significantly enhance your computing experience and offer a range of benefits. Whether you’re using your laptop for work, creative tasks, or entertainment, here are some advantages of connecting a monitor:
- Enhanced Productivity: A larger screen real estate provided by a monitor allows for improved productivity. You can have multiple windows and applications open simultaneously, making it easier to multitask, compare data, and work on complex projects.
- Better Visual Experience: Most laptops have smaller screens compared to monitors, which often results in limited viewing space. Connecting a monitor provides a larger display that offers more comfortable and immersive viewing, whether you’re working on documents, watching videos, or editing photos and videos.
- Improved Ergonomics: Laptops are typically designed with portability in mind, which can lead to poor ergonomics. Working on a monitor allows you to adjust its height, tilt, and position, ensuring a more comfortable and ergonomic setup, reducing eye strain and neck and back discomfort.
- Increased Accuracy and Detail: A larger monitor with a higher resolution can provide more accurate color representation, finer details, and better image quality. This is particularly beneficial for tasks that require precise visual details, such as graphic design, video editing, and CAD work.
- Expanded Gaming Experience: Gaming on a larger monitor offers a more immersive and enjoyable experience. The increased screen size and resolution allow for better visuals, more detailed graphics, and enhanced gameplay. Additionally, connecting a monitor can free up your laptop’s resources and prevent overheating during extended gaming sessions.
- Presentation and Collaboration: Connecting a monitor to your laptop is ideal for presentations and collaborations. You can mirror your laptop screen to the monitor, enabling others to view your screen easily. This is especially useful in meetings, training sessions, and group projects.
- Extended Workspace: With multiple monitors connected to your laptop, you can extend your desktop across multiple screens, providing even more space for organizing windows, applications, and tasks. This expanded workspace is ideal for professionals in fields like graphic design, video editing, programming, and data analysis.
By connecting a monitor to your laptop, you can unlock these benefits and enhance your overall computing experience. Whether it’s for work, creative tasks, gaming, or collaboration, the additional screen space and improved visual capabilities can have a significant impact on your efficiency, comfort, and enjoyment.
Given the variety of input ports and connection options available, you can choose the most suitable method that matches your laptop and monitor’s capabilities. Enjoy the advantages of connecting a monitor to your laptop, and harness the potential for increased productivity and a better overall computing experience.