
What is AIM Mail?
AIM Mail is an email service provided by AOL that allows users to send, receive, and manage their emails. It offers a range of features, including customizable filters, to help users organize and streamline their email experience.
With AIM Mail, users can create a personalized email address and access their emails from any device with an internet connection. Whether you’re using it for personal or professional purposes, AIM Mail provides a user-friendly interface that makes managing your emails a breeze.
AIM Mail not only offers basic email functionalities like composing, replying, and forwarding messages, but it also provides a range of advanced features to enhance your email experience. One such feature is the ability to create filters.
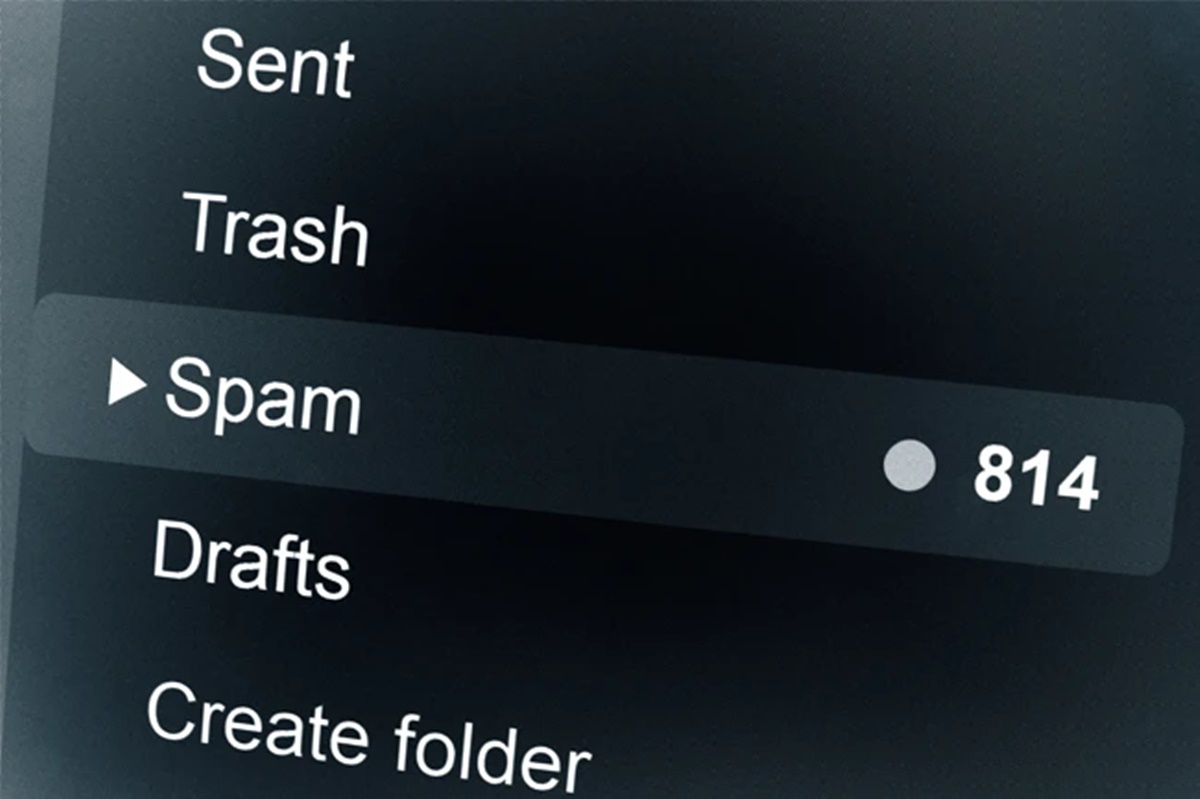
Filters in AIM Mail allow you to automatically sort and organize your incoming and outgoing emails based on specific criteria. By setting up filters, you can ensure that important messages are prioritized, junk or spam emails are filtered out, and specific emails are directed to separate folders for ease of access.
Filters in AIM Mail are a powerful tool that can save you time and effort by automating the process of organizing your emails. Whether you want to sort your emails by sender, subject, keywords, or other criteria, AIM Mail filters can help you achieve this efficiently.
Now that we understand what AIM Mail is and the purpose of filters, let’s take a closer look at how filters work and how you can create and customize them to suit your specific needs.
What are filters in AIM Mail and how do they work?
Filters in AIM Mail are a powerful feature that allows users to automate the organization and management of their emails. Essentially, filters act as rules or criteria that you can set up to automatically perform certain actions on incoming or outgoing messages.
When you create a filter in AIM Mail, you specify the conditions that a message must meet in order for the filter to be applied. These conditions can include the sender’s email address, the subject line, specific keywords, or other criteria. Once a message matches the specified conditions, AIM Mail will automatically perform the action associated with the filter.
The actions that can be associated with filters include moving the message to a specific folder, marking it as read or unread, forwarding it to another email address, deleting it, or even automatically replying to the sender.
To create a filter in AIM Mail, follow these steps:
- Log in to your AIM Mail account.
- Click on the “Settings” icon in the upper right corner of the screen.
- Select “Filters and Alerts” from the dropdown menu.
- Click on the “Create Filter” button.
- Specify the criteria for the filter, such as the sender’s email address, subject, or keywords.
- Choose the action you want AIM Mail to perform when a message matches the filter.
- Click on the “Save” button to create the filter.
It’s important to note that filters in AIM Mail are applied in the order they are created. If multiple filters are set up with overlapping criteria, the first filter that matches the message will be applied, and subsequent filters will not be triggered.
Filters can be a game-changer when it comes to managing your inbox effectively. They can help you automatically sort important emails, filter out spam or promotional messages, and keep your inbox organized. By saving you time and effort, filters in AIM Mail allow you to focus on the emails that matter most to you.
Now that you have an understanding of what filters are in AIM Mail and how they work, let’s explore the process of creating filters for your incoming and outgoing mail.
How to create a filter in AIM Mail?
Creating a filter in AIM Mail is a straightforward process that can greatly improve your email management efficiency. By following these steps, you can create and customize filters to organize your incoming and outgoing emails:
- First, log in to your AIM Mail account using your username and password.
- Once you’re logged in, locate the “Settings” icon in the upper right corner of the screen. Click on it to access the settings menu.
- In the settings menu, find and click on the option labeled “Filters and Alerts.”
- Within the “Filters and Alerts” section, click on the “Create Filter” button to begin the filter creation process.
- You will then be prompted to specify the criteria for the filter. This includes details such as the sender’s email address, subject line, or specific keywords that you want to match.
- After specifying the filter criteria, choose the action that you want AIM Mail to perform when a message meets the filter conditions. This can include moving the message to a specific folder, marking it as read/unread, forwarding it to another email address, or deleting it.
- Once you have defined the criteria and chosen the action, click on the “Save” button to create the filter.
You can create multiple filters in AIM Mail to cater to different email management needs. It is important to note that the order in which filters are created matters. Filters are applied in a sequential manner, with the first matching filter taking precedence over subsequent filters.
By creating filters in AIM Mail, you can automate the process of organizing your inbox and ensure that emails are sorted and prioritized based on your desired criteria.
Remember that filters can be modified, edited, or deleted at any time. This allows you to refine your filters as your email management needs evolve.
Now that you know how to create filters in AIM Mail, let’s explore how you can use filters to effectively manage your incoming and outgoing mail.
Filtering incoming mail in AIM Mail
Filtering incoming mail in AIM Mail is a powerful way to automatically manage and organize your inbox. By setting up filters for incoming messages, you can ensure that important emails are prioritized, spam is filtered out, and specific emails are directed to designated folders.
To start filtering your incoming mail in AIM Mail, follow these steps:
- Log in to your AIM Mail account.
- Click on the “Settings” icon in the upper right corner of the screen.
- Select “Filters and Alerts” from the dropdown menu.
- Click on the “Create Filter” button.
- Specify the criteria for the incoming mail filter. This could include the sender’s email address, specific keywords in the subject line, or other relevant criteria.
- Choose the action you want AIM Mail to take when a message matches the filter. For example, you can choose to automatically move the message to a specific folder, mark it as read, or forward it to another email address.
- Save the filter, and AIM Mail will automatically apply it to incoming messages that meet the specified criteria.
By filtering incoming mail, you can effectively manage your inbox and make it easier to locate and prioritize important messages. For example, you can create filters to automatically sort emails from specific senders or with specific keywords into separate folders for better organization.
Additionally, filters can help you reduce the amount of unwanted or spam mail that reaches your inbox. By creating filters that automatically delete or move spam messages to a separate folder, you can keep your inbox clean and focused.
Remember to regularly review and update your filters as needed. Over time, your email management needs may change, and adjusting your filters accordingly will ensure they remain effective.
Filtering incoming mail in AIM Mail can save you time and help you maintain a well-organized inbox. By automating the process of sorting and prioritizing your emails, you can focus on what matters most without getting overwhelmed by a cluttered inbox.
Next, we’ll explore how to effectively filter outgoing mail in AIM Mail.
Filtering outgoing mail in AIM Mail
In addition to filtering incoming mail, AIM Mail also allows you to filter your outgoing mail. Filtering outgoing mail can be useful in various scenarios, such as organizing sent messages, applying specific actions to certain types of outgoing emails, or setting up automatic replies for specific recipients.
To set up filters for outgoing mail in AIM Mail, follow these steps:
- Log in to your AIM Mail account.
- Click on the “Settings” icon in the upper right corner of the screen.
- Select “Filters and Alerts” from the dropdown menu.
- Click on the “Create Filter” button.
- Specify the criteria for the outgoing mail filter. This could include the recipient’s email address, specific keywords in the subject or body of the email, or other relevant criteria.
- Choose the action you want AIM Mail to take when an outgoing message matches the filter. For example, you can choose to automatically add a specific signature or add a specific label to the outgoing email.
- Save the filter, and AIM Mail will apply it to outgoing messages that meet the specified criteria.
Filtering outgoing mail can help streamline your email communication process and ensure consistency in your interactions. For instance, you can set up filters to automatically apply specific signatures or labels to outgoing emails based on certain criteria.
Another useful way to utilize filters for outgoing mail is by creating automatic replies. You can set up filters to automatically send predefined responses to specific recipients or messages that meet certain criteria. This can be particularly handy for sending out-of-office responses or general automated replies.
Remember to regularly review and update your filters for outgoing mail as needed to ensure they align with your current communication needs. You can modify or delete filters based on evolving requirements to maintain a customized and efficient email experience.
By filtering outgoing mail in AIM Mail, you can enhance your email organization, automate actions, and improve your overall email management efficiency.
Next, we’ll explore how you can customize filters in AIM Mail to tailor them precisely to your needs.
Customizing filters in AIM Mail
AIM Mail provides users with the flexibility to customize filters to suit their specific email management needs. By customizing filters, you can fine-tune the criteria and actions to precisely match your requirements and preferences.
To customize filters in AIM Mail, follow these steps:
- Log in to your AIM Mail account.
- Click on the “Settings” icon in the upper right corner of the screen.
- Select “Filters and Alerts” from the dropdown menu.
- Locate the filter you wish to customize and click on the “Edit” or “Modify” option.
- Here, you can adjust the filter’s criteria by adding, removing, or modifying the conditions based on sender, subject, keywords, and more.
- Additionally, you can modify the actions associated with the filter. This includes specifying a different folder to move the message to, changing the read/unread status, or selecting a new action altogether.
- Save the changes to update and apply the customized filter.
Customizing filters allows you to adapt them to your evolving needs and optimize your email management process. You can refine the criteria to make them more specific or adjust the actions to better suit your workflow.
Furthermore, AIM Mail enables you to prioritize filters by assigning them specific order numbers. Filters are processed based on their order number, with lower numbers taking precedence over higher ones. By reordering your filters, you can ensure that important messages are processed first and that subsequent filters are applied accordingly.
It’s important to regularly review and update your filters to ensure they remain effective. As your email habits change or your organizational needs evolve, customizing filters will help ensure that your AIM Mail account continues to prioritize and manage your emails efficiently.
Now that we’ve explored how to customize filters in AIM Mail, let’s move on to managing and organizing your filtered mail effectively.
Managing and organizing filtered mail in AIM Mail
Once you have set up filters in AIM Mail to sort and prioritize your emails, it’s important to effectively manage and organize the filtered mail to maintain an efficient workflow. Here are some tips on managing and organizing your filtered mail:
1. Create folders: Consider creating separate folders for different types of filtered emails. This allows you to easily locate and access specific categories of emails. For example, you could create folders for work-related emails, personal emails, or newsletters.
2. Review and update filter criteria: Regularly review and update your filter criteria to ensure they accurately reflect your changing needs. As your email patterns evolve, modifying the filter criteria will help ensure that your emails continue to be correctly sorted.
3. Delete unwanted emails: Periodically review the filtered emails and delete any unwanted or unnecessary ones. This will help keep your inbox clutter-free and improve your overall email management efficiency.
4. ‘Whitelist’ important contacts: If you have a filter that automatically moves messages to a specific folder, make sure to add important contacts to your ‘whitelist’ to ensure their emails are not filtered out mistakenly.
5. Customize folder settings: Customize your folder settings to optimize your workflow. For example, you can choose to receive notifications only for specific folders or set up rules to automatically forward emails in certain folders to other email accounts.
6. Use search functionality: When looking for specific emails, utilize the search feature available in AIM Mail. This can help you find emails quickly, even if they are stored in different folders.
7. Regularly maintain and clean up folders: Periodically go through your folders to organize and clean up any outdated or unnecessary emails. This will help keep your email management system efficient and ensure important messages are easily accessible.
8. Back up important emails: If necessary, consider backing up important filtered emails to ensure you have a copy in case of any unforeseen circumstances or accidental deletions.
By following these tips, you can effectively manage and organize your filtered email in AIM Mail. This will help maintain a streamlined workflow, reduce clutter, and make it easier to locate and access important messages.
Next, let’s explore some additional tips and tricks for using filters effectively in AIM Mail.
Tips and tricks for using filters effectively in AIM Mail
Filters in AIM Mail are a powerful tool for managing and organizing your emails. To ensure you get the most out of this feature, here are some tips and tricks for using filters effectively:
1. Be specific: When setting up filter criteria, be as specific as possible. Use email addresses, keywords, or specific phrases to accurately match the emails you want to filter. This will ensure that the filters target the desired messages without inadvertently filtering out important emails.
2. Test filters: After creating a filter, send test emails to see if they are being filtered and sorted correctly. This will help you identify and fix any issues with the filter criteria or actions.
3. Prioritize filters: Arrange your filters in the order of priority. Filters are processed sequentially, so make sure that the most important filters are at the top of the list to ensure they are applied first.
4. Combine criteria: Use multiple criteria in a single filter to create more targeted and refined filters. For example, you can filter emails from a specific sender with a specific subject line by combining both criteria.
5. Use wildcards: AIM Mail supports the use of wildcards (*) in filter criteria. This allows you to filter emails based on partial or multiple matches. For example, you can filter all emails from a certain domain by using the wildcard *@domain.com.
6. Review and adjust filters regularly: As your email needs change, make it a habit to review and update your filters. This will ensure that they continue to accurately sort and prioritize your emails.
7. Backup and export filters: Consider backing up your filters or exporting them for future use or when switching to a new email account. This will save you time and effort in recreating your filters.
8. Utilize the “Not” option: AIM Mail filters offer a “Not” option, allowing you to exclude specific criteria from being filtered. This can be useful when refining your filters to avoid filtering out important emails.
9. Combine filters with folders: Use folders alongside filters to further organize and manage your emails. Create folders corresponding to specific filters and ensure that filtered emails are automatically directed to the appropriate folders.
10. Regularly clean up filters: Periodically review your filters and delete any unnecessary or redundant ones. Keeping your filter list clean and organized will make it easier to manage and maintain.
By following these tips and tricks, you can maximize the effectiveness of filters in AIM Mail and streamline your email management process.
Now that you have a better understanding of how to use filters effectively in AIM Mail, let’s address some common issues that you may encounter and how to troubleshoot them.
Troubleshooting common issues with filters in AIM Mail
While filters in AIM Mail are designed to enhance your email management experience, you may encounter certain issues along the way. Here are some common issues with filters in AIM Mail and how to troubleshoot them:
1. Filter not working: If a filter is not working as intended, double-check the criteria and actions associated with the filter. Ensure that the criteria accurately match the emails you want to filter, and that the desired action is selected and set up correctly.
2. Overlapping filters: If you have multiple filters with overlapping criteria, only the first filter that matches the message will be applied. Review your filters and ensure that the order of the filters is set up correctly, so that the desired actions are applied in the desired order.
3. Whitelisted emails being filtered: If you have specific email addresses added to your whitelist, but their emails are still being filtered, check to see if there are any conflicting filters that might be overriding the whitelist. Adjust the filters accordingly to ensure that whitelisted emails are not mistakenly filtered out.
4. Inconsistent filtering: If certain emails are not consistently being filtered, check if the filter criteria are too specific or if there are any variations in the emails that might be causing the inconsistency. Adjust the criteria and test the filter with different variations to ensure consistent filtering.
5. Filtered emails not going to the correct folder: If emails that should be filtered to specific folders are not being directed correctly, review the filter criteria and folder settings. Ensure that the correct folder is specified in the filter action and that the folder exists and is correctly set up in AIM Mail.
6. Deleted emails not going to the trash folder: If you have a filter set up to delete specific emails, but they are not going to the trash folder, check your filter settings. Ensure that the action selected is to delete the message, and that the trash folder is properly set up in AIM Mail.
7. Error messages or unexpected behavior: If you encounter error messages or unexpected behavior when applying filters, try clearing your browser cache and cookies. Additionally, make sure your internet connection is stable. If the issue persists, contact AIM Mail support for further assistance.
Remember to always double-check your filter settings and criteria to ensure they are set up correctly. Regularly test and adjust your filters as needed to maintain optimal performance.
By troubleshooting these common issues, you can resolve any problems you may encounter with filters in AIM Mail and enjoy a seamless email management experience.
Now that we have covered the troubleshooting stage, let’s conclude by summarizing the key points of using filters effectively in AIM Mail.