
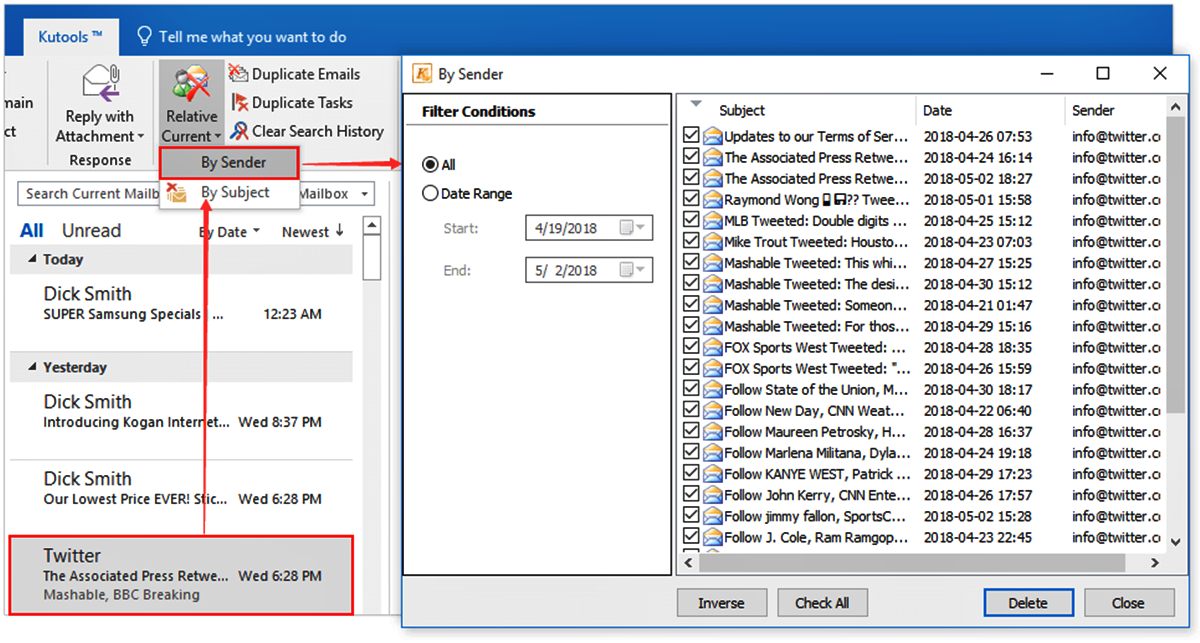
Why Filter One Sender’s Mail?
Filtering one sender’s mail can be a useful strategy to manage your inbox effectively. Whether it’s a newsletter that you’re subscribed to, or unwanted emails from a specific sender, creating a filter can help you stay organized and prioritize your important messages. By filtering emails from a particular sender to a dedicated folder, you can avoid cluttering your inbox and find relevant emails quickly and easily.
Here are a few situations where filtering one sender’s mail can be beneficial:
- Reduce Inbox Clutter: If you receive numerous emails from a specific sender that are not pertinent to your immediate attention, filtering them to a separate folder can help declutter your inbox and make it easier to find important emails.
- Prioritize Important Messages: By filtering emails from a specific sender, you can ensure that emails from other senders, such as work-related or personal messages, are not buried among irrelevant emails. This way, you can stay focused on the most important emails.
- Simplify Email Organization: If you have a specific project or ongoing conversation with a sender, filtering their emails to a dedicated folder can help you keep all related messages in one place. This can be especially useful for collaborations or long-term projects.
- Avoid Distractions: Filtered emails can be dealt with at your convenience, providing you with uninterrupted work time. By moving less important emails out of your main inbox, you can reduce distractions and stay focused on your tasks.
Filtering one sender’s mail is a practical way to streamline your email management and enhance productivity. It frees up your inbox, allows you to effortlessly locate important emails, and protects you from being overwhelmed by unwanted messages. The next sections will guide you through the steps of setting up a new folder and creating a filter rule in Microsoft Outlook.
Setting Up a New Folder
Before creating a filter to sort emails from a specific sender, you need to set up a new folder in Outlook. This folder will serve as the destination for the filtered emails, keeping them separate from your main inbox. Here’s how you can create a new folder in Microsoft Outlook:
- Open Outlook and navigate to your inbox.
- Right-click on the root folder or any existing folder (e.g., inbox, sent items).
- From the context menu, select “New Folder.”
- In the “Create New Folder” dialog box, enter a name for the folder (e.g., “Filtered Mail” or the sender’s name).
- Choose the location for the new folder. You can create the folder under the root directory or select an existing folder to nest it within.
- Click “OK” to create the folder.
By setting up a new folder, you create a dedicated space to store all emails from the sender you want to filter. This organization approach ensures that the filtered emails don’t mix with your other messages and are readily accessible when needed. With the new folder created, you can proceed to create a filter rule to automatically direct emails from the specific sender to the folder.
Creating a New Rule in Outlook
Once you have set up a new folder to store the filtered emails, you can proceed to create a rule in Microsoft Outlook. This rule will define the conditions and actions for filtering emails from a specific sender. Follow these steps to create a new rule in Outlook:
- Open Outlook and go to the “File” tab in the menu bar.
- In the File menu, select “Manage Rules & Alerts.”
- In the Rules and Alerts dialog box, click on the “New Rule” button.
- Choose the option “Apply rule on messages I receive” and click “Next.”
- Select the conditions you want to apply to the rule. To filter emails from a specific sender, choose the condition “from people or public group.”
- In the “Step 2” section of the wizard, click on the “people or public group” link to specify the sender’s email address or name.
- Enter the email address or select the sender from your Outlook contacts or address book.
- Click “OK” to confirm the sender selection.
- In the “Step 1” section, customize additional conditions if needed, such as specific words in the email subject or body.
- Click “Next” to proceed.
- Choose the action you want to apply to the filtered emails. Select the option “move it to the specified folder.”
- In the “Step 2” section, click on the “specified” link to choose the folder where you want to move the filtered emails.
- Select the folder you created earlier.
- Click “OK” to confirm the folder selection.
- Review the rule summary and make any necessary adjustments.
- Click “Finish” to create the rule.
By creating a new rule in Outlook, you can define the criteria for filtering emails from a specific sender and specify the destination folder for those emails. Outlook will automatically apply the rule to incoming messages, ensuring that emails from the selected sender are moved to the designated folder. Next, we will discuss how to review and modify the created rule if necessary.
Selecting the Sender to Filter
In order to create an effective filter in Microsoft Outlook, you need to specify the sender whose emails you want to filter. This ensures that only emails from that particular sender are directed to the designated folder. To select the sender to filter, follow these steps:
- Open Microsoft Outlook and go to the “File” tab in the menu bar.
- Click on “Manage Rules & Alerts” in the File menu.
- In the Rules and Alerts dialog box, select the rule you created or click on “New Rule” to create a new one.
- Choose the condition “from people or public group” in the “Step 1” section of the rule wizard.
- In the “Step 2” section, click on the “people or public group” link to specify the sender.
- Enter the email address or select the desired sender from your Outlook contacts or address book.
- Click “OK” to confirm the sender selection.
By selecting the sender to filter, you ensure that only emails originating from that specific sender will be subjected to the filtering rule. This allows you to precisely manage your inbox and avoid unnecessary clutter. Additionally, it helps streamline your email workflow and ensures that important messages are not missed among unrelated emails.
It’s worth noting that you can choose to filter multiple senders by repeating the above steps for each sender. This allows you to have separate folders for different types of senders, providing even more organization and efficiency in managing your emails. With the sender selected, let’s move on to the next step of choosing the action for the filtered emails.
Choosing the Action for Filtered Emails
After selecting the sender whose emails you want to filter in Microsoft Outlook, you need to specify the action to be taken for the filtered emails. This action determines what happens to the emails once they match the filter criteria. Here’s how you can choose the action for filtered emails:
- Open Microsoft Outlook and go to the “File” tab in the menu bar.
- Click on “Manage Rules & Alerts” in the File menu.
- In the Rules and Alerts dialog box, select the rule you created or click on “New Rule” to create a new one.
- Choose the condition “from people or public group” in the “Step 1” section of the rule wizard.
- In the “Step 2” section, specify the sender following the steps outlined in the previous section.
- In the “Step 1” section, choose the action you want to apply to the filtered emails. For instance, you can select the option “move it to the specified folder.”
- In the “Step 2” section, click on the “specified” link to choose the folder where you want to move the filtered emails.
- Select the folder you created earlier or create a new one specifically for these filtered emails.
- Click “OK” to confirm the folder selection.
By choosing the action for filtered emails, you are instructing Outlook to automatically move the emails from the selected sender to the designated folder. This action ensures that the filtered emails are organized separately, allowing you to locate them easily and focus on more important messages in your inbox. It also helps maintain a clutter-free inbox and prevents valuable emails from getting lost among other less important messages.
Remember, the action you choose can be customized to suit your preferences. You may decide to delete the filtered emails, flag them, or forward them to another recipient, depending on your specific requirements. With the action selected, the next step is to review and potentially modify the rule before applying it.
Reviewing and Modifying the Rule
Once you have selected the sender and defined the action for filtered emails in Microsoft Outlook, it’s essential to review and potentially modify the rule before applying it. This step ensures that the rule accurately reflects your filtering criteria and aligns with your email management needs. Follow these steps to review and modify the rule:
- Open Microsoft Outlook and navigate to the “File” tab in the menu bar.
- Select “Manage Rules & Alerts” from the File menu.
- In the Rules and Alerts dialog box, choose the rule you created or click on “New Rule” to create a new one.
- Review the conditions and actions specified in the “Step 1” and “Step 2” sections.
- If any changes are necessary, click on the corresponding links (e.g., the sender’s email address) to modify the criteria.
- Make the required adjustments to the rule, such as selecting a different sender, changing a keyword, or modifying the destination folder.
- Review the summary of the rule in the “Description” section, ensuring it accurately reflects your filtering preferences.
- Click “Finish” or “OK” to save the changes to the rule.
Reviewing and modifying the rule allows you to fine-tune the filtering process according to your evolving needs. It ensures that the rule is aligned with the correct sender and accurately defines the action to be taken for the filtered emails. By keeping the rule up to date, you can maintain an organized inbox, save time searching for specific emails, and focus on the most critical messages.
It’s worth noting that you can create multiple rules in Outlook to filter emails from different senders or apply different actions. This enables you to customize your email management based on specific criteria and preferences.
Once you have reviewed and modified the rule, it is recommended to test it to ensure it functions as expected. The next section will guide you on how to test the newly created rule in Outlook.
Testing the New Rule
After creating and modifying the rule in Microsoft Outlook to filter emails from a specific sender, it is important to test the rule to ensure it functions as intended. Testing allows you to verify that the emails from the selected sender are correctly filtered and directed to the designated folder. Follow these steps to test the newly created rule:
- Open Outlook and navigate to your inbox.
- Send a test email from the specified sender’s email address to your own email address.
- Observe the incoming email and check if it gets filtered and moved to the designated folder based on the rule you created.
- Repeat the test using different emails or send multiple test emails from the sender to confirm the consistent application of the rule.
By testing the rule, you can ensure that emails from the selected sender are correctly filtered and redirected according to your defined conditions and actions. It allows you to identify any potential issues or discrepancies in the rule’s implementation. If the filtering does not work as expected, you may need to review and modify the rule further.
During the testing phase, you can also evaluate the effectiveness of your rule in managing emails from the designated sender. Consider if the filtered emails are accurately organized in the specified folder and if they are easily accessible when needed. Additionally, assess whether the rule helps declutter your inbox and allows you to prioritize important messages effectively.
If you find that the rule is not functioning correctly during testing, revisit the rule settings, including sender selection, conditions, and actions. Make any necessary adjustments to ensure the rule accurately reflects your filtering requirements. Remember, rules in Outlook can be modified at any time to best suit your evolving email management needs.
By thoroughly testing the newly created rule, you can confidently rely on its functionality to improve your email organization, reduce clutter, and enhance your overall productivity.