
Setting up Email Account
Setting up an email account on your iPhone 10 is a straightforward process that allows you to conveniently access your emails on the go. Whether it's for personal or professional use, having your email readily available on your device can significantly enhance your productivity and communication. To ensure a seamless setup, follow these simple steps:
-
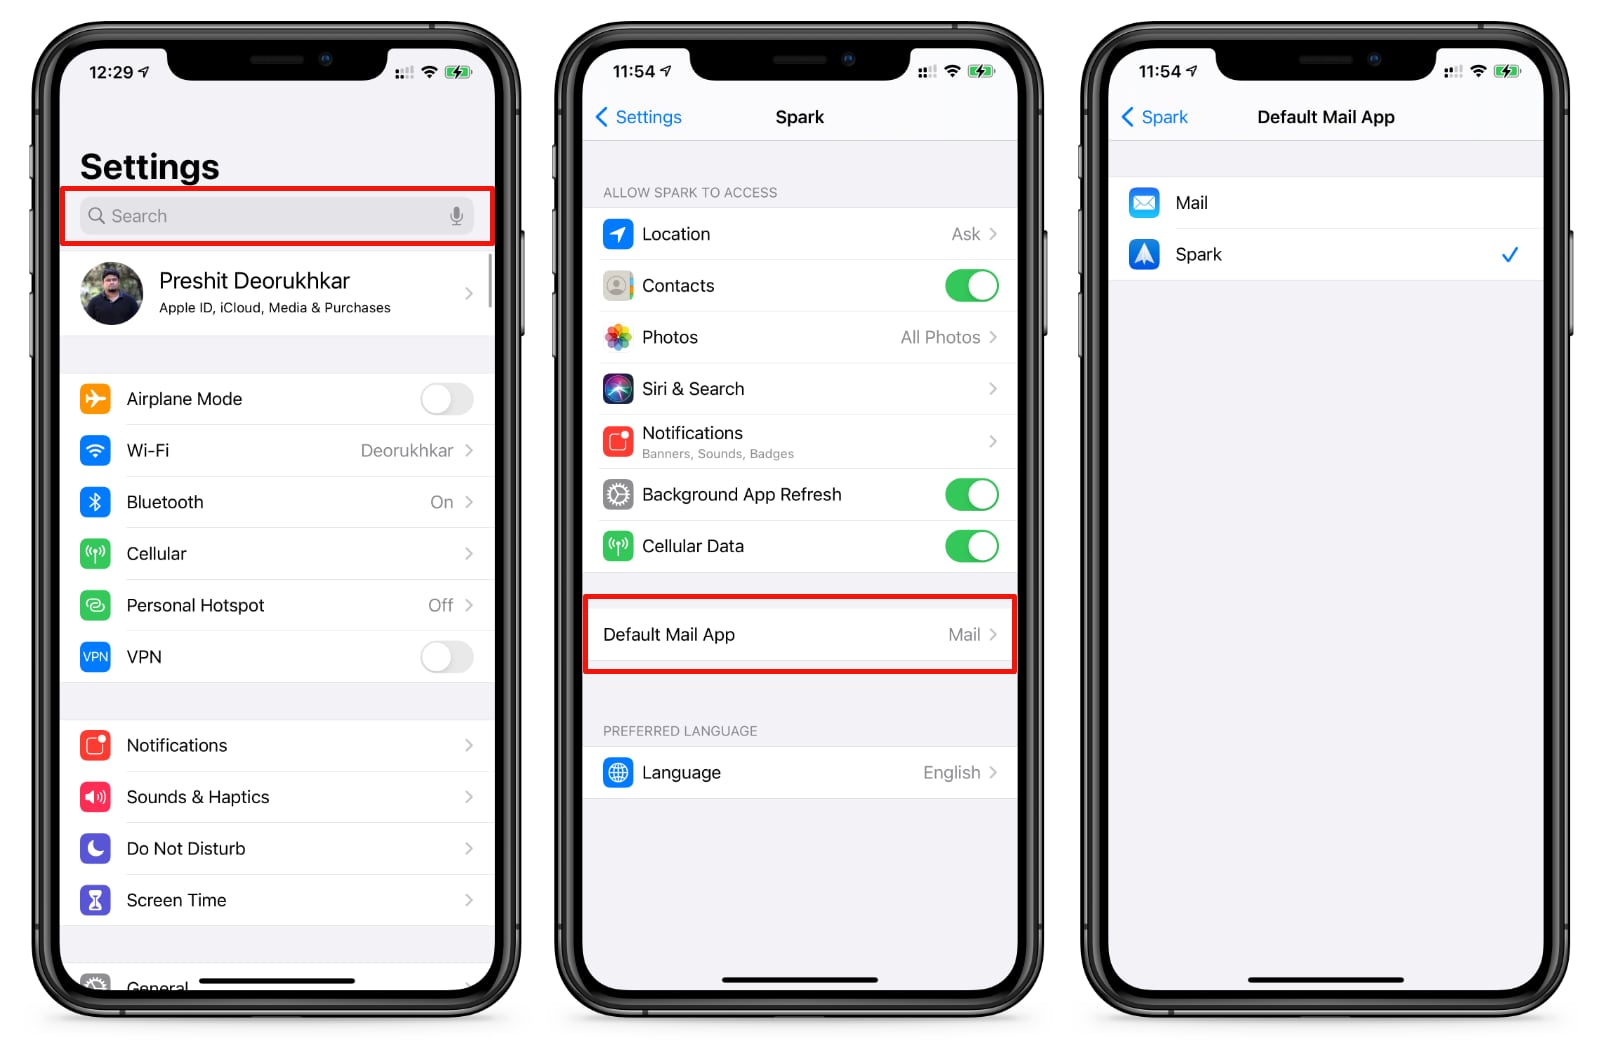
Accessing Settings: Begin by navigating to the "Settings" app on your iPhone 10. This is where you'll find all the necessary options to configure your email account.
-
Selecting Mail: Within the "Settings" menu, scroll down and tap on "Mail." This will open a new window with various mail-related settings.
-
Adding Account: Next, tap on "Accounts" to access the list of existing accounts, if any. To add a new account, select "Add Account." You'll be presented with a list of popular email providers such as Google, Yahoo, Outlook, and more. If your email provider is listed, simply select it and proceed to the next step. If not, choose "Other" to manually input your account details.
-
Entering Account Details: After selecting your email provider or choosing "Other," you'll need to input your email address and password. Once entered, tap "Next" to proceed.
-
Verification: Your iPhone 10 will then attempt to verify the account details. This process may take a few moments, depending on your internet connection and the email provider's server response.
-
Configuring Additional Settings: Once your account is verified, you may have the option to configure additional settings, such as enabling synchronization for emails, contacts, calendars, and notes. You can also choose the time interval for fetching new emails and whether to keep deleted emails on the server or not.
-
Completing Setup: After customizing the additional settings, tap "Save" or "Done" to complete the setup process. Your email account is now successfully added to your iPhone 10.
By following these steps, you can seamlessly set up your email account on your iPhone 10, ensuring that you stay connected and informed while on the move. With your emails easily accessible, you can efficiently manage your correspondence and stay on top of important communications, thereby enhancing your overall productivity and responsiveness.
Configuring Email Settings
Configuring email settings on your iPhone 10 is a crucial step in optimizing your email experience. By customizing these settings, you can tailor your email account to suit your specific preferences and requirements. Whether it's adjusting notification preferences, setting up email signatures, or managing mailbox behaviors, the ability to configure these settings empowers you to streamline your email management. Here's a detailed look at the various aspects of configuring email settings on your iPhone 10:
Notification Preferences
Upon adding your email account to your iPhone 10, you have the option to customize notification settings to ensure that you stay informed about incoming emails without being overwhelmed by constant alerts. By accessing the "Mail" section within the "Settings" app, you can specify whether you want to receive notifications for new emails, and if so, whether these notifications should be accompanied by sounds, banners, or badges. Additionally, you can set up VIP email notifications to prioritize emails from specific contacts, ensuring that you never miss important messages.
Email Signature
Personalizing your email signature adds a professional touch to your outgoing emails and helps recipients identify you easily. Within the email settings, you can create a customized signature that will be appended to all your outgoing emails. This feature allows you to include your name, job title, contact information, or any other details you deem necessary. By having a consistent and professional email signature, you can enhance your professional image and provide recipients with essential contact information.
Mailbox Behaviors
Managing mailbox behaviors is essential for optimizing your email storage and organization. Within the email settings, you can specify how your iPhone 10 handles deleted emails, archived emails, and drafts. For instance, you can choose whether deleted emails should be moved to the trash folder or permanently deleted, and whether drafts should be saved automatically. Additionally, you can set up mailbox behaviors for sent emails, allowing you to control whether a copy of each sent email is stored in the "Sent" folder.
Fetching New Data
Configuring the frequency of fetching new email data is crucial for balancing battery life and real-time email updates. In the email settings, you can choose how often your iPhone 10 checks for new emails, ranging from every 15 minutes to manually. By selecting an appropriate fetching interval, you can ensure that your device stays updated with the latest emails while conserving battery life.
By customizing these email settings on your iPhone 10, you can tailor your email experience to align with your preferences and optimize your email management. These configurations empower you to stay informed, maintain a professional image, and efficiently manage your email correspondence, ultimately enhancing your overall productivity and communication efficiency.
Adding Email Account
Adding an email account to your iPhone 10 is a seamless process that grants you the convenience of accessing your emails on the go. Whether it's a personal email or one associated with your work, having it readily available on your device ensures that you stay connected and informed at all times. The following steps outline the process of adding an email account to your iPhone 10:
-
Accessing Settings: To begin, navigate to the "Settings" app on your iPhone 10. This is where you'll find all the necessary options to configure your email account.
-
Selecting Mail: Within the "Settings" menu, scroll down and tap on "Mail." This will open a new window with various mail-related settings.
-
Adding Account: Next, tap on "Accounts" to access the list of existing accounts, if any. To add a new account, select "Add Account." You'll be presented with a list of popular email providers such as Google, Yahoo, Outlook, and more. If your email provider is listed, simply select it and proceed to the next step. If not, choose "Other" to manually input your account details.
-
Entering Account Details: After selecting your email provider or choosing "Other," you'll need to input your email address and password. Once entered, tap "Next" to proceed.
-
Verification: Your iPhone 10 will then attempt to verify the account details. This process may take a few moments, depending on your internet connection and the email provider's server response.
-
Configuring Additional Settings: Once your account is verified, you may have the option to configure additional settings, such as enabling synchronization for emails, contacts, calendars, and notes. You can also choose the time interval for fetching new emails and whether to keep deleted emails on the server or not.
-
Completing Setup: After customizing the additional settings, tap "Save" or "Done" to complete the setup process. Your email account is now successfully added to your iPhone 10.
By following these straightforward steps, you can seamlessly set up your email account on your iPhone 10, ensuring that you stay connected and informed while on the move. With your emails easily accessible, you can efficiently manage your correspondence and stay on top of important communications, thereby enhancing your overall productivity and responsiveness.
Managing Email Notifications
Managing email notifications on your iPhone 10 is essential for staying informed about incoming emails while maintaining control over the frequency and manner of notifications. By customizing these settings, you can strike a balance between staying updated and avoiding constant interruptions. Here's a detailed look at the various aspects of managing email notifications on your iPhone 10:
Customizing Notification Preferences
Upon adding your email account to your iPhone 10, you gain the ability to tailor notification settings according to your preferences. Accessing the "Mail" section within the "Settings" app allows you to specify whether you want to receive notifications for new emails. You can further refine these preferences by choosing the notification style, including sounds, banners, or badges. This customization empowers you to create a notification experience that aligns with your communication needs and personal workflow.
VIP Email Notifications
The VIP feature enables you to prioritize emails from specific contacts, ensuring that you never miss important messages from key individuals. By designating certain contacts as VIPs, you can receive distinct notifications for their emails, allowing you to promptly attend to critical communications. This feature is particularly valuable for professionals who need to stay responsive to specific contacts while managing a high volume of emails.
Notification Center Management
The Notification Center provides a centralized location for managing all your notifications, including emails. By accessing the Notification Center settings, you can further refine how email notifications are displayed and organized. This includes grouping notifications by app, customizing the order of notifications, and determining whether notifications should be displayed on the lock screen. These options provide a high degree of control over how email notifications are presented, ensuring that you can efficiently manage incoming emails without feeling overwhelmed.
Do Not Disturb Mode
Utilizing the "Do Not Disturb" mode allows you to temporarily silence all notifications, including email alerts, during specific periods. This feature is particularly useful during meetings, important tasks, or designated quiet times. By scheduling Do Not Disturb periods or activating it manually, you can create uninterrupted focus periods without being disrupted by email notifications. This promotes productivity and helps maintain a healthy work-life balance by minimizing distractions.
By managing email notifications on your iPhone 10, you can optimize your communication experience, ensuring that you stay informed while maintaining control over interruptions. These customizable settings empower you to strike a balance between staying responsive to incoming emails and minimizing disruptions, ultimately enhancing your overall productivity and communication efficiency.