
Checking the Warranty
Before embarking on the task of replacing your Dyson vacuum’s battery, it’s prudent to check the warranty status of your appliance. This step is crucial as it can potentially save you money and time. Dyson provides warranties for their products, and if your vacuum is still within the warranty period, you may be eligible for a free battery replacement or repair.
Firstly, locate your warranty documentation. This can be in the form of a physical booklet that came with the vacuum or an electronic copy stored in your email or on the Dyson website. Once you have the documentation, carefully review the terms and conditions of the warranty, paying close attention to the coverage period and any stipulations related to battery replacement.
If your vacuum is within the warranty period, the next step is to contact Dyson’s customer support. You can usually find the contact information on the warranty documentation or the official Dyson website. Reach out to them and provide the necessary details such as the vacuum’s serial number and purchase date. They will guide you through the process of obtaining a replacement battery or schedule a repair if needed.
On the other hand, if your warranty has expired, you may consider alternative options for battery replacement. While the warranty may not cover the cost of a new battery, you have the freedom to explore do-it-yourself (DIY) solutions, which can be a cost-effective and empowering approach to maintaining your Dyson vacuum.
By taking the time to check the warranty status of your Dyson vacuum, you can make an informed decision about the best course of action for your battery replacement needs. Whether you’re covered by the warranty or venturing into the DIY route, this initial step sets the stage for a successful and satisfying outcome.
Gathering the Necessary Tools
Before delving into the process of replacing the battery in your Dyson vacuum, it’s essential to ensure that you have the right tools at your disposal. Having the necessary tools not only facilitates a smooth and efficient battery replacement but also minimizes the risk of encountering unexpected challenges along the way.
The following tools are commonly required for replacing the battery in a Dyson vacuum:
- Screwdriver Set: A set of precision screwdrivers, including Phillips and Torx heads, is typically needed to disassemble the vacuum and access the battery compartment.
- Replacement Battery: Ensure that you have the correct replacement battery compatible with your specific Dyson vacuum model. It’s advisable to purchase genuine Dyson batteries or high-quality third-party alternatives that meet the manufacturer’s specifications.
- Clean Cloth: Having a clean cloth or microfiber towel on hand can be helpful for wiping any dust or debris that may be present during the battery replacement process.
- Work Surface: Prepare a suitable work surface with ample space to lay out the vacuum components as you disassemble them. This can help prevent misplacement or loss of small parts.
- Static-Safe Work Mat (Optional): To minimize the risk of static electricity damaging electronic components, using an anti-static work mat is advisable, especially if your vacuum contains sensitive electronic circuitry near the battery.
- Protective Gloves (Optional): While not always necessary, wearing protective gloves can offer added safety and prevent skin contact with any dust or debris inside the vacuum.
By gathering these essential tools and ensuring that you have a conducive work environment, you set the stage for a successful battery replacement process. This proactive approach can help streamline the task, instill confidence, and contribute to a positive DIY experience with your Dyson vacuum.
Removing the Old Battery
Once you have confirmed the warranty status and gathered the necessary tools, the next step in replacing the battery of your Dyson vacuum is to carefully remove the old battery. This process requires attention to detail and precision to ensure a seamless transition to the new battery.
Follow these step-by-step guidelines to remove the old battery:
- Prepare the Work Area: Lay out a clean and spacious work area with ample lighting. This will provide a suitable environment for disassembling the vacuum and handling the battery.
- Power Off the Vacuum: Ensure that the vacuum is powered off and unplugged from the electrical outlet to prevent any electrical hazards during the battery removal process.
- Access the Battery Compartment: Depending on the Dyson model, the battery compartment may be located in different areas. Refer to the user manual or online resources to locate and access the battery compartment of your specific model.
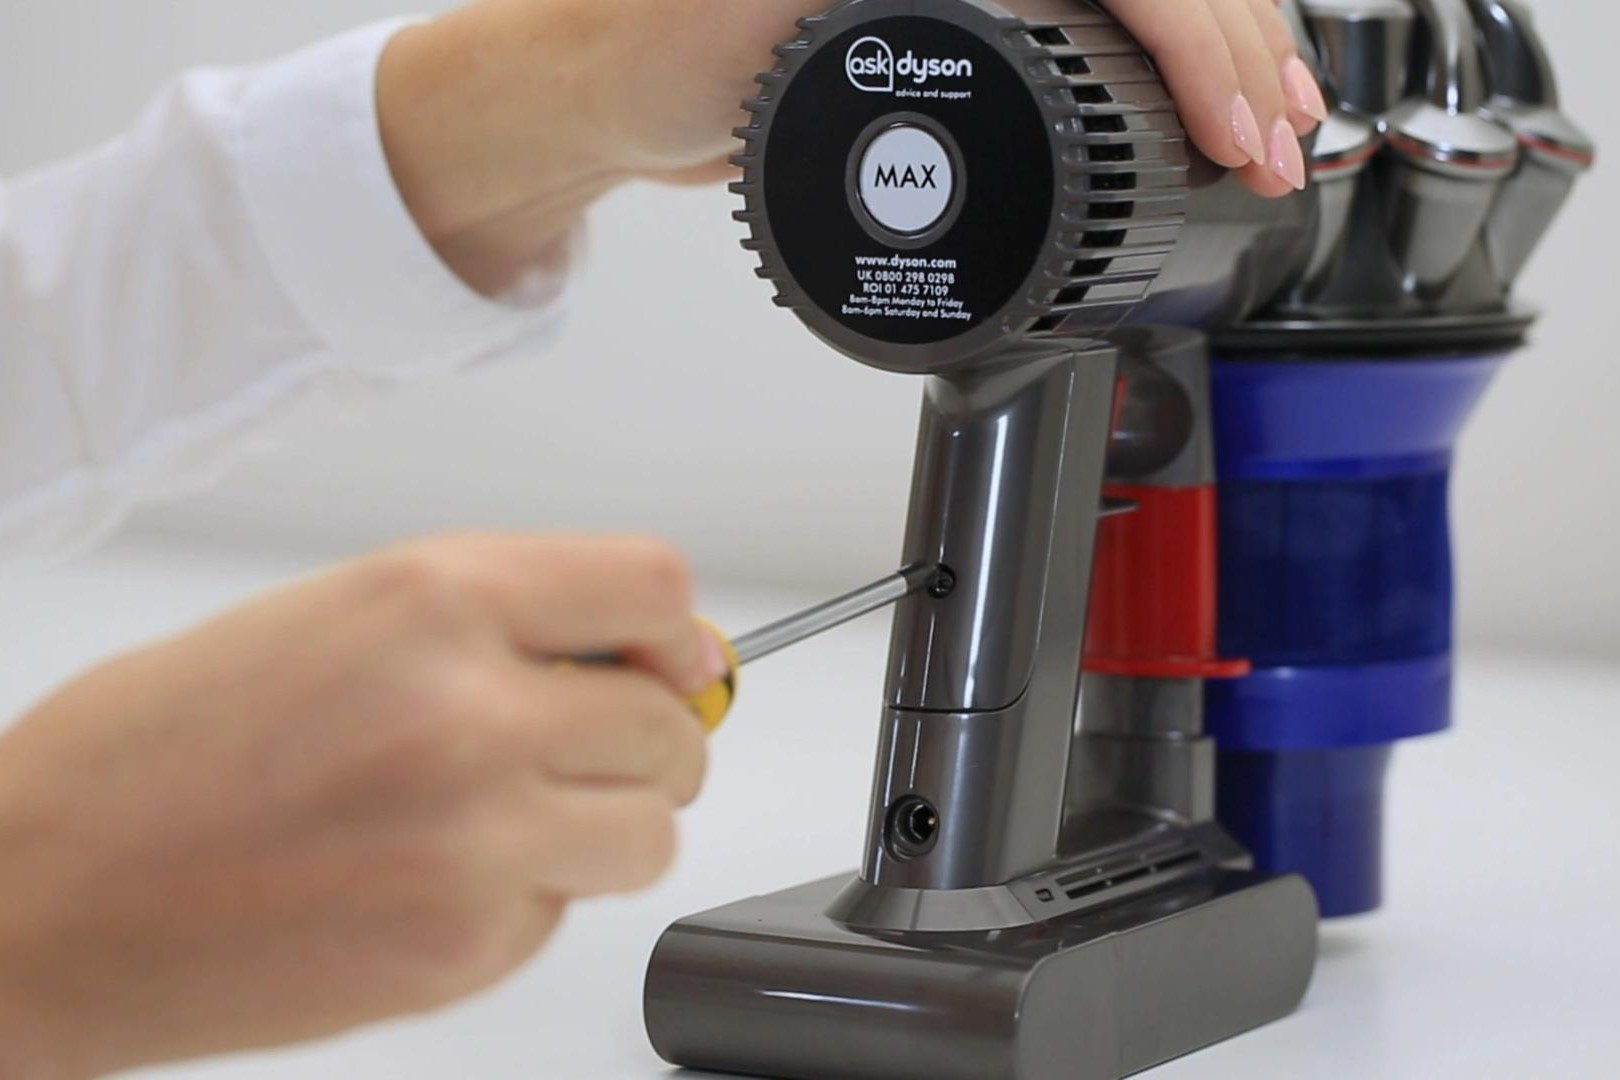
- Disassemble the Vacuum: Use the appropriate screwdrivers from your set to carefully remove the screws securing the battery compartment and any surrounding panels. Take note of the screw placement and keep them organized for reassembly.
- Disconnect the Old Battery: Once the battery compartment is accessible, gently disconnect the old battery from the vacuum’s internal wiring. Take note of the battery’s orientation and the connection points to ensure proper reinstallation of the new battery.
- Remove the Old Battery: With the old battery disconnected, carefully lift it out of the compartment, taking care not to damage any surrounding components or wiring.
During the battery removal process, it’s crucial to handle the components with care and attention to detail. By following these steps diligently, you can safely and effectively remove the old battery from your Dyson vacuum, paving the way for the installation of the new battery.
Installing the New Battery
With the old battery successfully removed, the next pivotal phase in the battery replacement process for your Dyson vacuum is the installation of the new battery. Ensuring a smooth and secure installation is essential for the optimal performance and longevity of the vacuum’s power source.
Follow these step-by-step instructions to install the new battery:
- Prepare the New Battery: Prior to installation, inspect the new battery to ensure it is compatible with your Dyson vacuum model. Verify that it matches the specifications provided by the manufacturer and is free from any defects or damage.
- Position the New Battery: Carefully place the new battery into the battery compartment, aligning it correctly with the connection points and ensuring a snug fit within the designated space.
- Connect the New Battery: Reconnect the new battery to the vacuum’s internal wiring, ensuring that the connections are secure and aligned with the correct polarity. Exercise caution to avoid forcing the connections, as gentle and precise handling is essential.
- Reassemble the Vacuum: Using the screws you previously removed, reattach the battery compartment cover and any surrounding panels, ensuring that all components are securely fastened. Refer to the disassembly process to guide the reassembly of the vacuum.
- Power On and Test: Once the new battery is securely installed and the vacuum is reassembled, power on the appliance to verify that the battery is functioning correctly. Test the vacuum’s operation to ensure that the new battery is providing the expected power and performance.
By meticulously following these steps, you can effectively install the new battery in your Dyson vacuum, setting the stage for continued reliable performance and prolonged battery life. This essential phase of the battery replacement process contributes to the overall functionality and usability of your vacuum, empowering you to maintain a clean and healthy living space with confidence.
Testing the Replacement
After successfully installing the new battery in your Dyson vacuum, it’s crucial to conduct thorough testing to ensure that the replacement has been completed accurately and that the vacuum is operating at its optimal capacity. Testing the replacement battery is a critical step that validates the success of the installation process and guarantees the continued functionality of the appliance.
Follow these steps to effectively test the replacement battery:
- Charge the Battery: Prior to testing, ensure that the new battery is adequately charged according to the manufacturer’s recommendations. This initial charging period is essential for optimizing the battery’s performance and longevity.
- Power On the Vacuum: Turn on the vacuum and observe its operation. Verify that the power indicator or display reflects the availability of power from the new battery.
- Operational Testing: Engage the vacuum in its intended cleaning function, whether it’s carpet cleaning, hard floor suction, or other specialized features. Pay attention to the suction power, motor sound, and overall performance to confirm that the new battery is facilitating the vacuum’s operation effectively.
- Battery Longevity Test: Run the vacuum for an extended period to assess the battery’s longevity and endurance. Monitor the duration of operation on a full charge to ensure that the new battery provides sustained power throughout a typical cleaning session.
- Recharge Performance: After testing the vacuum, recharge the battery and observe its charging behavior. Ensure that the battery charges efficiently and retains power as expected, indicating that the replacement battery is functioning optimally.
Thoroughly testing the replacement battery is essential for confirming its seamless integration into your Dyson vacuum. By meticulously following these testing procedures, you can validate the success of the battery replacement process and gain confidence in the sustained performance of your appliance.
Properly Disposing of the Old Battery
Once the old battery has been replaced in your Dyson vacuum, it’s essential to address the proper disposal of the old battery. Disposing of the old battery responsibly is not only environmentally conscious but also ensures compliance with regulations governing the disposal of electronic waste and batteries.
Follow these guidelines for the proper disposal of the old battery:
- Check Local Regulations: Research and familiarize yourself with the local regulations and guidelines for the disposal of old batteries. Many areas have specific protocols for the disposal of electronic waste and batteries to prevent environmental contamination.
- Recycling Centers: Explore options for recycling the old battery at designated electronic waste recycling centers or drop-off locations. Many communities offer recycling programs that accept old batteries for proper disposal and recycling.
- Retailer or Manufacturer Programs: Contact the retailer where you purchased the new battery or reach out to the Dyson manufacturer to inquire about their battery recycling programs. Some retailers and manufacturers facilitate the proper disposal and recycling of old batteries as part of their environmental initiatives.
- Battery Collection Events: Keep an eye out for local battery collection events or hazardous waste disposal days organized by municipal authorities. These events provide opportunities for residents to safely dispose of old batteries and electronic waste.
- Battery Packaging: If no local recycling options are available, ensure that the old battery is safely packaged to prevent leakage or damage during disposal. Place the battery in a sealed plastic bag or container before disposing of it in accordance with local waste management guidelines.
By adhering to these disposal guidelines, you contribute to environmental sustainability and responsible waste management practices. Properly disposing of the old battery from your Dyson vacuum ensures that it is handled in a manner that minimizes environmental impact and complies with regulatory standards.