
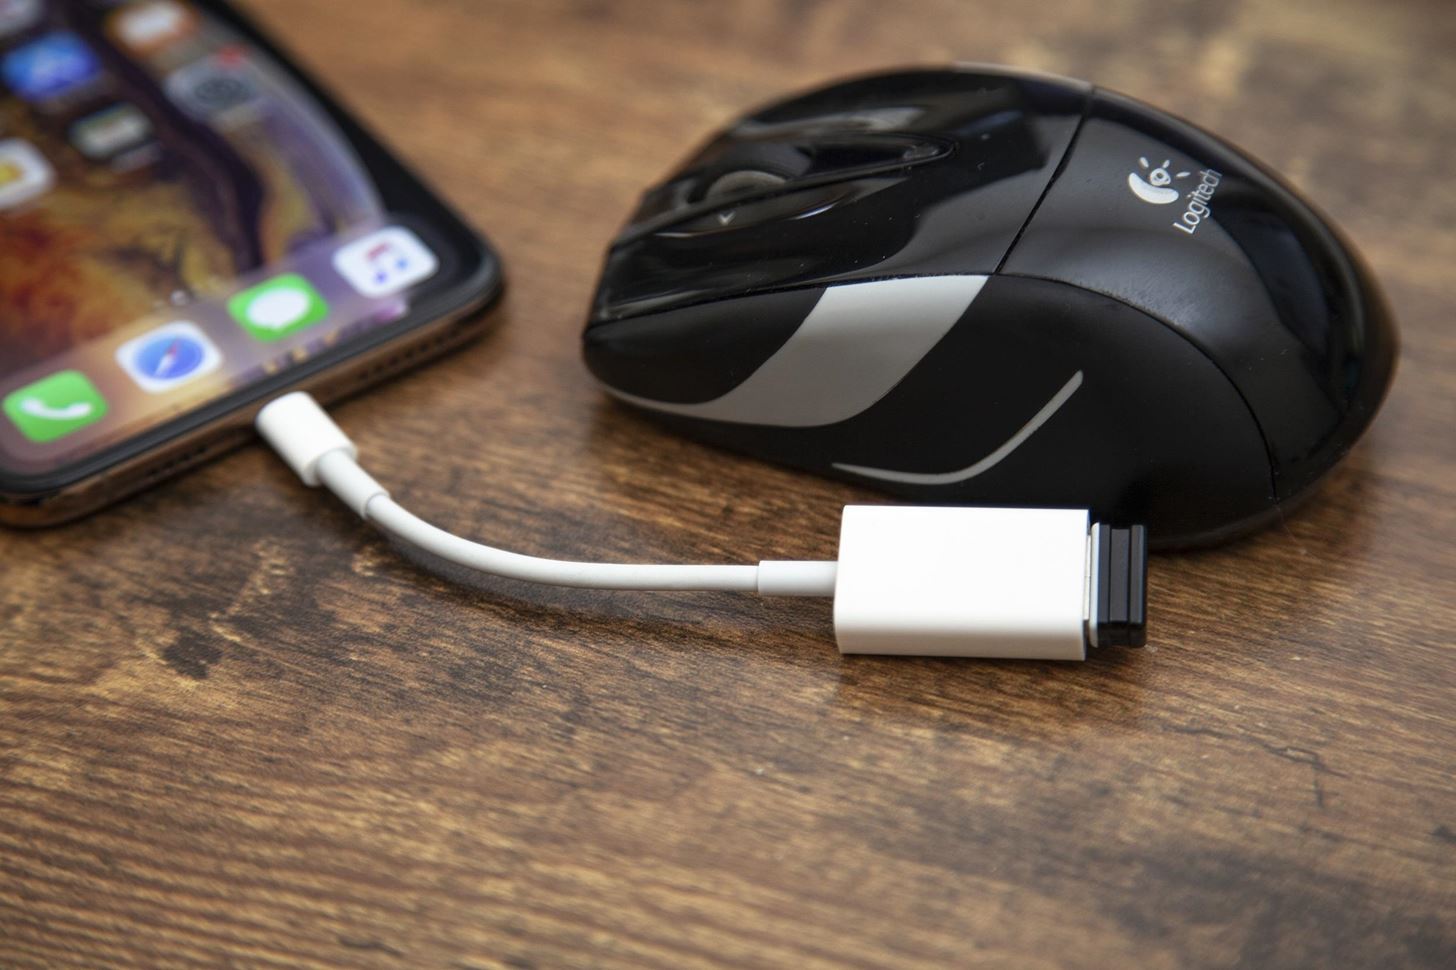
Checking the USB Cable
Before connecting your iPhone 13 to a computer, it's crucial to ensure that the USB cable is in optimal condition. A faulty or damaged cable can lead to connectivity issues and hinder the seamless transfer of data between your iPhone and the computer.
Here are the essential steps to check the USB cable:
-
Physical Inspection: Begin by visually examining the USB cable for any signs of wear and tear. Look for frayed edges, exposed wires, or any visible damage along the length of the cable. If you notice any such issues, it's advisable to replace the cable with a new one to avoid potential connectivity problems.
-
Firm Connection: Next, ensure that the USB cable is securely plugged into both the iPhone 13 and the computer's USB port. A loose connection can result in intermittent connectivity and disrupt the data transfer process. Therefore, gently push the USB connector into the ports to establish a secure connection.
-
Alternate Cable: If available, consider using an alternate USB cable to connect your iPhone 13 to the computer. This can help determine whether the original cable is the source of any connectivity issues. Testing with a different cable can provide valuable insights into the root cause of any potential connection problems.
-
USB Port Inspection: Additionally, inspect the USB ports on both the iPhone 13 and the computer for any foreign objects or debris that may obstruct the connection. Use a can of compressed air to gently remove any dust or debris from the ports, ensuring a clean and unobstructed connection.
By meticulously checking the USB cable and ensuring a secure connection, you can mitigate potential connectivity issues and pave the way for a smooth and reliable connection between your iPhone 13 and the computer.
Remember, a well-functioning USB cable is the cornerstone of seamless data transfer and device connectivity, making it essential to prioritize its inspection before initiating the connection process.
Connecting iPhone 13 to a Windows Computer
Connecting your iPhone 13 to a Windows computer allows for seamless data transfer, software updates, and device management. The process is straightforward and can be accomplished using built-in features and utilities. Here's a detailed guide on how to connect your iPhone 13 to a Windows computer:
-
Using a Compatible USB Cable: Begin by selecting a compatible USB cable to establish the physical connection between your iPhone 13 and the Windows computer. The USB cable serves as the conduit for data transfer and device recognition.
-
Unlocking Your iPhone: Ensure that your iPhone 13 is unlocked before connecting it to the Windows computer. This step is essential to allow the computer to access the device and initiate the data transfer process.
-
Connecting to the USB Port: Plug one end of the USB cable into the iPhone 13's lightning port and the other end into an available USB port on the Windows computer. Upon establishing the physical connection, the computer will begin detecting the iPhone 13 as a connected device.
-
Trust This Computer Prompt: When connecting your iPhone 13 to a Windows computer for the first time, a "Trust This Computer" prompt may appear on your device. To proceed with the connection, unlock your iPhone 13 and tap "Trust" on the prompt. This action establishes a secure connection between the device and the computer.
-
Device Recognition and Access: Once the iPhone 13 is connected and trusted, the Windows computer will recognize the device and may launch the built-in File Explorer to display the iPhone 13 as a connected device. From here, you can access the device's internal storage, photos, videos, and other media for seamless data transfer.
-
Data Transfer and Device Management: With the iPhone 13 successfully connected to the Windows computer, you can proceed to transfer files, backup data, sync media, and manage the device using iTunes or other compatible software. This enables you to maintain and organize your iPhone 13's content directly from the Windows computer.
By following these steps, you can effortlessly connect your iPhone 13 to a Windows computer, facilitating efficient data transfer and device management. This seamless connection opens up a myriad of possibilities, allowing you to leverage the resources and capabilities of both your iPhone 13 and the Windows computer for enhanced productivity and convenience.
Connecting iPhone 13 to a Mac Computer
Connecting your iPhone 13 to a Mac computer is a seamless process that enables efficient data transfer, device management, and synchronization of content. The integration between iPhone 13 and Mac empowers users to leverage the ecosystem's synergy, facilitating a cohesive and interconnected digital experience. Here's a comprehensive guide on how to connect your iPhone 13 to a Mac computer:
-
Using a Compatible USB Cable: Commence by selecting a compatible USB cable to establish the physical connection between your iPhone 13 and the Mac computer. The USB cable serves as the conduit for data transfer and device recognition.
-
Unlocking Your iPhone: Ensure that your iPhone 13 is unlocked before connecting it to the Mac computer. This step is crucial to allow the computer to access the device and initiate the data transfer process.
-
Connecting to the USB Port: Plug one end of the USB cable into the iPhone 13's lightning port and the other end into an available USB port on the Mac computer. Upon establishing the physical connection, the Mac computer will detect the iPhone 13 as a connected device.
-
Trust This Computer Prompt: When connecting your iPhone 13 to a Mac computer for the first time, a "Trust This Computer" prompt may appear on your device. To proceed with the connection, unlock your iPhone 13 and tap "Trust" on the prompt. This action establishes a secure connection between the device and the computer.
-
Device Recognition and Access: Once the iPhone 13 is connected and trusted, the Mac computer will recognize the device and may launch the Finder application to display the iPhone 13 as a connected device. From here, you can access the device's internal storage, photos, videos, and other media for seamless data transfer.
-
Data Transfer and Device Management: With the iPhone 13 successfully connected to the Mac computer, you can proceed to transfer files, backup data, sync media, and manage the device using the Finder or other compatible software. This enables you to maintain and organize your iPhone 13's content directly from the Mac computer.
By following these steps, you can effortlessly connect your iPhone 13 to a Mac computer, enabling efficient data transfer and seamless device management. This harmonious integration fosters a cohesive digital ecosystem, allowing you to harness the combined capabilities of your iPhone 13 and Mac computer for enhanced productivity and convenience.
Trusting the Computer
Trusting the computer is a pivotal step when connecting your iPhone 13 to a Windows or Mac computer for the first time. This essential security measure ensures that only trusted devices can access the data on your iPhone, safeguarding your privacy and sensitive information. When the "Trust This Computer" prompt appears on your iPhone 13, it signifies the initiation of a secure connection process between the device and the computer.
Upon connecting your iPhone 13 to a Windows computer, the "Trust This Computer" prompt serves as a crucial authentication mechanism. By unlocking your iPhone 13 and tapping "Trust" in response to the prompt, you explicitly authorize the Windows computer to access the device's data. This action establishes a secure and encrypted connection, mitigating the risk of unauthorized access while enabling seamless data transfer and device management.
Similarly, when connecting your iPhone 13 to a Mac computer, the "Trust This Computer" prompt plays a pivotal role in ensuring the security of the connection. By unlocking your iPhone 13 and affirming trust in the prompt, you grant the Mac computer the necessary permissions to access the device's data securely. This mutual trust between the iPhone 13 and the Mac computer fosters a secure environment for data transfer and synchronization, reinforcing the integrity of the connection.
The act of trusting the computer not only fortifies the security of the connection but also establishes a foundation of trust between your iPhone 13 and the connected computer. This trust is reciprocal, as it empowers the computer to recognize and interact with your iPhone 13 while ensuring that your data remains protected from unauthorized access.
By acknowledging and trusting the computer, you are actively participating in the establishment of a secure and trusted connection, fostering a seamless and protected environment for data exchange and device management. This fundamental step underscores the significance of security and privacy in the realm of device connectivity, empowering users to engage in seamless data transfer with confidence and peace of mind.
Managing iPhone 13 Files on the Computer
Managing files on your iPhone 13 from a computer offers a convenient and efficient way to organize, transfer, and backup your data. Whether you are using a Windows or Mac computer, the process of managing iPhone 13 files involves leveraging built-in software and utilities to streamline data synchronization and device management.
Windows Computer:
When connecting your iPhone 13 to a Windows computer, you can utilize iTunes or the built-in File Explorer to manage your device's files. With iTunes, you can sync media, backup data, and update the device's software, providing a comprehensive platform for managing your iPhone 13's content. Additionally, the File Explorer allows you to access the device's internal storage, photos, and videos, enabling seamless file transfer and organization directly from the computer.
Mac Computer:
On a Mac computer, the Finder serves as the primary tool for managing iPhone 13 files. The Finder provides a user-friendly interface for accessing the device's content, allowing you to transfer files, create backups, and synchronize media with ease. By leveraging the Finder's intuitive features, you can efficiently manage your iPhone 13's files while benefiting from the seamless integration between the device and the Mac ecosystem.
Data Transfer and Backup:
Managing iPhone 13 files on the computer empowers you to transfer music, photos, videos, and documents between the device and the computer. This seamless data transfer capability facilitates efficient content management, enabling you to organize and backup your files for safekeeping and accessibility. Whether you are archiving precious memories or organizing work-related documents, managing iPhone 13 files on the computer provides a versatile and reliable solution for data synchronization and backup.
Device Organization and Maintenance:
Furthermore, managing iPhone 13 files on the computer allows for comprehensive device organization and maintenance. You can create folders, categorize files, and arrange content directly from the computer, optimizing the organization of your iPhone 13's data. This streamlined approach to device management fosters a clutter-free and well-organized digital environment, enhancing your ability to locate and manage files with efficiency and precision.
By managing iPhone 13 files on the computer, you can harness the full potential of your device while benefiting from the robust capabilities of your Windows or Mac computer. This seamless integration facilitates efficient data transfer, device organization, and backup, empowering you to maintain a well-managed and synchronized digital ecosystem across your devices.