
Checking the Battery Level
Before diving into the exciting world of your new iPhone 10, it's crucial to ensure that the device is adequately charged. A sufficient battery level will not only allow for a seamless activation process but also prevent any interruptions during setup.
-
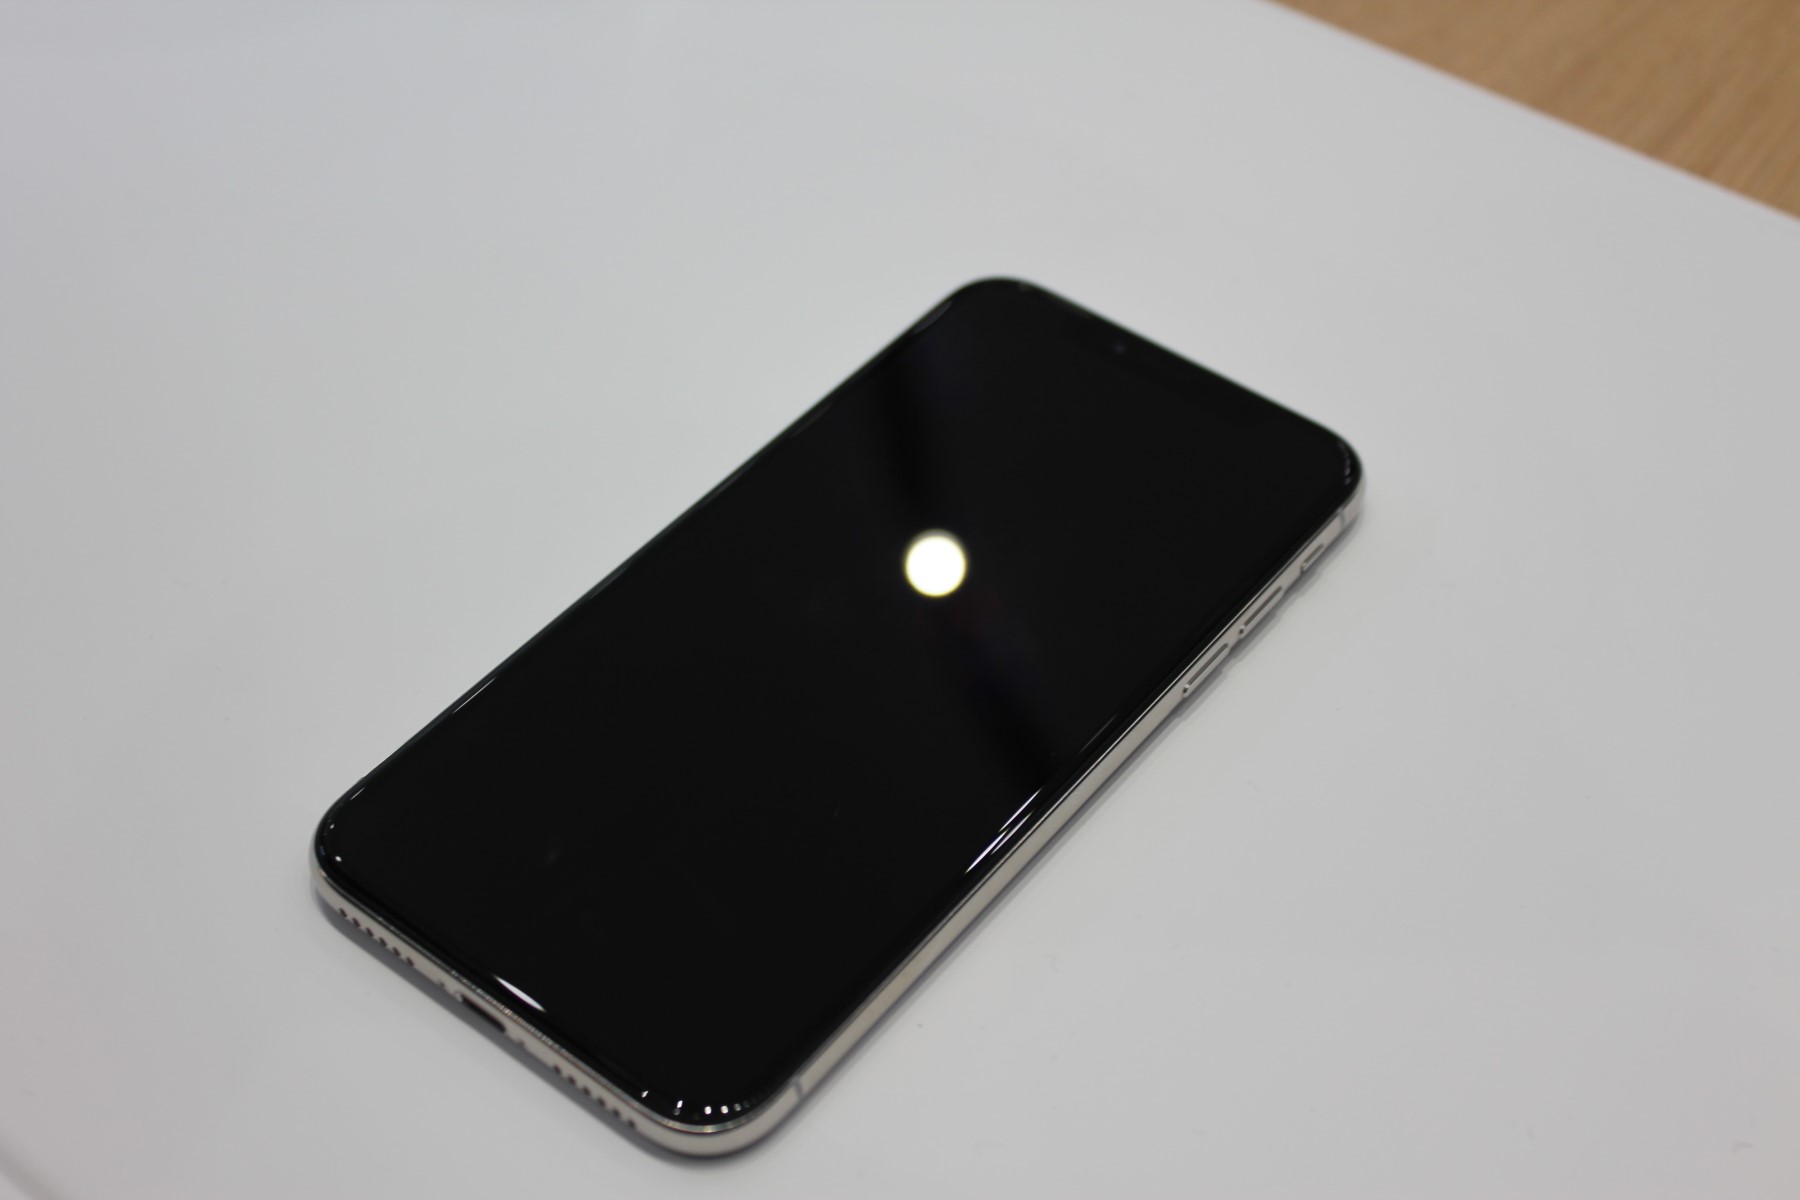
Locating the Power Button: The first step in checking the battery level is to locate the power button on your iPhone 10. This button is typically situated on the right-hand side of the device. It's essential to familiarize yourself with the location of this button to avoid any confusion during the activation process.
-
Pressing the Power Button: Once you've located the power button, press and hold it for a few seconds. As you do so, you should observe the screen coming to life. If the battery level is adequate, the device will display the Apple logo, indicating that it's ready to be activated.
-
Interpreting the Battery Icon: Upon pressing the power button, you'll notice a battery icon on the screen. This icon provides a visual representation of the current battery level. If the battery is sufficiently charged, the icon will be either partially or fully filled, indicating a healthy battery level. However, if the battery is low, the icon may appear empty or contain only a small amount of charge.
-
Charging the Device if Necessary: In the event that the battery level is low, it's advisable to connect your iPhone 10 to a power source using the provided charging cable and adapter. This will initiate the charging process, allowing you to proceed with the activation once the battery has reached an optimal level.
By ensuring that your iPhone 10 has a satisfactory battery level before activation, you can embark on the setup process with confidence, knowing that your device is primed and ready to be unleashed.
Powering On the Device
Once you have confirmed that your iPhone 10 has an adequate battery level, the next step is to power on the device and initiate the activation process. This pivotal moment marks the beginning of your journey with your new iPhone, and it's essential to approach it with a sense of anticipation and excitement.
To power on your iPhone 10, locate the power button, which is positioned on the right-hand side of the device. As you press and hold this button, a familiar sight awaits you – the iconic Apple logo illuminating the screen. This signifies that your iPhone 10 is coming to life, ready to be personalized and tailored to your preferences.
As the device powers on, you may experience a surge of excitement, knowing that you are about to embark on a seamless and intuitive activation process. The vibrant display and sleek design of the iPhone 10 serve as a testament to the innovative technology that awaits you.
The moment your iPhone 10 powers on, it becomes more than just a device – it transforms into a gateway to a world of possibilities. From staying connected with loved ones to exploring a myriad of apps and features, your iPhone 10 is poised to become an indispensable companion in your daily life.
As the activation screen appears, you are greeted with a series of prompts that guide you through the initial setup. This is where the magic happens – you have the opportunity to customize your device, set up essential features, and tailor it to suit your unique preferences.
The act of powering on your iPhone 10 signifies the commencement of a journey filled with discovery and personalization. It marks the transition from a sleek, dormant device to a dynamic and responsive companion that is ready to adapt to your lifestyle.
In essence, the process of powering on your iPhone 10 is more than just a technical step – it symbolizes the beginning of a relationship between you and your device. It sets the stage for a seamless and engaging activation process, laying the foundation for a personalized and enriching user experience.
With your iPhone 10 now powered on, you are poised to embark on the next phase of the activation process, where you will have the opportunity to set up essential features, personalize your device, and delve into the myriad possibilities that await you.
Setting Up Face ID
Setting up Face ID on your iPhone 10 is a seamless and intuitive process that enhances the security and convenience of unlocking your device and accessing sensitive information. This advanced facial recognition technology utilizes the TrueDepth camera system to map and analyze the unique features of your face, providing a secure and effortless authentication method.
To begin the process of setting up Face ID, navigate to the "Settings" app on your iPhone 10 and select "Face ID & Passcode." Upon entering your device passcode, you will be prompted to "Set Up Face ID." This initiates the step-by-step configuration of this cutting-edge feature.
As you embark on the setup process, the TrueDepth camera will spring into action, capturing a series of intricate facial data points to create a comprehensive and secure facial map. During this stage, it's essential to position your face within the designated frame, allowing the camera to capture various angles and contours with precision.
The process of setting up Face ID involves a series of movements, including gently moving your head in a circular motion to ensure that the TrueDepth camera captures a comprehensive view of your facial features. This meticulous data collection process forms the foundation for the robust and reliable authentication capabilities of Face ID.
As the facial mapping process nears completion, you will be prompted to perform a second scan to capture additional facial data. This dual-scan approach enhances the accuracy and reliability of Face ID, ensuring that it can adapt to various lighting conditions and facial expressions with remarkable precision.
Upon successfully completing the facial mapping process, Face ID is now ready to be integrated into your iPhone 10. This revolutionary feature not only enables seamless device unlocking but also extends its functionality to secure app and payment authentication, providing a cohesive and secure user experience.
The activation of Face ID marks a significant leap in the realm of biometric security, offering a level of convenience and sophistication that transcends traditional authentication methods. With your facial data securely stored and encrypted within the device's secure enclave, you can enjoy the peace of mind that comes with knowing that your iPhone 10 is safeguarded by an advanced and personalized security mechanism.
In essence, setting up Face ID on your iPhone 10 represents a pivotal step towards a more secure, intuitive, and personalized user experience. This innovative feature seamlessly integrates into your daily interactions with the device, offering a level of security and convenience that aligns with the forward-thinking design and capabilities of the iPhone 10.
With Face ID now configured on your iPhone 10, you are poised to experience the seamless and effortless authentication that this cutting-edge technology offers, setting the stage for a secure and personalized user experience that adapts to your unique facial features and preferences.
Connecting to Wi-Fi
Connecting your iPhone 10 to a Wi-Fi network is a fundamental step in the activation process, enabling seamless access to the internet and a myriad of online services. This pivotal connection serves as the gateway to a world of digital experiences, allowing you to harness the full potential of your device's capabilities.
To initiate the process of connecting to a Wi-Fi network, navigate to the "Settings" app on your iPhone 10. Within the settings menu, locate and select the "Wi-Fi" option, which presents a list of available networks in your vicinity. Upon identifying the desired Wi-Fi network, tap on its name to initiate the connection process.
As you select the Wi-Fi network, you may be prompted to enter the network's password, if applicable. This essential security measure ensures that your iPhone 10 establishes a secure and encrypted connection to the Wi-Fi network, safeguarding your online activities and data transmission.
Once the correct password is entered, your iPhone 10 will proceed to establish a connection to the selected Wi-Fi network. As the device establishes the connection, a reassuring sense of connectivity permeates the air, signifying that your iPhone 10 is now seamlessly integrated into the digital realm.
The successful connection to a Wi-Fi network empowers your iPhone 10 with the ability to access a multitude of online resources, including web browsing, app downloads, software updates, and seamless synchronization with cloud-based services. This connectivity forms the backbone of a rich and immersive digital experience, allowing you to harness the full potential of your device.
With the Wi-Fi connection established, your iPhone 10 becomes a versatile gateway to a wealth of online content and services. Whether it's streaming media, engaging in video calls, or accessing cloud-based productivity tools, the seamless Wi-Fi connectivity ensures that your digital interactions are characterized by speed, reliability, and convenience.
In essence, the act of connecting your iPhone 10 to a Wi-Fi network transcends a mere technical step – it symbolizes the integration of your device into the interconnected fabric of the digital world. This pivotal connection lays the foundation for a seamless and immersive user experience, enabling you to explore, create, and connect with unparalleled ease and efficiency.
As your iPhone 10 establishes a secure and reliable connection to the Wi-Fi network, you are poised to embark on a digital journey characterized by limitless possibilities and boundless connectivity. This foundational step sets the stage for a rich and immersive user experience, empowering you to leverage the full potential of your iPhone 10 in the digital landscape.
Configuring Language and Region
Configuring the language and region settings on your iPhone 10 is a pivotal step that lays the foundation for a personalized and immersive user experience. This essential configuration ensures that your device adapts to your preferred language and regional conventions, creating a seamless and tailored interface that resonates with your unique preferences.
Upon initiating the language and region configuration process, your iPhone 10 presents a diverse array of languages, allowing you to select the one that aligns with your linguistic preferences. This comprehensive selection encompasses a multitude of global languages, catering to a diverse spectrum of users and ensuring that your device communicates with you in a language that resonates with familiarity and comfort.
In addition to selecting your preferred language, the region configuration allows you to align your iPhone 10 with the cultural and regional conventions that define your geographical location. This encompasses settings such as date and time formats, currency symbols, and regional-specific features, ensuring that your device seamlessly integrates into your local environment.
The act of configuring language and region settings transcends a mere technical adjustment – it symbolizes the personalization and adaptability of your iPhone 10. By tailoring the language and regional settings to align with your preferences, you are empowered to engage with your device in a manner that reflects your cultural identity and linguistic comfort.
As you navigate through the language and region configuration process, a sense of familiarity and resonance permeates the experience, affirming that your iPhone 10 is not just a device, but a personalized extension of your digital identity. The seamless integration of your preferred language and regional conventions creates an interface that feels inherently familiar and intuitive, setting the stage for a user experience that is characterized by seamless communication and cultural alignment.
In essence, the process of configuring language and region settings on your iPhone 10 represents a pivotal step towards a personalized and immersive user experience. By aligning your device with your preferred language and regional conventions, you are poised to embark on a digital journey that resonates with familiarity, comfort, and cultural alignment, setting the stage for a rich and immersive user experience.
Restoring from iCloud or iTunes Backup
Restoring from an iCloud or iTunes backup is a pivotal step in the activation process of your iPhone 10, enabling the seamless transfer of your previous device's data, settings, and preferences to your new device. This essential procedure ensures that your iPhone 10 inherits a familiar and personalized environment, preserving your digital footprint and streamlining the transition to your new device.
To initiate the restoration process, navigate to the "Apps & Data" screen during the initial setup of your iPhone 10. Here, you are presented with the option to "Restore from iCloud Backup" or "Restore from iTunes Backup," providing flexibility and convenience based on your preferred backup method.
If you opt to restore from an iCloud backup, you will be prompted to sign in to your iCloud account, granting access to your cloud-stored backup data. This seamless integration with iCloud ensures that your iPhone 10 inherits a comprehensive snapshot of your previous device, encompassing app data, settings, photos, and more. The restoration process from iCloud unfolds with remarkable efficiency, seamlessly populating your new device with the familiar content and configurations from your previous iPhone.
On the other hand, choosing to restore from an iTunes backup involves connecting your iPhone 10 to a computer with the iTunes application. Upon initiating the restoration process within iTunes, your device becomes a canvas for the meticulous transfer of data and settings from your previous device's backup. This method offers a direct and efficient means of transferring your digital legacy to your new iPhone 10, ensuring a seamless continuation of your digital journey.
As the restoration process unfolds, a sense of continuity and familiarity permeates the experience, affirming that your iPhone 10 is not just a new device, but a seamless extension of your digital identity. The preservation of your data, settings, and preferences ensures that your new device mirrors the familiar environment of your previous iPhone, setting the stage for a seamless and uninterrupted user experience.
In essence, the restoration from an iCloud or iTunes backup represents a pivotal bridge between your previous device and your new iPhone 10. This seamless transfer of your digital legacy ensures that your new device inherits the essence of your digital identity, preserving your preferences, memories, and configurations with remarkable precision. With the restoration process complete, your iPhone 10 becomes a personalized and familiar companion, ready to accompany you on your digital journey with a sense of continuity and seamless integration.