
Choosing the Right Bromeliad Plant
When it comes to adding a touch of tropical elegance to your home or garden, bromeliads are an excellent choice. With their vibrant colors and unique foliage, they can instantly liven up any space. However, choosing the right bromeliad plant can be a bit overwhelming, as there are numerous varieties to choose from. To help you make the best selection, here are some key factors to consider.
1. Size: Bromeliads come in various sizes, ranging from small tabletop plants to large specimens that can reach several feet in height. Consider the available space you have and choose a bromeliad that fits well within it.
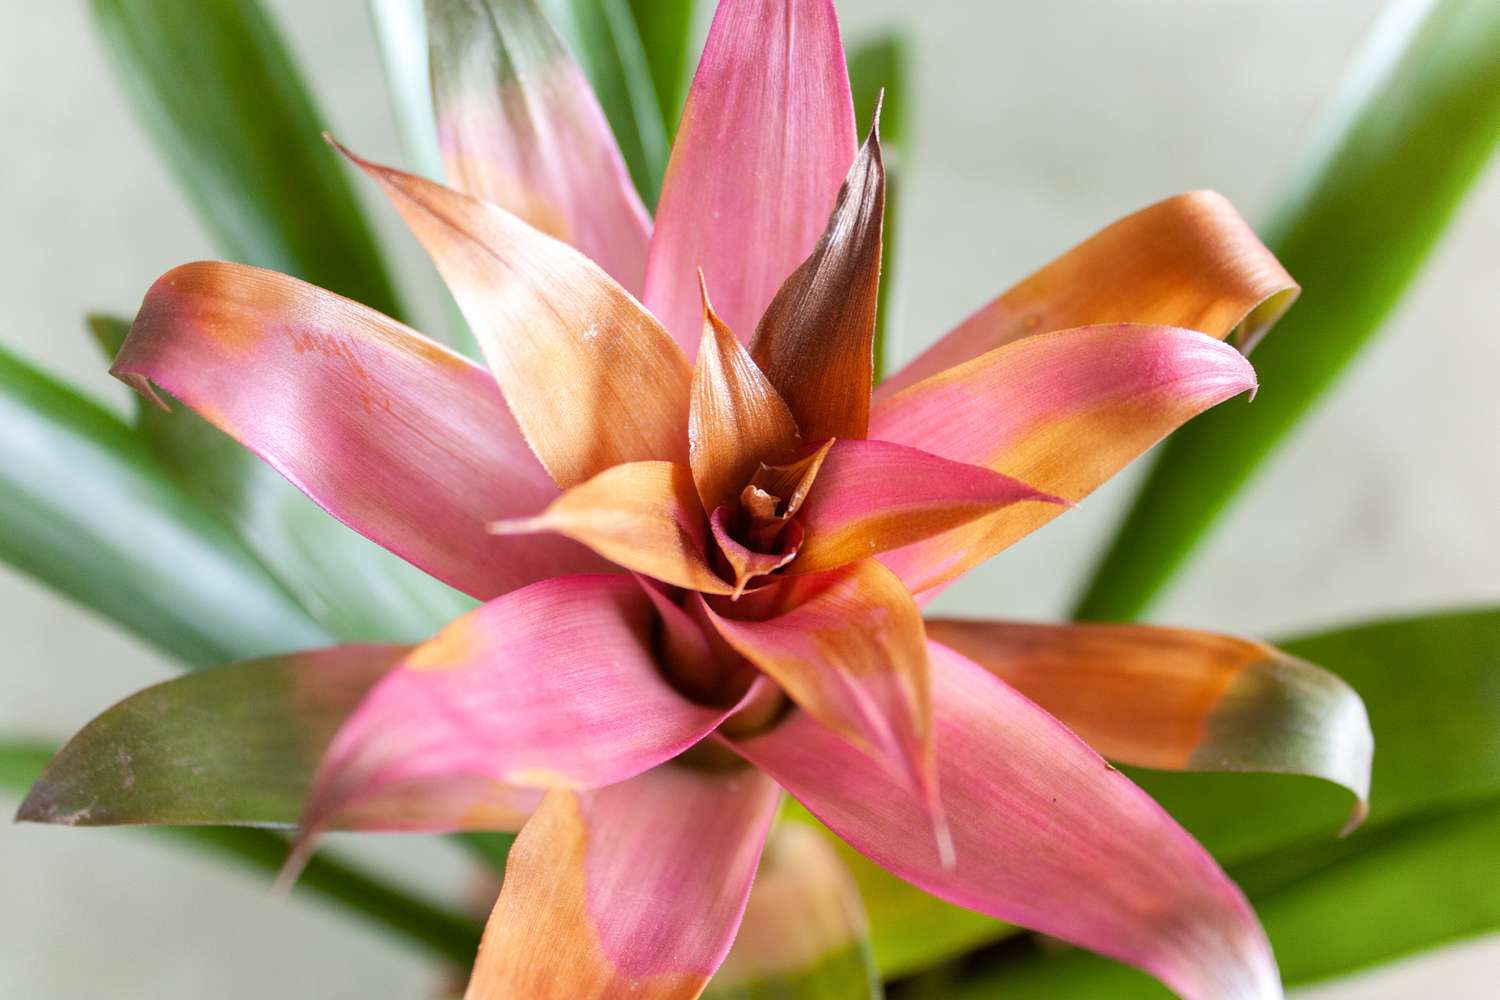
2. Color and Pattern: Bromeliads come in a wide array of colors, including shades of red, orange, yellow, pink, and purple. Some varieties even have stunning patterns and variegations on their foliage. Select a bromeliad with colors and patterns that complement your existing decor or garden aesthetic.
3. Light Requirements: Different bromeliad species have varying light requirements. Some thrive in bright, direct sunlight, while others prefer partial shade. Before making a purchase, assess the lighting conditions in the intended location and choose a bromeliad that matches those requirements.
4. Maintenance: Consider your level of gardening experience and the amount of time you can devote to plant care. Some bromeliads are relatively low-maintenance, while others may require more attention and specialized care.
5. Temperature Tolerance: Bromeliads can be sensitive to extreme temperatures. If you live in an area with fluctuating or harsh weather conditions, opt for a bromeliad species that can tolerate those conditions.
6. Purpose: Determine the purpose for which you are acquiring a bromeliad. Are you looking for a focal point in your garden, a statement piece for your living room, or a miniature variety for your terrarium? Understanding your purpose will help narrow down the options and find the perfect bromeliad for your needs.
A trip to your local nursery or an online search will unveil a diverse selection of bromeliads. By considering factors such as size, color and pattern, light requirements, maintenance, temperature tolerance, and purpose, you can confidently choose the perfect bromeliad to add a touch of natural beauty to your living space or garden.
Providing Adequate Light for Your Bromeliad
Light is a vital element for the growth and overall health of bromeliad plants. Properly meeting their light requirements can significantly impact their coloration, blooming, and overall vitality. Here are some essential tips for providing adequate light for your bromeliad.
1. Understanding Light Requirements: Different bromeliad species have varying preferences for light. While some thrive in bright, direct sunlight, others prefer filtered or indirect light. It’s essential to research the specific light requirements of your bromeliad variety to ensure its optimum growth.
2. Assessing the Lighting Conditions: Before placing your bromeliad in a particular spot, assess the lighting conditions in that area. Monitor the amount of sunlight the area receives throughout the day and note any potential obstructions that may cast shadows.
3. Providing Bright Indirect Light: If your bromeliad requires bright, indirect light, find a location where it will receive bright, natural light without direct exposure to the sun’s harsh rays. A room with a north or east-facing window is often ideal.
4. Avoiding Direct Sunlight: Most bromeliads are not suited for direct sunlight, as it can burn or scorch their leaves. Prolonged exposure to direct sunlight can lead to leaf discoloration, wilting, or even death. If your bromeliad requires bright, indirect light, place it away from windows or use sheer curtains to filter the sunlight.
5. Properly Positioning Your Bromeliad: Depending on the specific light requirements of your bromeliad, position it accordingly. If it needs bright, direct light, place it near a south or west-facing window. For those requiring less light, place them further from the window or in a slightly shaded area.
6. Supplementing Artificial Light: If your home or office has limited natural light, consider supplementing it with artificial light sources. LED grow lights or fluorescent lights can provide the necessary light intensity and spectrum to support bromeliad growth.
7. Monitoring for Symptoms: Pay attention to your bromeliad’s behavior and appearance. If you notice pale, elongated leaves or a lack of vibrant coloration, it may be an indication of insufficient light. Conversely, if the leaves become brown or scorched, it could be a sign of excessive light exposure.
Remember, providing adequate light for your bromeliad is crucial for its overall well-being. By understanding your specific bromeliad’s light requirements, assessing the lighting conditions in your space, and properly positioning your plant, you can ensure it receives the optimal amount and quality of light it needs to thrive.
Watering Your Bromeliad Plant Correctly
Proper watering is essential for the health and vitality of your bromeliad plant. While it may be tempting to water your bromeliad as you would any other houseplant, it’s important to remember that these tropical beauties have unique water requirements. Here are some guidelines to ensure you are watering your bromeliad correctly.
1. Watering Frequency: Bromeliads have a unique way of absorbing water through their central rosette. Rather than watering them from the soil, it’s best to pour water directly into the central cup formed by their leaves. Water your bromeliad when the cup is dry or nearly dry, typically once every one to two weeks.
2. Using Filtered or Rainwater: Bromeliads are sensitive to the chemicals found in tap water, such as chlorine and fluoride. To avoid harming your plant, use filtered or rainwater for watering. If neither of these options is available, let tap water sit overnight to allow chlorine to dissipate before using it on your bromeliad.
3. Avoiding Overwatering: Overwatering is one of the most common mistakes in bromeliad care. Excess water in the central cup or the soil can lead to root rot and other water-related problems. Make sure to allow the cup to dry out partially between waterings and avoid leaving standing water in the rosette.
4. Watering Techniques for Different Species: Different bromeliad species have varying water requirements. Some prefer a drier environment, while others like a consistently moist growing medium. Research the specific needs of your bromeliad variety to determine the best watering schedule and technique.
5. Monitoring for Signs of Underwatering and Overwatering: Regularly check the condition of your bromeliad to assess its watering needs. Signs of underwatering include wilted or crispy leaves, while overwatering may cause yellowing or browning of the leaves. Adjust your watering routine accordingly to maintain a healthy balance.
6. Humidity Considerations: Bromeliads thrive in humid environments. If the air in your home is dry, it’s beneficial to increase humidity levels around your bromeliad. You can achieve this by placing a tray filled with water near the plant or using a humidifier.
7. Watering During the Growing Season: During the active growing season, which is typically spring and summer, bromeliads may require more frequent watering. Monitor the moisture level both in the central cup and the soil to ensure your bromeliad has adequate hydration.
Remember, understanding the unique water requirements of your bromeliad and properly implementing a watering routine is crucial for its growth and well-being. By following these guidelines, you can ensure your bromeliad receives the right amount of water without risking overwatering or underwatering.
Maintaining Humidity Levels for Your Bromeliad
Humidity is a crucial aspect of bromeliad care as these tropical plants thrive in high humidity environments. Adequate humidity levels not only promote healthy growth but also help prevent common issues such as dry leaf tips or edges. Here are some tips to maintain optimal humidity levels for your bromeliad:
1. Grouping Plants: One effective way to increase humidity is by grouping your bromeliad with other houseplants. As plants release moisture through transpiration, the collective moisture will create a more humid microclimate around the plants.
2. Pebble Tray: Placing your bromeliad on a pebble tray can help increase humidity. Fill a shallow tray with water and position the plant on top of pebbles. As the water evaporates, it will create a humid atmosphere around the plant.
3. Misting: Regularly misting the foliage of your bromeliad can help provide a temporary increase in humidity. Use a spray bottle filled with filtered water and mist the leaves in the morning to allow enough time for the water droplets to evaporate before nightfall.
4. Humidifier: If you live in a dry climate or struggle to maintain adequate humidity levels, using a humidifier can be beneficial. Set up a humidifier near your bromeliad to maintain stable humidity levels throughout the day.
5. Bathroom or Kitchen: Bromeliads often thrive in areas with naturally higher humidity, such as bathrooms or kitchens. Placing your bromeliad in these rooms can take advantage of the existing humidity levels and reduce the need for additional humidification.
6. Plastic Bag Method: To provide a quick boost of humidity, the plastic bag method can be used. Place a clear, perforated plastic bag over your bromeliad and secure it with a rubber band. This creates a mini greenhouse effect, trapping moisture and increasing humidity around the plant. Remember to remove the bag after a few hours to prevent stagnant air.
7. Avoiding Dry Air Sources: Keep your bromeliad away from heat sources, drafts, or air conditioning vents that can dry out the air and lower the humidity. Indirect exposure to these sources can help maintain the humidity levels around your plant.
By implementing these tips, you can create a humid environment that mimics the natural habitat of your bromeliad. Providing adequate humidity will ensure your plant thrives and exhibits its vibrant colors and unique foliage, enhancing the beauty of your indoor garden.
Fertilizing Your Bromeliad Plant
Fertilizing your bromeliad is essential to provide the necessary nutrients for healthy growth and vibrant foliage. While bromeliads are relatively low-maintenance plants, they still require regular fertilization to thrive. Here are some guidelines to help you effectively fertilize your bromeliad:
1. Choosing the Right Fertilizer: Selecting the appropriate fertilizer is crucial for the well-being of your bromeliad. Look for a balanced, water-soluble fertilizer with a ratio of 20-20-20 or a specialized bromeliad fertilizer. Avoid using slow-release or granular fertilizers, as they may release nutrients too slowly or in excessive amounts.
2. Diluting the Fertilizer: To prevent fertilizer burn, dilute the fertilizer as per the package instructions. Generally, using half the recommended strength is adequate for bromeliads. Always err on the side of caution and start with a lower concentration to avoid over-fertilizing.
3. Timeframe for Fertilization: Bromeliads typically require fertilization during their active growing season, which is from spring to early fall. During this period, they are actively producing new leaves and preparing to produce blooms. Avoid fertilizing during the winter months when bromeliads are in a dormant phase.
4. Frequency of Fertilization: Bromeliads have relatively low nutrient requirements, so it’s essential not to over-fertilize. In general, fertilize your bromeliad once every two to four weeks during the growing season. Adjust the frequency based on the fertilizer concentration and the response of your plant.
5. Application Method: Apply the diluted fertilizer to the soil or the central cup of the bromeliad. If you choose to apply it to the cup, ensure that there is no standing water in the cup before fertilizing. Avoid getting the fertilizer directly on the leaves, as it may cause damage or burn the foliage.
6. Flushing the Cup: Occasionally, it’s important to flush the central cup of your bromeliad to remove any accumulated salts or minerals from the fertilizer. Fill the cup with distilled or rainwater and let it sit for a few hours. Afterward, pour out the water and rinse the cup thoroughly.
7. Monitoring for Signs of Over-Fertilization: It’s crucial to observe your bromeliad for any signs of over-fertilization, such as brown or burnt leaf tips, stunted growth, or discoloration. If you notice these symptoms, reduce the frequency or concentration of the fertilizer to avoid further damage.
Remember, fertilizing your bromeliad is a vital aspect of its care routine. By choosing the right fertilizer, diluting it appropriately, fertilizing during the active growing season, and monitoring your plant’s response, you can provide the nutrients necessary for your bromeliad to thrive and showcase its vibrant beauty.
Pruning and Propagating Your Bromeliad Plant
Pruning and propagating your bromeliad plant are two key practices that can help promote its health, maintain its shape, and expand your bromeliad collection. Understanding the proper techniques for pruning and propagating will enable you to keep your bromeliad thriving and even multiply your plant for propagation. Here’s a guide to pruning and propagating your bromeliad:
1. Pruning: Pruning is necessary to remove any dead or decaying leaves and maintain the overall appearance of your bromeliad. Use clean and sharp pruning shears or scissors to make smooth and precise cuts. Remove any discolored or damaged leaves close to the base of the plant, taking care not to harm the healthy leaves.
2. Removing Spent Blooms: Once the flower has completed its blooming cycle and begins to fade, you can trim the spent bloom to maintain the plant’s overall appearance. Use sterilized pruning tools and cut the flower stalk as close to the base of the plant as possible without damaging any healthy leaves or offsets.
3. Propagating with Offsets: Bromeliads naturally produce offsets, also known as pups or babies, which can be separated and grown into new plants. Allow the offsets to grow to a substantial size before separating them from the mother plant. Gently tug on the offset and, if it resists, it is ready for separation. Use clean, sharp tools to carefully cut the offset away from the mother plant, ensuring it has some roots attached.
4. Propagating by Division: Some bromeliads may form clumps or have multiple stems. In such cases, you can propagate by division. Carefully remove the entire plant from its pot and separate the clumps into individual plants, ensuring that each division has a healthy root system. Repot the divisions in suitable containers with fresh potting mix.
5. Providing Proper Care for Propagated Plants: Once you have propagated your bromeliad, it is important to provide suitable care for the new plants. Place them in a well-lit area with indirect sunlight, ensure they have proper drainage, and water them according to their specific needs. Propagated plants may take some time to establish themselves fully, so be patient and provide them with the necessary care and attention.
6. Opportunistic Propagation: Some bromeliad varieties can propagate from leaf cuttings. To attempt this method, carefully remove healthy leaves near the base of the plant and allow the cut end to dry for a day or two. Plant the leaf cuttings in a well-draining potting mix and maintain high humidity around them. With luck, new plants will start to emerge from the base of the leaf.
By regularly pruning your bromeliad to remove dead leaves and spent blooms and properly propagating offsets or by division, you can promote the overall health and growth of your plant. Enjoy the process of expanding your bromeliad collection while giving your plants the care they need to thrive and beautify your living space.
Recognizing and Treating Common Pests and Diseases
While bromeliads are generally hardy plants, they can still fall victim to certain pests and diseases. Being able to recognize the signs of common issues and taking prompt action is crucial to protect the health and beauty of your bromeliad. Here are some common pests and diseases that may affect your bromeliad, along with appropriate treatment methods:
1. Mealybugs: Mealybugs are small, white, cottony insects that feed on the sap of bromeliad plants. They can cause stunted growth and yellowing of leaves. To treat mealybug infestations, use a cotton swab dipped in rubbing alcohol or a mixture of mild soapy water to physically remove and kill the mealybugs. Repeat the treatment if necessary.
2. Scale Insects: Scale insects appear as small, round, or oval-shaped bumps on the leaves or stems of bromeliads. They can cause yellowing, leaf drop, and a general decline in the plant’s health. Remove scale insects by gently scraping them off with a soft brush or cloth. Apply insecticidal soap or neem oil to control the infestation.
3. Spider Mites: Spider mites are tiny pests that can cause visible webbing, yellowing leaves, and speckled appearance on bromeliad foliage. To treat spider mite infestations, wash the leaves with a strong jet of water to dislodge them, or use insecticidal soap or neem oil to control the population. Maintain good humidity levels to discourage spider mites.
4. Root Rot: Root rot is a common fungal disease that occurs when the roots of bromeliads are constantly exposed to excessive moisture or poor drainage. If you notice wilting, yellowing leaves, or a foul odor from the potting mix, it may indicate root rot. Remove the affected parts and repot the bromeliad in fresh, well-draining soil.
5. Leaf Spot: Leaf spot is a fungal disease characterized by dark, circular lesions on the leaves of bromeliads. It can be caused by excessive moisture or poor air circulation. To treat leaf spot, remove the infected leaves and maintain proper watering practices. Apply a fungicidal spray to prevent further spread of the disease.
6. Viral Infections: Viral infections in bromeliads can cause distorted growth, mottled leaves, and stunted development. Unfortunately, there is no cure for viral infections. It is best to remove and discard infected plants to prevent the spread of the virus to healthy bromeliads.
7. Prevention: Maintaining a healthy environment for your bromeliad is the best way to prevent pests and diseases. Provide proper air circulation, avoid overwatering, and ensure sufficient light for your plant. Regularly inspect your bromeliad for any signs of pests or diseases, and take action promptly to minimize damage.
By being proactive in recognizing the signs of common pests and diseases and taking appropriate treatment measures, you can protect your bromeliad from potential harm. With proper care, your bromeliad will continue to flourish and add beauty to your indoor or outdoor space.
Repotting Your Bromeliad Plant
Repotting is an important aspect of maintaining the health and growth of your bromeliad plant. Over time, bromeliads may outgrow their current containers or require fresh potting mix. Repotting allows you to provide your bromeliad with a suitable environment for continued growth. Here are some guidelines to help you with repotting your bromeliad:
1. Determine the Right Time: The best time to repot your bromeliad is during the active growing season, which is typically spring or summer. Avoid repotting during the winter months when the plant is in its dormant phase.
2. Choosing the Right Container: Select a pot that is slightly larger than the current one. The new pot should have drainage holes to prevent waterlogging, as bromeliads are susceptible to root rot. A plastic or clay pot with good drainage is suitable for most bromeliads.
3. Preparing the Potting Mix: Use a well-draining potting mix specifically formulated for bromeliads or orchids. Ensure the mix is light, airy, and provides good drainage. You can also add some orchid bark or perlite to improve the aeration and drainage capabilities of the mix.
4. Removing the Plant from the Current Pot: Gently remove the bromeliad from its current pot by carefully loosening the root ball. If the roots are tightly bound, you can gently tease them apart to encourage new root growth. Be cautious not to damage the roots in the process.
5. Inspecting the Roots: Take this opportunity to inspect the roots of your bromeliad. Trim any dead or rotten roots using clean and sharp pruning shears. This will encourage healthier root growth and prevent the risk of root rot in the new pot.
6. Placing the Plant in the New Pot: Place the bromeliad in the center of the new pot, ensuring that the base of the plant is slightly above the soil level. Gently fill the spaces around the root ball with the potting mix, pressing it in lightly to secure the plant. Avoid compacting the soil too tightly.
7. Watering after Repotting: After repotting, water your bromeliad thoroughly to settle the soil and provide moisture to the roots. Ensure that the excess water drains out completely and the potting mix is evenly moist, but not waterlogged.
8. Adjusting Care Routine: After repotting, monitor your bromeliad to ensure it adjusts well to its new environment. Keep the plant in a suitable location with the right amount of light and maintain its regular watering and fertilizing routine.
Repotting your bromeliad provides an opportunity to refresh its growing medium, improve root health, and promote continued growth. By following these steps and providing proper care, your bromeliad will thrive in its new pot and continue to bring beauty to your home or garden for years to come.
Winter Care for Your Bromeliad
Winter is a critical time for ensuring the health and well-being of your bromeliad. As these tropical plants are accustomed to warm and humid conditions, it’s essential to provide appropriate care during the winter months when temperatures drop and indoor environments may become drier. Here are some essential tips for winter care of your bromeliad:
1. Temperature: Bromeliads are generally sensitive to cold temperatures, so it’s important to keep them away from drafty areas and cold windows. Ideally, maintain temperatures between 60-80°F (15-27°C) to provide a comfortable environment for your bromeliad during winter.
2. Light: During the winter months, when natural light levels are typically lower, ensure your bromeliad receives sufficient light. Place it near a window with bright, indirect sunlight to provide the necessary light requirements. Alternatively, you can supplement with artificial grow lights to provide adequate light intensity.
3. Humidity: The dry air in heated homes during winter can cause the humidity levels to drop, which can negatively impact your bromeliad. Increase humidity levels by using a humidifier, placing a tray of water near the plant, or misting the leaves occasionally. This will help mimic the humid conditions they thrive in.
4. Watering: While it’s important to maintain proper moisture levels, be cautious not to overwater your bromeliad during winter. Reduce the frequency of watering as the growth rate slows down during this season. Only water when the top inch of the potting mix feels dry to the touch, and ensure the water drains out completely to prevent root rot.
5. Fertilizing: Bromeliads generally have reduced nutrient requirements during the winter months. It’s best to withhold fertilization during this period to allow the plant to go through its natural dormancy phase. Resume fertilizing in spring when new growth begins to emerge.
6. Air Circulation: Proper air circulation is crucial to prevent the buildup of stagnant air around your bromeliad. Avoid placing it near sources of hot or cold drafts, and ensure there is some airflow in the room. This will help prevent fungal diseases and improve overall plant health.
7. Monitoring for Pests and Diseases: Keep a close eye on your bromeliad for any signs of pests or diseases during winter. The drier conditions may make them more susceptible to certain pests, such as spider mites or mealybugs. Take immediate action if you notice any issues, using appropriate treatment methods as discussed previously.
By providing the necessary winter care, you can help your bromeliad withstand the challenges of the season and maintain its health and beauty. Remember to adjust watering, lighting, and humidity levels, and keep an eye out for any signs of stress to provide timely care for your beloved bromeliad during the winter months.