
Why is Proper Rear View Mirror Positioning Important
Proper rear view mirror positioning is crucial for safe driving. The rear view mirror serves as a vital tool that allows you to monitor the traffic behind you without turning your head. By positioning it correctly, you can significantly reduce blind spots and enhance your overall visibility on the road.
One of the main reasons why proper rear view mirror positioning is important is because it helps you maintain situational awareness. It enables you to have a clear view of the vehicles approaching from behind, allowing you to anticipate potential hazards and make informed decisions while driving.
Additionally, proper positioning of the rear view mirror can help eliminate blind spots. Blind spots are areas around your vehicle where other vehicles are not visible, even when using the side mirrors. By positioning the mirror correctly, you can minimize these blind spots, reducing the risk of accidents when changing lanes or making turns.
Another benefit of proper mirror positioning is that it reduces the need for constant head movement. When the mirror is adjusted correctly, you can easily glance at it without taking your eyes off the road for an extended period. This helps to maintain focus and attention, ensuring safer driving conditions.
Furthermore, mirror positioning is essential for maintaining a good driving posture. Adjusting the mirror height and angle correctly can help prevent neck strain and fatigue, allowing you to concentrate on the road for more extended periods without discomfort.
Step 1: Adjusting the Seat
Before adjusting the rear view mirror, it is important to ensure that your seat is correctly positioned. Proper seat adjustment not only provides comfort but also affects your visibility and control over the vehicle.
Start by adjusting the seat height to a level where you can comfortably reach the pedals without having to stretch your legs or hunch over. The goal is to maintain a slight bend in your knees while keeping your feet easily on the pedals.
Next, adjust the seatback angle to a position where your arms can reach the steering wheel comfortably while keeping a slight bend in your elbows. This position helps in maintaining control and reduces the risk of fatigue during long drives.
Ensure that your back is fully against the seatback and that your headrest is adjusted to support the back of your head. This helps prevent neck and head injuries in the event of a rear-end collision.
As you make adjustments, be mindful of maintaining a proper distance from the pedals and steering wheel. You should be able to reach the pedals without stretching your legs or leaning too far forward, and the steering wheel should be within easy reach of your hands without having to reach or strain.
Remember, a well-adjusted seat not only improves your comfort but also enables you to have optimal visibility and control while driving. Once you have properly adjusted your seat, you can move on to the next step of positioning your rear view mirror.
Step 2: Selecting a Spot on the Windshield
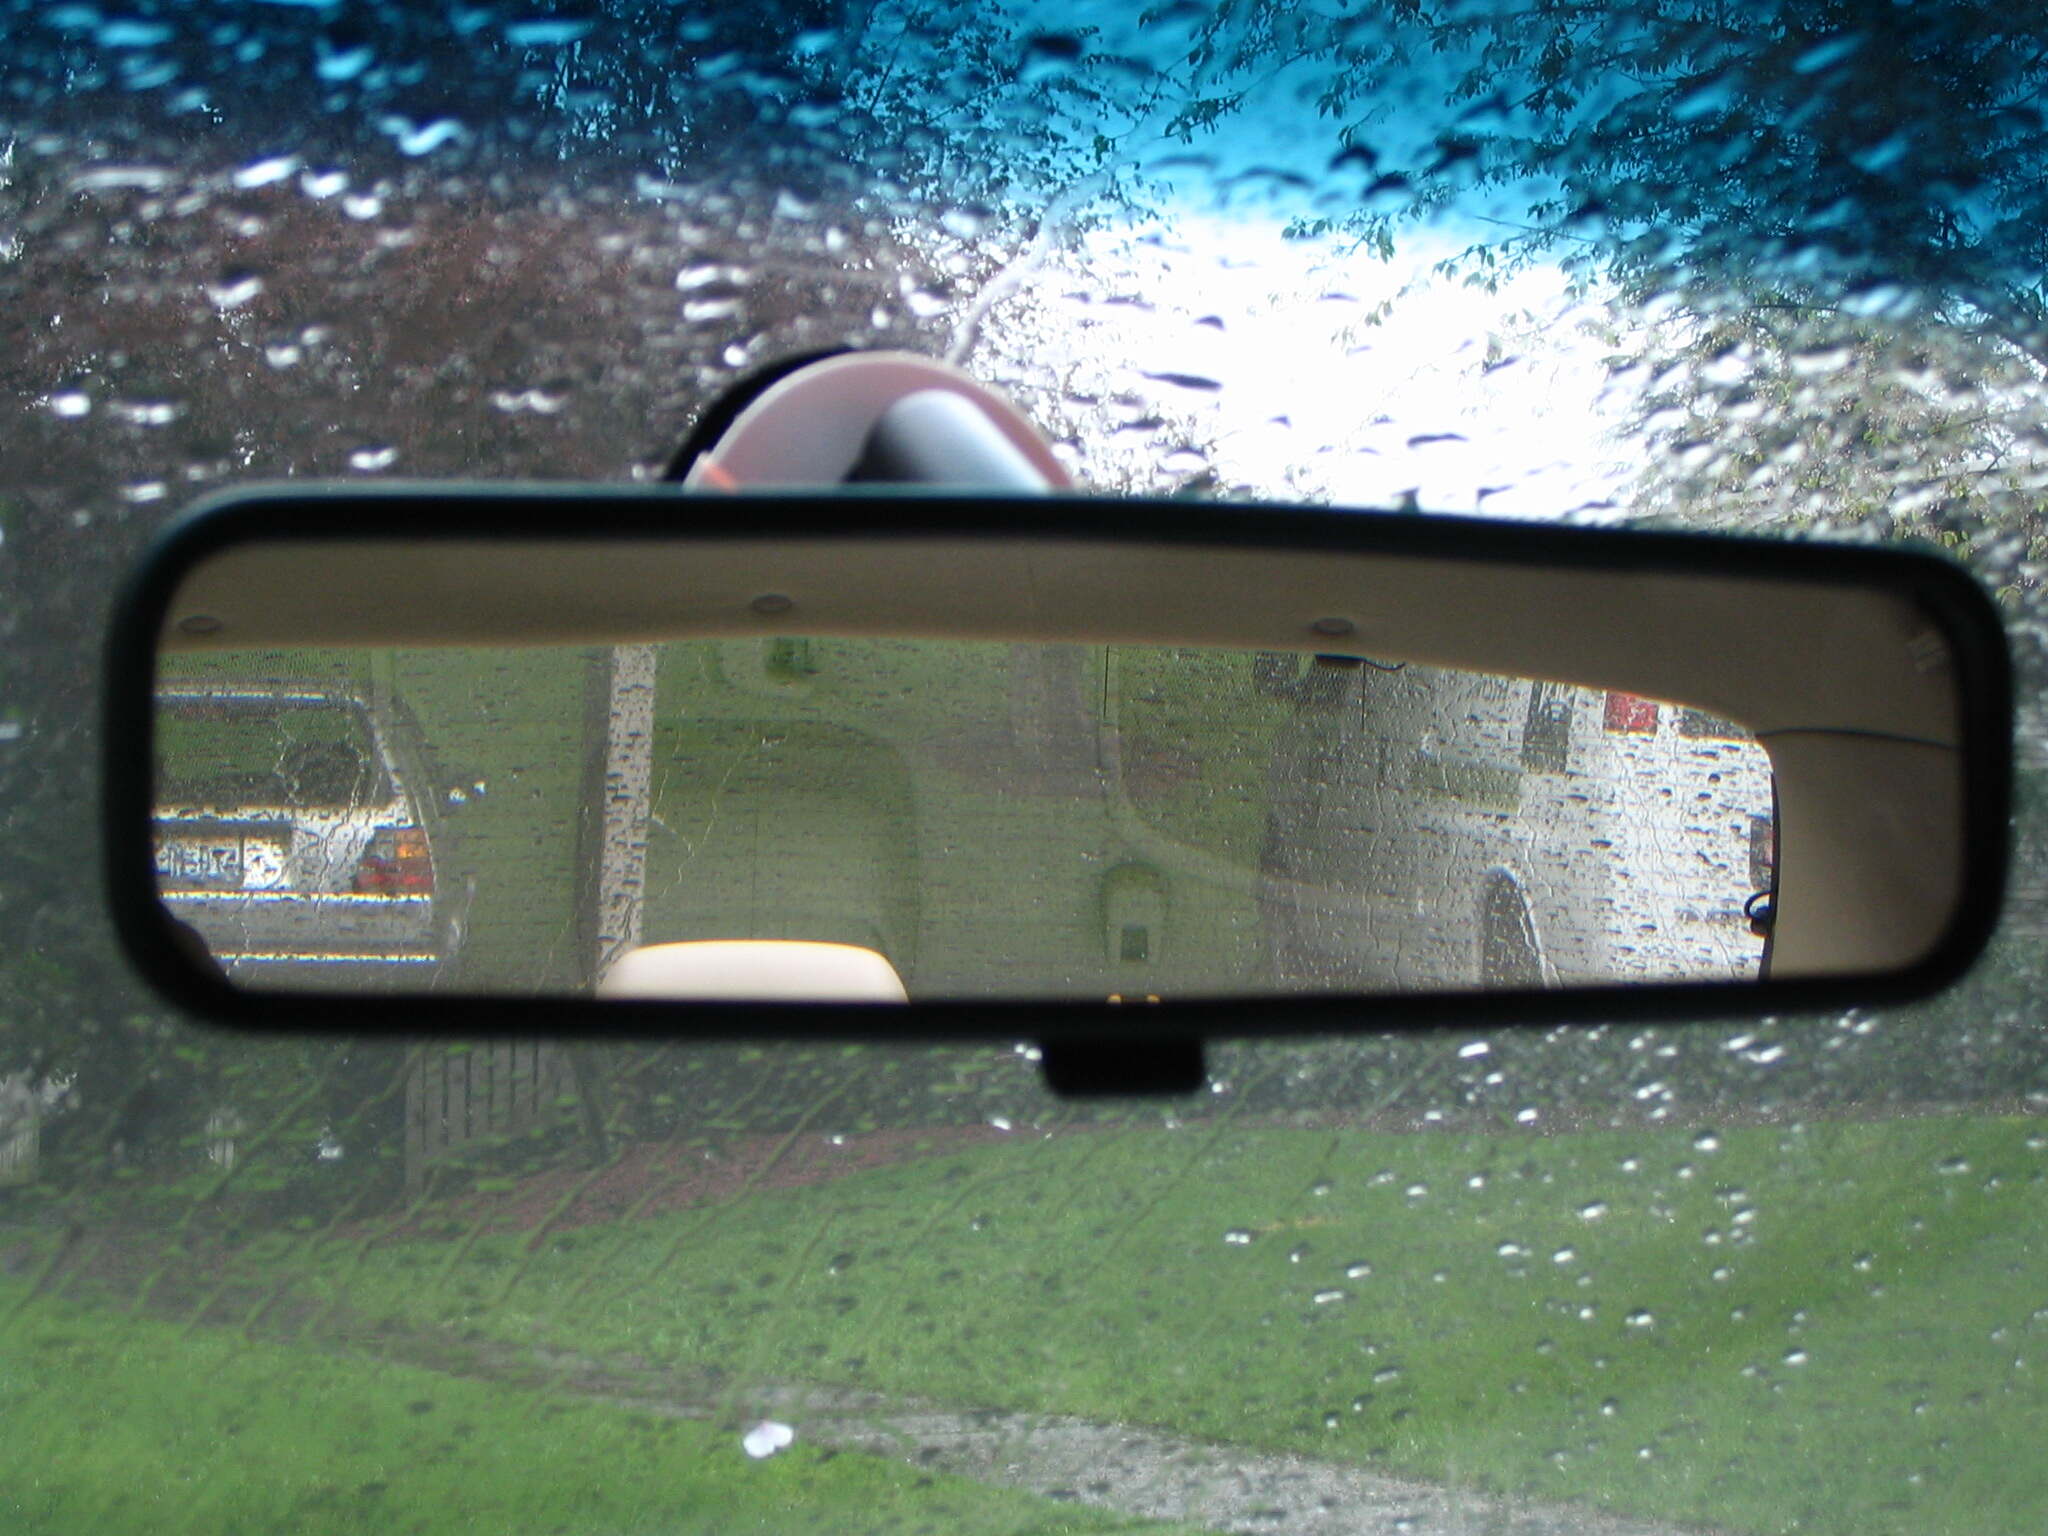
After adjusting your seat, the next step in proper rear view mirror positioning is selecting the right spot on the windshield to mount the mirror. The goal is to have an unobstructed view of the road behind you while also minimizing any distractions.
Start by sitting in your driving position and reaching up to the rear view mirror. Position it in a spot where you can see the entire rear windshield and a good portion of the road behind you. Avoid mounting it too high or too low, as it may limit your field of vision or create blind spots.
It is recommended to place the mirror higher on the windshield, just below the roofline. This position provides a wider view and reduces the chances of headlight glare from vehicles behind you affecting your visibility.
Ensure that the chosen spot on the windshield does not obstruct your view of the road ahead. You should still be able to see the front of your vehicle and have a clear line of sight for any potential obstacles or hazards.
Minimize any obstructions or distractions near the selected spot. Remove any air fresheners, parking permits, or other hanging objects that might obstruct your view or catch your attention while driving. A clear and unobstructed view is essential for safe driving.
Once you have selected the appropriate spot on the windshield, you can proceed to the next step of adjusting the angle of the rear view mirror for optimal visibility.
Step 3: Adjusting the Mirror Angle
Now that you have selected the proper spot on the windshield for your rear view mirror, it’s time to adjust its angle to ensure optimal visibility. The right angle will depend on your personal preferences and driving position, so take the time to make the necessary adjustments.
Sit in your normal driving position and face forward. Reach up and hold the rear view mirror with both hands, and then tilt it downward slightly. The goal is to have a clear view of the road behind you without any obstructions or distractions.
Adjust the angle of the mirror until you can see the entire rear windshield and a portion of the road without having to tilt your head too much. Be cautious not to tilt it too high, as it may only show the sky or the roof of your own vehicle.
Keep in mind that the rear view mirror should not completely block your view of the road ahead. You still need to be able to see the front of your vehicle and have a clear line of sight for any potential obstacles or hazards.
If necessary, you can make small adjustments to the mirror angle while driving to find the best position that suits your needs. Remember, the goal is to have a clear view of the vehicles behind you and minimize blind spots for safer driving.
Once you have adjusted the mirror to the desired angle, you can proceed to the next step of minimizing blind spots to enhance your overall visibility on the road.
Step 4: Minimizing Blind Spots
Minimizing blind spots is an essential step in optimizing your rear view mirror positioning. Blind spots are areas around your vehicle where other vehicles may not be visible, even with the use of mirrors. Taking the necessary precautions helps to reduce the risk of accidents when changing lanes or making turns.
Start by adjusting your side mirrors to expand your field of view. Position them so that you can see the sides of your vehicle and a portion of the adjacent lanes. The side mirrors should complement the rear view mirror, providing a continuous view of the road behind you.
To minimize blind spots, angle your side mirrors slightly outward. This configuration helps to eliminate the overlap with the rear view mirror’s field of view, reducing the chance of missing any vehicles in your blind spots.
Additionally, it’s important to do shoulder checks before changing lanes, even with properly positioned mirrors. Turn your head to the right or left to physically check if there are any vehicles in your blind spots before making a lane change.
Remember, blind spots can vary depending on the size and shape of your vehicle, so it’s crucial to be aware of your specific blind spot areas. Practice adjusting your mirrors and performing shoulder checks to familiarize yourself with the blind spots in your vehicle.
By minimizing blind spots through proper mirror positioning and performing regular shoulder checks, you can enhance your overall visibility and reduce the chances of a collision from an unseen vehicle.
Once you have minimized blind spots, you can move on to the next step of fine-tuning the mirror position to ensure optimal visibility.
Step 5: Fine-tuning the Mirror Position
After adjusting the angle of your rear view mirror and minimizing blind spots, it’s time to fine-tune the mirror position to ensure optimal visibility. This step involves making small adjustments to further enhance your view of the road behind you.
Sit in your normal driving position and check the mirror to ensure that it provides a clear and unobstructed view of the rear windshield. If you notice any obstructions, such as headrests or passengers, adjust the mirror slightly to eliminate these obstacles.
Make sure that you can see the entire rear windshield without having to strain or tilt your head excessively. Ideally, you should have a wide-angle view of the road to monitor approaching vehicles and potential hazards.
Take note of any reflection or glare in the mirror that may hinder your visibility. If you notice any distracting reflections, adjust the angle or position of the mirror to minimize or eliminate them.
Keep in mind that the mirror should be positioned in such a way that you can easily glance at it without losing sight of the road ahead for an extended period. This allows you to maintain focus on the road while keeping tabs on the traffic behind you.
Make any necessary small adjustments while driving to further optimize the mirror position. Fine-tuning the mirror can be a personal preference, so take the time to find the position that works best for you.
Once you have fine-tuned the mirror position, you can proceed to the next step of checking for proper alignment with your driving habits and surroundings.
Step 6: Checking for Proper Alignment
Checking for proper alignment is an important step in ensuring that your rear view mirror is positioned correctly to meet your driving habits and surroundings. It helps to ensure that you have a clear and accurate view of the road behind you.
Begin by sitting in your normal driving position and taking note of the alignment of the mirror. Make sure it is centered on the rear windshield and not tilted too far to either side.
Check if the mirror is aligned with the road, rather than pointing too high or low. It should be angled in a way that allows you to see the vehicles behind you without tilting your head unnaturally.
As you drive, pay attention to whether the mirror is vibrating excessively. If you notice excessive vibration, it may be an indication that the mirror is not securely fastened or aligned properly. In such cases, it is essential to address the issue to ensure a stable view.
While driving, test the mirror’s alignment by glancing at it occasionally to ensure that it provides a clear and accurate representation of the traffic behind you. If the mirror needs further adjustment, make any necessary changes to align it precisely with your driving needs.
Keep in mind that different driving situations, such as changing lanes or merging onto highways, may require slight adjustments to the mirror alignment. Regularly check and readjust the mirror as needed to maintain optimal visibility.
Proper alignment of the rear view mirror is crucial in enhancing your driving experience and overall safety. By ensuring that it is aligned correctly, you can have a clear and accurate view of the road behind you, allowing you to make informed decisions while driving.
Once you have checked for proper alignment, you can move on to the next step of checking for potential distractions that may hinder your view.
Step 7: Checking for Distractions
Checking for distractions is an essential step to ensure that your rear view mirror provides an uninterrupted view of the road behind you. Distractions can hinder your ability to monitor traffic effectively and react to changing conditions.
Start by examining the area around the rear view mirror for any objects or decorations that may obstruct your view. Remove any air fresheners, parking permits, or other hanging objects that could potentially block your line of sight or distract your attention.
Check for any reflective surfaces that may cause glare, such as dashboard ornaments or glossy surfaces on the windshield. These reflections can be distracting and may interfere with your ability to see clearly through the rear view mirror. If you notice any distracting reflections, consider repositioning or removing the object causing them.
Ensure that there are no stickers or decals on the rear windshield that could obstruct your view. These obstructions may limit your visibility and compromise your ability to see approaching vehicles or hazards.
Do a quick scan of the interior of your vehicle and remove any items that could potentially block your view of the rear windshield. Large bags, boxes, or other objects should be properly secured to prevent them from obstructing your view or becoming dangerous projectiles during sudden stops or accidents.
Additionally, ensure that your rear view mirror is clean and free of any smudges or dirt that may hinder your visibility. A dirty mirror can significantly reduce the clarity of your view and make it difficult to see approaching vehicles or objects.
Regularly perform checks for distractions to maintain an unobstructed view through the rear view mirror. By doing so, you can ensure that you have a clear and focused view of the road behind you, improving your ability to anticipate and react to potential hazards.
Once you have checked for distractions, you can proceed to the next step of aiming for a clear and unobstructed view through the rear view mirror.
Step 8: Aiming for Clear and Unobstructed View
Aiming for a clear and unobstructed view through the rear view mirror is crucial for optimal visibility while driving. This step focuses on ensuring that nothing impedes your sightline, allowing you to effectively monitor the traffic behind you.
Start by checking that your rear view mirror is clean and free from any dirt, smudges, or streaks. Use a microfiber cloth or glass cleaner to wipe the mirror’s surface, removing any obstructions that may affect your view.
Ensure that your rear windshield is also clean and clear of any debris that could obstruct your visibility through the mirror. Regularly clean the outside of the rear windshield to remove dirt, grime, or water spots that could hinder your view.
Check for any signs of clouding or discoloration on the rear view mirror. Over time, mirrors may develop a haze or coating that reduces their reflective quality. If you notice any cloudiness, consider replacing the mirror to ensure a clear and accurate view.
Inspect the rear windshield for any cracks or damage that may obstruct your view. These defects can distort your perception of objects and vehicles behind you, compromising your ability to react quickly to potential hazards.
Ensure that there are no obstructions within your vehicle that could obstruct your view through the rear view mirror. Rear passengers should avoid leaning forward or placing objects that block the mirror’s field of view.
Avoid hanging any items from the rear view mirror, such as air fresheners or parking permits. These objects can swing, block your vision, or create distractions while driving.
Regularly perform checks to ensure that your rear view mirror and rear windshield are free from obstructions or impairments. By aiming for a clear and unobstructed view, you can maintain optimal visibility of the traffic behind you, enhancing your overall safety on the road.
Once you have aimed for a clear and unobstructed view, you can proceed to the final step of checking the rear view mirror in different driving situations.
Step 9: Checking the Rear View Mirrors in Different Driving Situations
The final step in ensuring proper rear view mirror positioning is to check their effectiveness in various driving situations. Different scenarios may require adjustments to optimize your view and ensure you have a comprehensive understanding of the traffic around you.
Start by checking the rear view mirror when driving on the highway. Pay attention to the vehicles approaching from behind and make sure you have a clear view of their position and speed. Adjust the mirror as needed to maintain optimal visibility in high-speed conditions.
Next, test the rear view mirror’s effectiveness when changing lanes. Signal your intention to change lanes and check if the mirror provides a clear view of the adjacent lane. Adjust the mirrors, if necessary, to ensure you can see any approaching vehicles without relying solely on your side mirrors.
When driving in heavy traffic, observe how well the rear view mirror allows you to monitor the vehicles behind you. Ensure that you have a clear view of any approaching vehicles or potential hazards, allowing you to react appropriately in stop-and-go situations.
Test the rear view mirror’s performance during nighttime driving. Verify that it provides a clear and accurate view without significant glare from oncoming headlights. Adjust the mirror angle or use the anti-glare setting, if available, to minimize the impact of intense light sources.
When parking or maneuvering in tight spaces, check if the rear view mirror allows you to judge distances accurately. Ensure that you can see any obstacles or pedestrians behind your vehicle, enabling you to park or maneuver safely.
Regularly assess the effectiveness of your rear view mirror positioning in different driving situations. Make adjustments as needed to ensure optimal visibility, minimizing blind spots, and enhancing your ability to anticipate and respond to potential hazards.
By checking the rear view mirrors in various driving scenarios, you can fine-tune their positioning to provide the best visibility and improve your overall safety on the road.