
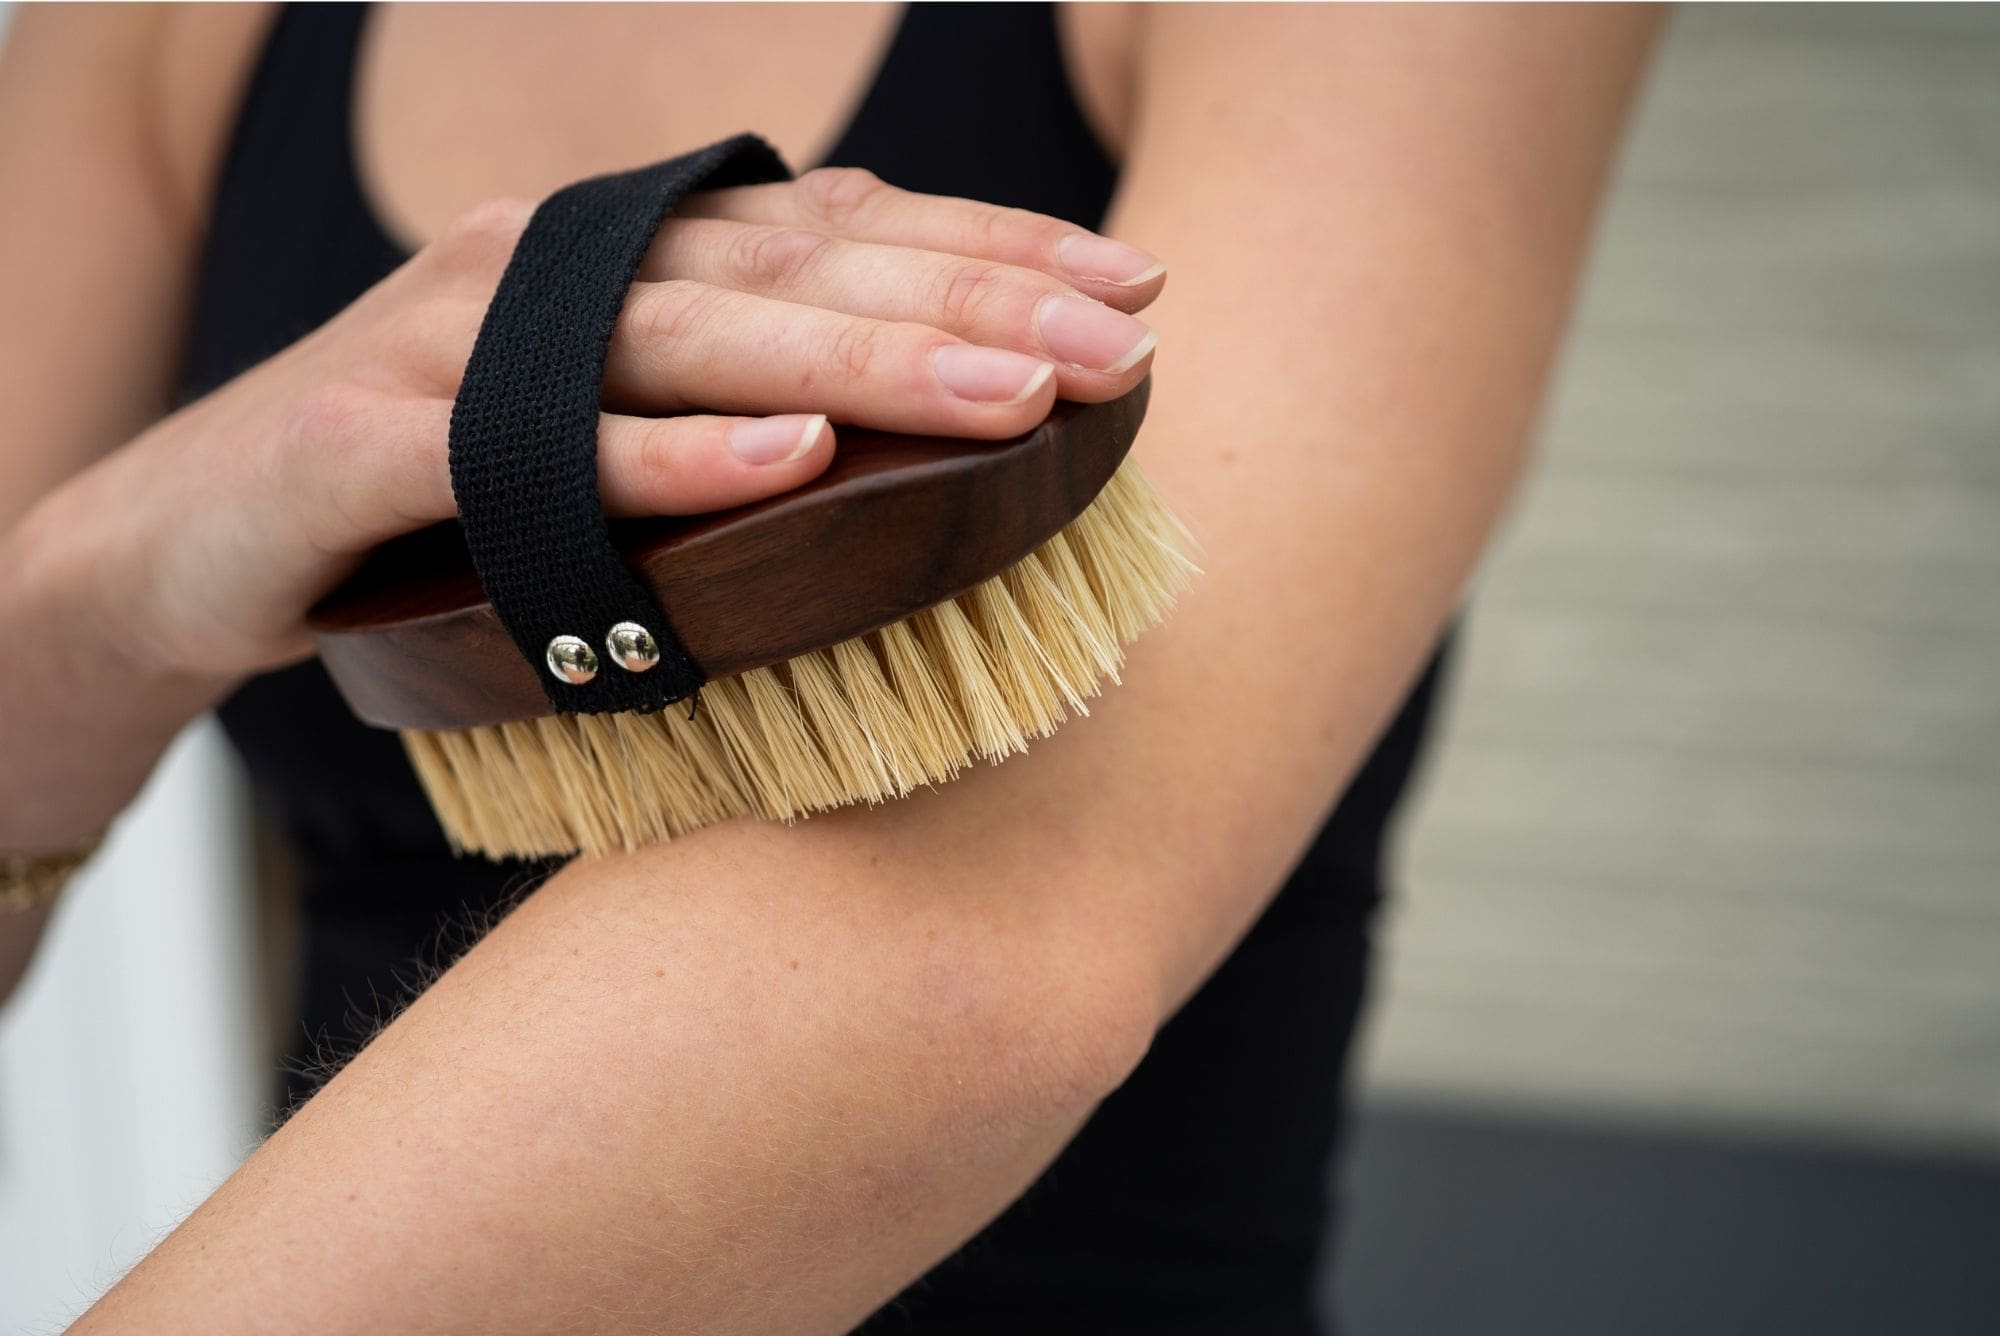
Why You Should Clean Your Dry Brush
Regularly cleaning your dry brush is essential for maintaining its effectiveness and ensuring proper hygiene. Here are three key reasons why you should make cleaning your dry brush a priority:
1. Remove Dead Skin Cells: When you dry brush your skin, the bristles help to exfoliate and remove dead skin cells. Over time, these dead skin cells can accumulate on the bristles, making the brush less effective. By regularly cleaning your dry brush, you can ensure that it continues to provide the exfoliating benefits it was designed for.
2. Avoid Bacterial Growth: As you use your dry brush, sweat, oil, and other impurities can accumulate on the bristles. These can provide the perfect breeding ground for bacteria, which can then be transferred back to your skin during subsequent uses. Cleaning your dry brush helps to eliminate bacteria and prevent potential skin infections.
3. Prolong the Lifespan of Your Brush: Dry brushes are typically made with natural bristles or fibers that can break down over time if not properly cared for. Regularly cleaning your dry brush helps to remove product buildup, oils, and dirt that can weaken the bristles. This ensures that your brush lasts longer, saving you money in the long run.
By incorporating regular cleaning into your dry brushing routine, you can maximize the benefits to your skin and maintain a healthy and hygienic skincare practice.
What You’ll Need
Before you begin cleaning your dry brush, it’s important to gather the necessary items. Here’s what you’ll need:
- A clean sink or basin: This will serve as your cleaning station.
- Mild soap or gentle cleanser: Choose a soap that is suitable for cleaning delicate items to avoid damaging the bristles of your dry brush.
- Warm water: You’ll need warm water to effectively remove dirt, sweat, and oils from the brush.
- Vinegar: A small amount of white vinegar can be used to disinfect the brush and kill any lingering bacteria.
- A clean towel: This will be used to dry the brush after cleaning.
Having these supplies ready ensures a smooth and efficient cleaning process for your dry brush. Remember, using the right tools and products will help maintain the quality and longevity of your brush.
Step 1: Remove Loose Hair and Debris
Before you begin cleaning your dry brush, it’s important to remove any loose hair and debris that may have accumulated in the bristles. Follow these simple steps:
- Hold the dry brush firmly in one hand with the bristles facing down.
- Using your other hand, gently run your fingers through the bristles, starting from the base and moving towards the tips.
- If there are any tangles or hair trapped in the bristles, carefully pull them out. Be gentle to avoid damaging the bristles.
- Tap the brush against a hard surface to dislodge any remaining loose hair or debris.
By removing the loose hair and debris, you’ll ensure that your dry brush is clean and ready for the next steps. This step also helps to maintain the efficiency and effectiveness of the brush, allowing it to properly exfoliate and invigorate your skin.
Step 2: Wash with Warm Soapy Water
Once you have removed the loose hair and debris from your dry brush, it’s time to give it a thorough wash using warm soapy water. Follow these steps:
- Fill a clean sink or basin with warm water. Make sure the water is not too hot to avoid damaging the bristles.
- Add a small amount of mild soap or gentle cleanser to the water. Swirl the water gently to create a soapy solution.
- Place the dry brush into the soapy water, ensuring that the bristles are completely submerged.
- Using your hand, swirl the brush gently in the soapy water for a few minutes. This will help to loosen any dirt, oils, or product buildup on the bristles.
- If necessary, use a soft brush or toothbrush to gently scrub the bristles to remove stubborn debris or residue.
Remember to be gentle and avoid applying too much pressure, as this can damage the bristles of your dry brush. The warm soapy water will help to cleanse the bristles effectively, leaving your brush clean and fresh for future use.
Step 3: Rinse Thoroughly
After washing your dry brush with warm soapy water, it’s important to rinse it thoroughly to remove any soap residue and ensure its cleanliness. Follow these steps to rinse your dry brush:
- Hold the brush under running water, allowing the water to flow through the bristles.
- Gently shake the brush or use your fingers to loosen any remaining soap or debris from the bristles.
- Continue rinsing until the water runs clear and there are no traces of soap left on the brush.
Ensuring a thorough rinse is crucial to prevent any leftover soap from irritating your skin when you use the dry brush. It will also help to maintain the bristles’ integrity and prolong the life of your brush.
Once your dry brush has been rinsed thoroughly, it will be ready for the next step in the cleaning process. Ensure that no soap residue remains on the brush before moving on to the next step.
Step 4: Disinfect with Vinegar Solution
To further ensure the cleanliness and hygiene of your dry brush, it is recommended to disinfect it using a vinegar solution. Vinegar has natural antimicrobial properties that can help kill any lingering bacteria on the brush. Follow these steps to disinfect your dry brush:
- In a clean container, mix equal parts white vinegar and water to create a vinegar solution. For example, you can mix 1/2 cup of vinegar with 1/2 cup of water.
- Place the dry brush in the vinegar solution, ensuring that the bristles are fully submerged.
- Let the brush soak in the vinegar solution for about 15 to 30 minutes. This will allow the vinegar to effectively disinfect the bristles.
- After the soaking time is up, remove the brush from the vinegar solution.
- Rinse the brush under running water to remove any vinegar residue.
Disinfecting your dry brush with a vinegar solution helps to eliminate bacteria and ensure that it remains clean and safe to use on your skin. This step is especially important if you have sensitive or acne-prone skin.
Once you have completed this step, your dry brush will be ready for the final steps in the cleaning process.
Step 5: Dry Properly
Properly drying your dry brush is crucial to prevent mold and mildew growth and maintain its integrity. Follow these steps to ensure your dry brush dries thoroughly:
- After rinsing the brush, gently squeeze out any excess water from the bristles.
- Pat the bristles with a clean towel to remove additional moisture.
- Place the dry brush in a well-ventilated area or lay it on a clean towel with the bristles facing down.
- Allow the brush to air dry completely before storing or using it again. This may take a few hours to overnight.
Air drying is essential to prevent any moisture from being trapped in the bristles, which could lead to mold or mildew growth. By allowing the dry brush to dry thoroughly, you ensure that it remains clean, hygienic, and ready for future use.
Remember not to use a blow dryer or any heat source to speed up the drying process, as excessive heat can damage the bristles of the dry brush.
Once your dry brush is completely dry, it will be ready for the final step in the cleaning process: storing and maintaining it properly.
Step 6: Store and Maintain Your Dry Brush
Storing and maintaining your dry brush properly will help ensure its longevity and hygiene. Follow these steps to store and maintain your dry brush:
- Store in a dry and well-ventilated area: Avoid storing your dry brush in a humid or damp environment, as moisture can promote mold and mildew growth. Choose a location where the brush can air out and remain dry between uses.
- Keep away from direct sunlight: Excessive exposure to sunlight can cause the bristles to become brittle and weaken over time. Store your dry brush in a place away from direct sunlight to preserve its quality.
- Clean regularly: Make cleaning your dry brush a regular part of your skincare routine. Aim to clean it at least once every two weeks, or more frequently if you use it daily. This will help maintain its effectiveness and prevent the buildup of dirt and bacteria.
- Replace when necessary: Over time, the bristles of your dry brush may wear down or become frayed. If you notice significant damage, it may be time to replace your brush. A worn-out brush may be less effective and potentially irritate your skin.
Following these steps for proper storage and maintenance will ensure that your dry brush remains clean, hygienic, and in optimal condition for long-lasting use. By taking good care of your dry brush, you can continue to enjoy its numerous benefits for your skin.