
Choosing the Right Brush Cleaner
When it comes to keeping your scrubbing brush clean and ready for use, choosing the right brush cleaner is essential. The type of cleaner you select will depend on the material and bristles of your brush, as well as any specific cleaning requirements you have. Here are some factors to consider when making your decision:
- Brush Material: Different materials such as plastic, wire, or bristle require different cleaning agents. For example, a plastic brush can be cleaned with mild dish soap and water, while a wire brush may require a stronger solvent-based cleaner.
- Bristle Type: Consider the bristle type of your brush. Soft bristles may be more delicate and require a gentle cleaner, whereas stiff bristles may need a tougher cleaner to remove stubborn dirt and grime.
- Cleaning Power: Evaluate the cleaning power of the brush cleaner. Some cleaners are specifically formulated to remove grease and oil, while others are designed to target mold and mildew.
- Safety Precautions: Take into account any safety precautions that may be necessary. For example, if you have pets or small children, you may want to choose a cleaner that is eco-friendly and non-toxic.
- Reviews and Recommendations: Research online reviews and seek recommendations from friends or family who have used brush cleaners. This can help you gauge the effectiveness and suitability of different products.
Remember, it is important to read the manufacturer’s instructions and follow them carefully when using any cleaning products on your scrubbing brush. By choosing the right brush cleaner, you can ensure that your brush is thoroughly cleaned without causing any damage to its bristles or material.
Removing Loose Debris from the Scrubbing Brush
Before you begin the cleaning process, it is important to remove any loose debris from your scrubbing brush. This will make the subsequent cleaning steps more effective and help prolong the life of your brush. Here are some simple yet effective methods to accomplish this:
- Tap and Shake: Begin by gently tapping the scrubbing brush against a hard surface to dislodge any loose dirt or debris. Then, simply give it a few shakes to further remove any remaining particles.
- Use a Brush Comb: If your scrubbing brush has bristles that are tightly packed together, you can use a small brush comb to gently loosen and remove any trapped debris. Make sure to comb through the bristles in the direction opposite to their natural bend.
- Blow or Vacuum: For brushes with stubborn debris or fine particles, you can use a hairdryer on low heat or a vacuum cleaner with a brush attachment to blow or suck away the dirt. Be careful not to apply excessive heat or suction that might damage the brush.
- Brush against a Cleaning Cloth: Take a clean cloth or towel and brush the scrubbing brush against it vigorously. The fabric will catch and remove any loose debris, leaving your brush clean and ready for the next step.
- Inspect and Repeat: After using any of these methods, inspect the brush for any remaining debris. If necessary, repeat the process until all loose dirt and particles are removed.
By taking the time to remove loose debris from your scrubbing brush before cleaning, you can prevent the buildup of dirt and grime. This will not only ensure better cleaning results but also help maintain the effectiveness and longevity of your brush.
Soaking the Brush in Warm Soapy Water
Once you have removed the loose debris from your scrubbing brush, the next step is to soak it in warm soapy water. This step helps to further loosen dirt, grease, and other residues that may have accumulated on the bristles. Follow these steps to effectively soak your brush:
- Prepare the Soapy Water: Fill a sink or basin with warm water, ensuring that it is not too hot to handle. Add a few drops of mild dish soap or a brush cleanser to create a soapy solution.
- Submerge the Brush: Place the scrubbing brush in the soapy water, ensuring that all the bristles are fully submerged. Gently swirl the brush around to ensure thorough soaking.
- Let it Sit: Allow the brush to soak in the warm soapy water for about 15-30 minutes. This will give the soap enough time to penetrate and break down any stubborn dirt or grime.
- Agitate if Needed: If your brush has especially tough stains or buildup, you can gently agitate the bristles by swirling, tapping, or lightly scrubbing against the side of the sink. Be careful not to apply too much force, as it may cause damage to the bristles.
- Drain and Rinse: After the soaking period, carefully drain the soapy water from the sink or basin. Rinse the brush under warm running water, using your fingers to gently massage and remove any remaining soap or residue.
Soaking your scrubbing brush in warm soapy water helps to break down the dirt and grime, making it easier to clean. It is an effective and gentle method to prepare your brush for the next cleaning steps. Remember to always rinse the brush thoroughly after soaking to ensure that no soap residue remains.
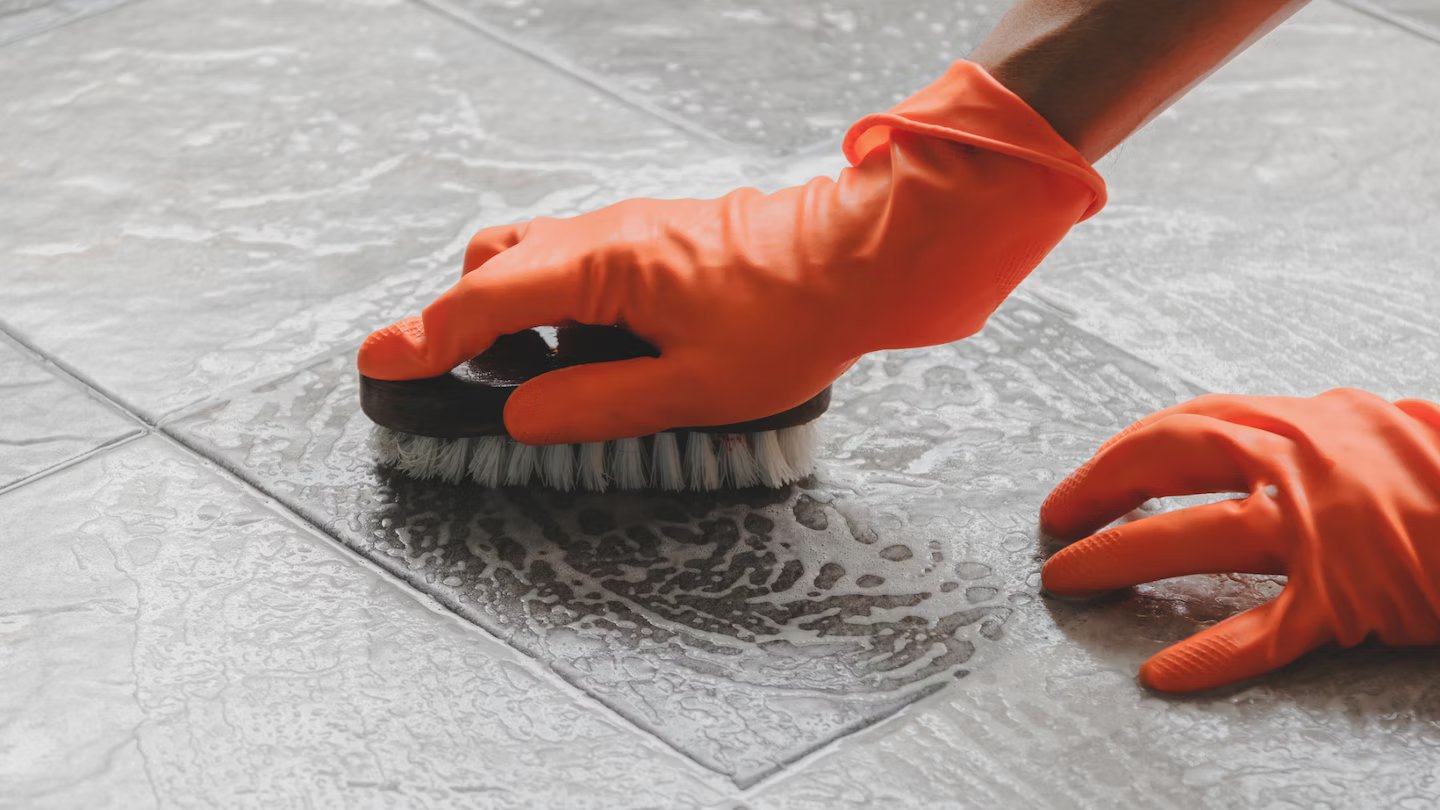
Scrubbing the Brush with a Brush Cleanser
After soaking your scrubbing brush in warm soapy water, the next step is to scrub it with a brush cleanser. A brush cleanser is a specially formulated cleaning agent that helps to remove stubborn stains, grease, and bacteria from the bristles. Here’s how to effectively scrub your brush using a brush cleanser:
- Select the Right Brush Cleanser: Choose a brush cleanser that is suitable for the type of brush you are cleaning. Read the instructions on the cleanser bottle to ensure it is compatible with your brush material and bristles.
- Apply the Cleanser: Squeeze a small amount of the brush cleanser onto the bristles of your scrubbing brush. Use enough to cover the bristles without saturating them.
- Gently Scrub: Using your fingers or a gentle brush cleaning tool, such as a brush cleaning pad or a scrubbing brush with softer bristles, gently scrub the cleanser into the bristles. Work in circular motions to effectively remove any dirt, stains, or residue.
- Pay Attention to the Handle: Don’t forget to clean the handle of your scrubbing brush as well. Wipe it down with a cloth dampened with the brush cleanser to remove any bacteria or grime.
- Rinse Thoroughly: Once you have scrubbed the brush with the cleanser, rinse it under warm running water. Ensure that all traces of the cleanser are removed, and the water runs clear.
- Inspect and Repeat if Necessary: After rinsing, inspect the bristles to see if any stubborn stains or residue remain. If needed, repeat the process of applying the brush cleanser and scrubbing until the bristles are clean and free from any dirt.
Scrubbing your brush with a brush cleanser helps to deep clean the bristles and remove any lingering dirt or bacteria. It is an effective method to ensure that your scrubbing brush is thoroughly cleaned and ready for use in your daily cleaning tasks.
Using a Toothbrush to Clean Hard-to-Reach Areas
While scrubbing brushes are great for larger surfaces, they may not always be able to reach those tight corners and crevices. In such cases, using a toothbrush can be a handy tool to clean those hard-to-reach areas. Here’s how to effectively utilize a toothbrush for this purpose:
- Select the Right Toothbrush: Choose a toothbrush with soft bristles that are in good condition. Avoid using toothbrushes with worn-out or frayed bristles, as they may not effectively clean the desired areas.
- Apply Cleaning Solution: Apply a small amount of your chosen cleaning solution, such as a mild dish soap or a brush cleanser, onto the bristles of the toothbrush. Make sure the bristles are moist but not dripping wet.
- Target the Hard-to-Reach Areas: Identify the specific areas of your scrubbing brush or cleaning tool that are challenging to clean with a regular brush. This could be small crevices, corners, or the base of the brush where it meets the handle.
- Scrub Gently: Use the toothbrush to gently scrub the hard-to-reach areas in a back-and-forth or circular motion, depending on the shape and size of the area. Apply mild pressure as necessary to dislodge any dirt or grime.
- Rinse Thoroughly: Once you have thoroughly scrubbed the hard-to-reach areas, rinse the scrubbing brush under warm running water. Ensure that all traces of the cleaning solution are removed.
- Inspect and Repeat if Needed: After rinsing, inspect the areas you cleaned with the toothbrush. If there are any remaining dirt or debris, repeat the process by applying more cleaning solution and scrubbing again.
Using a toothbrush to clean hard-to-reach areas allows for precise cleaning and ensures that no spots are missed. It is a useful technique that enables you to thoroughly clean all parts of your scrubbing brush effectively.
Rinsing and Drying the Scrubbing Brush
After cleaning your scrubbing brush and removing all dirt and residue, it’s important to properly rinse and dry it to ensure its longevity and maintain cleanliness. Follow these steps to effectively rinse and dry your scrubbing brush:
- Rinse Under Running Water: Hold the scrubbing brush under warm running water, ensuring that all parts of the brush, including the bristles and handle, are thoroughly rinsed. This will help to remove any remaining cleaning solution or debris.
- Gently Squeeze the Bristles: Use your fingers to squeeze the bristles from the base to the tips, to remove excess water. Be gentle to prevent any damage or deformation to the bristles.
- Shake Off Excess Water: Give the scrubbing brush a few gentle shakes to remove any excess water. This will help to speed up the drying process.
- Pat Dry with a Cloth or Towel: Take a clean cloth or towel and carefully pat dry the bristles and the handle of the scrubbing brush. Ensure that all moisture is absorbed to prevent any potential bacterial growth.
- Air Dry: Place the scrubbing brush in an upright position or hang it upside down to allow for proper air circulation. This will help the brush to fully dry, preventing any moisture buildup that can lead to unpleasant odors or the growth of bacteria.
- Monitor Drying Time: Depending on the type of bristles and the overall thickness of the brush, it may take several hours or even overnight for the brush to completely dry. Check regularly to ensure it is completely dry before storing.
- Inspect Before Storage: Before storing the brush, ensure that it is completely dry and free from any moisture. This will help to prevent any potential mold or bacteria growth during storage.
Properly rinsing and drying your scrubbing brush is crucial to maintaining its cleanliness and preventing the growth of bacteria. By following these steps, you can ensure that your scrubbing brush is dry, ready for future use, and in optimal condition.
Storing the Brush Properly to Prevent Bacteria Growth
After cleaning and drying your scrubbing brush, it’s important to store it properly to prevent the growth of bacteria and maintain its cleanliness. By following these guidelines, you can ensure that your brush remains in optimal condition:
- Avoid Damp or Enclosed Spaces: Store your scrubbing brush in a well-ventilated area that is dry and free from moisture. Avoid keeping it in enclosed spaces such as sealed containers or bags, as this can promote the growth of bacteria.
- Keep it Upright: Store the scrubbing brush in an upright position to allow for proper air circulation. This helps to prevent any remaining moisture from pooling at the base of the bristles, which can lead to bacteria growth.
- Separate from Other Brushes: If you have multiple brushes, store them separately to avoid cross-contamination. This reduces the risk of transferring bacteria or residues from one brush to another.
- Consider Sterilizing: If necessary, especially if the brush has been used for particularly dirty or bacteria-prone tasks, you can consider sterilizing it occasionally. This can be done by boiling the brush in water for a few minutes or using a disinfectant solution recommended by the manufacturer.
- Regularly Clean the Storage Area: Keep the area where you store your scrubbing brush clean and free from dust or debris. Regularly wipe down the storage space to prevent any potential transfer of dirt or bacteria onto the brush.
- Replace When Needed: Over time, the bristles of a scrubbing brush can become worn out or frayed, making it less effective and more prone to bacteria growth. Monitor the condition of the brush and replace it when necessary.
By storing your scrubbing brush properly, you can help to prevent the growth of bacteria and ensure its cleanliness for future use. Following these guidelines will help maintain the hygiene and effectiveness of your scrubbing brush over time.
Tips for Maintaining a Clean Scrubbing Brush
In addition to proper cleaning and storage, there are several tips you can follow to maintain a clean scrubbing brush and prolong its lifespan. By incorporating these practices into your routine, you can ensure that your brush remains effective and hygienic:
- Regular Cleaning: Clean your scrubbing brush regularly, especially after each use or whenever it becomes visibly dirty. This prevents the buildup of dirt, grime, and bacteria.
- Keep Separate Brushes: Use separate scrubbing brushes for different cleaning tasks to avoid cross-contamination. For example, dedicate one brush for kitchen cleaning and another for bathroom cleaning.
- Replace or Repair Worn-out Bristles: Monitor the condition of the bristles and replace the brush if the bristles are frayed, worn out, or lose their stiffness. This ensures that the brush continues to clean effectively.
- Dry Thoroughly: Allow your scrubbing brush to dry completely after each use. Moisture can promote bacteria growth, so ensure that the bristles and handle are thoroughly dry before storing.
- Store with Care: Store your scrubbing brush in a clean, dry area with proper ventilation. Avoid placing it in humid or enclosed spaces that can promote the growth of bacteria.
- Inspect for Damage: Regularly inspect your scrubbing brush for any signs of damage, such as loose bristles or cracks in the handle. Address any issues promptly to prevent further deterioration.
- Use Protective Gloves: When handling tough cleaning tasks, such as scrubbing with harsh chemicals or dealing with sharp objects, wearing protective gloves can not only protect your hands but also prevent damage to the brush.
- Regularly Disinfect: Periodically disinfect your scrubbing brush to eliminate bacteria and odors. Soak the brush in a diluted bleach solution or another suitable disinfectant recommended by the manufacturer.
- Replace when Necessary: Even with proper maintenance, scrubbing brushes have a limited lifespan. If you notice a significant decline in cleaning efficiency or if the bristles become too worn out, it’s time to replace the brush.
By following these tips, you can maintain a clean and effective scrubbing brush that is ready to tackle your cleaning tasks with ease. Remember, a well-maintained brush not only ensures optimal performance but also helps to promote a healthy and hygienic cleaning environment.